
Free Crochet Bandana Scarf Pattern Perfect for Everyday Fashion
Upgrade your look with this Free Crochet Bandana Scarf Pattern that perfect for versatile styling, comfort, and a fashionable accessory touch.
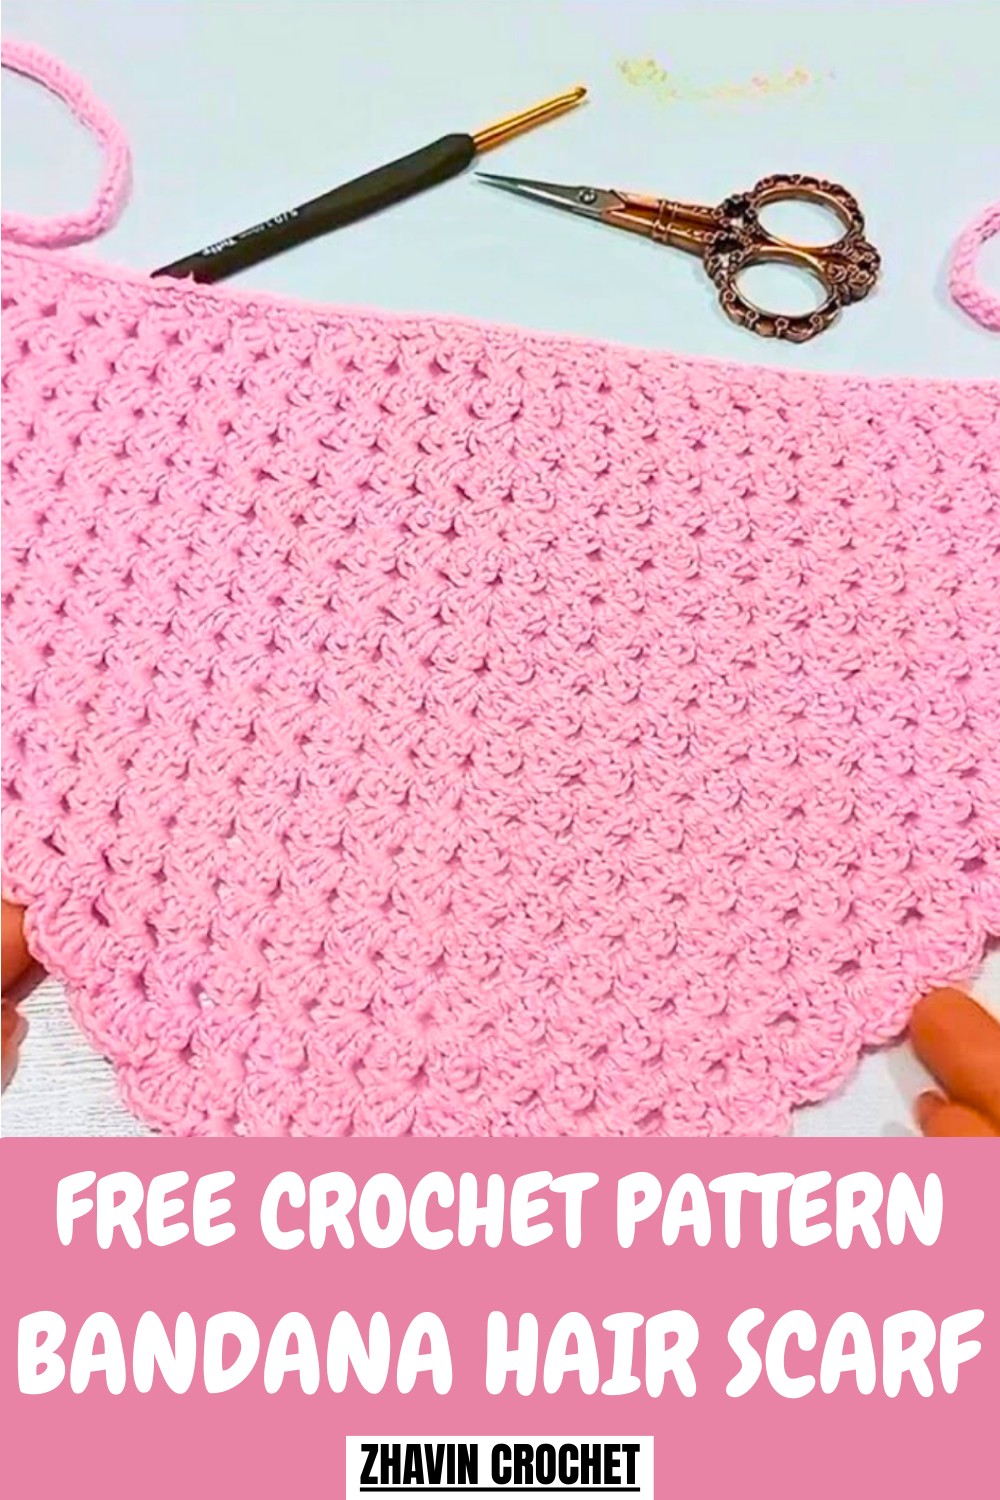
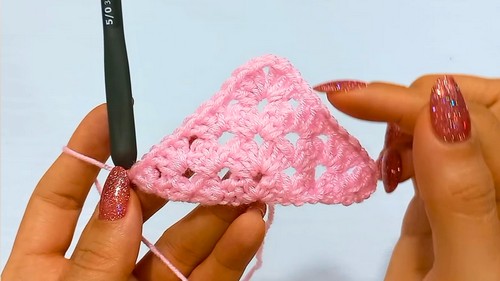
A charming triangular accessory quickly takes shape, adding a playful yet stylish touch to any outfit. Perfect for casual outings, layering in cooler weather, or gifting to friends and family, this scarf blends fashion with practicality seamlessly. The Crochet Bandana Scarf Pattern provides clear, step-by-step instructions, guiding each stitch to create a perfectly shaped, lightweight, and comfortable piece. Its design emphasizes texture and structure, producing a fabric that drapes elegantly while retaining its form.
Trend-Led Crochet Bandana Scarf Pattern You’ll Want to Wear
The pattern allows room for personalization—colors, stitch variations, and subtle embellishments can be adjusted to match individual style or seasonal trends, resulting in a unique, eye-catching accessory every time. Working on this project promotes focus and relaxation, offering a meditative rhythm that makes the process as enjoyable as the final piece.
Once finished, the scarf can be styled in multiple ways: tied around the neck, worn as a headwrap, layered with jackets, or even draped over a bag to add a pop of charm. Its lightweight and adaptable design ensures it complements various wardrobes effortlessly. Combining creativity, practicality, and aesthetic appeal, this pattern delivers a chic accessory that elevates everyday looks while celebrating the elegance and versatility of handmade crochet.
Step-by-Step Details
1. Materials Needed:
- Yarn: Yarn Art Adore (Category 3, 100% acrylic).
- Hook: 3mm crochet hook.
- Other Tools: Scissors and a yarn needle for weaving ends.
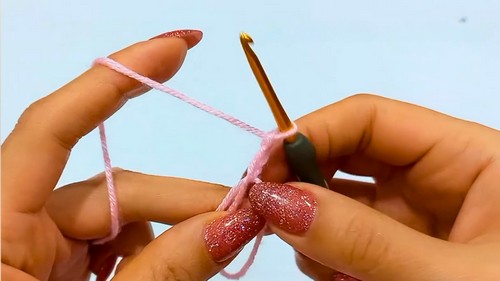
2. Starting the Scarf:
- Create a magic ring:
- Wrap yarn around two fingers to form an X.
- Insert the hook under the first loop, grab the second, pull it through, and chain once to secure the circle.
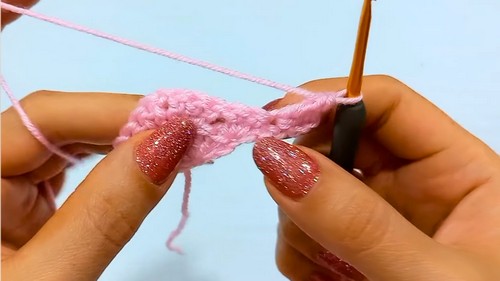
- Chain three, which counts as the first double crochet, followed by two additional double crochets into the ring.
- Chain one, then make another three double crochets into the ring.
- Pull the yarn tail to tighten the magic ring. This completes Row 1.
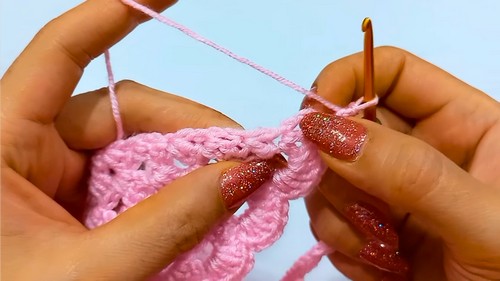
3. Row 2:
- Chain three (counts as the first double crochet) and turn the work.
- Make two double crochets into the base of the chain-3.
- Skip the next three stitches and go into the chain-1 space:
- Make three double crochets, one chain, and another three double crochets (forming the center cluster).
- Skip the next stitches and work three double crochets at the top of the chain-3 from the previous row. This finishes Row 2.
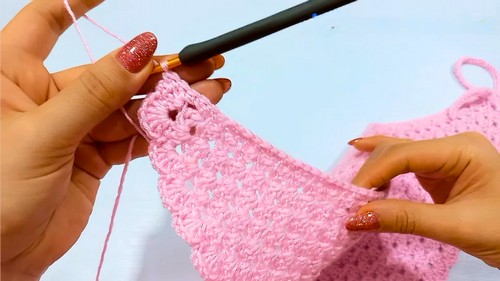
4. Row 3 Onward:
- Chain three, turn the work, and make two double crochets at the base of the chain-3.
- Skip stitches and work three double crochets into each space between clusters.
- In the chain-1 space at the center, make three double crochets, one chain, and another three double crochets.
- Continue adding three double crochets into spaces until you reach the end. Finish the row by adding three double crochets at the top of the chain-3 from the previous row.
- Note: With each row, the number of double crochet clusters increases symmetrically on both sides.
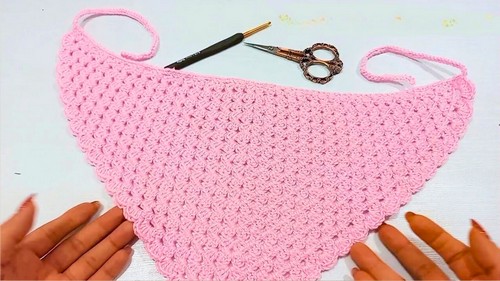
- Repeat this sequence for 20 rows or your desired size. The completed triangle in the tutorial is 23cm in height and 50cm across the base.
5. Adding the Border:
- Chain one and turn the work to start the border.
- Make a slip stitch into the second stitch of the first cluster.
- Into the space between clusters:
- Create a shell stitch with five double crochets.
- Make a slip stitch into the second stitch of the next cluster.
- Continue this sequence along the first side of the triangle.
- At the corner (chain-1 space), make seven double crochets into the space to form a decorative point.
- Repeat the same shell and slip stitch pattern along the second side.
6. Adding Ties:
- After completing the second side, chain 51 to create one side tie.
- Skip the first chain and make slip stitches into the remaining 50 chains.
- Attach the tie by slip stitching back into the corner of the triangle.
- Repeat this process at the other corner to make the second tie.
7. Final Side Border:
- Along the base of the triangle:
- Work two single crochets per stitch (including chain and double crochet stitches from each row).
- At the starting magic ring (bottom tip of the triangle), make one single crochet and hide the yarn tail.
- Continue adding single crochets to complete the triangle perimeter.
- Add ties similarly at this edge if desired.
8. Finishing Touches:
- After completing all sides and ties, cut the yarn and weave in all loose ends to give the scarf a neat and polished look.
Special Features
- Granny Stitch Design: Creates a light, symmetrical triangle that is stylish and functional.
- Shell Stitch Border: Enhances the visual appeal with a decorative touch.
- Versatile Ties: Adjustable ties make the scarf easy to secure and wear in various ways.
- Customizable Size: Easily increase or decrease rows for different dimensions.
Level of Difficulty
This project is beginner-friendly with repetitive granny stitches and simple techniques like double crochets, chain stitches, and shell stitches. It’s ideal for those learning to crochet triangles or wanting to improve their tension and symmetry.
Tutor’s Suggestions
- Practice Consistent Tension: Keep uniform stitches throughout for neat results.
- Secure the Magic Ring: Pull the ring tightly to avoid gaps in the center.
- Count Stitches Regularly: Double-check chain-1 spaces and double crochet clusters to maintain the triangle shape.
- Adjust Size as Needed: Add or reduce rows based on the desired scarf size or use thicker yarn for a larger scarf.
Uses and Applications
- Hair Accessory: Perfect for protecting hair or adding a boho look.
- Everyday Wear: Stylish and versatile for casual outfits.
- Gift Idea: Makes for a thoughtful, handmade present.
- Skill Practice: Great for mastering basic crochet stitches and patterns.
Tip
When working the chain ties, loosen your tension slightly to make the ties more flexible and less stiff. This ensures they stay flat and are easier to tie.
Conclusion
The granny stitch headscarf is a fun and rewarding project that combines simplicity and elegance. With its classic granny stitch, customizable size, and decorative shell border, it’s a versatile and stylish addition to any wardrobe. Whether you’re a beginner or an experienced crocheter, this project is a quick and fulfilling way to create something beautiful and functional.