
Free Crochet Bat Pattern to Make With Your Favorite Yarn
Create your own crochet bat using this free and easy pattern, a fun and simple way to celebrate Halloween with handmade decorations.
Late one evening, as the soft glow of a desk lamp lit up the room, the gentle rhythm of a crochet hook began weaving magic into yarn. Out of those simple strands, a bat slowly took shape, its rounded wings and tiny body almost bringing it to life. Isn’t it incredible how just a hook and some yarn can transform into something so delightful? These cute crochet bats carry an almost whimsical charm, perfect for Halloween or any décor that needs a touch of fun and creativity. The process feels as enjoyable as the result itself.
This beautiful bat pattern was thoughtfully created and demonstrated by Crochet con Yamileth, an amazing crochet channel on YouTube. Yamileth effortlessly blends detailed instructions with a friendly, down to earth style that makes learning easy and enjoyable.
Free Crochet Bat Pattern That Brings Spooky Fun Home
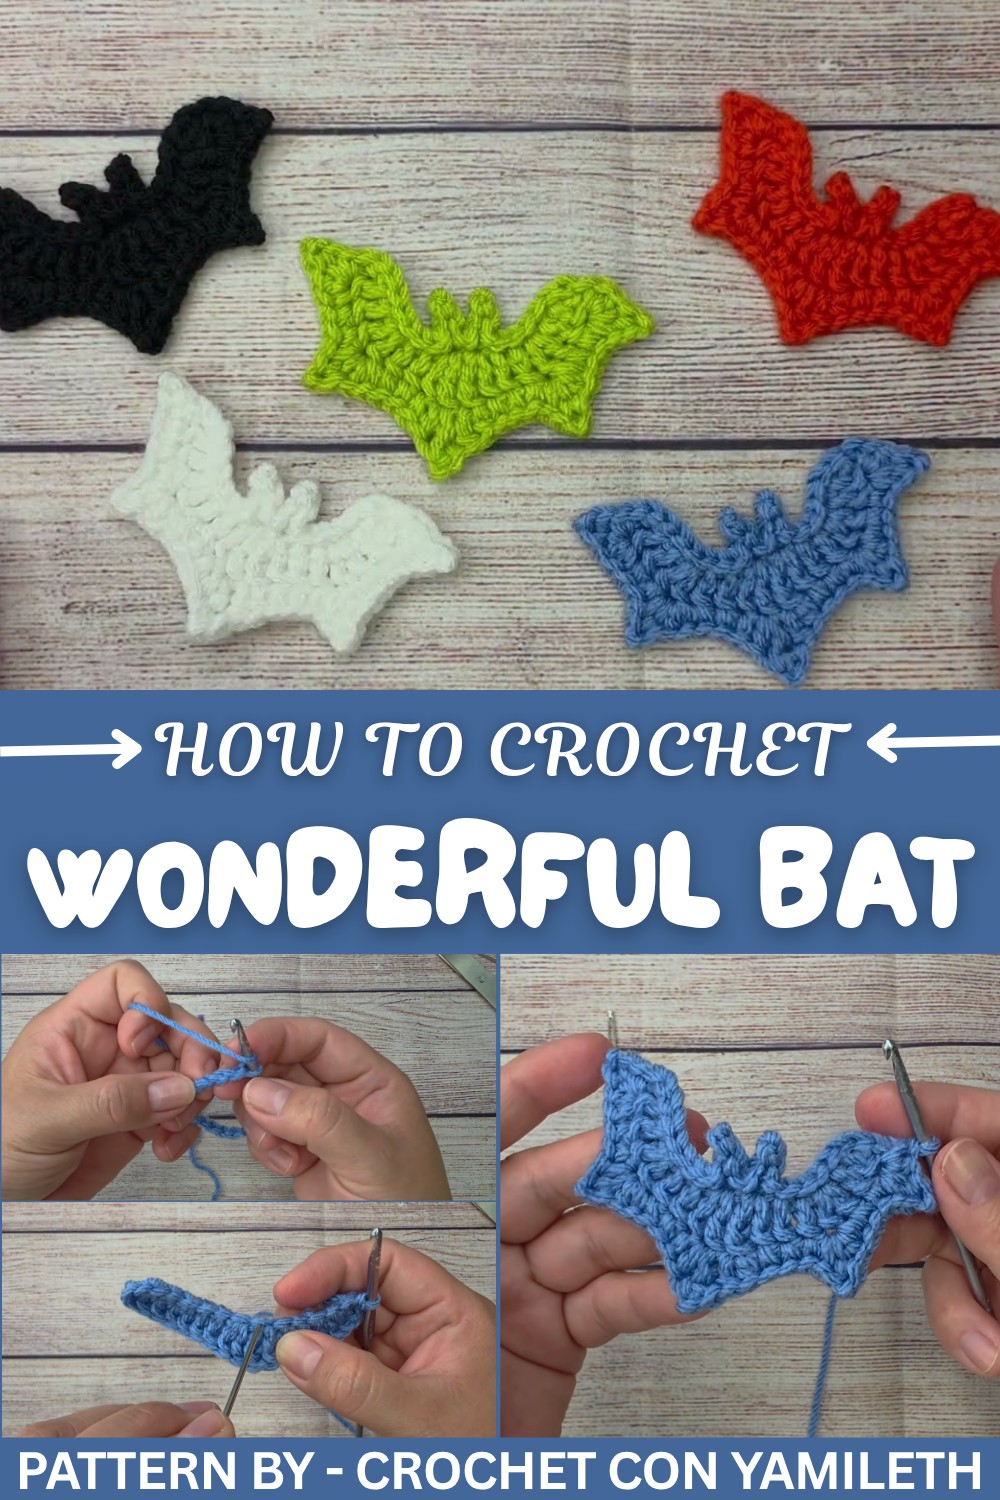
Her tutorial takes you step by step through the process, ensuring no small detail is overlooked. From crocheting the body to shaping the wings, she simplifies the more intricate parts of the pattern, ensuring crocheters can follow along with confidence. These crochet bats stand out for their skillfully crocheted design. The symmetrical wings and the shape of the rounded body give them such personality.
You can use them as adorable Halloween decorations, fun ornaments, or thoughtful handmade gifts. The patterned wings are particularly attention grabbing, with a smooth, natural flow created through precise increases and decreases. Whether you’re new to crochet or looking to try something creative, these bats are the perfect project to work on. Let your imagination shape them into garlands, keychains, or even pocket sized companions.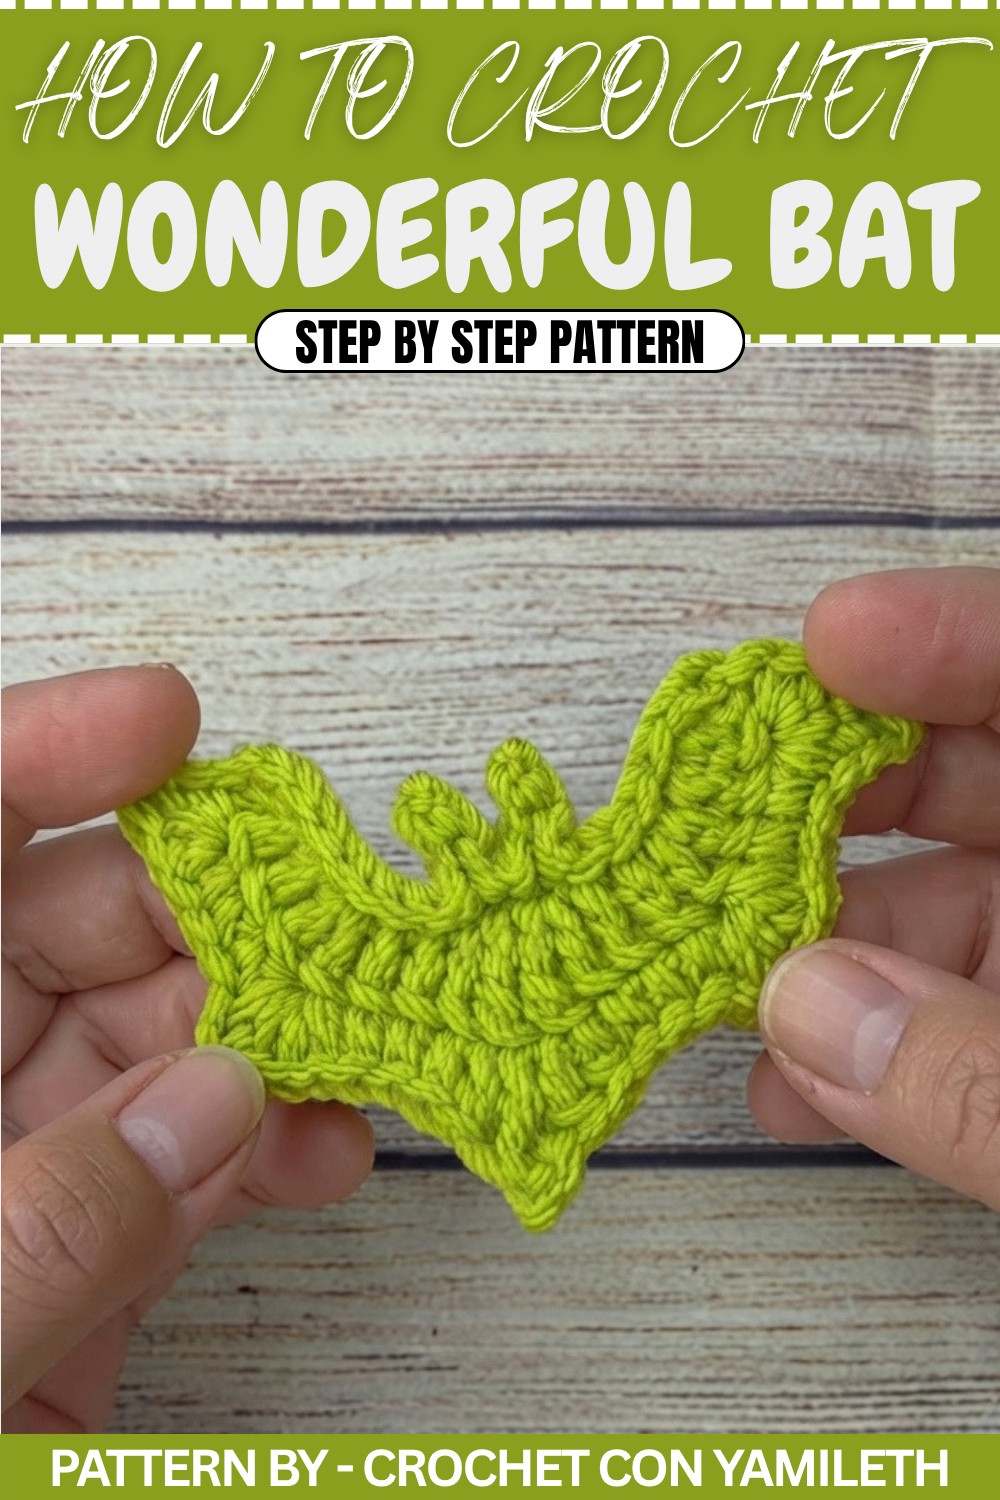
Step By Step Crochet Pattern: Cute Little Bat
This fun and simple project is perfect for Halloween decorations or as a charming gift. Follow this step by step guide to bring these black and white bats to life.
Quick Overview of Pattern
- Project Type: Crochet Bat
- Stitches Used: Chains, Slip Stitches, Single Crochets, Double Crochets, Half-Double Crochets
- Features: Cute bat with delicate details, available in two colors (black and white).
Notes
- This pattern requires good attention to stitch placement for neat curves.
- A combination of increases and decreases creates the bat's wings and body shape.
- Be careful about tension—it is essential to maintain even results.
- The pattern is structured for beginners but includes some intermediate techniques.
- Work each part step by step, and feel free to finish with your choice of embellishments.
Skill Level
Beginner to Intermediate—basic stitches and some increases/decreases involved.
Materials
- Crochet Hook: 3.75 mm crochet hook
- Yarn: 100% Cotton Yarn, size 4, in your choice of colors (black or white recommended).
- Tapestry Needle: For weaving in ends.
- Scissors
Measurements / Sizing
- Finished Size: Approximately 3–4 inches wide (depending on tension and yarn size).
Gauge
Gauge is not critical for this miniature project, but consistent tension ensures accurate proportions.
Stitch Abbreviations
- CH – Chain
- SL ST – Slip Stitch
- SC – Single Crochet
- HDC – Half Double Crochet
- DC – Double Crochet
- TR – Triple Crochet
- INC – Increase (2 stitches in the same space)
Special Stitches
Double Crochet Increase (DC INC): Work 2 DC into the same stitch to make an increase.
The Crochet Pattern
Step 1: Start with the Bat’s Body
- Start by making a slip knot.
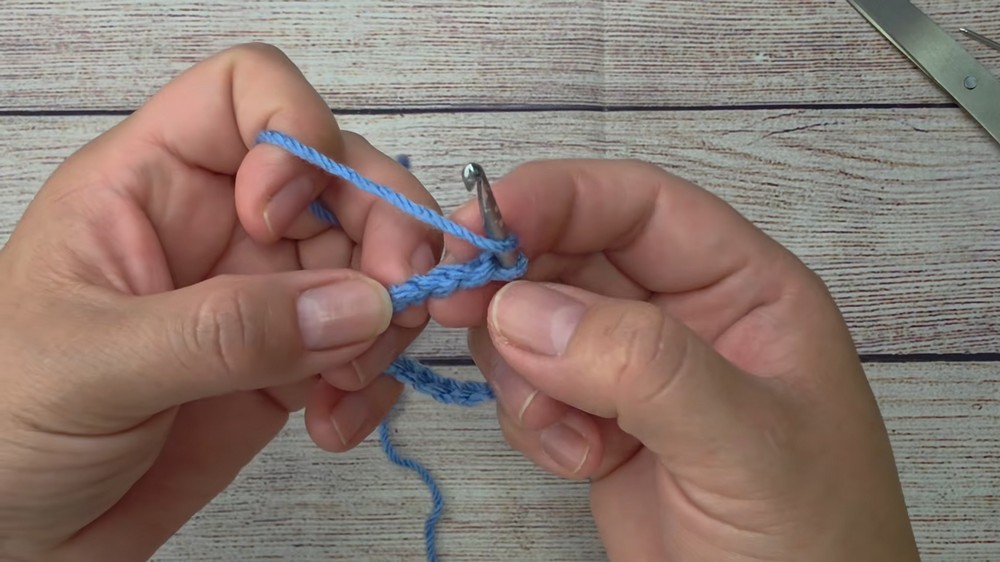
CH 15 to form the base of the body. - Starting from the 4th CH from the hook, begin working your stitches as follows:
- DC in the 4th CH and in the next CH.
- Work DC INC in the next CH (2 DC in the same space).
- DC in each of the next 2 CH.
- Work 1 DC and 1 TR (triple crochet) in the same CH.
- TR in the next CH.
- In the same CH as the TR, make 1 DC.
Result: The first half of the bat’s body is done, with curves forming the top.
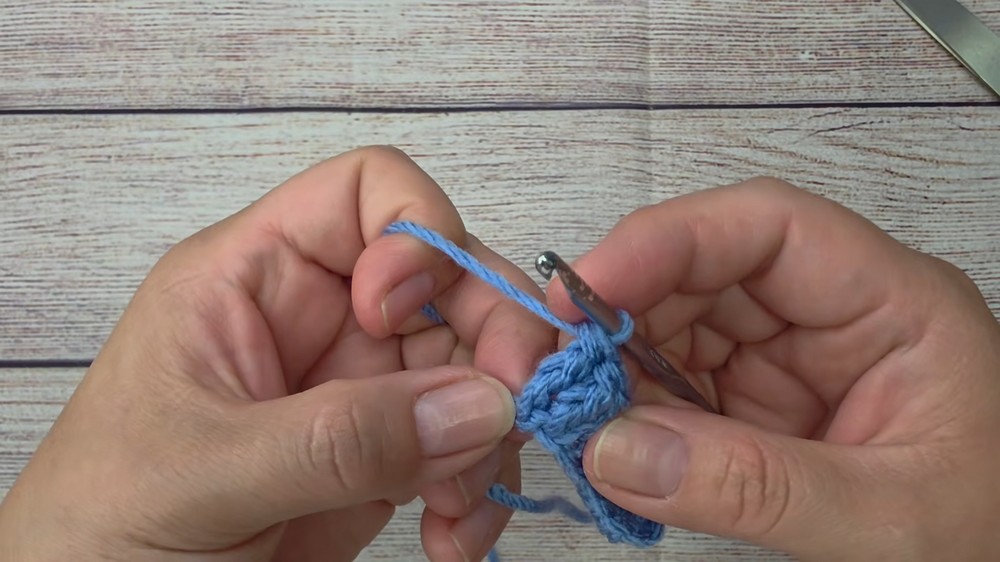
- Work down the other side of the starting chain:
- DC in the next 2 CH.
- Work DC INC (2 DC in the same CH).
- DC in the next CH until you reach the last CH.
- In the last CH, work DC INC for a rounded tip.
Result: You now have the full base of the bat’s body.
- Join the last stitch to the starting CH using a SL ST.
- Cut the yarn and weave in the ends. Repeat this process for additional bats of different colors if needed.
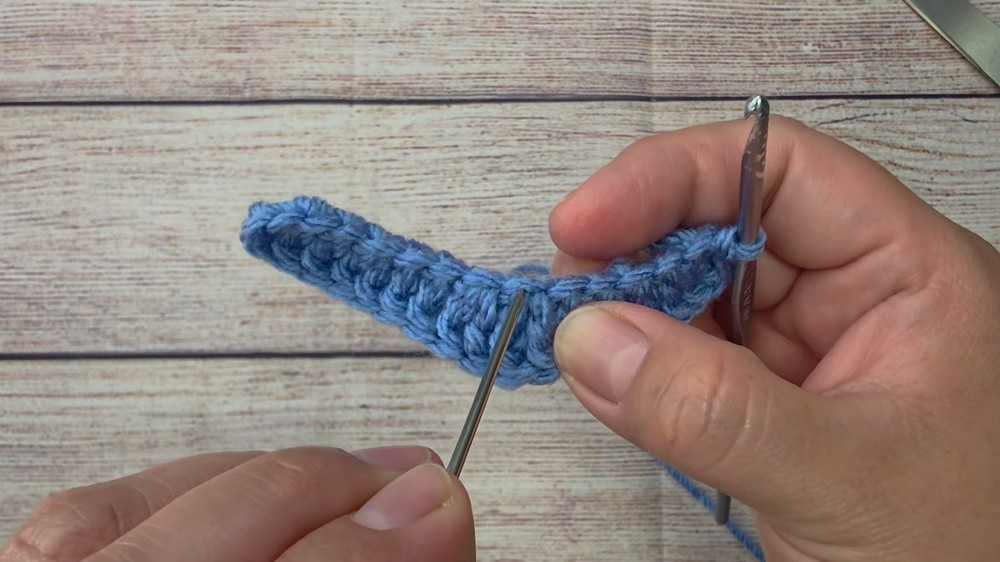
Step 2: Add Wings
- Attach yarn to the side of the bat’s body, at the curve formed by the TR stitches.
- Wings Left Side:
- CH 3 and slip stitch to the second CH to create a small loop.
- Move to the next space and create a SC.
- Continue forming arches with 3 CH loops and slip stitches across the left side.
- Wings Right Side:
- Mirror the process from the left wing. Create CH 3 loops and slip stitches evenly, forming symmetrical arches.
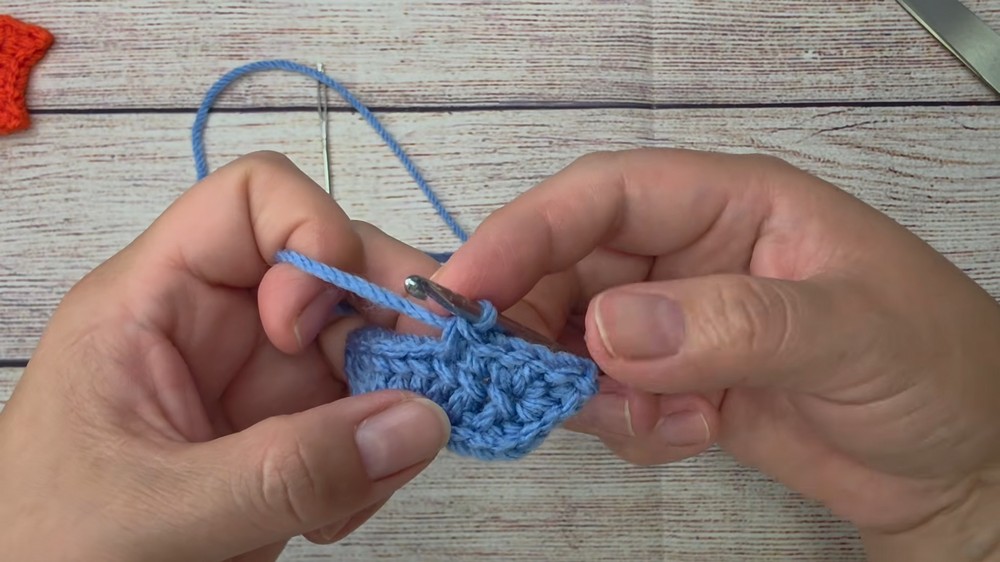
Result: Both wings are completed with decorative loops.
Step 3: Detailing the Wings
- Identify the edges of the wings where the TR stitches were made.
- Work additional CH 3 loops from these edges towards the body, slip stitching along the way to reinforce the curve. Repeat for both wings.
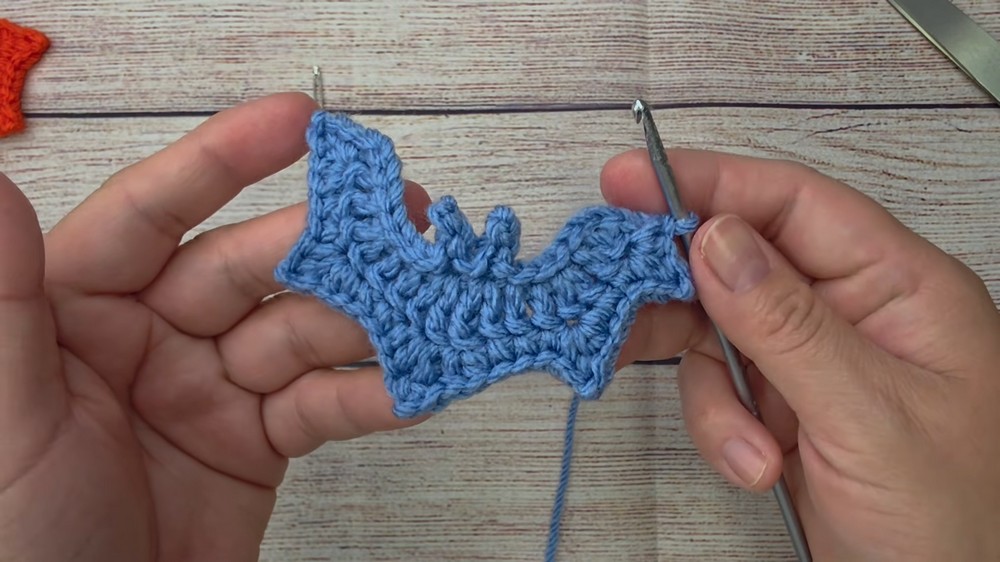
Result: The wings now feature a scalloped appearance, characteristic of a bat.
Step 4: Final Embellishments
- Stretch and Shape: Gently stretch the bat’s body and wings using your hands to define the shape.
- Optional Embellishments: Use a tapestry needle to sew on small eyes or other decorative features, like beads.
Assembly & Finished Size
- Attach a thin braided loop to the head or wings for hanging if you wish to use the bats as decorative displays.
- Final size: Around 3–4 inches from tip to tip.
Conclusion
Congratulations. You’ve just created a handmade crochet bat, a perfect addition to your Halloween decorations or a unique gift. Whether you made your bat black, white, or another color, we hope this project brought joy and creativity to your day. Don’t forget to share your creations, and feel free to make a whole colony of bats.