
Adorable Free Crochet Bat Amigurumi Pattern for Halloween Decor
Try this easy and free crochet bat pattern to create a small amigurumi perfect for Halloween or just a fun toy to collect.
If you’re looking for a crochet project that’s both fun and slightly quirky, the Free Crochet Bat Amigurumi Pattern is a fantastic choice. This tiny bat is adorable yet unique, making it a delightful addition to your handmade creations. With its cute design and fun details, it’s perfect for Halloween decorations, gifts, or simply for anyone who loves bats. I recently tried this pattern, and it was such an enjoyable experience watching the bat come to life with each stitch.
Easy Free Crochet Bat Amigurumi – Perfect for Beginners
This crochet bat has several standout features that make it truly special. Its round body gives it a cuddly appearance, while the wide, scalloped wings capture the distinct shape of a bat in flight. The oversized ears add a playful and endearing touch to its overall design, and the soft, smooth texture of the stitches enhances its handmade charm.
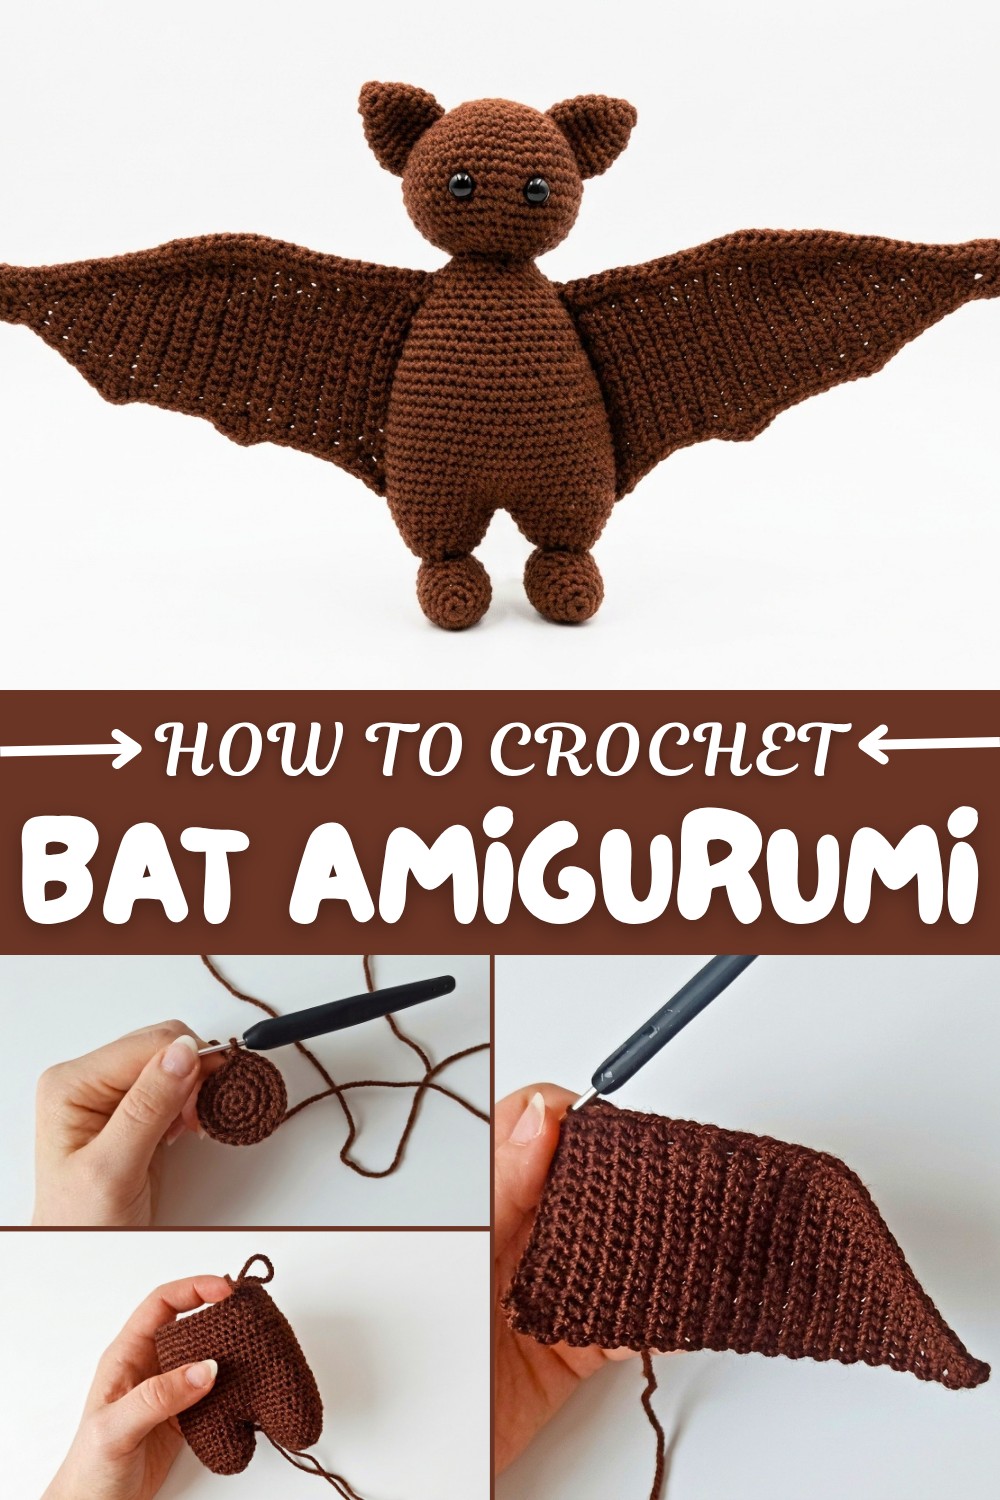
You can stick with dark and spooky colors like black or gray for a classic bat look or experiment with vibrant shades like purple or orange to make it more playful. The small size makes it versatile for various uses, whether as a festive decoration, a playful keychain, or a fun collectible.
This pattern is perfect for beginners, as it mostly uses simple single crochet stitches, along with basic increases and decreases to create the shapes. Since it’s worked in rounds, it’s an easy and straightforward process that doesn’t take a lot of time to complete.
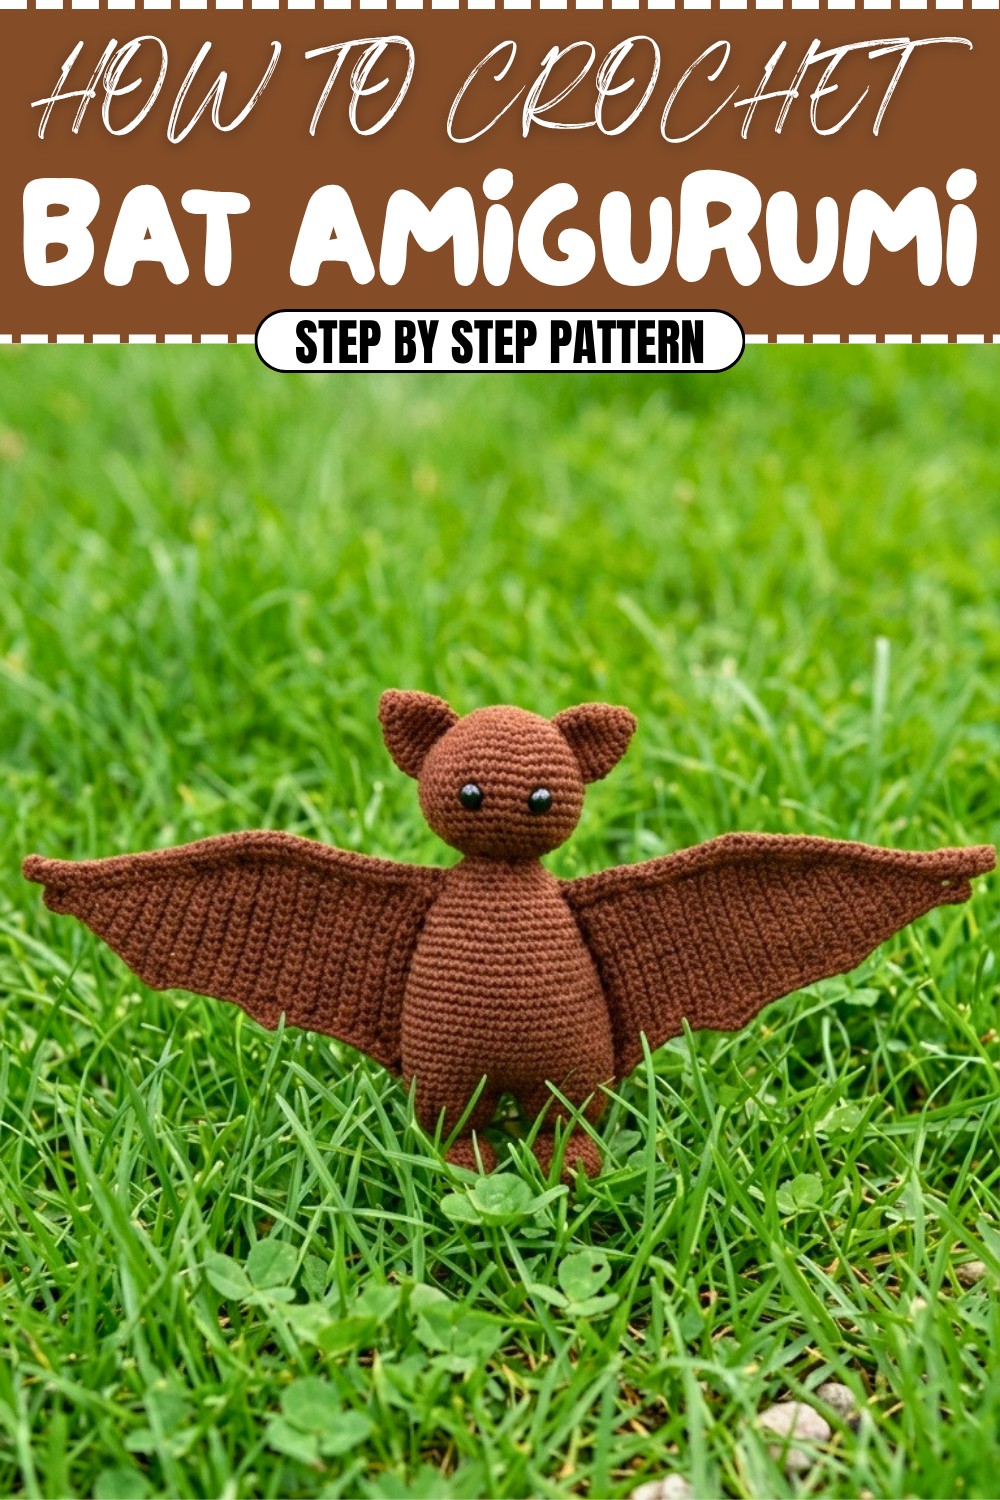
This bat amigurumi is a fantastic choice for adding a handmade touch to Halloween decorations, creating unique gifts for bat lovers, or even starting your own collection of fun crocheted creations. With endless color options and uses, it’s a creative and versatile project that is sure to impress.
Crochet Bat Amigurumi Pattern
This crochet bat amigurumi is the perfect blend of cute and spooky. The detailed body, wings, and facial features give it a playful yet polished look. Ideal for Halloween decorations or as a fun gift, this pattern is a fun and satisfying challenge suitable for intermediate crocheters.
Skill Level
Intermediate
This pattern is designed for those who are comfortable working in rounds, rows, and performing techniques such as increases, decreases, and creating both flat and three-dimensional shapes. It also involves some wire shaping, making it a great project for honing your amigurumi skills.
Materials
- Yarn:
- Chocolate (or color of your choice).
- Hook:
- 3 mm crochet hook.
- Additional Tools and Supplies:
- Toy stuffing (polyfill or fiberfill).
- Scissors.
- Pins (for positioning parts during assembly).
- Tapestry needle (for sewing and attaching pieces).
- 10 mm safety eyes.
- Wire (for shaping wings).
- Pliers (to cut and manipulate the wire).
Special Stitches
1. Magic Ring (MR):
Form a loop with your yarn. Insert your hook into the loop, yarn over, and pull through the loop. Chain 1 to secure, and work the required stitches into the loop. Pull the tail to tighten the ring.
2. Back Loops Only (BLO):
Insert your hook into the back loop of the stitch (the loop furthest from you) and complete the stitch as directed.
3. Slip Stitch (sl st):
Insert the hook into the designated stitch, yarn over, and pull through both loops on the hook, creating a tight join.
4. Decrease (dec):
Insert the hook into the front loop only of the next two stitches, yarn over, and pull through both loops. Yarn over and pull through the remaining loops on the hook to complete the decrease.
Stitch Abbreviations
- MR: Magic Ring
- ch: Chain
- sc: Single Crochet
- st(s): Stitch(es)
- inc: Increase (2 single crochet in the same stitch)
- dec: Decrease (crochet 2 stitches together)
- BLO: Back Loops Only
Useful Tips
- Keep Track: Use a stitch marker to mark the beginning of each round, as the head and body are worked in continuous rounds.
- Stuff Gradually: As you complete each segment, gradually add stuffing to ensure proper shape and prevent lumpiness.
- Eye Placement: Insert safety eyes between Rounds 12 and 13 in the head, ensuring there are five stitches between them for symmetry. If using thread, embroider the eyes in the same approximate location.
- Wings: Use wire to create the frame for stiff, foldable wings. If using wire, ensure it is cut and secured safely to avoid sharp edges.
- Assembly: Use pins to position parts of the bat before final stitching to ensure proper placement and symmetrical alignment.
Pattern Instructions
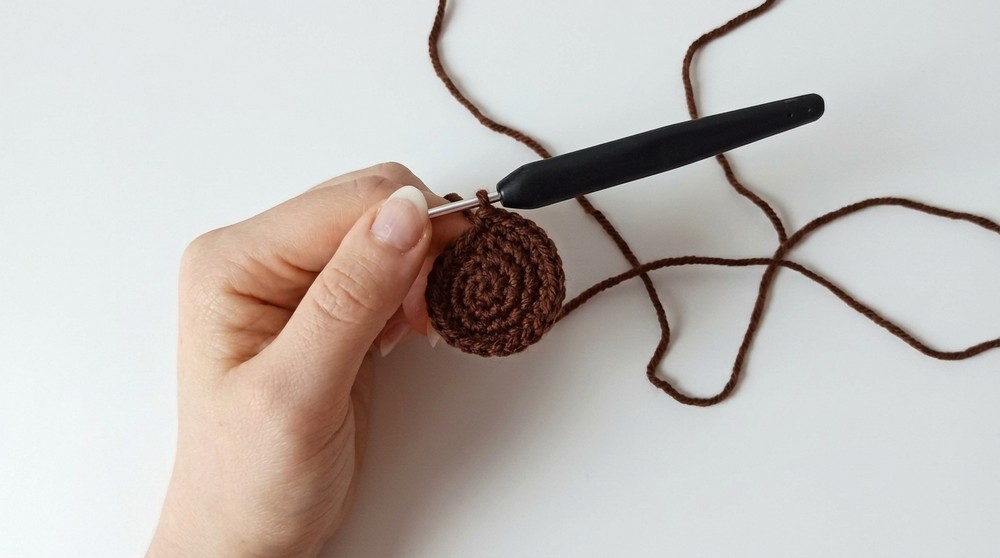
1. Head
Foundation:
- Begin with a magic ring.
Rounds:
- R1: 6 sc into the ring.
- R2: 6 inc (12 sts).
- R3: (1 sc, 1 inc) repeat 6 times (18 sts).
- R4: (2 sc, 1 inc) repeat 6 times (24 sts).
- R5: (3 sc, 1 inc) repeat 6 times (30 sts).
- R6: (4 sc, 1 inc) repeat 6 times (36 sts).
- R7: Work 36 sc around.
- R8: (5 sc, 1 inc) repeat 6 times (42 sts).
- R9: Work 42 sc around.
- R10: (6 sc, 1 inc) repeat 6 times (48 sts).
- R11–12: Work 48 sc per round.
- R13: (6 sc, 1 dec) repeat 6 times (42 sts).
- (Insert 10 mm safety eyes between R12 and R13, spacing them 5 sts apart).
- R14: Work 42 sc around.
- R15: (5 sc, 1 dec) repeat 6 times (36 sts).
- R16: (4 sc, 1 dec) repeat 6 times (30 sts).
- R17: (3 sc, 1 dec) repeat 6 times (24 sts).
- R18: (2 sc, 1 dec) repeat 6 times (18 sts).
- R19: (1 sc, 1 dec) repeat 6 times (12 sts).
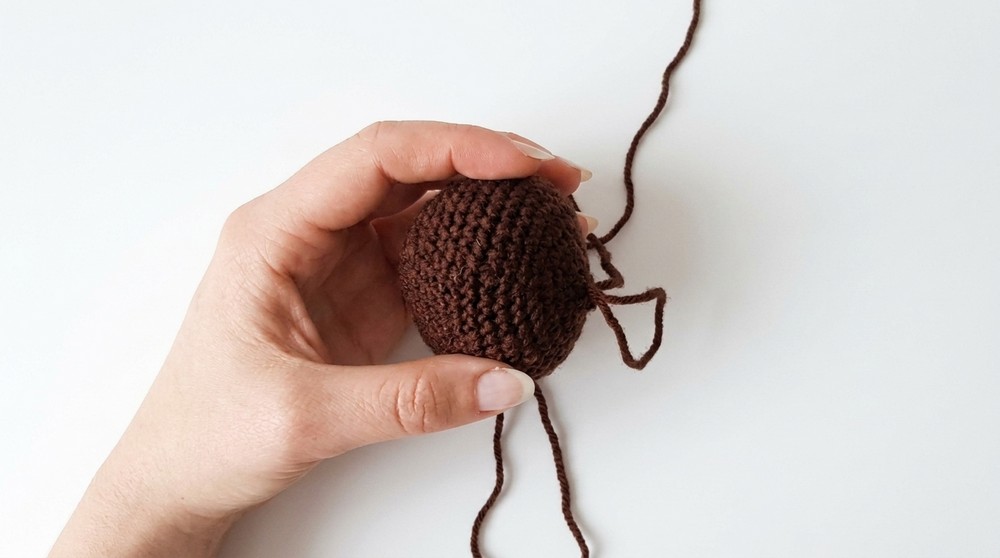
- R20: Work 6 dec (6 sts).
2. Ears (Make 2)
Foundation:
- Begin with a magic ring.
Rounds:
- R1: 6 sc into the ring.
- R2: Work 6 sc around.
- R3: 6 inc (12 sts).
- R4–5: Work 12 sc per round, maintaining shape.
- R6: (1 sc, 1 inc) repeat 6 times (18 sts).
- R7: Work 18 sc around.
- R8: (1 sc, 1 dec) repeat 6 times (12 sts).
3. Legs and Body
Foundation:
- Start each leg with a magic ring.
Legs:
- R1: 6 sc into the ring.
- R2: 6 inc (12 sts).
- R3: (1 sc, 1 inc) repeat 6 times, working in BLO (18 sts).
- R4–5: Work 18 sc per round.
Body:
- R6: (2 sc, 1 inc) repeat 6 times (24 sts).
- R7: Work 24 sc around.
- R8: Join the legs together and work in a continuous round to form the body. This begins with 48 sts combining the legs.
- R9–21: Work 48 sc per round.
- R22: (6 sc, 1 dec) repeat 6 times (42 sts).
- R23–24: Work 42 sc per round.
- R25: (5 sc, 1 dec) repeat 6 times (36 sts).
- R26: Work 36 sc around.
- R27: (4 sc, 1 dec) repeat 6 times (30 sts).
- R28: Work 30 sc around.
- R29: (3 sc, 1 dec) repeat 6 times (24 sts).
- R30: Work 24 sc around.
- R31: (2 sc, 1 dec) repeat 6 times (18 sts).
- R32: Work 18 sc around.
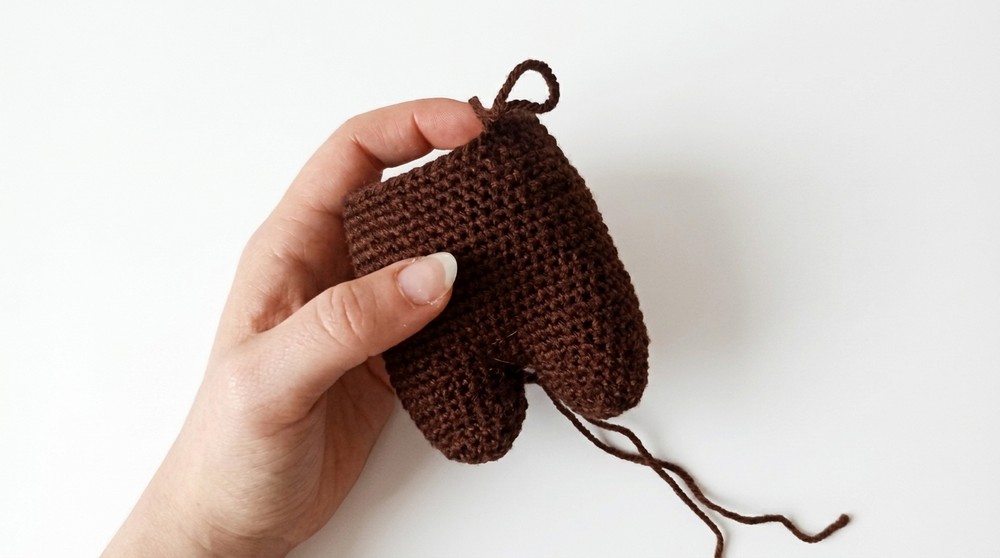
4. Feet (Make 2)
Foundation:
- Begin with a magic ring.
Rounds:
- R1: 6 sc into the ring.
- R2: 6 inc (12 sts).
- R3: Work 12 sc around.
- R4: 6 sc, then 6 inc (18 sts).
- R5–8: Work 18 sc per round.
- R9: (1 sc, 1 dec) repeat 6 times (12 sts).
- R10: Work 6 dec (6 sts).
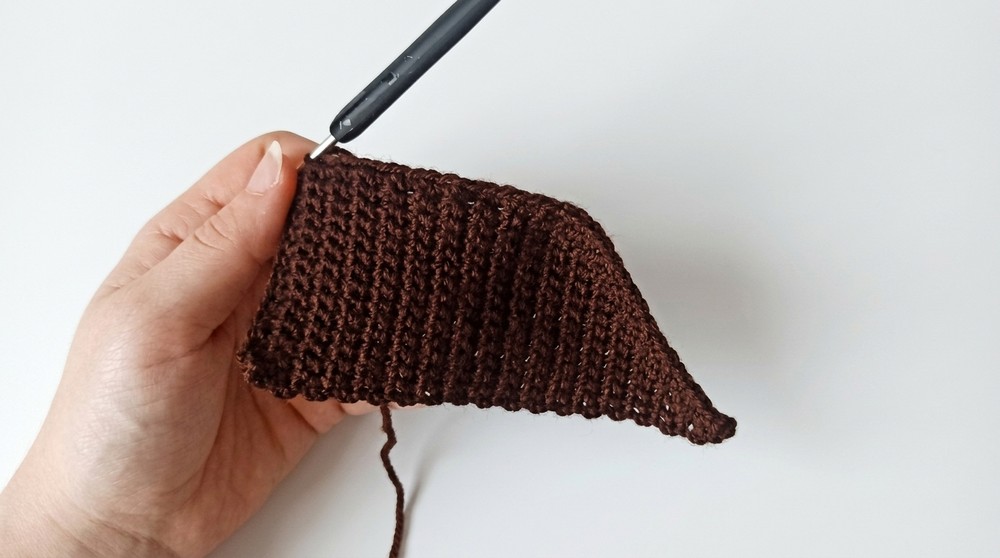
5. Wings (Make 2)
Foundation:
- Ch 15, starting in the second chain from the hook.
Wing Shape:
- Row 1: Work 14 sc back down the chain.
- Rows 2–21: Continue working 14 sc across each row.
- After completing the rectangular base, follow the video instructions for the decreases, edge work (sc along edges), and bottom wing detailing.
Assembly and Sizing
- Attach the Head and Body: Sew the head securely onto the top of the body, ensuring that it is centered and aligned.
- Position the Wings: Using wire for shaping, attach the two wings to the body. Shape and secure them using the pliers, ensuring there are no sharp edges.
- Add the Ears and Legs: Attach the ears symmetrically to the sides of the head, slightly toward the back. Pin the legs in place before sewing them to the bottom of the body.
- Attach the Feet: Sew the feet to the legs, ensuring they face forward.
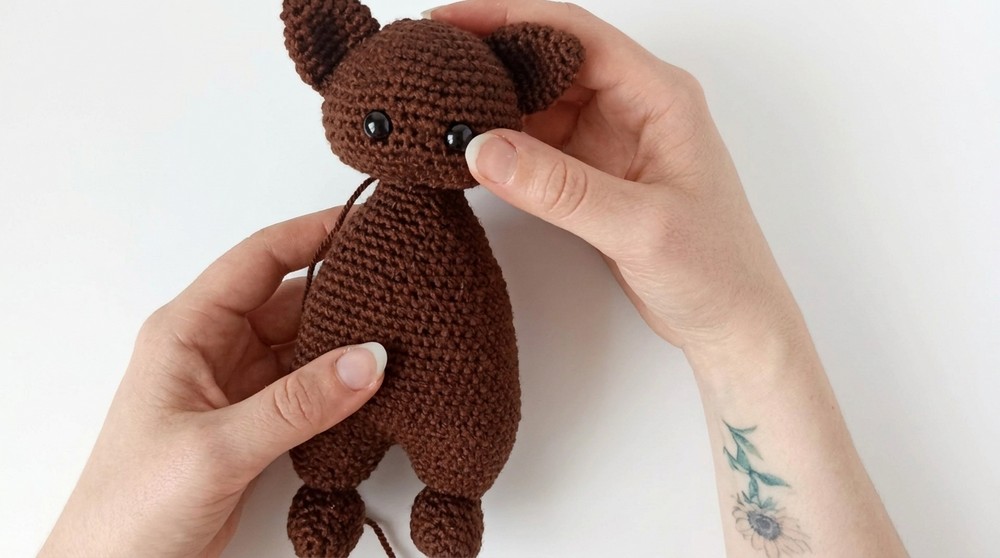
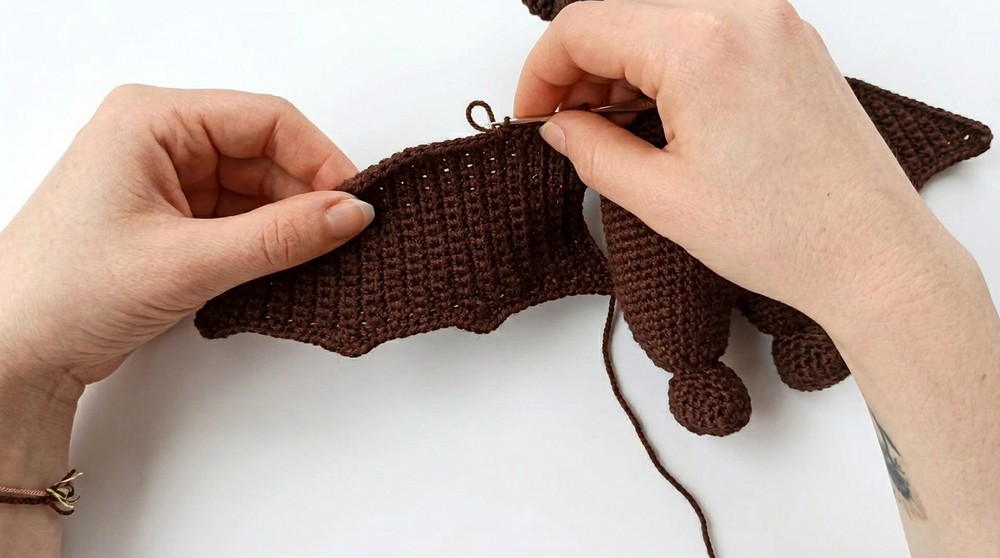
The completed bat should measure approximately 15-18 cm tall, depending on your individual tension and yarn.
Conclusion
This crochet bat amigurumi is an exciting and intricate project that delivers a charming design with plenty of customization options. You can experiment with different colors and adjust the wirework to create unique wing shapes. This intermediate-level pattern is an excellent way to enhance your crochet skillset and craft a unique handmade item you'll be proud to showcase.