
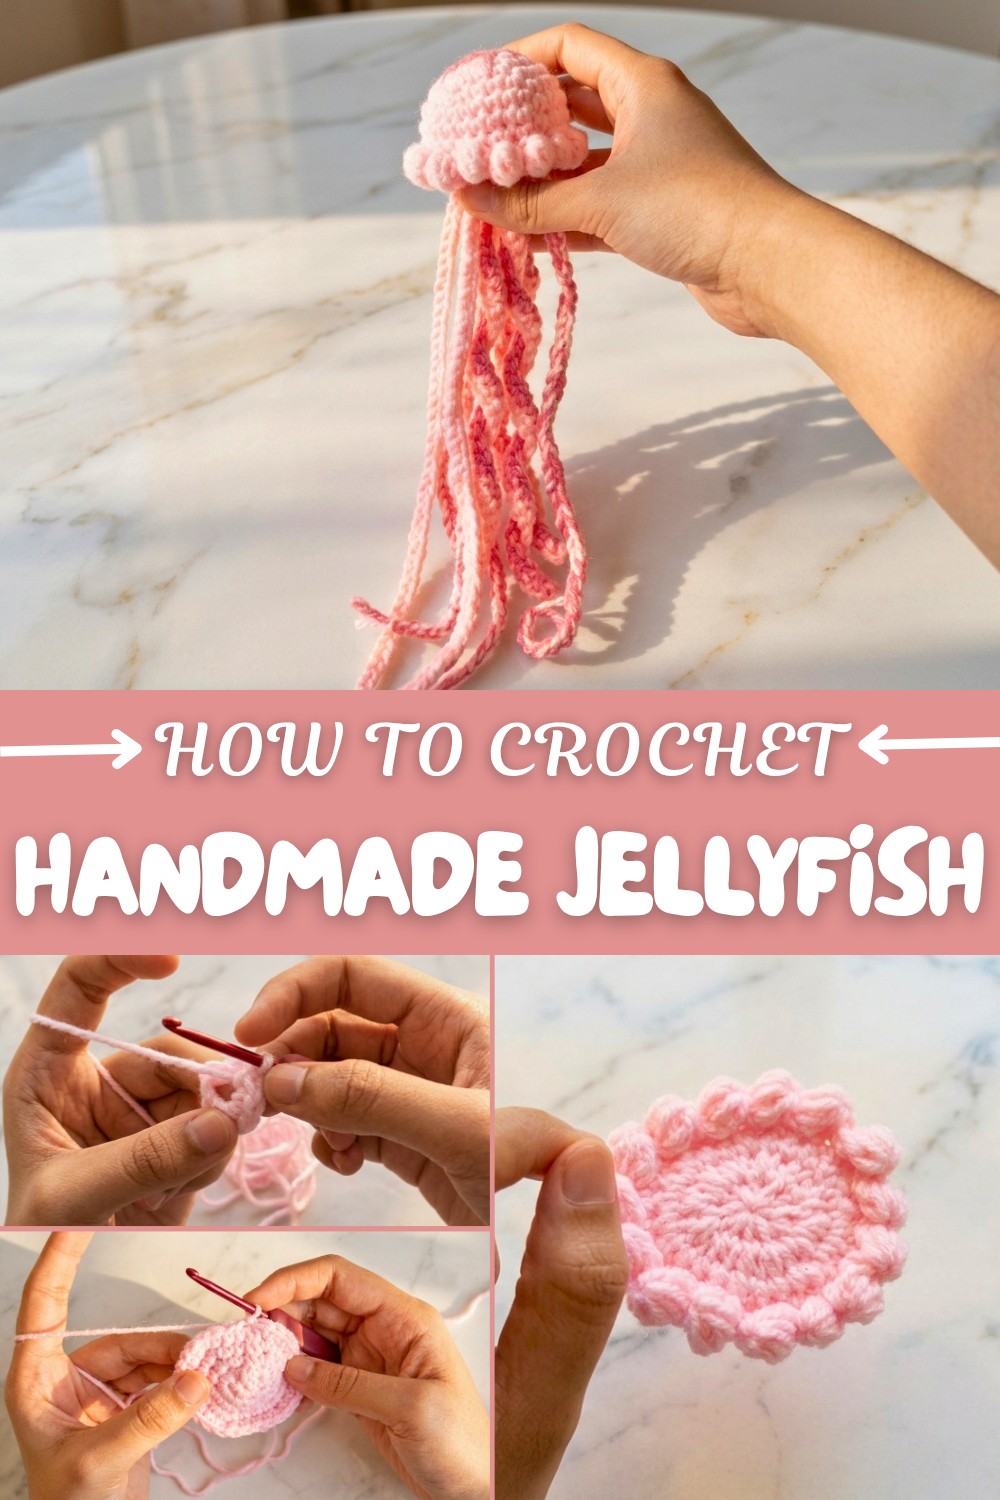
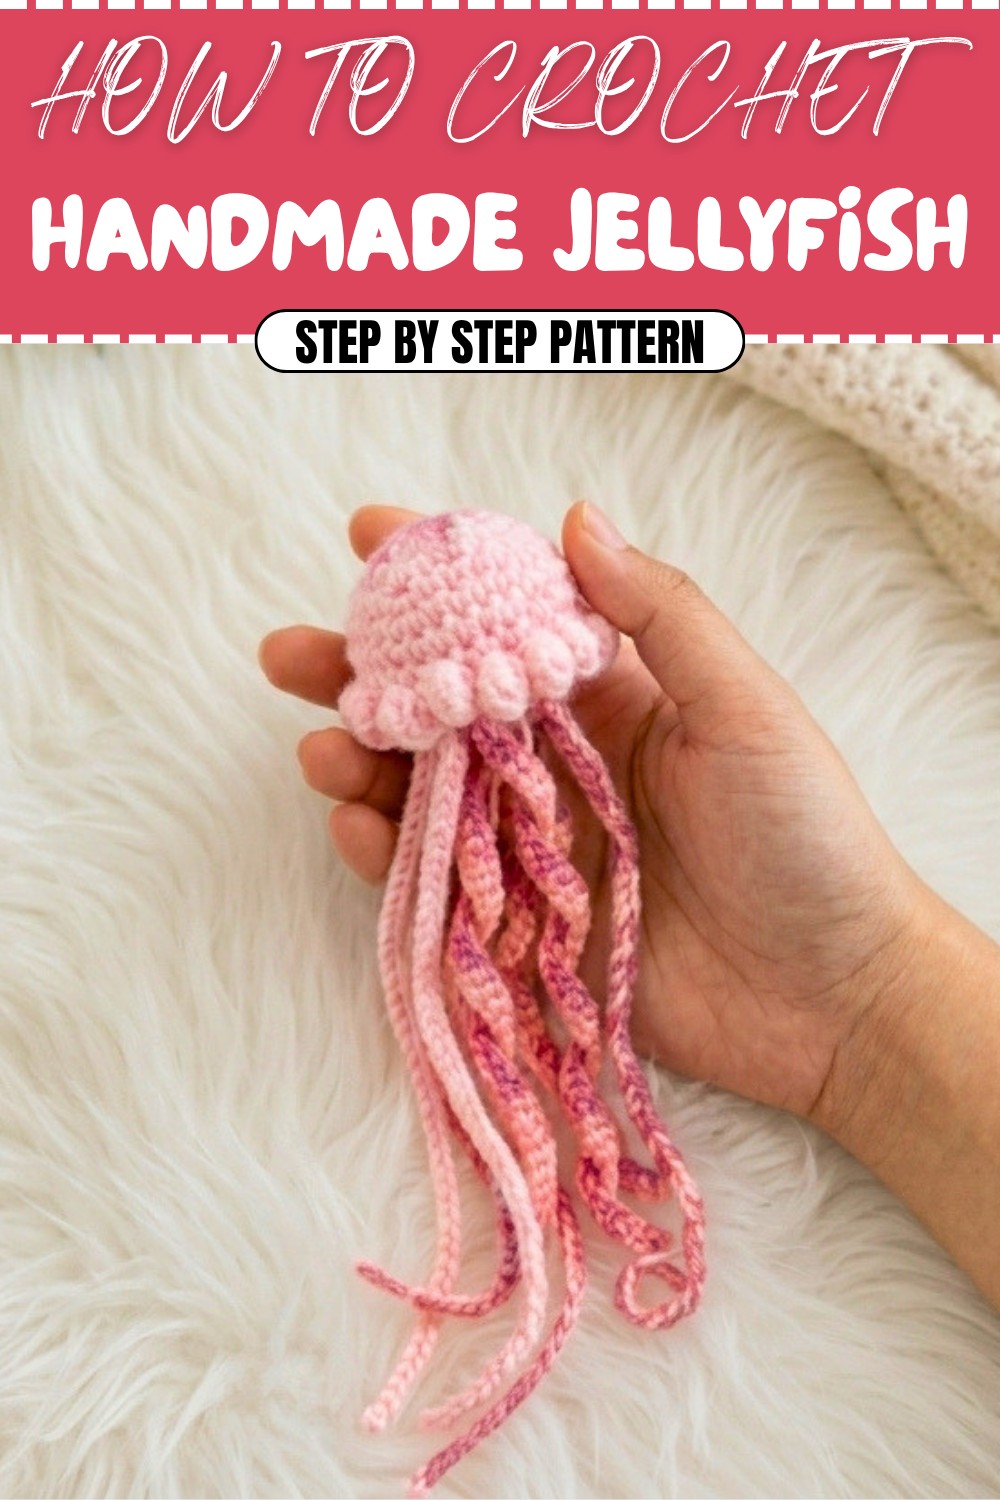
Vibrant Free Crochet Jellyfish Pattern for Colorful Hanging Art
Maximize your creative flair through a free crochet jellyfish pattern that's modern, quirky, and ideal for bold, handmade decor.
Are you ready to fall into the world of whimsical crochet projects? This Crochet Jellyfish Pattern is not only fun to make but also turns into an adorable creation perfect for room décor, keychains, or even as a playful toy! With its round squishy head, wavy tentacles, and vibrant color possibilities, this little jellyfish is sure to bring a smile to your face. You can mix and match your favorite colors—pastels for a soft look, or bright shades for a pop of fun. Its simple stitches, like single crochet, increases, and the bouncy bobble stitch, make it ideal for crocheters of all levels.
Artistic Crochet Jellyfish Pattern for Whimsical Touches
One of the best things about this pattern is its versatility. Whether you want to turn it into a baby mobile to hang in a nursery, a desk companion, or a gift for an ocean-loving friend, it’s a wonderful way to add a handmade, personal touch to your creations. The delicate embroidery on its head and the curly tentacles add charm, while the fluffiness from the stuffing brings it to life. Plus, you don’t need a lot of materials—it’s perfect for using up your leftover yarn and practicing some new skills!
What Can You Make Using These Skills?
These techniques can open the door to tons of other creative projects, such as:
- Ocean-Themed Crochet Projects: Sea stars, octopuses, or fish plushies.
- Baby Mobiles: Combine multiple jellyfish or other sea creatures for a delightful hanging piece.
- Cute Accessories: Keychains, bag charms, or bookmarks featuring colorful tentacled friends.
What You’ll Love About this Pattern
- Beginner-friendly yet fun for experienced crocheters.
- Easily customizable in yarn colors and designs.
- Perfect as gifts, party favors, or personal trinkets.
- Great for learning foundational crochet techniques that you can use in countless ways!
Crochet Jellyfish Pattern
This adorable crochet jellyfish is a perfect project for beginners and advanced crocheters alike. It can be used as a room decoration, keychain, or even a cute gift for someone special. The pattern walks you through creating the jellyfish head, tentacles, and a simple embroidery design to add finishing touches. With vibrant colors, the jellyfish stands out beautifully, and you can easily customize it to suit your preferences.
Skill Level & Terminology
- Skill Level: Beginner
- Terminology: US Crochet Terms
Materials & Tools
- Yarn:
- Light Pink Yarn: For the head.
- Peach-Pink Yarn: For tentacles.
- Dark Pink Yarn: For accents and embroidery.
- Crochet Hook: 3 mm.
- Scissors: To cut the yarn.
- Tapestry/Darning Needle: For sewing and weaving ends.
- Polyester Fiberfill: For stuffing the jellyfish.
- Optional: Keyring for creating a jellyfish keychain.
Gauge
Gauge is not crucial for this project, but tight stitches are recommended to prevent the stuffing from showing through.
Abbreviations List
- MR: Magic Ring
- Ch: Chain Stitch
- Sc: Single Crochet
- Inc: Increase (2 Sc in 1 stitch)
- Slst: Slip Stitch
- Front Loop Only (FLO): Crochet through the front loop of the stitch only.
- Dec: Decrease (Combine 2 stitches into 1)
Special Stitch Instructions
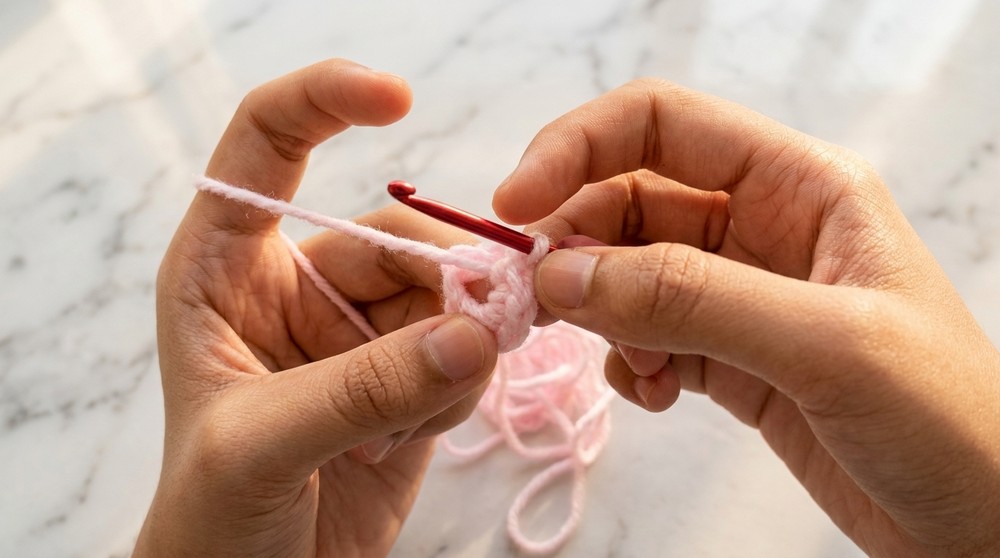
Magic Ring (MR)
- Wrap the yarn around your finger three times, making a loop.
- Insert your hook under all three loops, pull the third loop through the first two, then yarn over and pull through.
Bobble Stitch
- Work yarn over, insert into FLO (front loop only), yarn over and pull through, yarn over and pull through two loops.
- Repeat this process until there are 7 loops on your hook, then yarn over and pull through all loops at once.
Finished Size
Approximately 3.5 inches tall (including tentacles), depending on yarn thickness and crochet tension.
What You’ll Learn from This Pattern
This jellyfish pattern is packed with beginner to intermediate-level techniques, such as:
- Shaping the Jellyfish Head: Learn how to use increases, decreases, and crochet in the round to create an adorable, uniform jellyfish head.
- Bobble Stitch: Master the fun and textured bobble stitch, perfect for jellyfish tentacles or other playful details.
- Invisible Decreases: Learn how to decrease seamlessly, creating a clean and polished appearance.
- Adding Details: Embroidering simple designs like stars or swirls for that special finishing touch.
The Pattern Itself
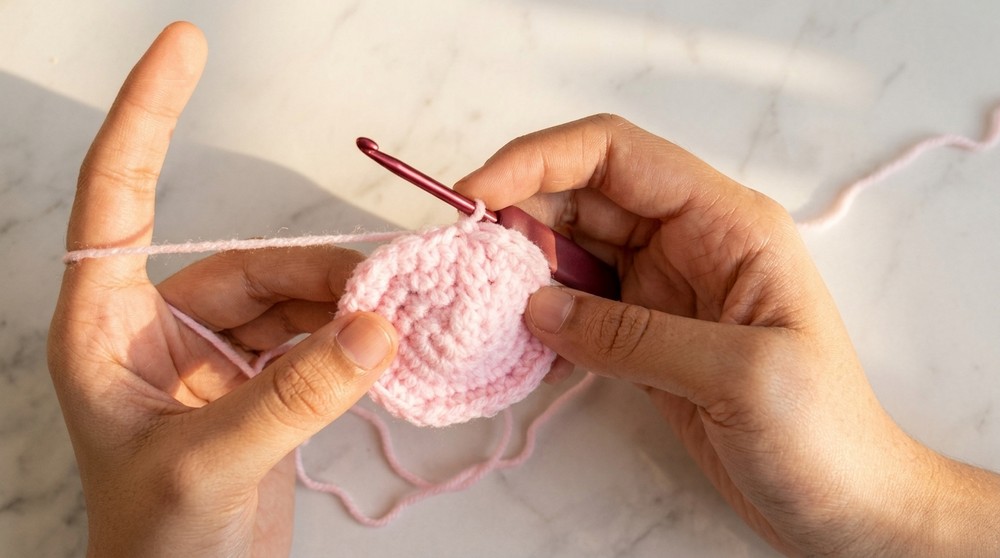
Jellyfish Head (Light Pink Yarn)
- Start with a Magic Ring:
- Round 1: Work 6 Sc into the MR, tighten the ring, and close the round with a Slst. (6 stitches)
- Round 2:
- Ch 1, work 2 Sc (Inc) in each stitch around. (12 stitches)
- Round 3:
- Ch 1, Sc 1 in the first stitch, then Inc (2 Sc in 1 stitch). Repeat around. (18 stitches)
- Round 4:
- Ch 1, Sc 2, then Inc. Repeat around. (24 stitches)
- Round 5:
- Ch 1, Sc 3, then Inc. Repeat around. (30 stitches)
- Rounds 6–8:
- Work 30 Sc (1 Sc in each stitch) with no increases.
For Beginners: This forms the dome-shaped head of the jellyfish. The key is to count your stitches carefully and use consistent tension.
Bobble Stitch Embellishment
- Round 9:
- Ch 2, work a Bobble Stitch into FLO of every other stitch (skip one stitch between Bobbles).
- Slip stitch into the next FLO after each Bobble to secure it. You will have 15 Bobble Stitches in total.
For Beginners: The Bobble stitches form a fun textured design that mimics jellyfish ridges. Work slowly to ensure neat results.
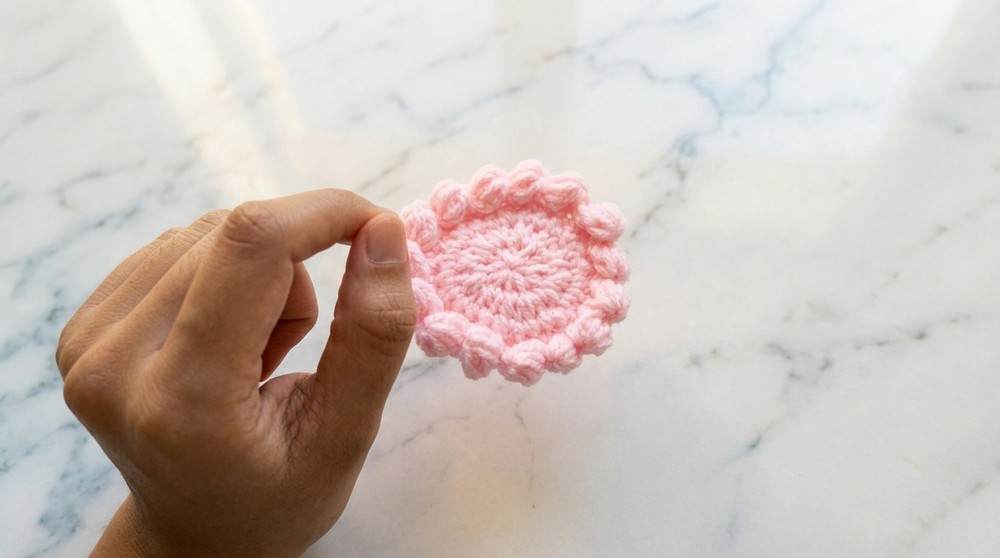
Back Loop Single Crochet (Stabilizing Round)
- After completing the Bobble round, chain 1 and work 30 Sc in the remaining back loops of the same round. This provides a solid base below the Bobbles.
- Ensure all loops are neat, as this will help secure the tentacles in later steps.For Beginners: Working in the back loops ensures your jellyfish has a clean and defined edge.
Decreasing for Closure
- Round 10:
- Ch 1, Sc 3, Dec (combine 2 stitches into 1). (24 stitches)
- Round 11:
- Ch 1, Sc 2, Dec. (18 stitches)
- Round 12:
- Ch 1, Sc 1, Dec. (12 stitches)
- Round 13:
- Ch 1, work 6 Dec (1 Dec in every 2 stitches). (6 stitches)
- Fasten off and weave the yarn through the remaining stitches to close the opening. Stuff with fiberfill before final closure.For Beginners: Use light stuffing for a soft, rounded shape. Make sure to secure the yarn ends after stitching.
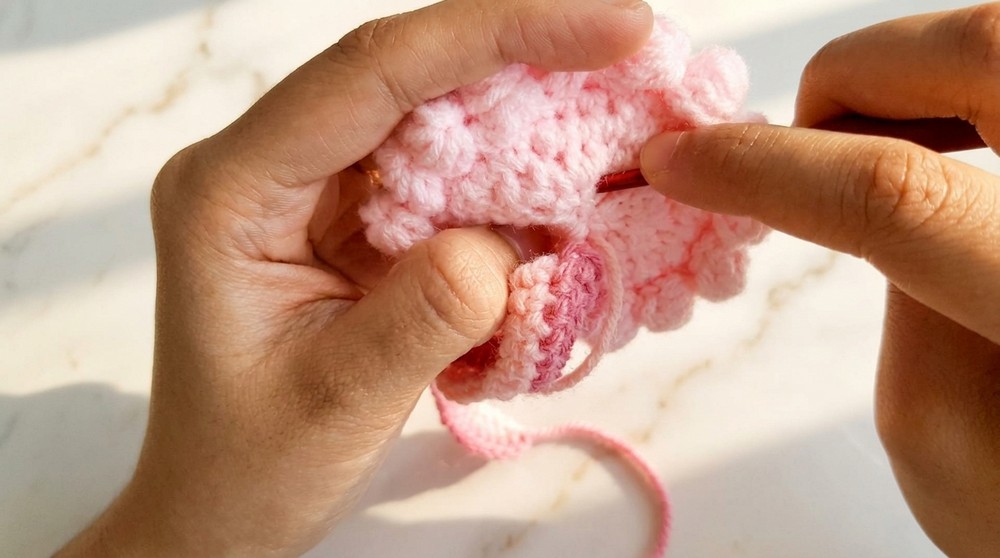
Tentacles (Using Peach and Dark Pink Yarn)
Long Tentacles:
- Attach peach yarn between Rounds 1 and 2 of the head.
- Chain 40–46 for each tentacle.
- Work 1 Sc into each chain starting from the second chain from the hook.
- Fasten off and weave in ends.
Short Accent Tentacles:
- Use Peach and Dark Pink Yarn held together for thicker texture. Create a slipknot and attach between Rounds 3 to 4 or 4 to 5.
- Chain 12–15 for a shorter tentacle look. Skip single crochets; complete stitching with chains only.
- Create a total of 5–6 short tentacles for variety.For Beginners: The tentacles are the most playful part of the jellyfish. Mix and match colors to add charm and movement to your creation.
Embroidery (Star Shape on Top of Head)
- Thread the dark pink yarn through your tapestry needle.
- Insert the needle through any spot on the jellyfish body and bring it to the center of the magic ring at the top.
- Create five lines radiating outward like a star, spaced evenly around the head:
- Insert the needle four stitches away. Repeat until the star is complete.
- Fasten off, knot securely, and weave in the ends.For Beginners: This simple embroidery adds a whimsical finishing touch to your jellyfish design.
Assembly & Finishing
- Attach Tentacles:
- Use the remaining yarn ends to secure the tentacles between the desired rounds of the jellyfish head. Use single crochet stitches or slip knots to attach them.
- Weave in All Ends:
- Use the tapestry needle to hide all remaining loose yarn ends inside the jellyfish body.
- Optional: Attach a keyring to the top if creating a keychain.For Beginners: The assembly step brings all the elements together. Be sure to check stability when attaching tentacles or keyring accessories.
How to Start and Stitches Used
The jellyfish starts with the magic ring technique, progressing through single crochet, increases, and bobble stitches. The body uses seamless rounds, while the tentacles are created separately and attached after the main assembly. Embroidery and finishing details enhance the charm of the project.
Conclusion
This crochet jellyfish is a versatile and fun project that combines basic techniques with creative embellishments. Whether used as room decor, a keychain, or a gift, it’s sure to bring a smile to anyone’s face. With its playful textures and colorful design, this jellyfish serves as the perfect introduction to crochet for beginners or a quick and joyful project for experienced crafters. Enjoy crafting your jellyfish masterpiece!