
Super Fun Free Crochet Granny Fanny Pack Pattern to Try
Make your outfits stand out with a handmade granny square fanny pack using this free crochet pattern to create a stylish and fun accessory quickly.
If you love turning simple yarn into something both creative and practical, this crochet project will inspire you. The talented team from MOP Crochet, a YouTube channel adored by crocheters worldwide for its clear and beginner-friendly tutorials, has created an exciting crochet project. Their new video shows how to make a colorful fanny pack using granny squares, proof that handmade accessories can be trendy, stylish, and incredibly functional.
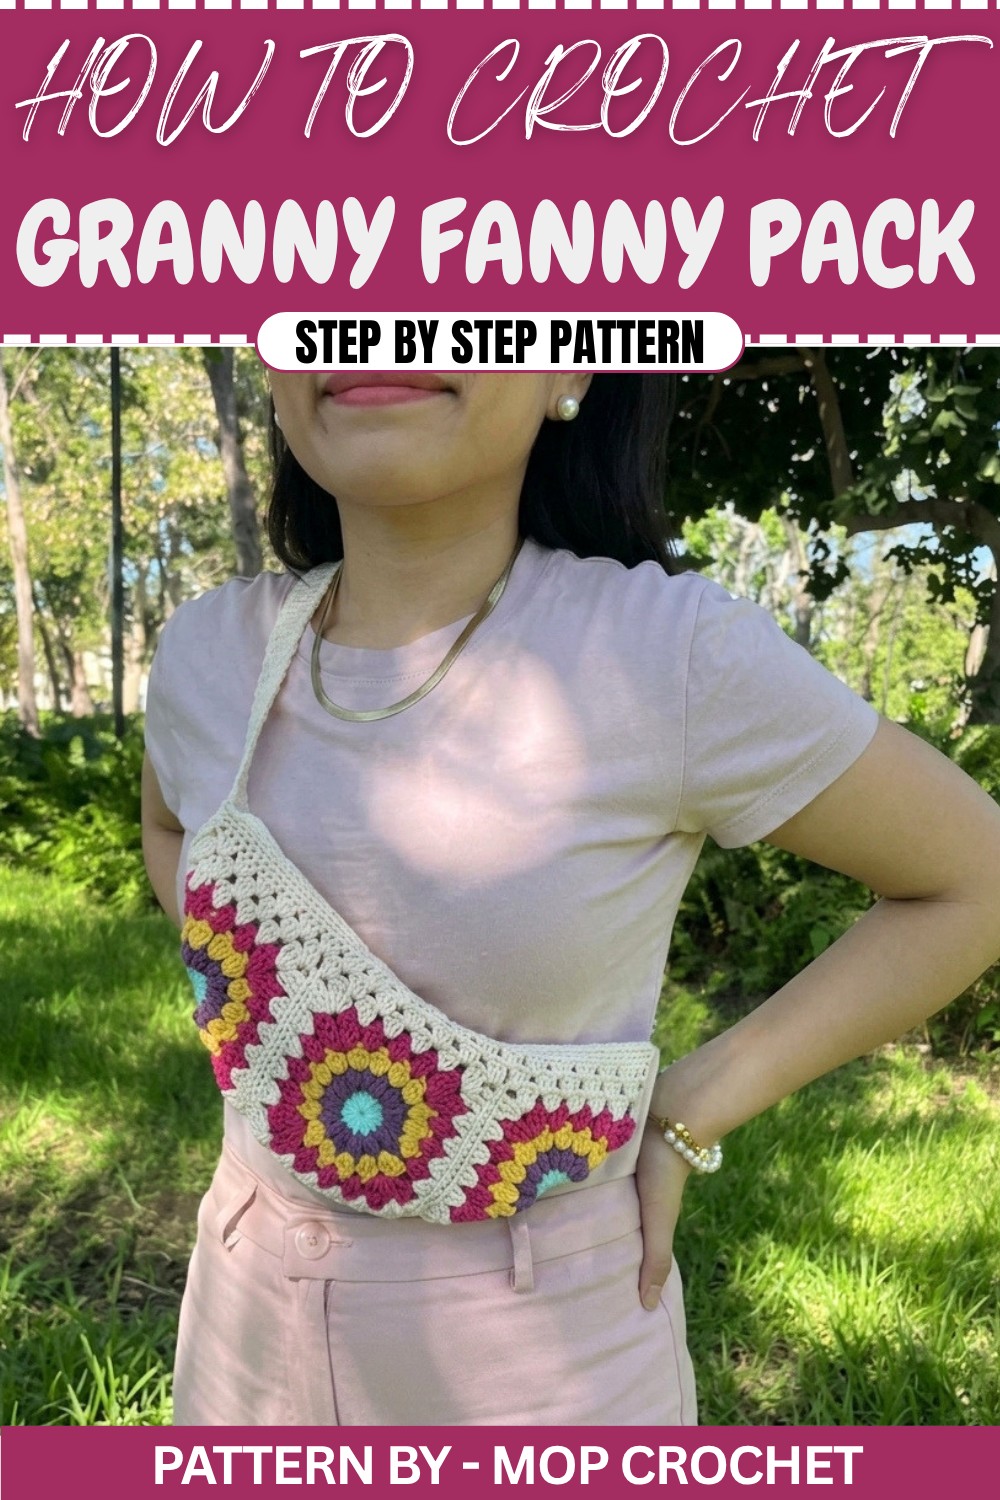
This fanny pack stands out with its vibrant colors and classic granny square design, a timeless crochet favorite. The beauty lies in its eye-catching patterns, which allow you to combine your favorite colors and create a unique piece that represents your personal style. With a compact yet practical shape, it’s perfect for holding your small essentials like keys, wallets, and phones while keeping your hands free for everyday tasks or outdoor adventures.
Free Crochet Granny Fanny Pack Pattern You’ll Fall in Love With
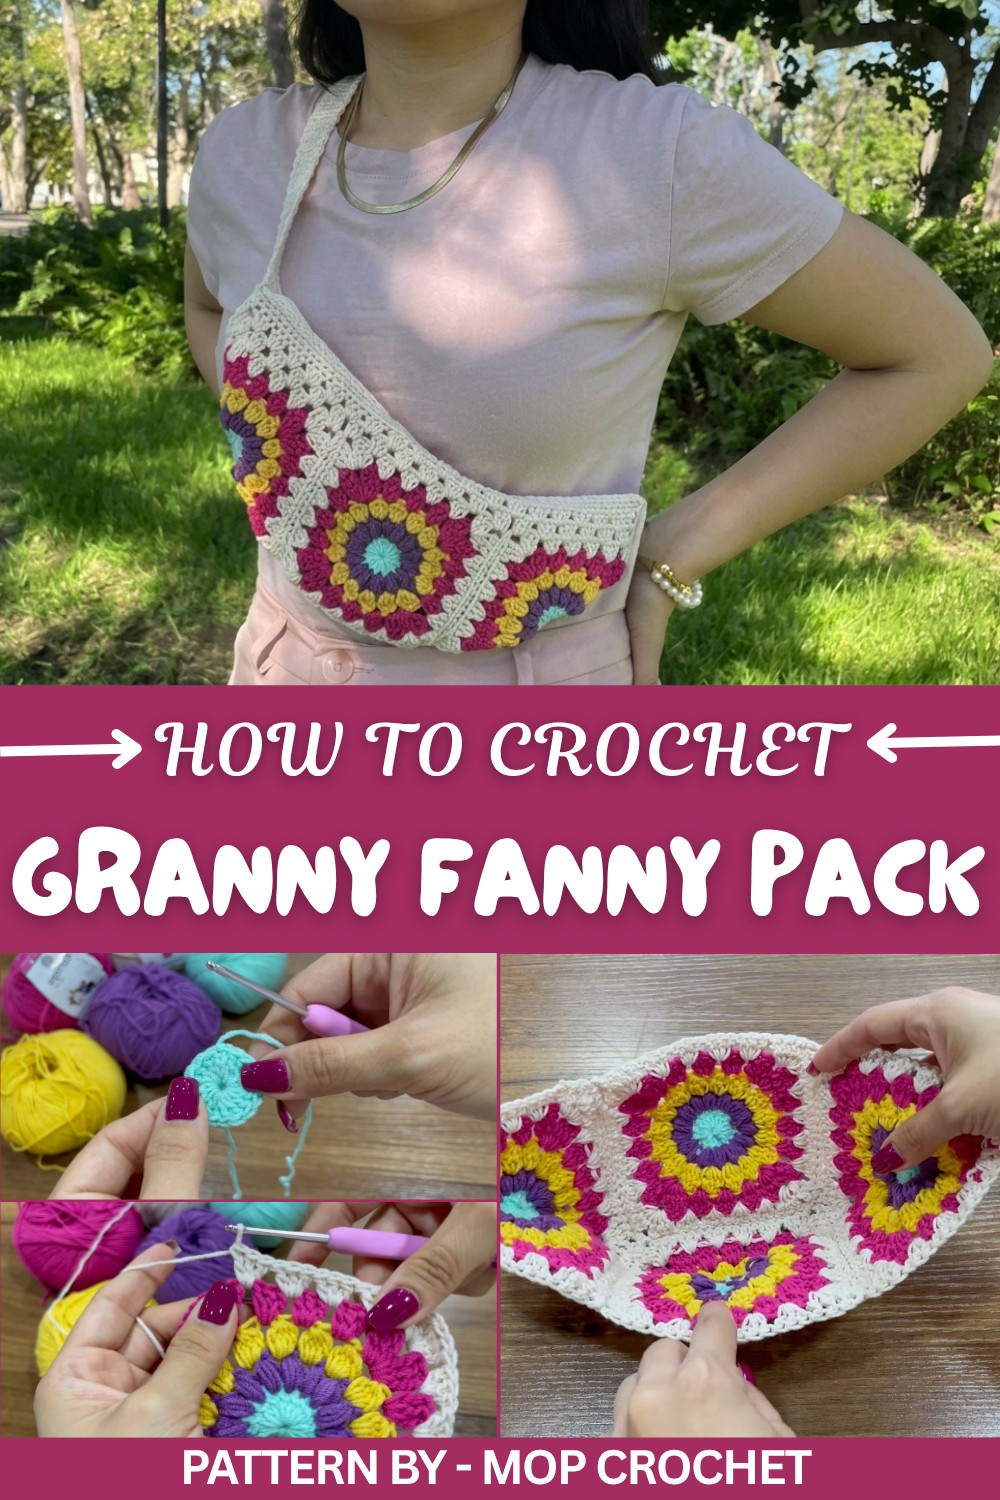
The construction is as enjoyable as the final product. The bag is made from four granny squares that you connect to shape the base of the pouch, with two squares forming the main body and two folded squares creating the sides. After assembling the fanny pack, you’ll crochet a simple strap and sew in a zipper to keep everything secure. The working process involves techniques like puff stitches and granny clusters, making it a fun and creative project for beginners and experienced crocheters alike.
Whether you’re looking for a wearable crochet project, a handmade gift, or simply something new to try, this piece checks all the boxes. With easy to follow steps and plenty of room for color customization, this fanny pack will quickly become one of your favorite projects to make, use, and even gift.
Crochet Granny Fanny Pack Pattern
This pattern provides step by step instructions to make a crochet fanny pack using granny squares. The design uses puff stitches, double crochets, and decorative granny clusters to create a functional and stylish accessory. All steps are detailed for assembly, strap construction, and zipper attachment.
Quick Overview Of Pattern
- Type: Fanny Pack
- Style: Granny Squares with Puff Stitch and Decorative Edging
- Steps: Granny construction, joining, edging, strap creation, and zipper installation
Notes
- Ensure consistent tension to maintain uniform granny square size.
- Customize zipper length and strap size based on personal needs.
- Secure assembly and connections for durability in daily use.
Skill Level
Intermediate – Involves puff stitches, granny square construction, sewing techniques, and zipper installation.
Materials
- Yarn: Kartopu Amigurumi (2 mm thickness)
- Neutral tone for base (50g)
- Four accent colors for center (less than 50g each)
- Hook: 2.5 mm crochet hook
- Zipper: 30 cm zipper
- Tapestry Needle: For joining granny squares
- Sewing Needle and Thread: For zipper attachment
- Scissors: For cutting yarn
Measurements / Sizing
- Granny Squares: Approximately 11 cm x 11 cm each
- Fanny Pack Size: Adjustable, based on granny size and joining.
- Strap Length: Example uses 65 cm
Gauge
Not explicitly specified, but each granny square measures approximately 11 cm x 11 cm when using the suggested yarn and hook size.
Stitch Abbreviations
- CH: Chain
- SLST: Slip Stitch
- SC: Single Crochet
- DC: Double Crochet
- DTR: Double Treble Crochet
- Puff Stitch: Special stitch explained below
Special Stitches
Puff Stitch:
- Yarn over, insert hook into stitch.
- Pull up a loop, yarn over, insert hook again into the stitch.
- Repeat this process a total of 3 times until loops build up on your hook.
- Yarn over and pull through all loops at once.
- Secure the puff stitch by making 1 CH to close.
The Crochet Pattern
Construction of Granny Square
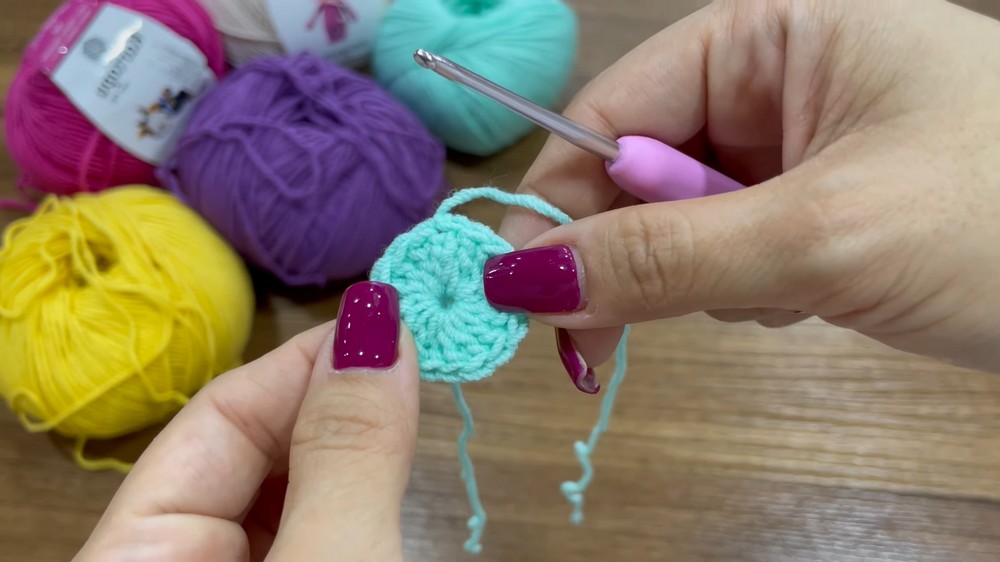
Round 1:
- Start with a magic circle using the Aqua tone.
- CH 3 (counts as 1 DC).
- Crochet 15 DC inside the magic ring (16 DC total including the CH 3).
- Pull the ring to close the center tightly.
- SLST into the 3rd chain from the start to close the round.
- Fasten off yarn and secure.
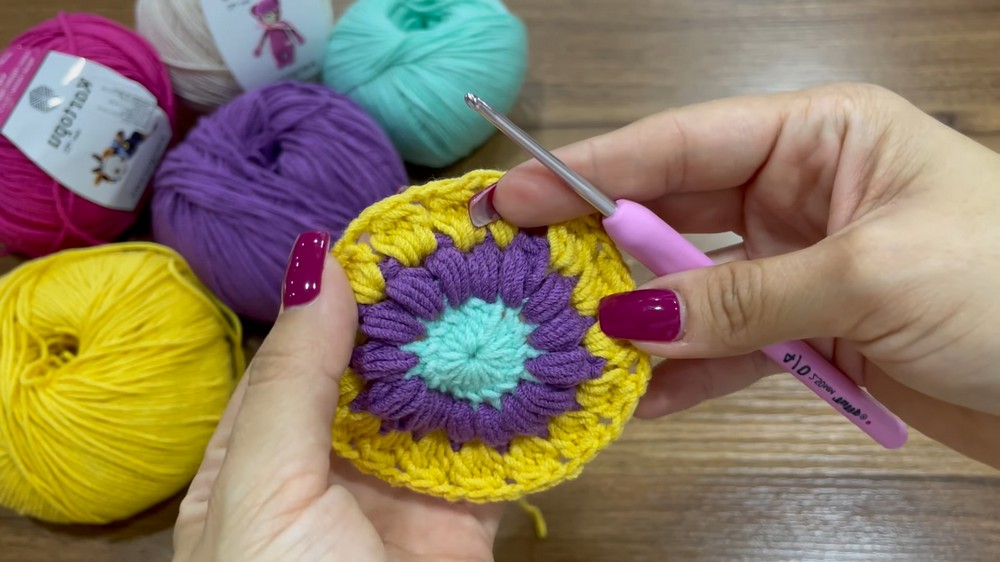
Round 2:
- Join the second color yarn to any DC stitch from Round 1.
- CH 3 and work 1 Puff Stitch into the same space.
- CH 1.
- In each DC stitch, repeat: (1 Puff Stitch, CH 1).
- SLST into the 3rd chain from the start to close the round.
- Fasten off yarn securely.
Round 3:
- Attach the third color yarn to any CH space from Round 2.
- CH 3 (counts as 1 DC together).
- Into the same space, crochet: 3 DC together (cluster). CH 1.
- In every CH space, crochet: 4 DC together (cluster).
- SLST into the 3rd chain from the start to close the round.
- Fasten off yarn securely.
Round 4:
- Join the fourth color yarn into any CH space.
- CH 4 (counts as 1 DTR).
- Into the same space, crochet: 2 DTR, CH 2, 3 DTR (makes 1 corner).
- In the next CH spaces (non corner areas), crochet: 3 DC.
- Continue the corner and side clusters around the square.
- SLST into the 4th chain to close the round.
- Fasten off yarn securely.
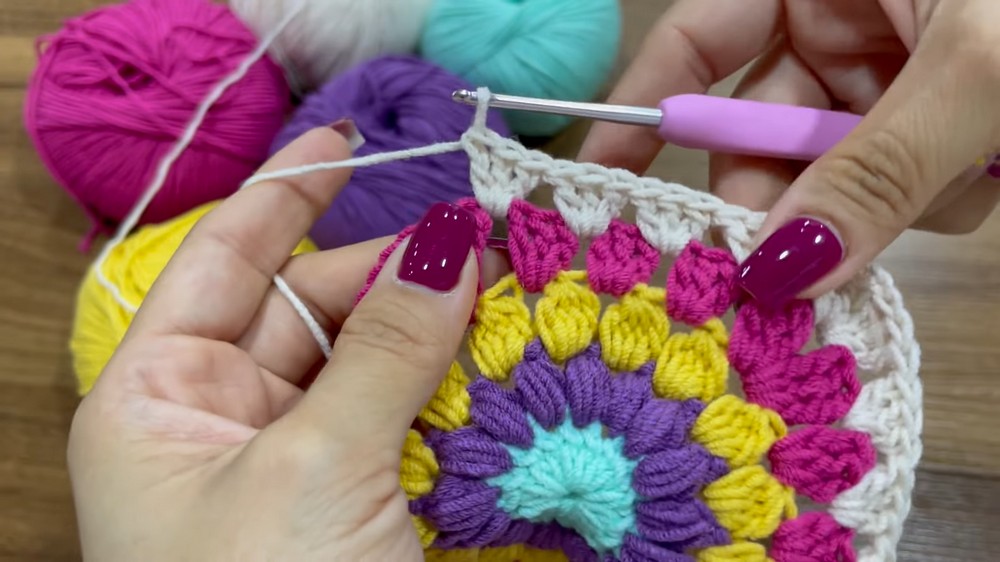
Completing Granny Squares
Repeat the granny square pattern (Round 1 to Round 4) to make a total of 4 squares.
Assembly
Joining Granny Squares
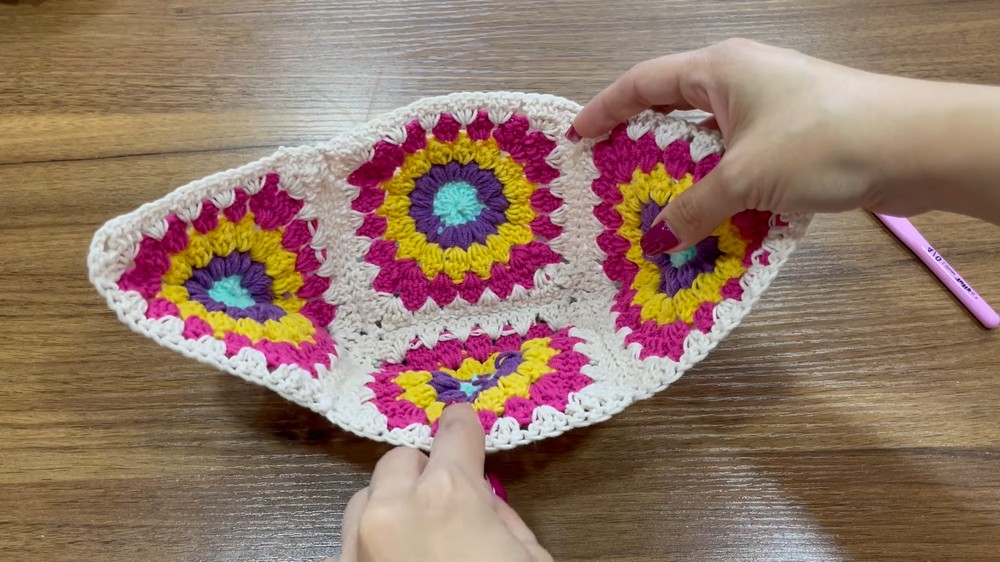
Step 1: Sew Together Base Squares
- Place two granny squares side by side (wrong sides facing).
- Using a tapestry needle and a matching yarn, sew the lower edges together with neat, tight stitches.
- Repeat the process to join the third and fourth squares, aligning edges carefully.
Step 2: Side Squares
- Fold two granny squares in half.
- Attach each folded square to the sides of the fanny pack base by sewing along the edges.
- Ensure the edges align neatly and corners are tightly secured.
Edging
Step 1: Granny Clusters Around Top Edge
- Attach yarn to any space on the top edge.
- Work 2 rounds of Granny Stitch: In each space, crochet 3 DC clusters.
- Finish the top edge with 3 rounds of SC stitches, working 1 SC into every stitch.
Strap Construction
Step 1: Mark Strap Width
- Mark a width of 6 stitches on both sides of the fanny pack opening (approximately 3 cm).
- Attach yarn to the marked location.
Step 2: Crochet Strap Rows
- Crochet rows of SC stitches into the 6 marked stitches.
- Repeat rows until the strap measures 65 cm or desired length.
- Attach the strap to the opposite marked area using SLST to secure.
Zipper Installation
- Open the zipper and align along the top edge of the fanny pack.
- Pin it into position, ensuring both sides are evenly aligned.
- Using a sewing needle and thread, sew the zipper securely along the fanny pack’s top edge.
Assembly & Finished Size
- Final fanny pack dimensions depend on granny square size and strap length.
- Example measurements: Strap 65 cm, Fanny Pack approximately 22 cm wide.
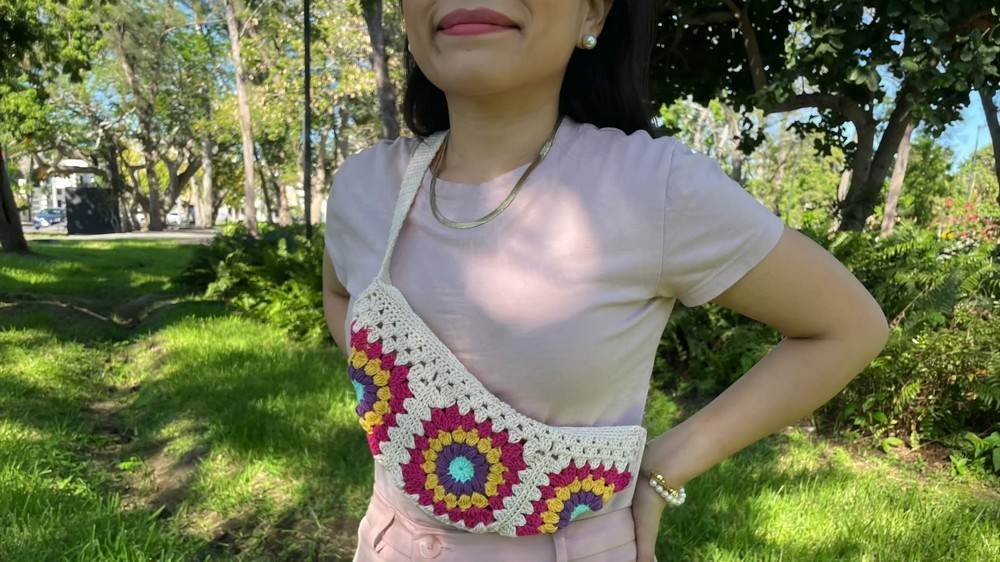
Conclusion
Your crochet fanny pack is finished. This stylish accessory combines the charm of granny squares with practicality. Whether for personal use or gifting, the project reflects creativity and artistry. For more tutorials like this, visit the Tejido a Crochet Mariam channel. Keep exploring new ideas through crochet.