
Super Easy Free Crochet Mesh Bandana Pattern to Wear All Summer
Fill your closet with handmade fashion using this free crochet mesh bandana pattern that guides you through a simple and trendy design.
On a sunny day, nothing beats the charm of a handmade accessory that makes your outfit shine. CrochetLilWeaves, a channel known for its clear and approachable tutorials, shares an appealing crochet bandana idea that stands out for its beauty and practicality.
This lightweight crochet bandana catches attention with its triangular shape and airy mesh like texture. It allows for ventilation, making it a great option for warmer days or layering in cooler weather. The fine edging, crocheted with picot stitches, adds a delicate and stylish touch, giving it a graceful look. Adjustable ties at either end make it versatile, ensuring it fits effortlessly when styled as a headpiece, scarf, or wrap.
Free Crochet Mesh Bandana Pattern That Adds a Boho Touch
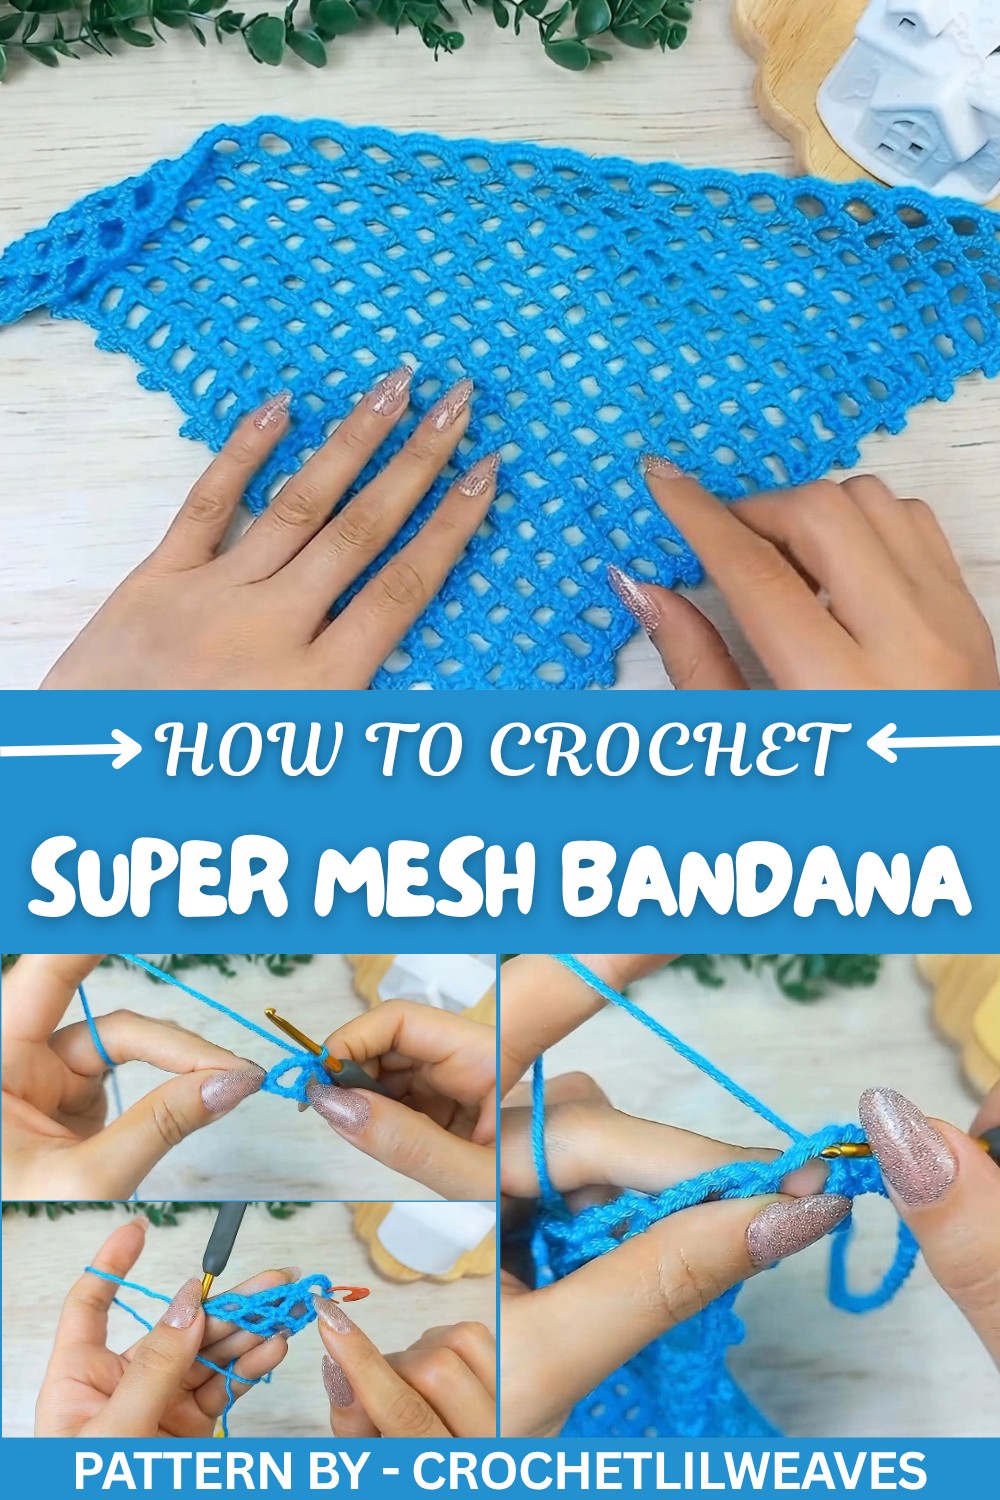
The process to make it feels smooth and rewarding. Even as a beginner, you’ll master the basics of chaining, single crochet, and adding double crochets to shape the triangle. Watching it take shape row by row feels satisfying, adding a sense of accomplishment with every step forward.
This bandana isn’t just functional; it’s a small accessory with a lot of flexibility. Whether styled for casual outings or gifted to a friend as a thoughtful handmade piece, it carries a touch of effort and charm that’s hard to match. Simple yet elegant, it’s a project that brings both joy and practicality to those who make or wear it.
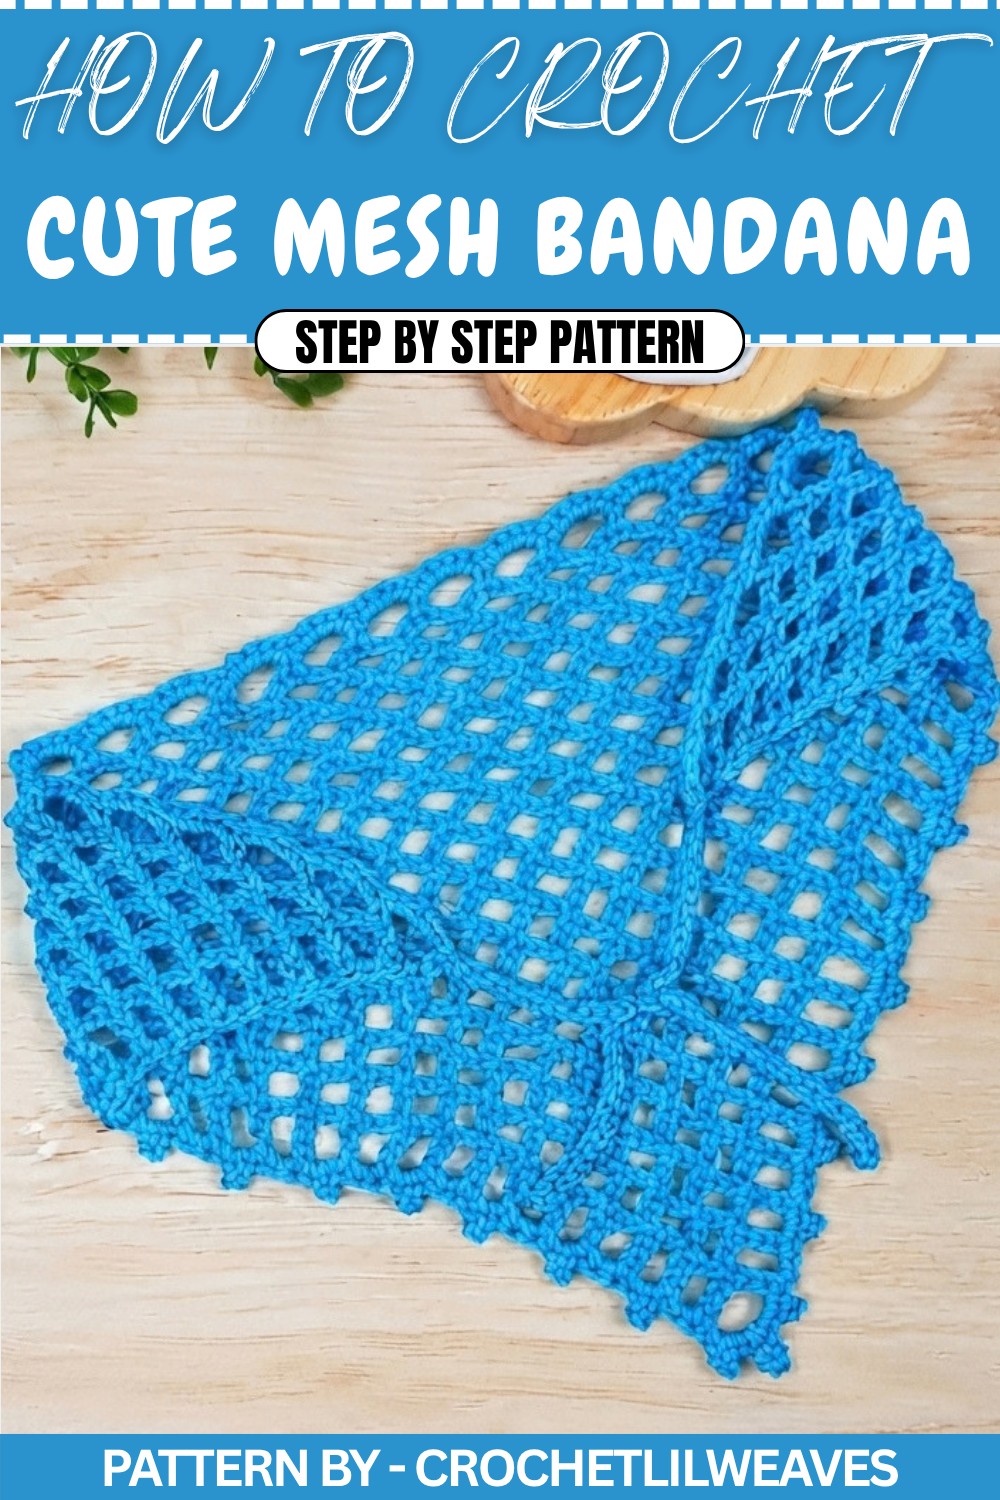
Crochet Bandana Pattern
Create a beautiful and super easy crochet bandana using some basic techniques and simple materials. This bandana can be adjusted to any size, and I’ll guide you step by step through the process, including making a slipknot, chaining, crocheting each row, adding strings, and finishing the borders. Let’s get started and make this lovely project together.
Quick Overview of the Pattern
- Create a triangular shape starting with a slip knot and chains.
- Increase the chain spaces in each row to form the bandana shape.
- Add finishing touches by crocheting borders and two strings.
- Customize the size of the bandana as needed.
Notes
- This pattern can be adjusted to any size by continuing to add rows to the triangular base.
- When turning your work, ensure your stitches maintain symmetry for a neat finish.
- Use a stitch marker to keep track of chain spaces and help with neat edges.
Skill Level
Beginner - This pattern is simple, with basic crochet stitches like chains, single crochets, and double crochets.
Materials
- Yarn: Acrylic yarn, Category 3 (lightweight).
- Hook: 3 mm crochet hook.
- Additional Tools: Scissors, yarn needle, and stitch markers.
Measurements / Sizing
- The base triangular bandana at row 25 will have 25 chain spaces. Adjust the row count for a smaller or larger bandana. Strings can also be shortened or lengthened based on preference.
Gauge
- Gauge is not critical for this project. However, ensure consistent tension for a neat finish.
Stitch Abbreviations
- ch – Chain
- sc – Single Crochet
- dc – Double Crochet
- st – Stitch
- sl st – Slip Stitch
- sp – Space
Special Stitches
- Picot (P): Chain 3, then work 1 slip stitch between the two loops and under the left loop of the “V” at the top of the previous single crochet.
The Crochet Pattern
Step 1: Starting the Bandana
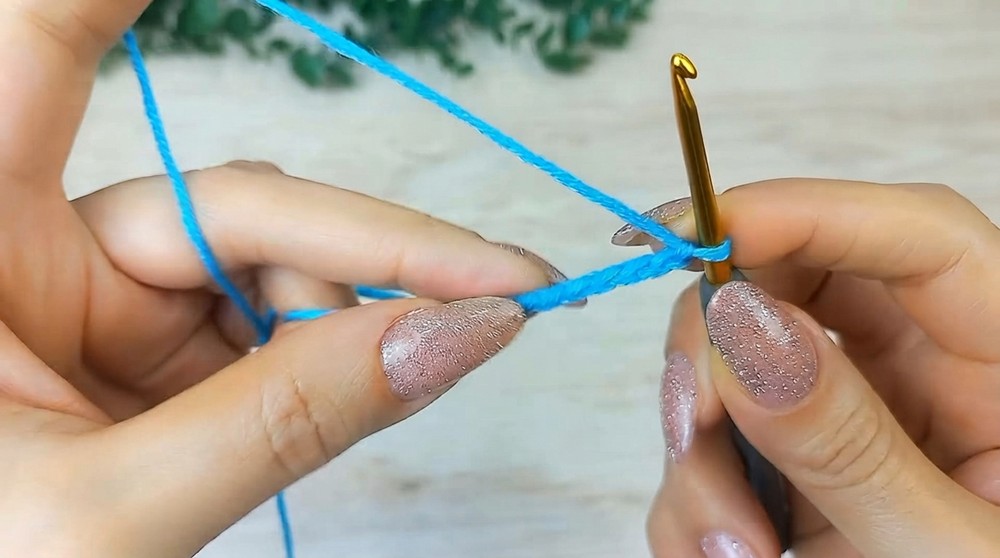
- Begin with a slip knot:
- Wrap the yarn around your pinky finger front to back, loop it over your index finger from back to front, and hold the yarn between your thumb and middle finger.
- Insert the hook into the yarn, grab it, and pull to create a loop. Tighten the knot to secure it.
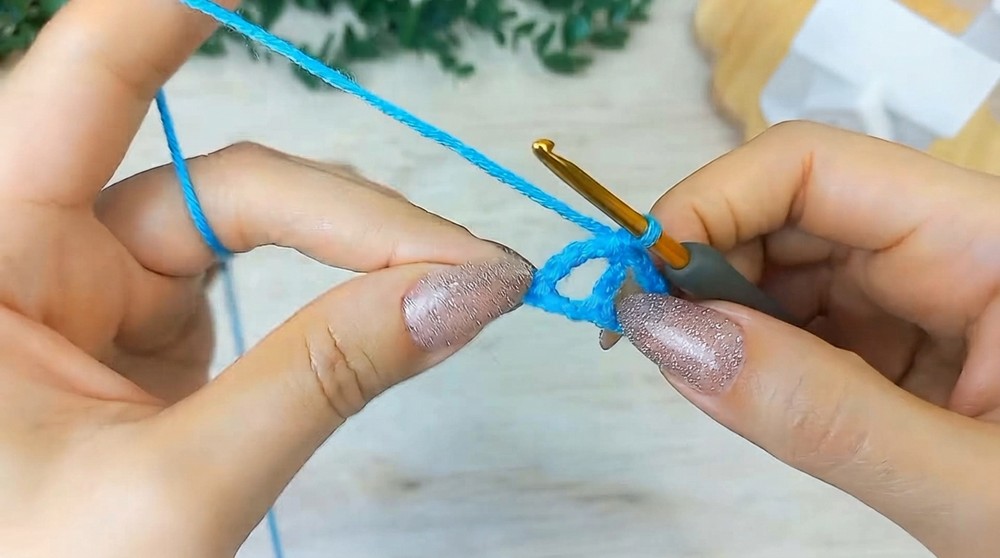
- Chain 8 (ch 8):
- Hold the yarn and pull through the loop on the hook to create a chain.
- Repeat this process until you have 8 chains.
- Make a dc in the first chain:
- Yarn over, insert the hook into the first chain, pull up a loop, yarn over, pull through 2 loops, and then yarn over again to pull through the remaining 2 loops. This completes the first row, forming a small triangle.
Step 2: Increasing the Bandana
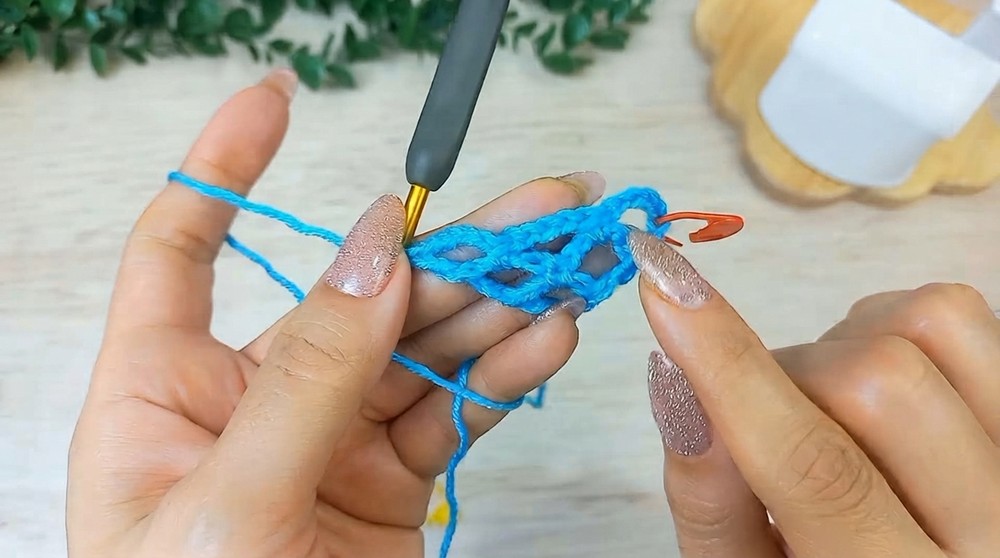
- Row 2:
- Ch 8 for the new row and mark the 3rd chain using a stitch marker.
- Turn the work to the other side.
- Make a sc in the center space: Insert the hook, pull up a loop, yarn over, and pull through both loops.
- Ch 5, and then work a dc on the marked 3rd chain from the previous row.
- Row 3:
- Chain 8, marking the 3rd chain.
- Turn your work.
- Into each space of the previous row, work 1 single crochet followed by ch 5. Continue this pattern for every space, and finish by making a dc in the 3rd chain of the previous row.
- Repeat the Pattern:
- Continue this sequence for rows 4 and onward:
- Each row starts with ch 8 (mark the 3rd chain).
- For each space in the previous row, make 1 single crochet followed by ch 5.
- End each row with a dc in the marked chain of the last row.
- At the end of each row, you’ll have one more space than in the previous row.
- Continue this sequence for rows 4 and onward:
- Continue this pattern until you reach row 25, where you’ll have 25 chain spaces in your final row. Adjust the number of rows to make the bandana larger or smaller.
Step 3: Adding Strings
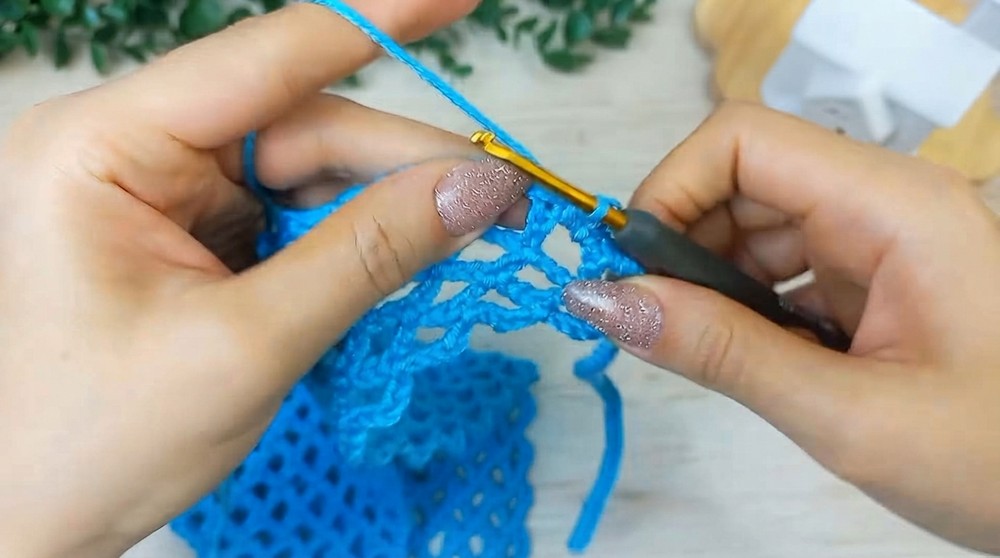
- After completing the triangular base:
- Ch 40 to create the first string.
- Skip the first chain and work a sl st into each of the remaining chains back to the base of the triangle.
- Repeat this process on the other side of the triangle to create the second string.
Step 4: Adding the Borders
- Left Side Border:
- Start in the first space of the triangle and work:
- 1 sc, 1 Picot, 1 sc in the same space.
- In the next space, work 2 sc.
- Alternate between (1 sc + Picot + 1 sc) and (2 sc) for each subsequent space until you reach the bottom corner.
- Start in the first space of the triangle and work:
- At the bottom corner:
- Work 1 sc, 1 Picot, and 2 sc in the last space.
- Ch 5, work a Picot into the last single crochet.
- Sl st to secure and finish the left side.
- Right Side Border:
- Follow the same pattern as the left side.
- Alternate between 1 sc + Picot + 1 sc and 2 sc in each space until you reach the top.
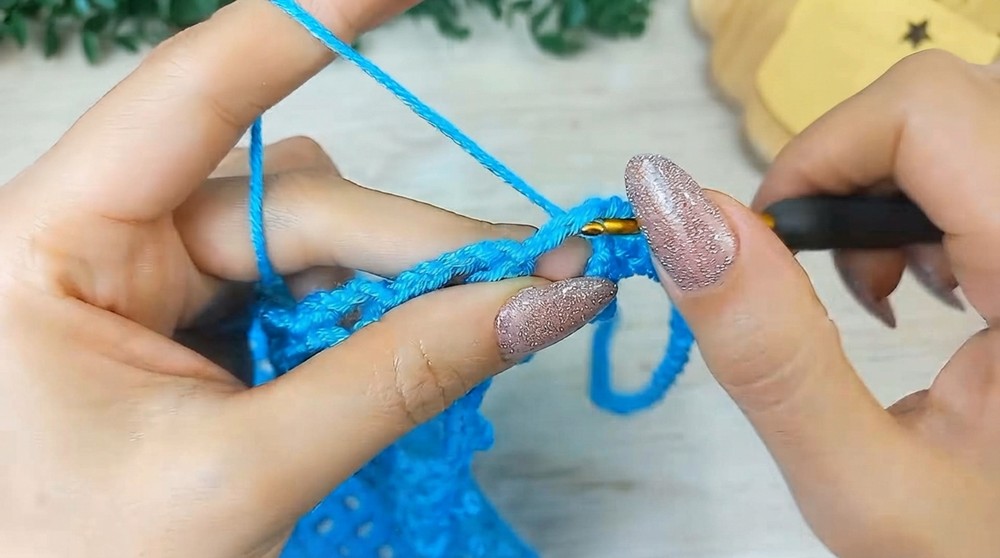
- Top Border:
- Work 5 sc into each space across the top row of the triangle (total of 125 sc if you have 25 spaces).
- At the end of the row, attach the border to the first chain of the string using a sl st.
Step 5: Weaving in Ends
- Use a yarn needle to weave the loose threads into the back side of the stitches, ensuring a clean finish.
Assembly & Finished Size
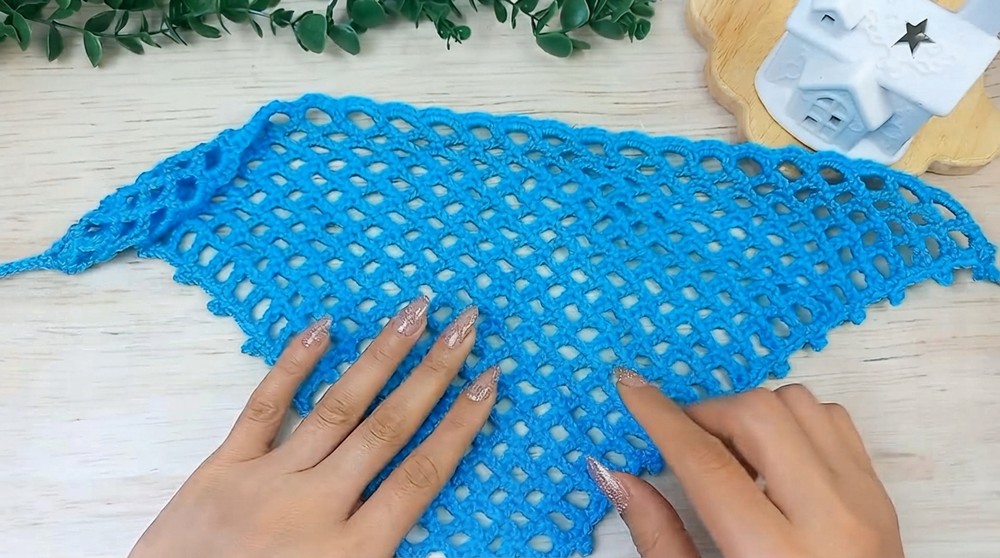
- With the base, strings, and borders completed, your bandana is ready to wear.
- The final bandana has a triangular shape with neat strings for secure tying. You can adjust the size by adding or reducing the number of rows or chain length of the strings.
Conclusion
Congratulations, Your beautiful and cute crochet bandana is complete. This beginner friendly project is a perfect accessory to elevate your style. Customize it with different yarn colors for more variety.