
Stylish Free Crochet Twisted Headband Pattern to Make
Stay warm and look cute with this free crochet twisted headband pattern, a simple design that’s quick to make, perfect for gifts, and ideal for cozy winter days.
Pattern By Annie Stoyanova
When the weather turns chilly and you’re looking for something cozy to keep your ears warm, what could be better than a stylish headband you’ve made yourself? Crocheting your own twisted headband is such a fun and creative way to stay comfortable while adding a pop of personality to your wardrobe. Whether you’re planning a cozy winter activity or working on handmade gifts for friends and family, this pattern is perfect for beginners and experts alike.
Using just one type of stitch, half double crochet, you’ll create a beautiful texture that adds charm and elegance to the design. The half double crochet is an incredibly versatile stitch, perfect for beginners, and quick to learn. Once you master this stitch, you can make so many projects like scarves, cowls, blankets, and even bags. The twisted headband also teaches you a unique way to fold and stitch your work to create a stylish twist that feels totally professional.
Amazing Free Crochet Twisted Headband Pattern
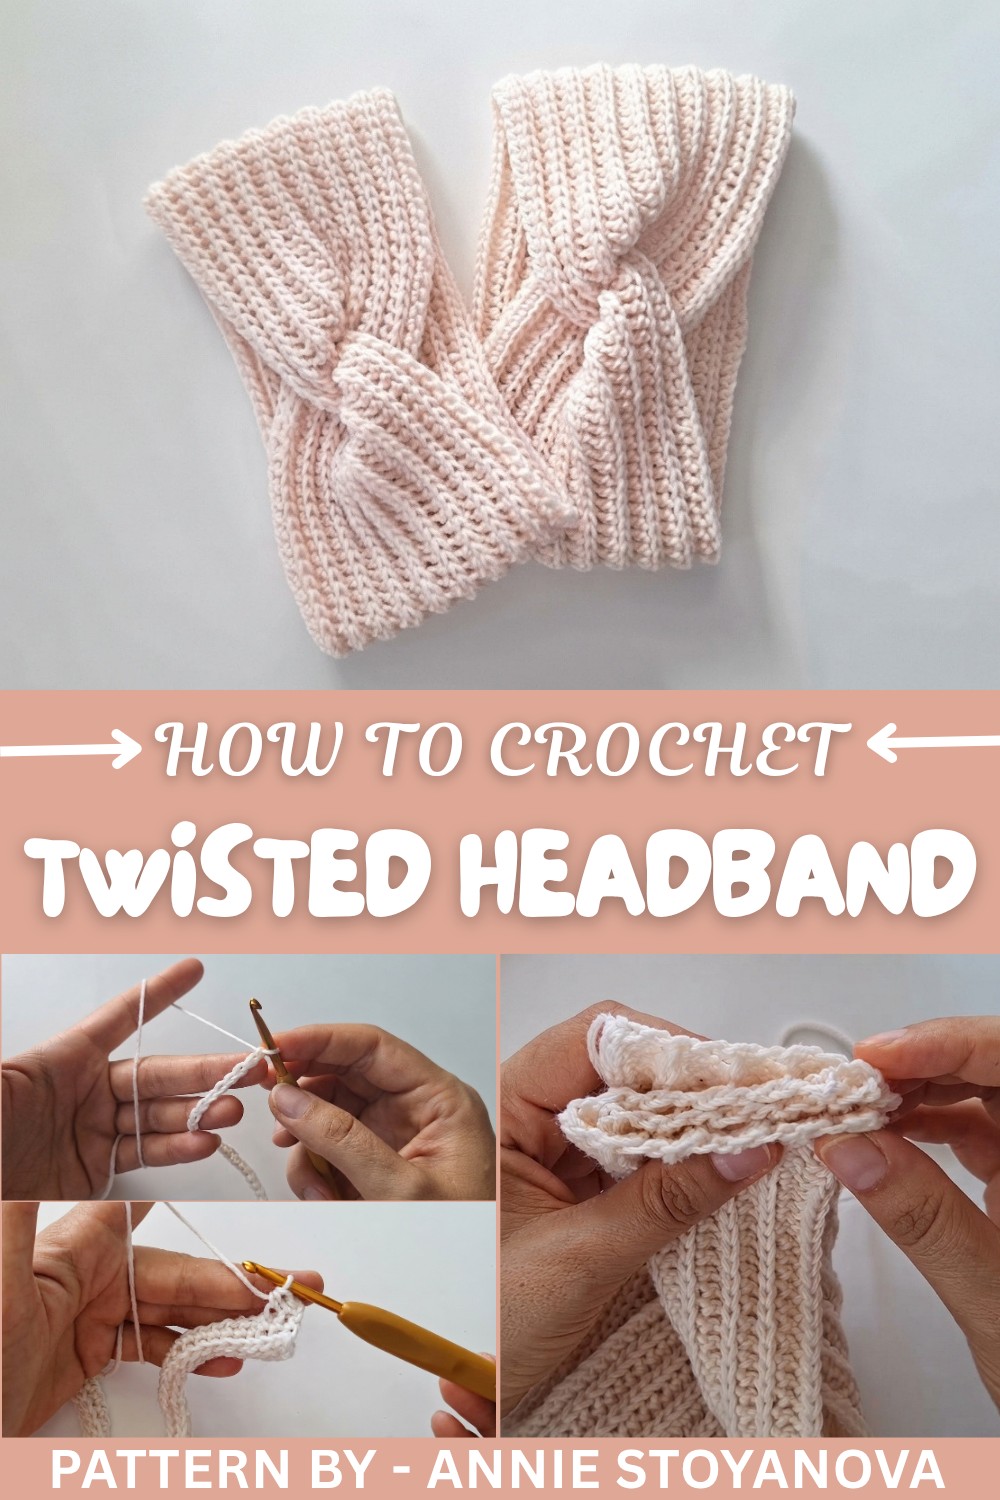
What makes this headband so great is how practical it is. Not only is it perfect for keeping your ears warm, but it’s stretchy, snug, and super soft! If you use merino wool yarn, it adds extra luxury with a gentle shine and a cozy feel. You can even choose your favorite color combinations to match your winter outfits.
But the best part? This pattern doesn’t just stop with headbands. Once you’re comfortable with the technique, you can experiment with making wrist warmers, decorative twisted napkin rings, or even fun wrap style belts. By learning this straightforward yet stylish pattern, you’ll unlock countless creative possibilities. So grab your hook, your favorite yarn, and let’s bring your ideas to life.
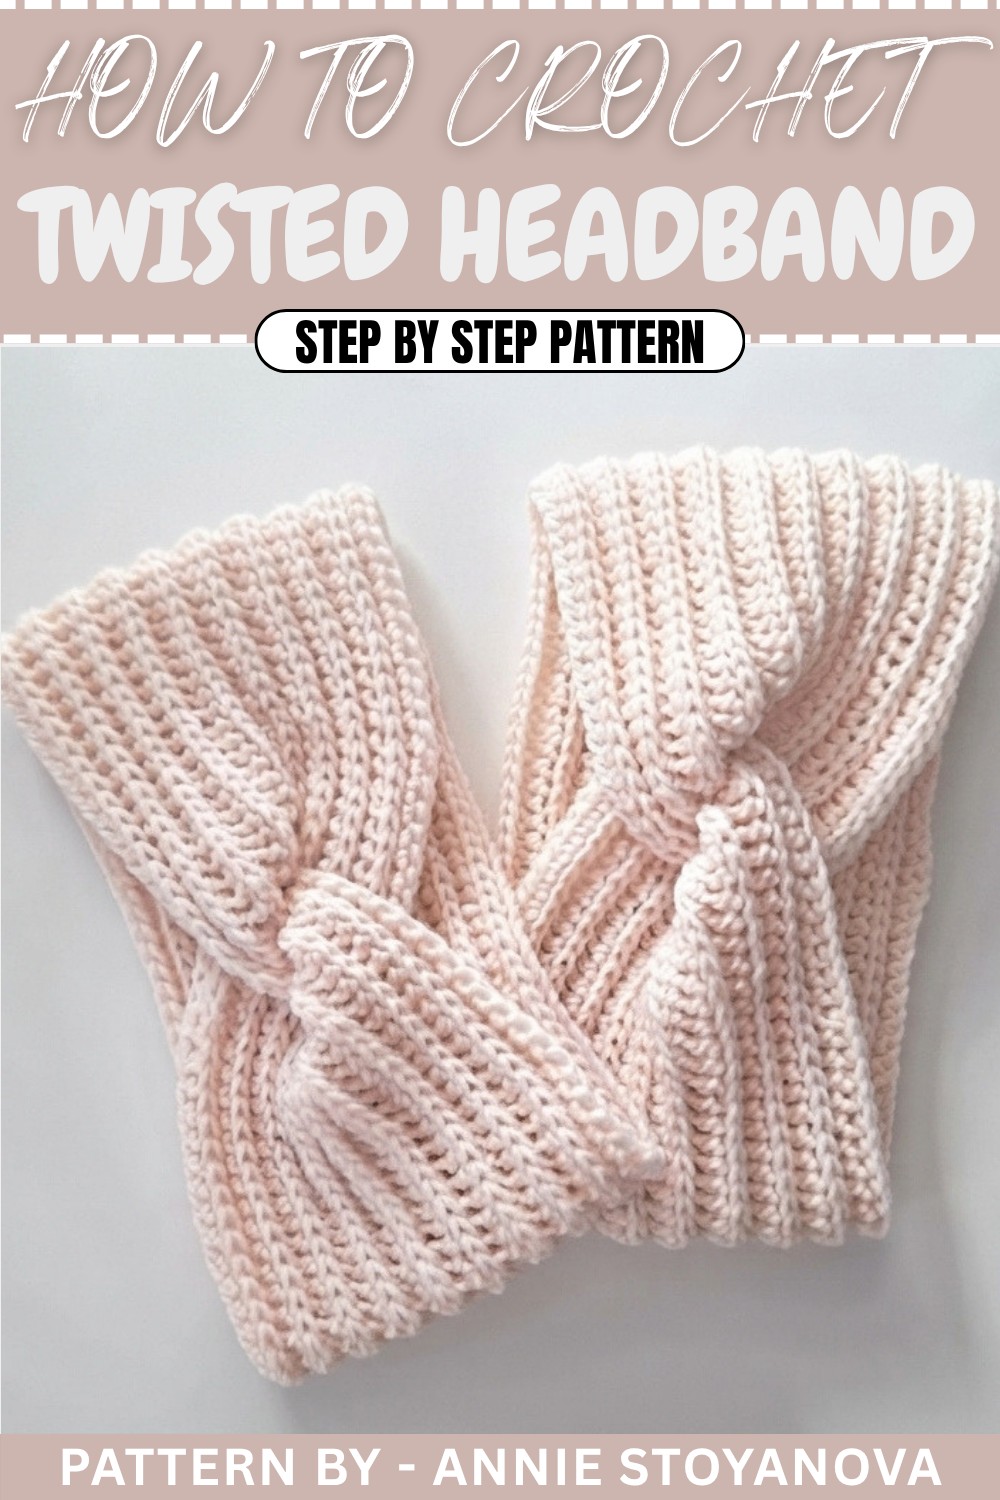
Crochet Twisted Headband / Ear Warmer
This is a beginner friendly tutorial for an adult sized twisted crochet headband or ear warmer. The pattern uses basic stitches like chains and half double crochets and creates a stylish twist for a neat, polished finish. Perfect for crafting gifts or cozy winter wear, this headband is designed with stretchable merino wool.
Quick Overview Of Pattern
- Foundation Chain: Chain 90 (approx. 46 cm long).
- Row 1: Work half double crochets (hdc) into back bumps of the chains.
- Row 2 and beyond: Work hdc into front/third loops for succeeding rows.
- Number of Rows: Repeat rows of hdc in the third loop for 20 rows total.
- Fasten Off: Ensure to leave a long tail for sewing.
- Twist Assembly: Fold and align the ends into four layers. Use the long tail and a needle to sew through all layers.
- Adjust the twist: Turn headband right-side out and create the neat twist.
Notes
- The tutorial relies on the natural stretch of merino wool for proper sizing and fit.
- Substitute yarns with similar stretch and texture if merino wool isn’t available.
- Chain length corresponds to approx. 46 cm unstretched. Adjust the number of chains for a perfect fit.
Skill Level
Beginner
Skills covered:
- Starting with a slip knot and foundation chains.
- Half double crochet (hdc) stitch.
- Working into back bumps and front/third loop of stitches.
- Basic sewing techniques using a yarn needle.
Materials
- Yarn: Bella Coco Merino DK or similar DK weight merino wool yarn (100% merino wool recommended for stretchability).
- Hook: 4 mm crochet hook.
- Notions: Yarn needle, scissors.
Measurements / Sizing
- Finished size:
Adult size, stretchable width measuring approx. 46 cm before assembly.
Gauge
- Approximate gauge estimate (4 mm hook, DK yarn):
- 18–20 hdc = 10 cm (4 inches) across.
- 12–14 rows of hdc = 10 cm (4 inches) in height.
Check that your foundation chain measures approximately 46 cm to match the tutorial’s sizing.
Stitch Abbreviations
- ch: Chain.
- hdc: Half Double Crochet.
- sl st: Slip Stitch.
- st(s): Stitch(es).
- RS: Right Side.
- WS: Wrong Side.
Special Stitches
Half Double Crochet in Back Bump
- Yarn over.
- Insert hook into the back bump of the chain (the raised ridge found at the back).
- Yarn over.
- Pull up a loop (3 loops on hook).
- Yarn over and pull through all 3 loops.
Half Double Crochet in Front/Third Loop
- Yarn over.
- Identify the “V” at the top of the previous row’s stitch. Locate the third/front loop beneath the “V”.
- Insert the hook into this front/third loop.
- Yarn over.
- Pull up a loop (3 loops on hook).
- Yarn over and pull through all 3 loops.
The Crochet Pattern
Foundation Chain
- Make a slip knot.
- Chain 90 to create your foundation chain (approximately 46 cm long).
-
- Tip: Ensure your chain is consistent in tension and stretch.
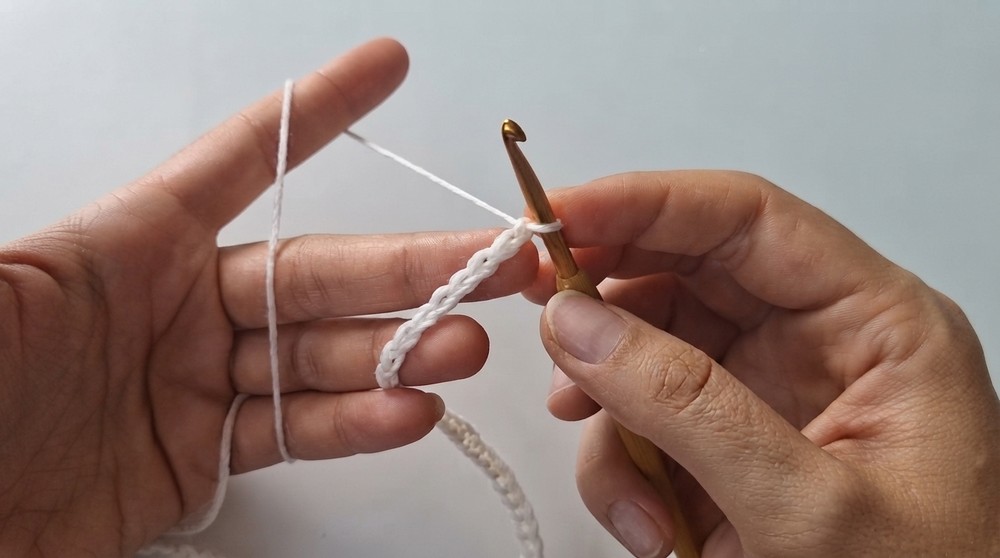
Row 1 – Half Double Crochet in Back Bump
- Turn to see the back bumps of the chain.
- Yarn over.
- Insert hook into the second chain from the hook.
- Yarn over and pull up a loop through the back bump.
- Yarn over and pull through all 3 loops to complete the first hdc.
- Repeat working an hdc into every back bump across the chain. There will be 89 hdc at the end of the row.
- Chain 1 and turn your work.
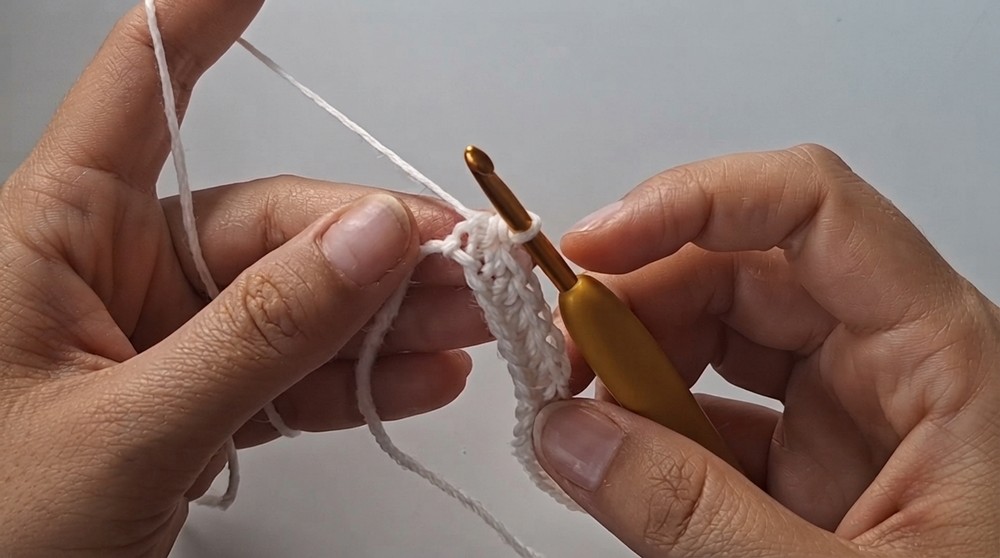
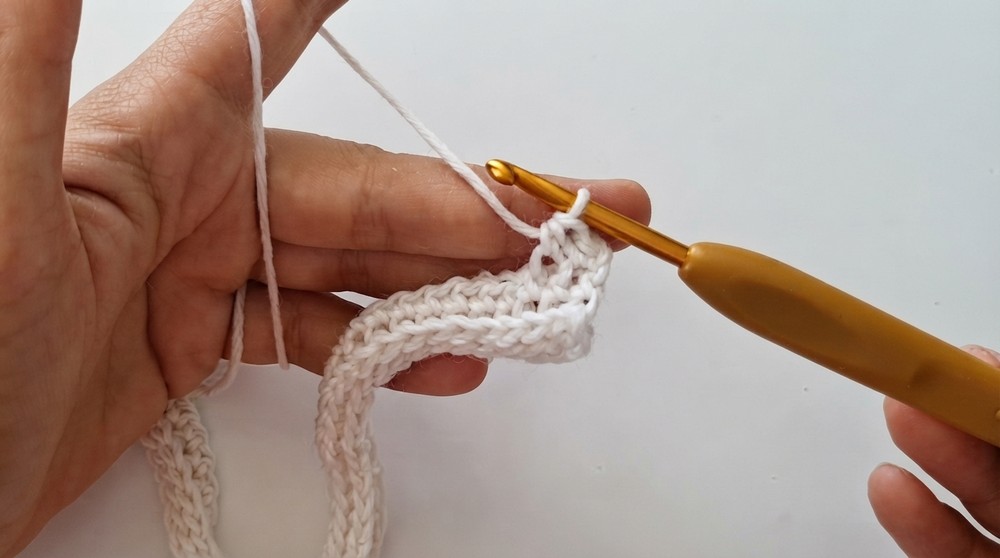
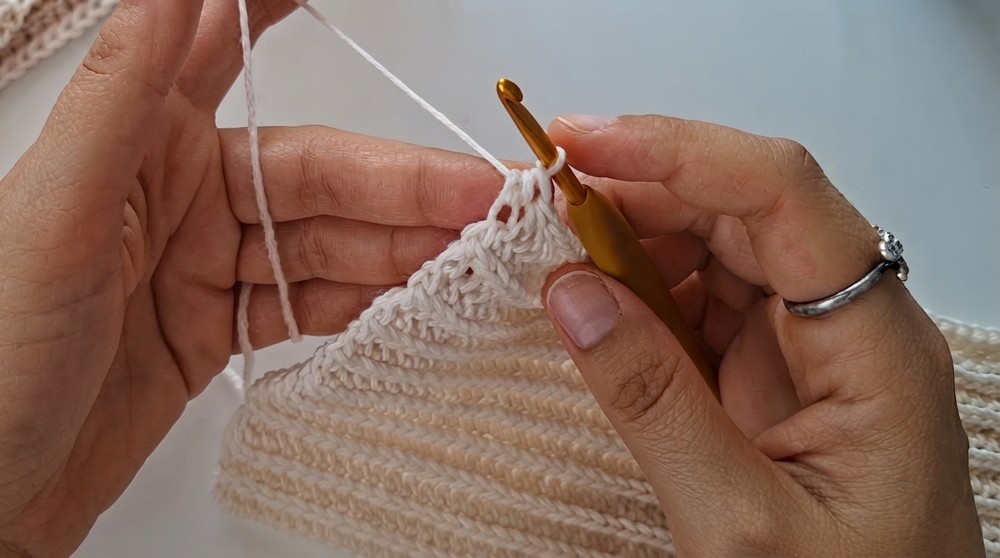
Rows 2–20 – Half Double Crochet in Front/Third Loop
Stitch details: Work hdc in the front/third loop as follows.
- Row 2:
- Chain 1.
- Yarn over.
- Insert hook into the third loop just in front of the “V”.
- Yarn over and pull up a loop.
- Yarn over and pull through all 3 loops to complete the hdc.
- Repeat for all 89 sts in the row.
- Chain 1 and turn.
- Row 3–20:
- Repeat the instructions for Row 2.
- Work hdc into the third/front loops across 89 sts.
- At the end of each row, chain 1 and turn your work.
Fasten Off (After Row 20)
- At the end of Row 20, work the last hdc.
- Chain 1.
- Cut yarn, leaving a long tail for sewing the twist.
- Fasten off securely.
Assembly & Twist
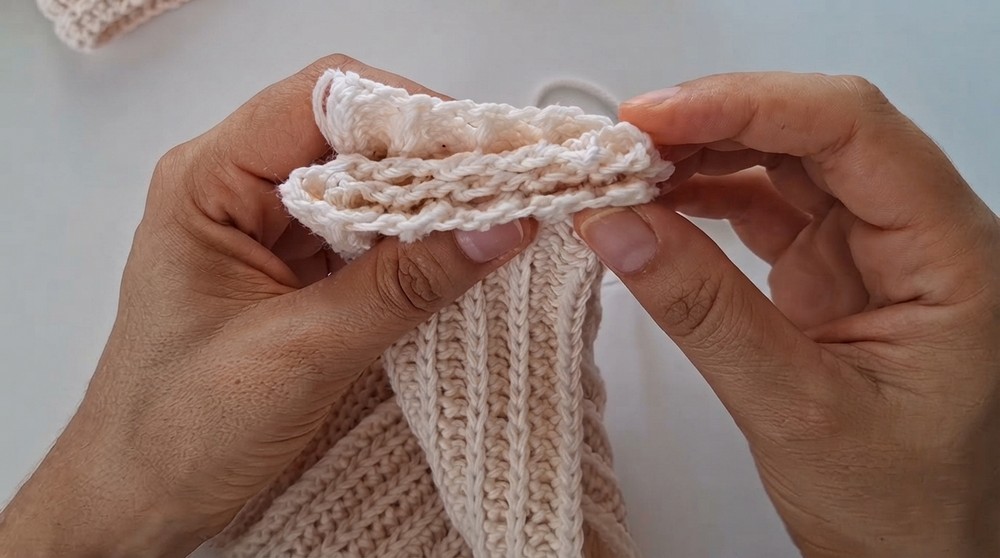
Creating the Twist
- Lay the crocheted strip flat on your workspace.
- Ensure the long tail is on your right side.
- To form the twist:
- Fold one corner of the first side towards the middle of the second side.
- Overlap the bottom side of the strip over the first side.
- Take the opposite top layer and fold it over both layers, forming 4 aligned overlapping layers.
Sewing the Twist
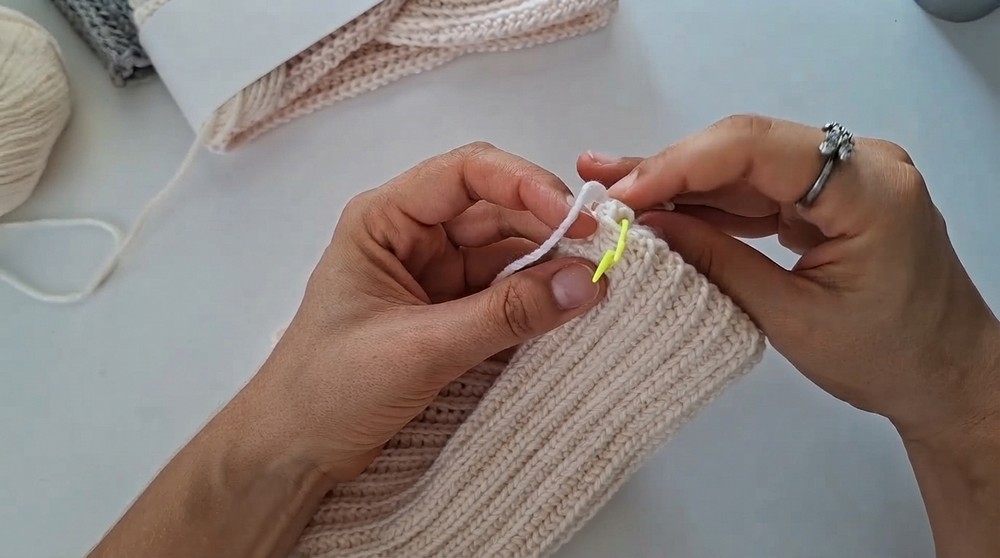
- Insert Needle: Thread the long tail into your yarn needle.
- Start Sewing:
- Begin from one corner of the layered ends.
- Insert the needle through all four layers at this corner.
- Pull the yarn tightly.
- Working Along the Seam:
- Work with small, even stitches across the seam area.
- Ensure that each stitch catches all four layers.
- Regularly stop to check alignment.
- Securing the Edges:
- When you reach the opposite corner of the seam, ensure that edge is secure. Sew over any gaps if needed.
- Sew into the first chain at the edge for a clean, finished appearance.
- Optional Reinforcement:
- You may sew back in the opposite direction for extra security if desired.
- Final Touches:
- Turn the headband right side out.
- Rotate the twist until it is neat and well centered.
Finished Size
The finished headband measures approximately 46 cm in circumference (unstretched), with sufficient give due to the stretchable merino wool. The twist adds elegance while ensuring a snug, comfortable fit for adults.
Conclusion
Congratulations on completing your crochet twisted headband or ear warmer! This beginner friendly project combines simplicity and style, making it perfect for gifting or cozy winter wear. Featuring only chains and half double crochets, the unique twist adds charm and character, and the finished project offers a snug and stretchable fit.