
Simple Steps to Free Crochet Pouch Pattern Fun
Refresh your crocheting collection today with this detailed free pattern that guides you to create a stylish and unique crochet pouch effortlessly.
Crocheting a small, elegant pouch has never been more delightful. This project is perfect for creating a versatile piece that can be used as a confetti bag for special occasions or simply as a beautiful lace doily for decoration. With its delicate design and charming shape, this handcrocheted item is not just functional but also a visual treat. The intricate lacework gives it a sophisticated vibe, while the final touch, a dainty ribbon closure, adds an extra bit of elegance.
Vibrant & Versatile: Free Crochet Pouch Pattern
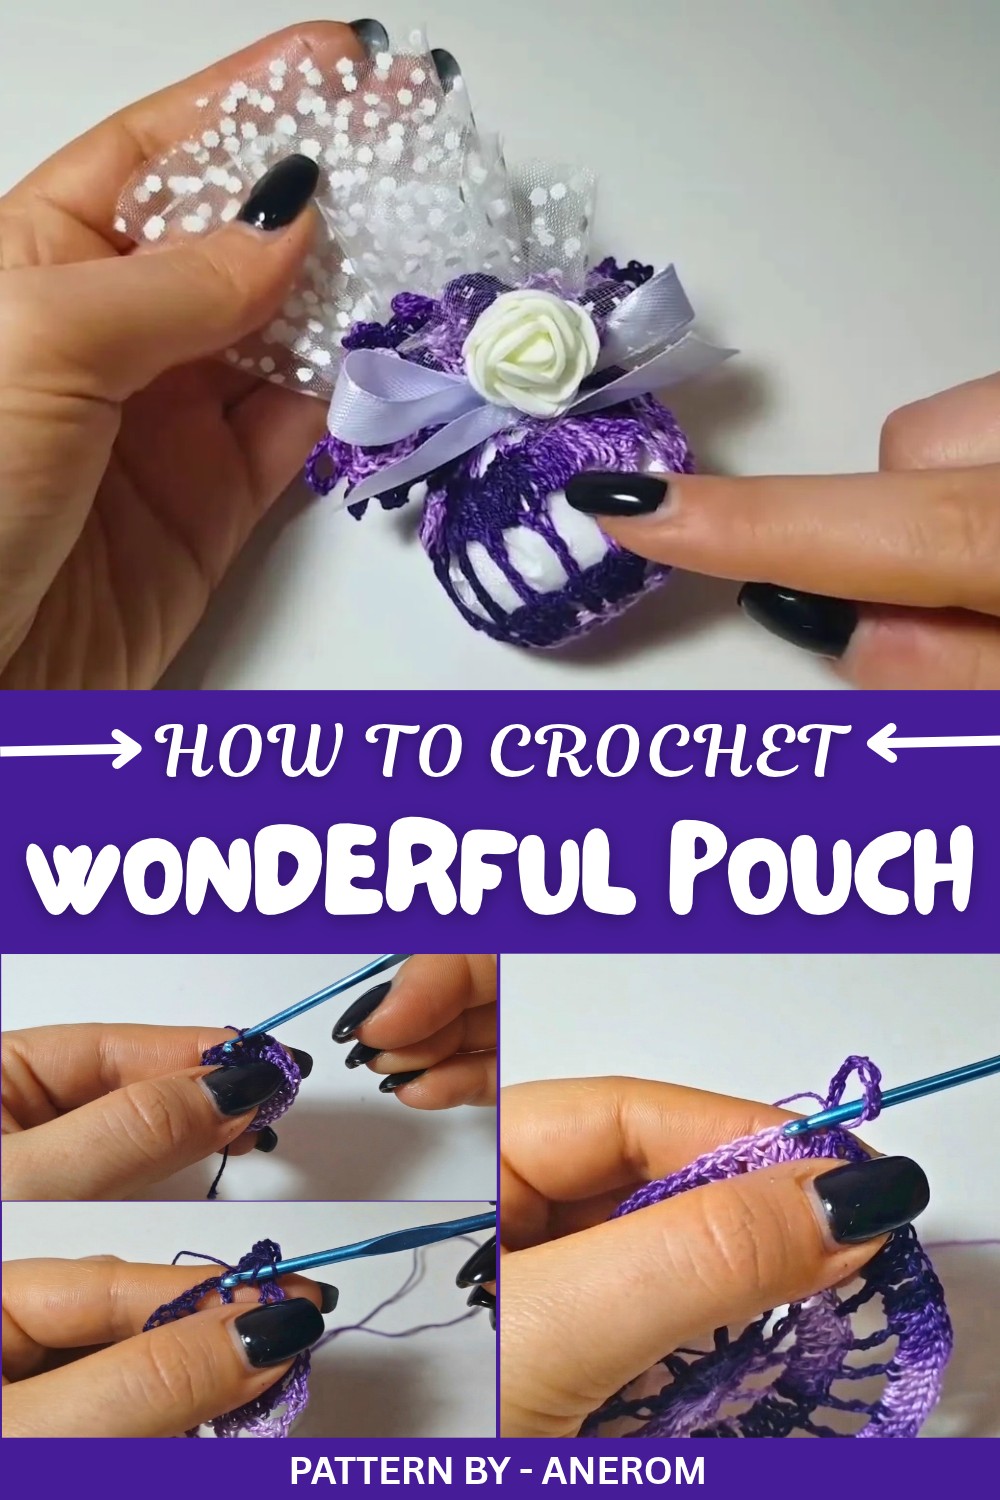
This pouch is especially useful for weddings, baby showers, or any celebrations where you’d like to hand out small tokens or favors. It’s also great for storing tiny trinkets, jewelry, or small keepsakes. Designed using fine #8 cotton thread with gradient shading, the colors come alive through simple yet striking patterns. You can choose any shade you like, allowing you to customize it for specific themes or events.
The project is beginner friendly and fun to make. The step by step guide by Anerom on her YouTube channel takes you through every detail, from forming a magic ring to creating beautiful double crochets and slip stitches, all the way to the final edging that gives the pouch its adorable ruffled border. Anerom also shares helpful tips about working with affordable Chinese yarn, making it an accessible crochet for everyone.
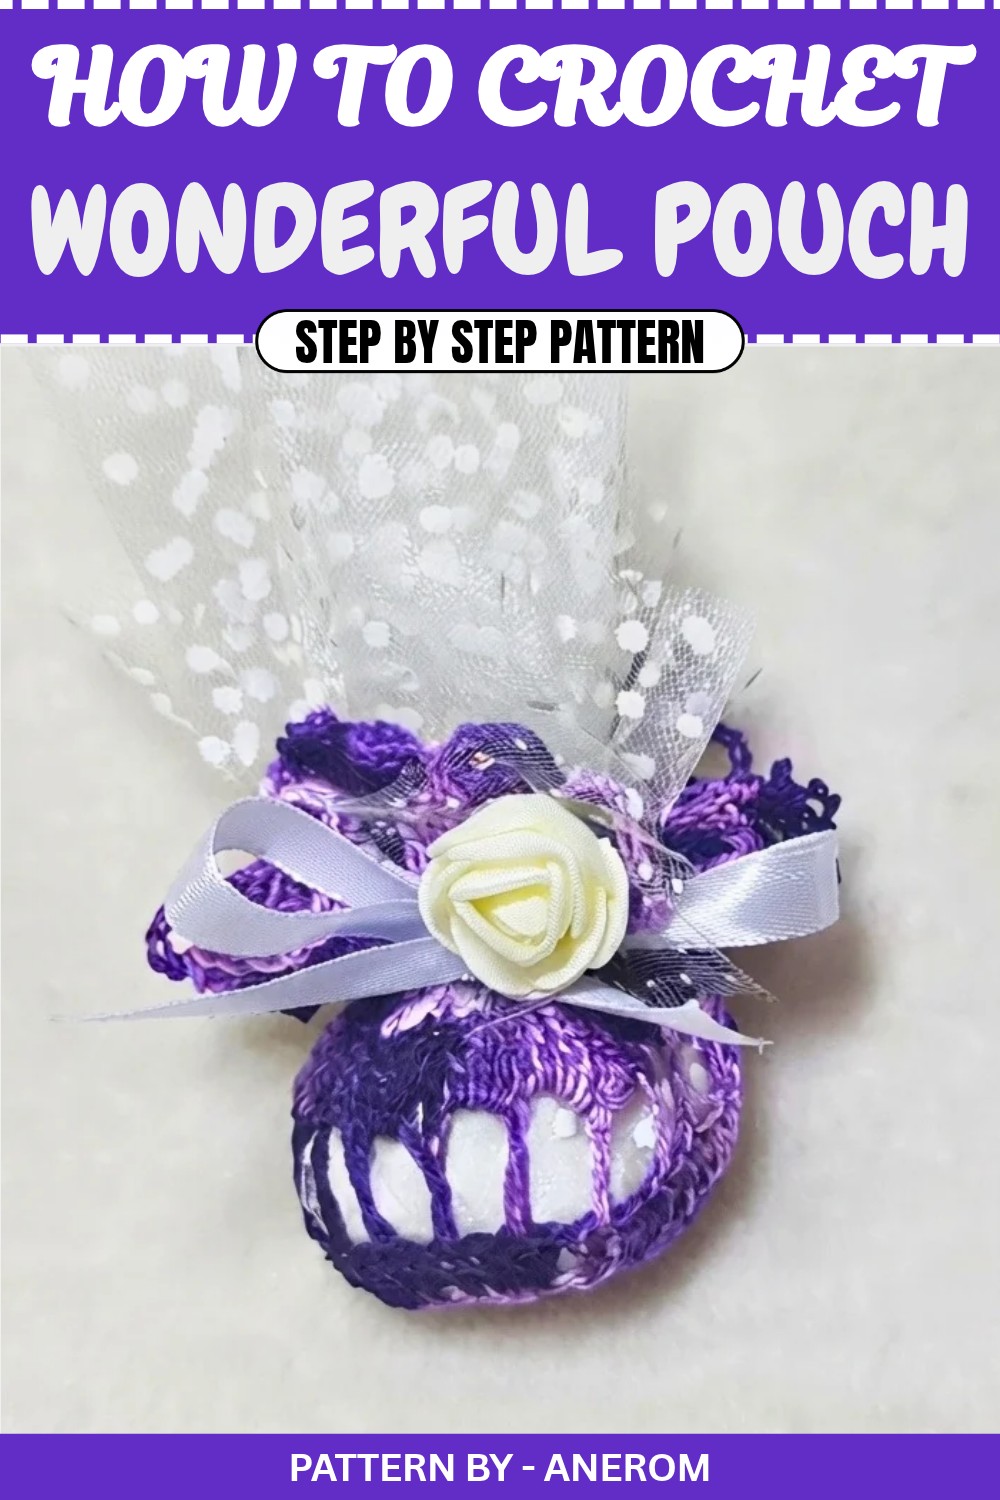
Whether you’re using it as a confetti holder or leaving it as a doily, this lightweight and artistic pouch is a wonderful way to showcase your crochet skills. Follow along with pattern for a relaxing and rewarding crocheting experience you’re sure to enjoy.
Crochet Pattern: Doily / Small Favor Bag
This crochet pattern creates a beautiful doily that can also be transformed into a small gift or favor bag, perfect for weddings, parties, or other special occasions. With an intricate lace like design, this pattern balances elegance with functionality. Follow the steps below to create your own stunning doily or favor bag.
Quick Overview of the Pattern
- Type of Pattern: Doily / Favor Bag
- Purpose: Decorative doily or practical favor bag
- Design: A circular, lacy pattern with chain loops and decorative trim
- Versatile Use: Flat as a doily for decoration, or cinched as a favor bag to hold small items like candy or confetti
Notes
- This pattern starts from the center and is worked in the round.
- Alternate between lace mesh rounds and double crochet filled rounds to create the design’s texture.
- The final round creates a scalloped, decorative edge with chain loops, ideal for gathering the doily into a bag.
- Use different colored threads or ribbons for a more customized look.
Skill Level
Advanced Beginner to Intermediate
- Ideal for crocheters with basic stitch knowledge looking to try a new project.
Materials
- Crochet thread: Fine crochet thread (#8 recommended) or lace weight yarn
- Hook size: 1.25–1.5 mm crochet hook
- Ribbon: About 40–60 cm to cinch as a favor bag
- Tapestry needle: For weaving in loose ends
- Scissors: For cutting excess thread
Measurements / Sizing
- Finished doily diameter (laying flat): 12–18 cm, depending on the thread and hook used.
- When used as a bag, it can hold small items like candies or confetti.
Gauge
Gauge is not critical for this pattern, but your circle should lay flat as you work. If it curls into a bowl, loosen your tension or use a larger hook. If it ruffles or puckers, try tightening your tension or using a smaller hook.
Stitch Abbreviations
- ch = chain
- dc = double crochet
- sc = single crochet
- sl st = slip stitch
- sp = space
- st(s) = stitch(es)
Special Stitches
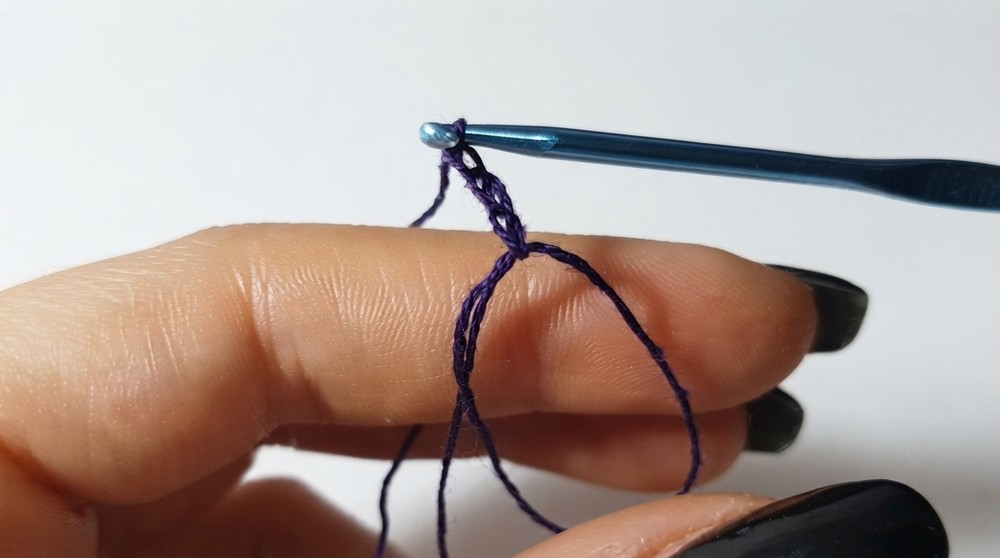
Magic Ring (Magic Circle)
- Create a loop of yarn around your fingers.
- Insert the hook under the loop and pull up a loop.
- Chain to secure and create a foundation to work your stitches into.
- After completing the round, pull the tail of the loop to tighten and close the center.
Pattern Instructions
Magic Ring
- Begin with a magic ring.
- Chain 2, which counts as the first dc of Round 1.
Round 1: Double Crochet Foundation
- Work 23 more dc into the magic ring, making a total of 24 dc (including the initial ch 2).
- Pull the tail of the magic ring to close the center tightly.
- Join the round with a sl st to the top of the initial chain 2.
Round 2: First Mesh
- Chain 6 (3 chains for the first dc and 3 chains as the first chain space).
- Skip 1 stitch, then work dc in the next stitch.
- Repeat: [ch 3, skip 1 st, dc in next st] all the way around.
- At the end of the round, join with a sl st to the 3rd chain of the initial ch 6.
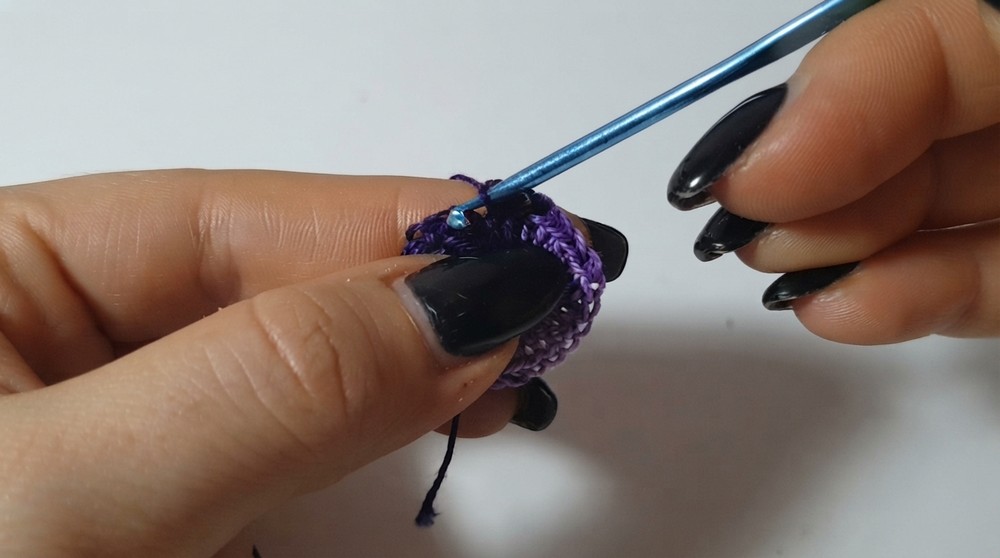
Round 3: Filling the Mesh
- Chain 3 (counts as 1 dc).
- Into each ch 3 space, work 3 dc.
- In addition, work 1 dc on top of each dc from the previous round.
- Repeat: [3 dc in each ch 3 space, 1 dc on each dc] around the circle.
- Close the round with a sl st to the 3rd chain of the starting chain.
Round 4: Add Another Mesh
- Chain 6 (3 counts as 1 dc, 3 for the chain space).
- Skip 1 stitch, then work dc into the next stitch.
- Repeat: [ch 3, skip 1 st, dc in next st], creating a mesh all around.
- Join with a sl st to the 3rd chain of the starting ch 6.
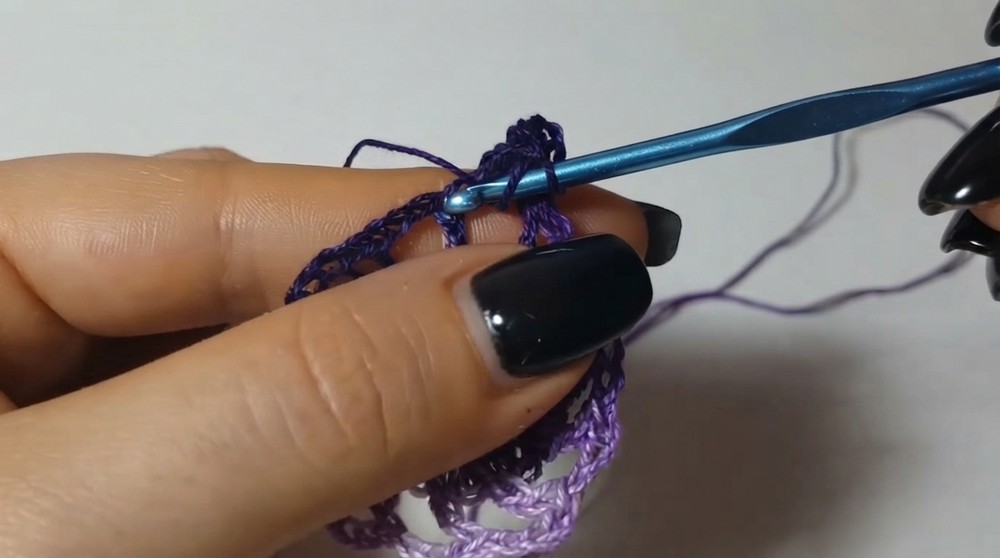
Round 5: Fill the Mesh
Repeat the method of Round 3:
- Chain 3 (counts as 1 dc).
- In each chain space, work 3 dc.
- Work 1 dc on top of every dc from the previous round.
- Repeat: [3 dc in every chain space, 1 dc into previous round’s dc] until the end of the round.
- Join with a sl st to the 3rd chain of the starting chain.
Round 6: Create Decorative Arches
- Chain 7 (counts as 1 dc + 4 ch).
- Skip 3 sts, then work dc into the 4th stitch.
- Repeat around: [ch 4, skip 3 st, dc in 4th st].
- Join with a sl st into the starting ch 7.
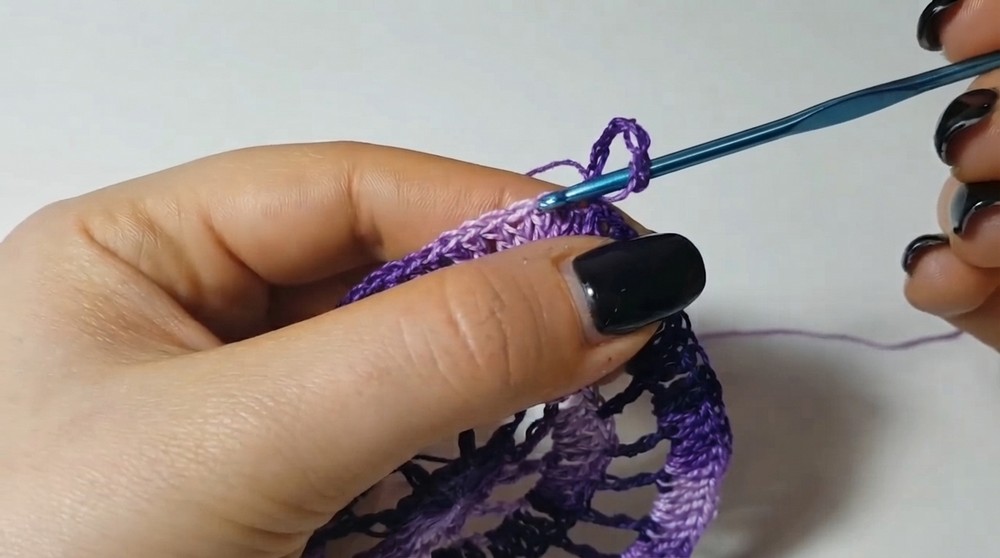
Round 7: Fill the Arches
- Chain 3 (counts as 1 dc).
- Into each chain 4 space, work 4 dc.
- Work 1 dc on top of each dc from the previous round.
- Repeat: [4 dc in each ch 4 space, 1 dc on each dc] around the circle.
- Join with a sl st to the top of the starting ch 3.
Round 8: Solid Round
- Chain 3 (counts as 1 dc).
- Work 1 dc into every stitch around (including all dc and chain stitches).
- Join with a sl st to complete the round.
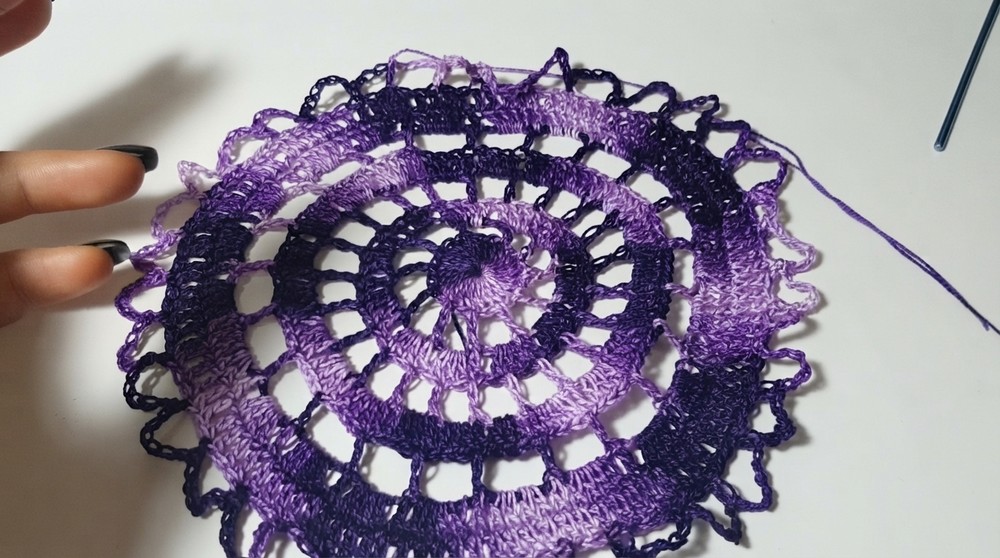
Round 9: Decorative Loops
- Chain 7.
- Skip 2 stitches, then work 1 sc in the following stitch.
- Repeat: [7 ch, skip 2 sts, 1 sc] around the circle.
- Join with a sl st to the starting ch 7. Fasten off.
Assembly
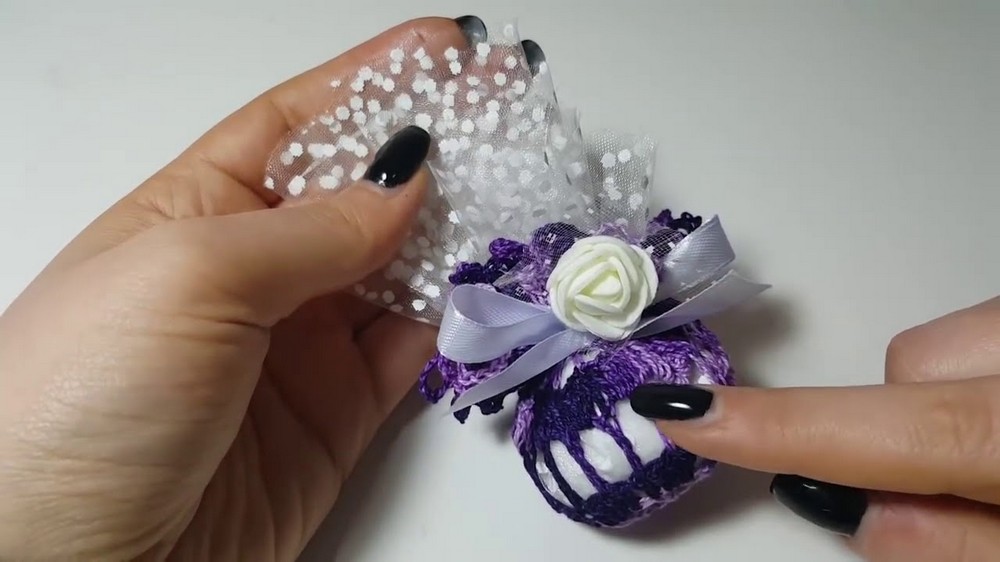
- Place your fillings (confetti, candies, or small items) into the center of the finished doily.
- Bring up the edges of the doily to form a bag shape.
- Thread a ribbon through the loops created in Round 9, weaving in and out through the decorative loops.
- Gather the edges tightly with the ribbon to close the bag. Tie the ribbon into a bow to secure the pouch.
- For a polished finish, add a decorative embellishment like a small flower or charm.
Conclusion
You’ve successfully completed a stunning DIY crochet doily that doubles as a charming favor bag. This elegant design is perfect for special occasions like weddings, birthdays, or as a thoughtful gift. Experiment with different colors and threads to create your own unique versions.