
Simple Free Crochet Headband Pattern Everyone Will Admire
Tame messy morning hair in seconds by stitching a cute crochet headband that stays snug on your head and looks great with any casual outfit you wear.
There’s something so special about making your own cozy and stylish headband with just a crochet hook, yarn, and a bit of time. A handmade headband is not only practical for keeping your ears warm but also a beautiful accessory to match your outfits. This particular headband design stands out because it’s so versatile, you can make it in any color to suit your style or use up leftover yarn scraps for an eco friendly touch. The slight texture from the stitches adds just the right amount of charm, making it look both classic and chic.
Simona from TSUNAMI - Crochet Makers walks you through the process in her relaxing and easy to follow tutorial. The entire project uses simple crochet techniques, starting with single crochets for the foundation rows and transitioning into double crochet stitches for the body. The seamless design, made with just 50 rows (or about 50 cm in length) of crocheting, is then folded and sewn together to create the finished look. The result? A sleek and soft headband that’s comfy to wear all day.
Free Crochet Headband Pattern That’ll Elevate Your Look
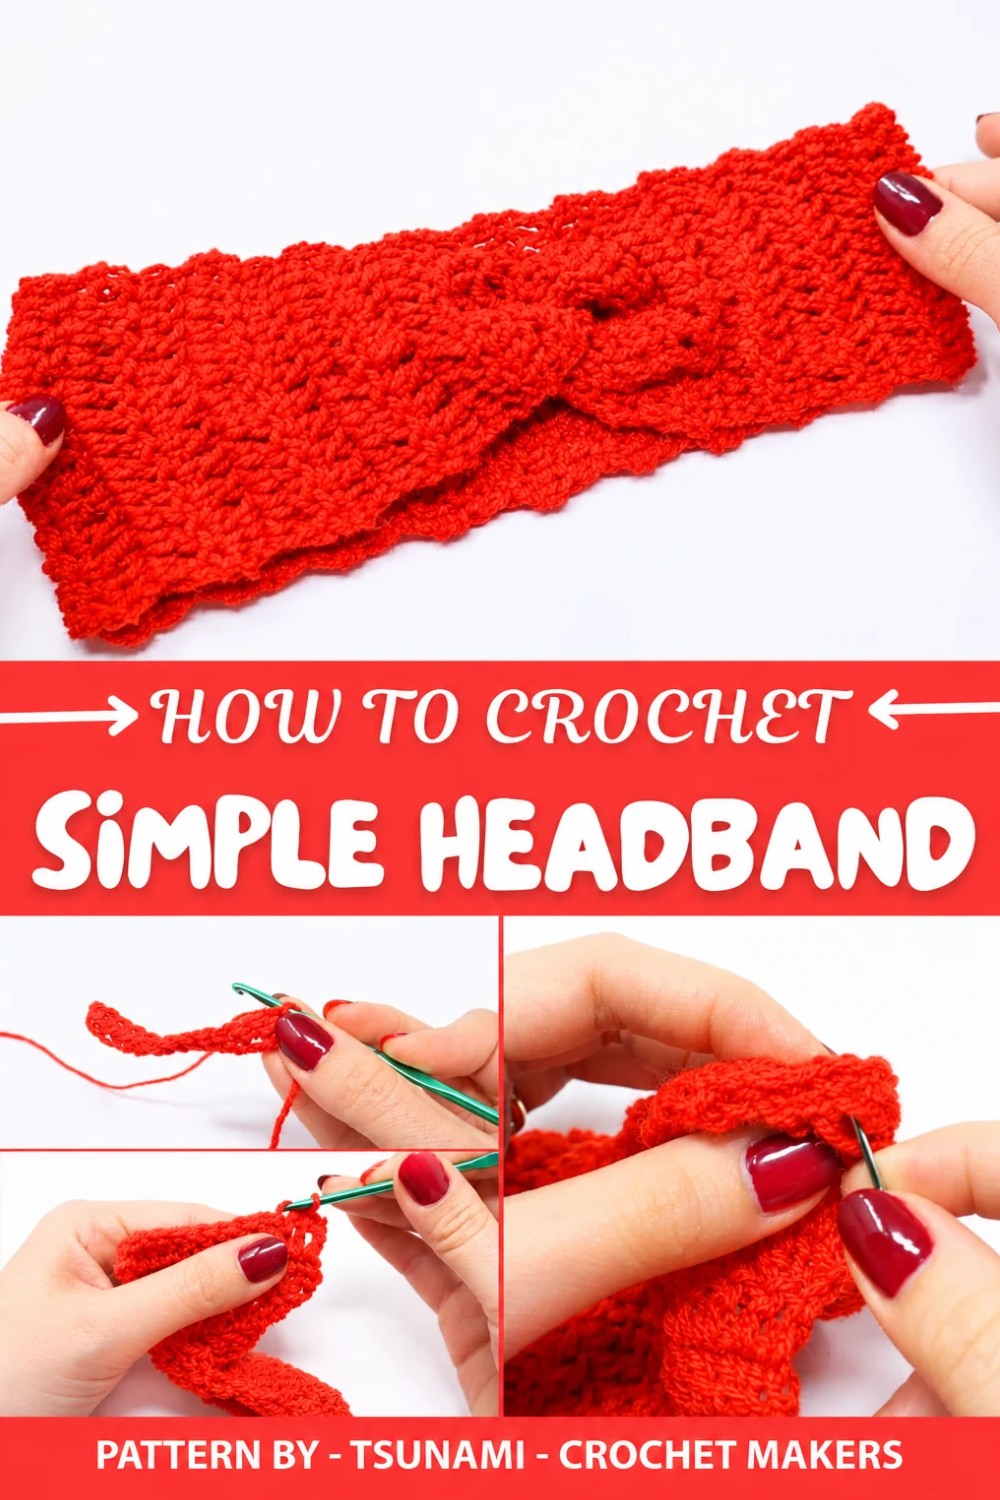
One of the most attractive features is the flat, clean design, which can be dressed up for a fashionable outfit or kept simple for everyday wear. It’s perfect for keeping your ears warm during chilly days and can easily be customized for different head sizes.
What if sewing the ends feels tricky? Don’t stress. Simona thoughtfully shares a step by step sewing method to create a strong seam without any visible stitches. She even offers tips on hiding the leftover yarn tails to make your headband look neat and polished.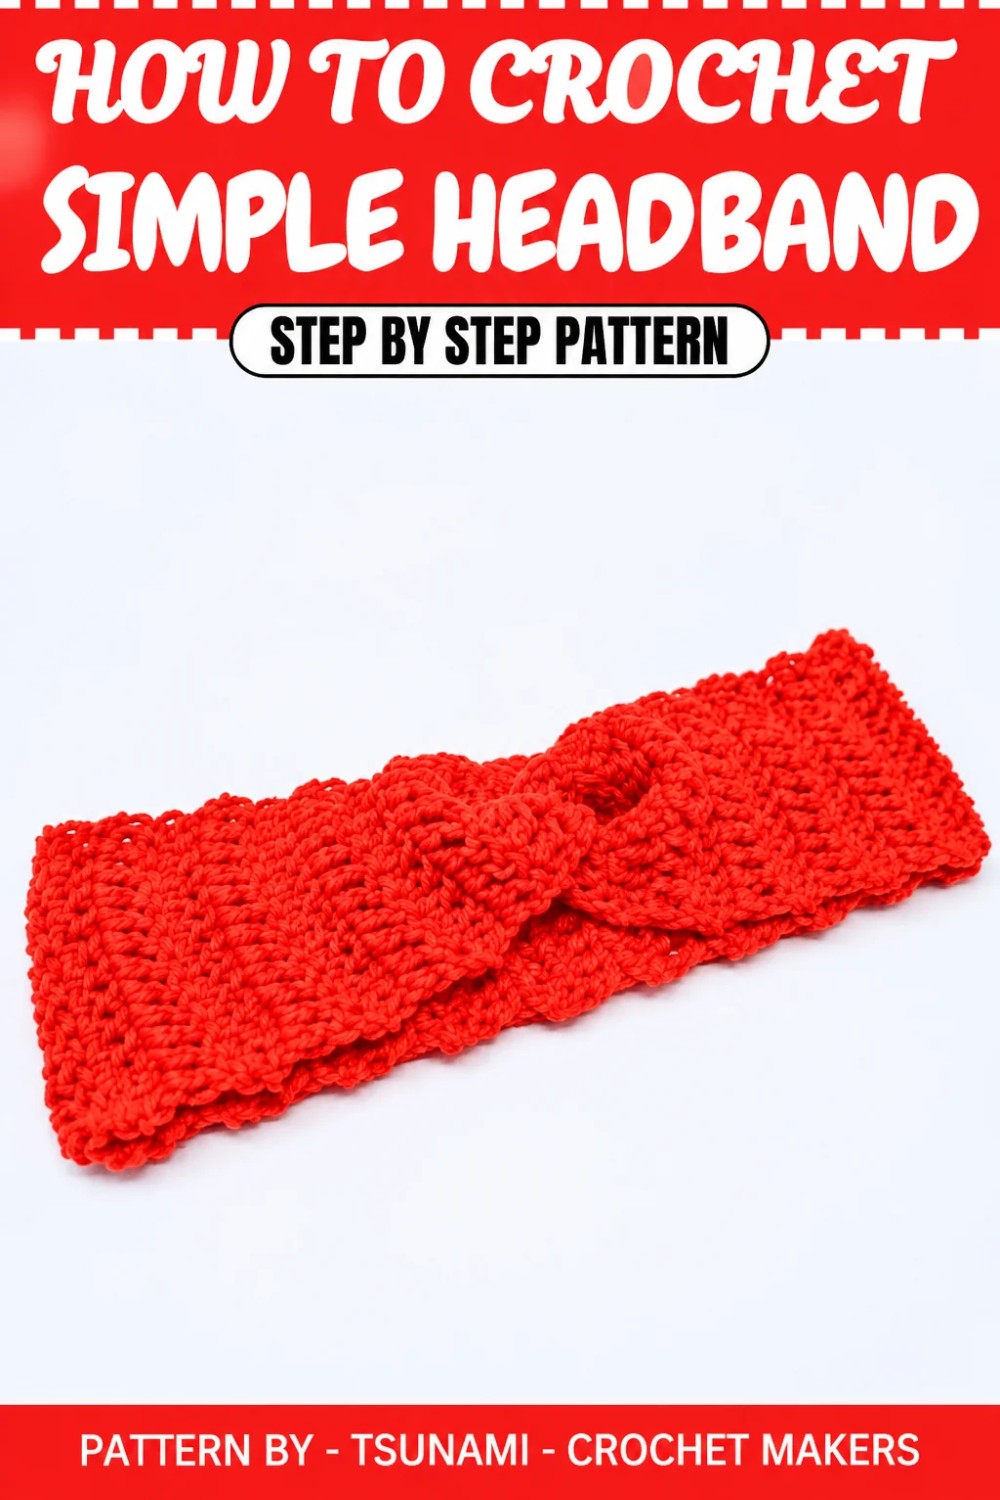
Simple Step By Step Pattern for a Crochet Headband
This easy crochet headband project is super quick, perfect for beginners, and a great way to use up leftover yarn. It uses only 14g of acrylic yarn and a 3.5 mm crochet hook, making it a super lightweight and cost effective project. Let’s get started with this fun tutorial and create something practical and beautiful.
Quick Overview Of Pattern
- Type: Beginner friendly crochet headband worked in rows.
- Stitches: Single crochet (sc) and double crochet (dc).
- Structure: Rectangular fabric sewn into a loop to form the headband.
- Length: 50 cm or adjusted to the circumference of the wearer’s head.
- Finishing: Seams sewn together with additional reinforcement.
Notes
- This headband is worked flat as a rectangular strip, which is later folded and sewn.
- Adjust the number of rows or length to fit your head circumference.
- Use a soft yarn for comfort since the headband will be worn directly against the skin.
- The headband uses minimal materials—making it perfect for scrap yarn.
Skill Level
Beginner
This pattern is perfect for beginners who are familiar with:
- Crochet basics (chain, single crochet, double crochet).
- Turning rows.
- Basic assembly (sewing pieces together).
Materials
- Yarn: 14g of acrylic yarn (or any soft yarn you like).
- Hook: 3.5 mm crochet hook.
- Tools:
- Yarn needle for sewing the ends together.
- Scissors for trimming excess yarn.
Measurements / Sizing
The headband measures approximately 50 cm in length and approximately 6 cm in width. You can adjust the length to match your own head size or preference.
Gauge
Gauge is not crucial for this project but should produce a slightly dense fabric.
Approximate gauge:
- 10 stitches x 10 rows = 5x5 cm using double crochet stitches.
Stitch Abbreviations
(US Crochet Terms)
- ch = chain
- sc = single crochet
- dc = double crochet
- st = stitch(es)
Special Stitches
Turning Chain
At the beginning of each row when working in double crochet, instead of chaining 3, we will use 1 single crochet in the first stitch directly for a neater edge.
The Crochet Pattern
This headband is worked in rows. Follow all the steps as outlined below!
Step 1: Foundation Chain
- Begin with a slip knot.
- Chain 13, which will count as the foundation row.
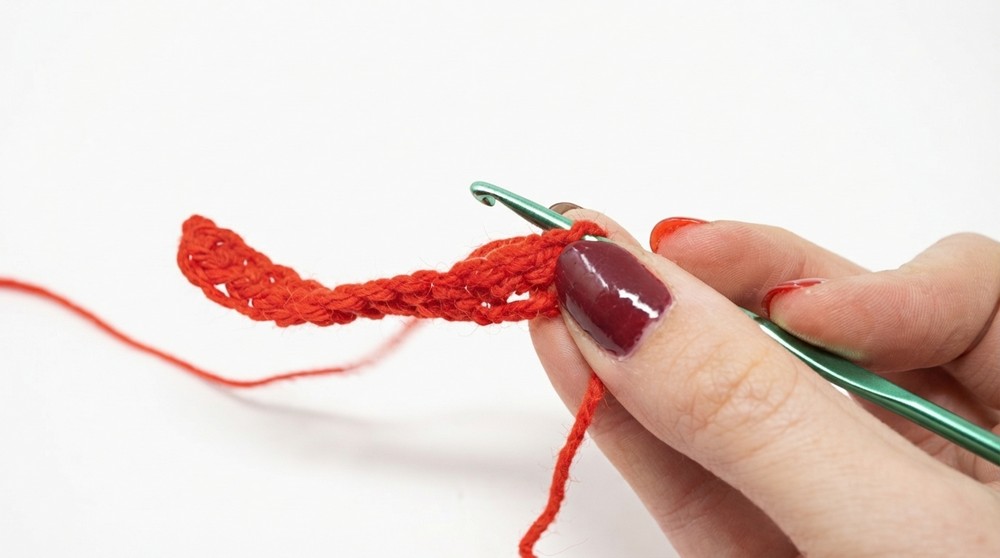
Note: One chain will be used as the turning chain, so you will end up with 12 stitches per row.
Step 2: Row 1 (Single Crochet Row)
- Insert your hook into the second ch from the hook and work 1 sc.
- Work 1 sc in each ch across the row.
- You should now have 12 sc.
Step 3: Row 2 (Double Crochet Row)
- Chain 1 (this counts as your turning chain).
- Turn your work.
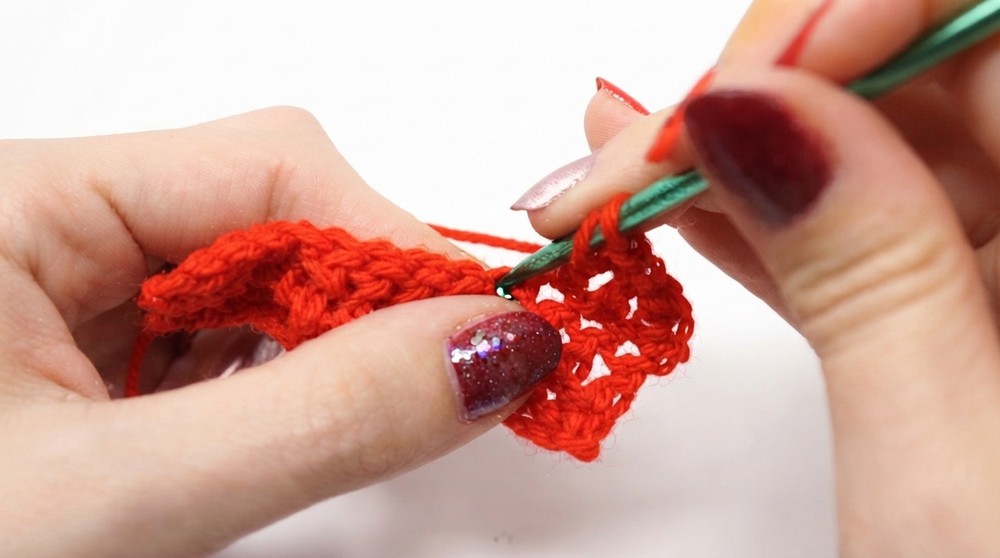
- Instead of chaining multiple stitches, go straight into the first stitch (this keeps the edges neat) and work 1 sc.
- In the same stitch, work another sc in the little bar of the sc below (this adds additional thickness).
- In the next stitch, work 1 dc.
- Continue alternating sc + sc and dc across the row.
Step 4: Continue Repeating the Pattern
- Repeat Row 2 for a total of 50 rows.
- Each row will alternate between single and double crochets, providing texture and stretch.
- The completed piece should measure approximately 50 cm in length.
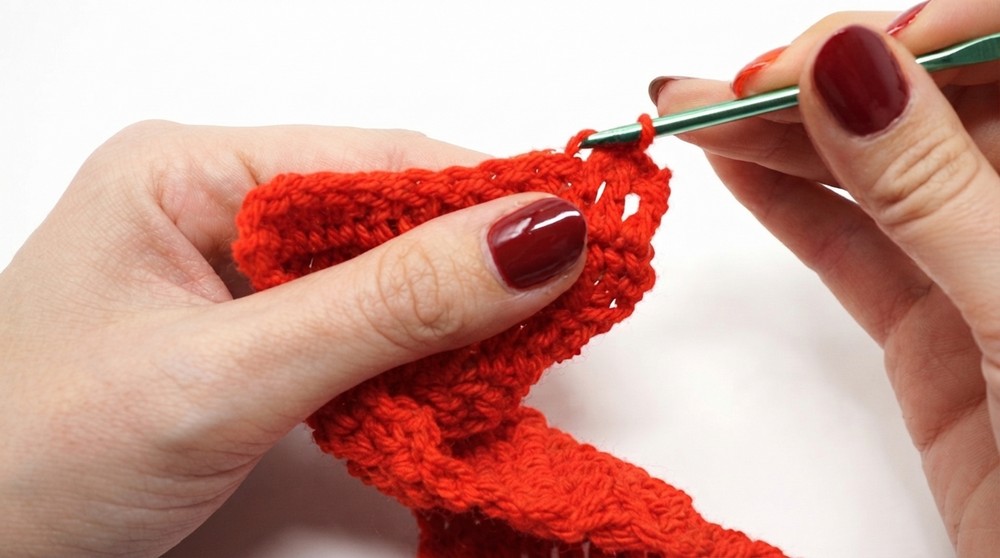
Important note: You can adjust the number of rows to fit your head circumference. Simply stack the strip around your head as you work to measure for the best fit.
Step 5: Final Row (Single Crochet)
- After you finish 50 rows (or your adjusted length), work a final row of sc.
- Chain 1, turn, and work 1 sc in each dc or sc across the row, so you create another row of 12 sc.
- This helps match the beginning edge, making the piece easier to join.
Assembly & Finished Size
Step 6: Preparing the Fabric for Assembly
- After completing the final sc row, chain 1 to secure the yarn.
- Leave a long tail of yarn (approximately 20 cm) for sewing the two ends together.
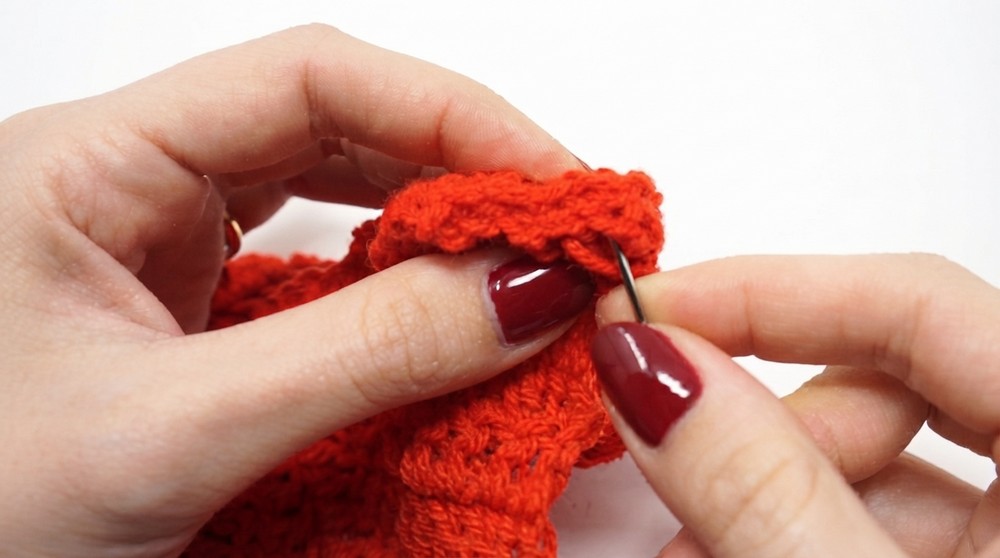
Step 7: Sewing the Ends Together
- Fold the headband in half with the wrong side (the back of stitches) facing outward.
- Align the two ends together as neatly as possible.
- Using a yarn needle, sew the two ends together from right to left with simple stitches.
Step 8: Reinforcing the Seam
- To make the seam extra secure, sew back along the seam in the opposite direction. This double stitching ensures no loose ends.
Step 9: Weaving in Loose Ends
- Tie off the yarn securely at the seam.
- Flip your headband inside out to hide the seam.
- Weave in any loose ends between the stitches of the headband fabric. Trim excess yarn.
Conclusion and Ending Thoughts
Voilà! Your crochet headband is complete and ready to wear. The stretchy, textured pattern makes it comfortable and stylish, perfect for keeping your hair in place or adding a touch of handmade charm to your outfit.