
Quick Free Crochet Mini Wallet Pattern to Try With Colorful Yarn
Wrap and stitch your yarn into a unique mini wallet with this easy free crochet pattern, offering clarity and fun in every step.
Pattern By Pembe Düğme
Looking for a small, functional project that’s perfect for everyday use or gifting? A crochet mini wallet might be just the thing. This little wallet is compact and lightweight, yet it offers plenty of room for coins, cards, or keys. Its rounded edges give it a soft, elegant look, while the textured surface adds character and durability. The wallet also features a drawstring closure, which not only secures your valuables but also introduces a charming decorative touch.
Free Crochet Mini Wallet Pattern for Cute Pocket Storage
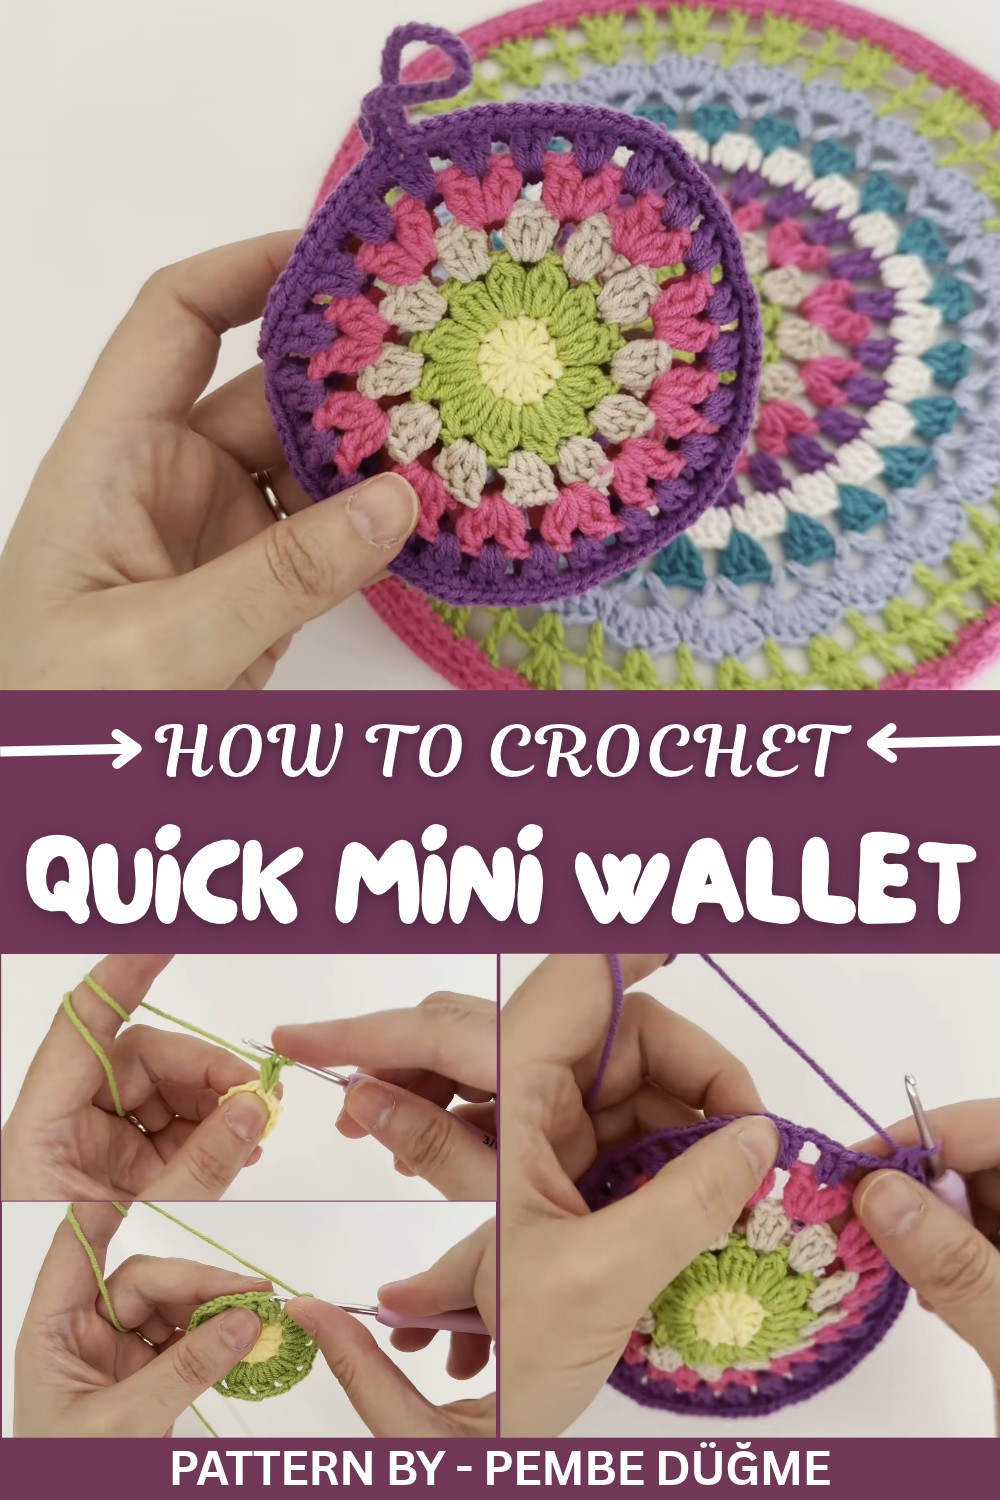
This project involves crocheting two identical panels with simple stitches like double crochets, chains, and slip stitches. The pieces are joined together using single crochet stitches at the edges, creating a neat and polished finish. Adding the drawstring is an easy, final step that makes the wallet both adjustable and stylish. To enhance its appearance, you can experiment with multicolor yarn or subtle details, like tassels or beads, to match your personal taste.
Great as a quick, thoughtful gift, this wallet can be made for birthdays, anniversaries, or festive occasions. It’s also great for beginners wanting to practice basic techniques while making something practical. Whether you prefer neutral tones for a minimal look or bold shades for a splash of color, this project lets you express yourself and make each piece unique.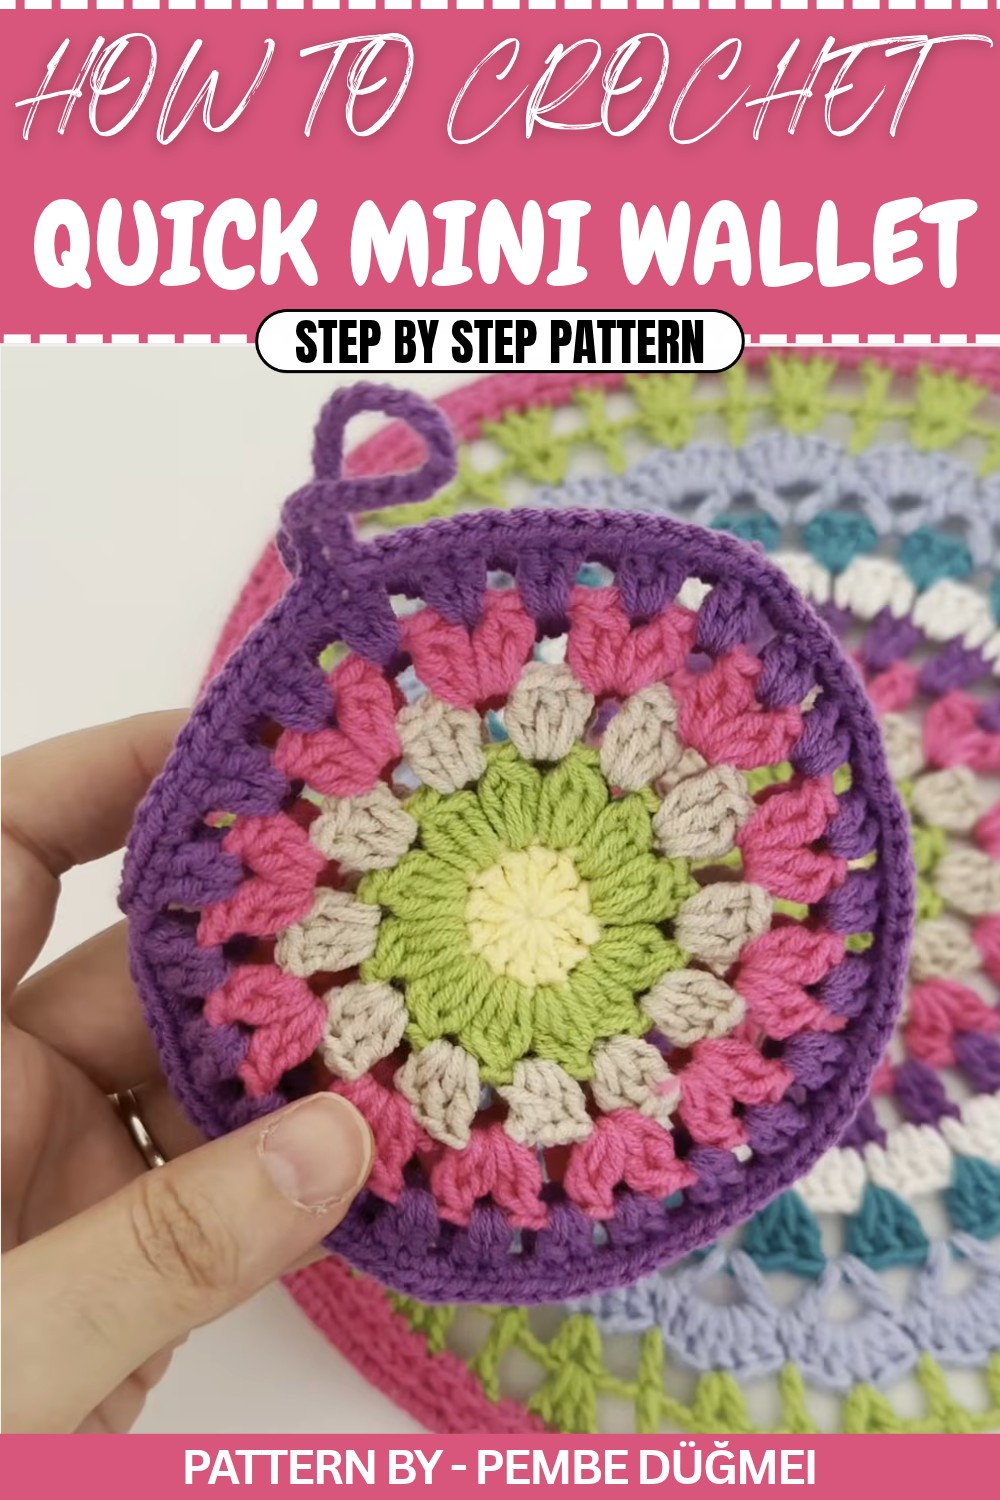
Crochet Pattern: Foldable Mini Wallet/Purse
This step by step crochet pattern will guide you in making a foldable mini wallet or purse. The final design is compact, durable, and stylish, and features two crocheted circular pieces joined together. Ideal for storing coins, small cards, or personal items, this foldable purse includes extra details like decorative borders, a strap, and a loop and tab closure.
Quick Overview of Pattern
- Type of Project: Foldable Mini Wallet/Purse
- Design: Two identical circular pieces joined to form a wallet with a strap, border, and loops
- Techniques Used: Magic ring, double crochet, cluster stitch, single crochet, slip stitch
- Customization: Can be made in various yarn colors and with optional size adjustments
Notes
- Two identical circular pieces are crocheted separately and joined together to form the wallet.
- The project uses various clusters and stitches to give the design a textured look.
- Be mindful to align the edges neatly when joining the pieces.
- This pattern uses cotton or mercerized yarn for durability and structure, but you can use other yarns if preferred.
Skill Level
Beginner to Intermediate: Ideal for those comfortable with basic stitches and joining techniques.
Materials
- Crochet Hook: Size 2.20 mm
- Yarn: Cotton or mercerized yarn in at least 3 colors (e.g., color A for the base, color B for details, and color C for finishing)
- Scissors
- Tapestry Needle: For weaving in loose ends
- Optional: Button or embellishment for decoration
Finished Measurements
- Approximate Size: About 3 to 4 inches in diameter per piece
Gauge
Gauge is not critical for this project due to its small size.
Stitch Abbreviations
- CH – Chain
- DC – Double Crochet
- SL ST – Slip Stitch
- SC – Single Crochet
- Cluster Stitch – Partially work DCs into a single space and close them together
The Crochet Pattern (One Circular Piece)
Round 1: Creating the Base Circle
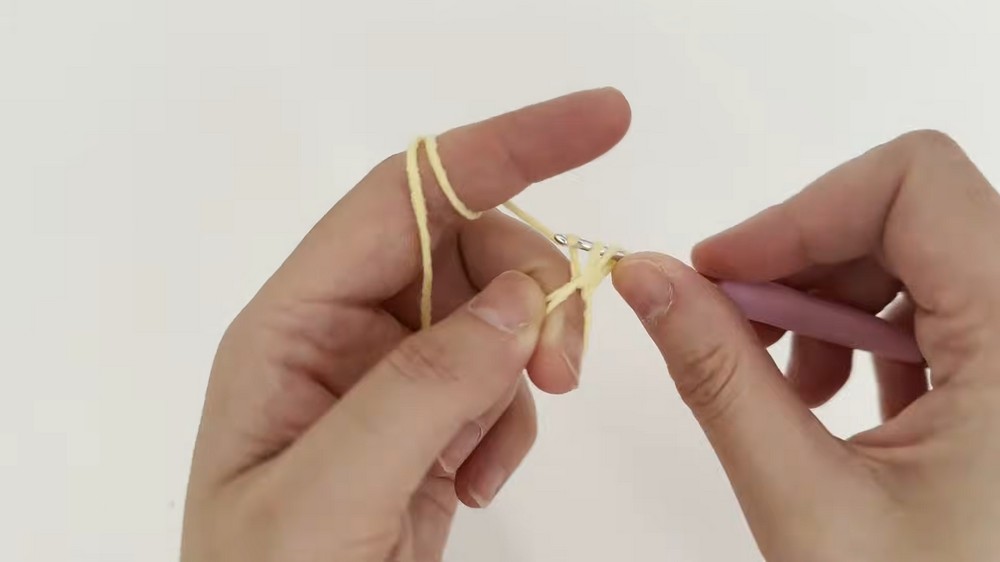
- Start with a magic ring.
- CH 3 (counts as first DC).
- Work 11 DCs into the ring for a total of 12 DCs (including CH 3 as the first DC).
- Close the ring tightly by pulling on the tail.
- Join with a SL ST to the top of the initial CH 3.(Total Stitches: 12 DCs)
Round 2: Adding Cluster Stitches
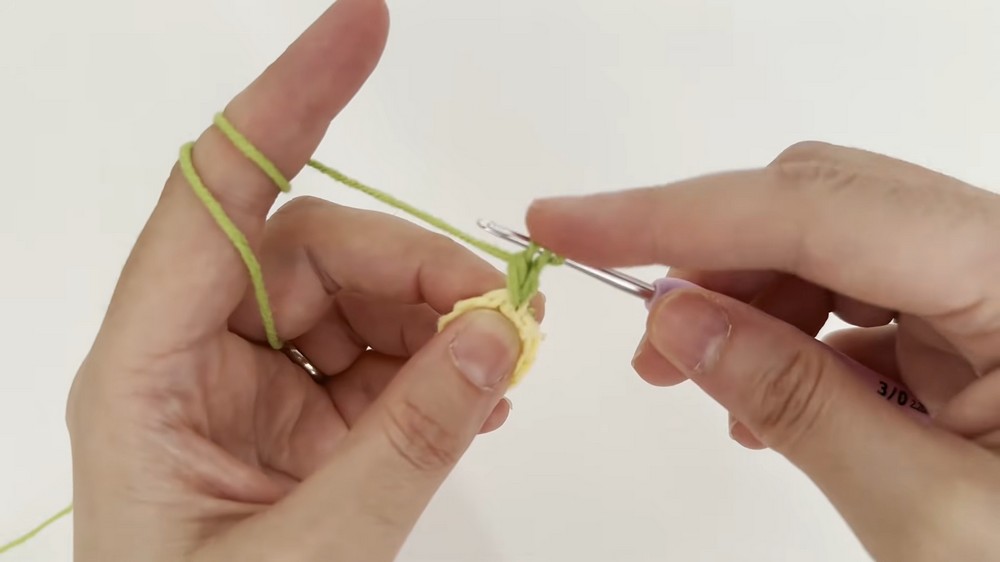
- Attach a new color and secure it with a slip knot.
- CH 2 (acts as the beginning of the first cluster).
- Work a cluster stitch:
- Partially work 3 DCs into the same stitch and close them together.
- CH 2 to create a space, then move to the next DC of the previous round.
- Repeat the cluster stitch in every stitch around, separated by CH 2.
- Join with a SL ST at the top of the starting cluster.(Total Stitches: 12 Clusters, 12 Chain 2 gaps)
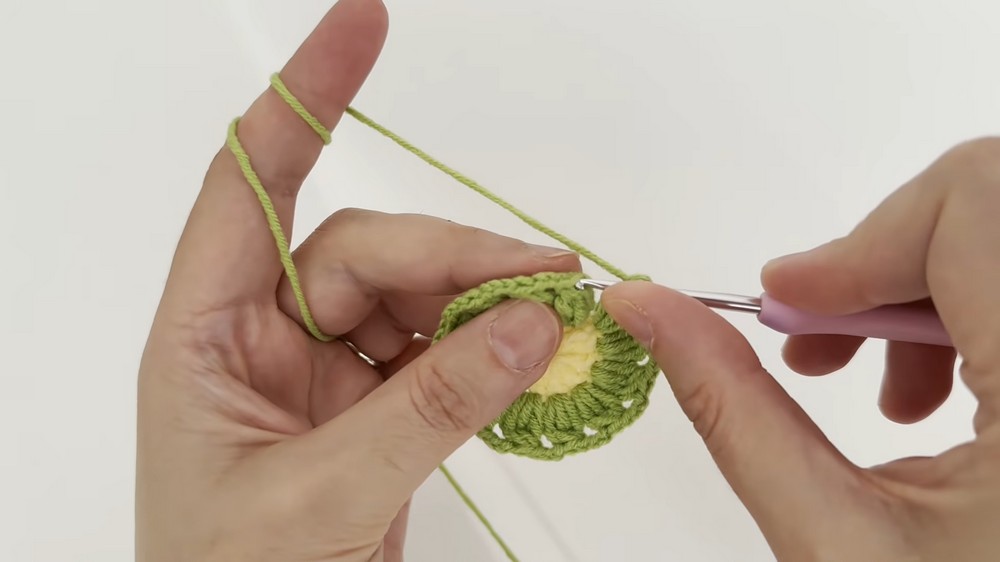
Round 3: Adding 3 DC Groups
- Attach a new color.
- In each CH 2 space from the previous round:
- Work 3 DCs into the space.
- Separate each 3 DC group with a CH 2.
- Repeat in every CH 2 space around.
- Join with a SL ST at the top of the first 3 DC group.(Total Stitches: 12 Groups of 3 DCs, separated by Chain 2 spaces)
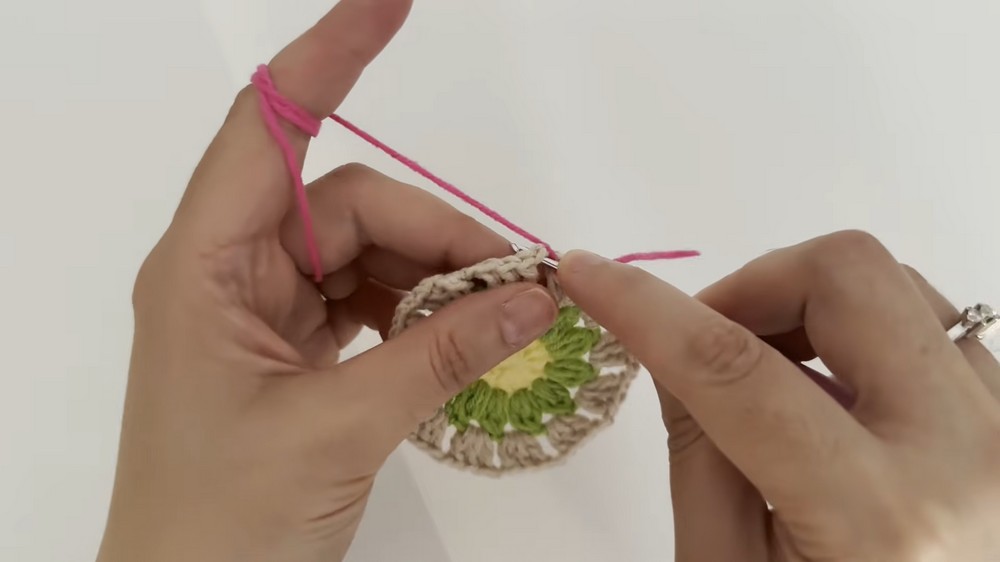
Round 4: Cluster Layer
- Attach a new color.
- In each CH 2 space, work a 2 DC cluster stitch (partially work 2 DCs and close them together).
- CH 2 to create a space between each cluster stitch.
- Repeat this for every CH 2 space around.
- Join with a SL ST to the top of the starting cluster.(Total Stitches: 12 Clusters with Chain-2 gaps)
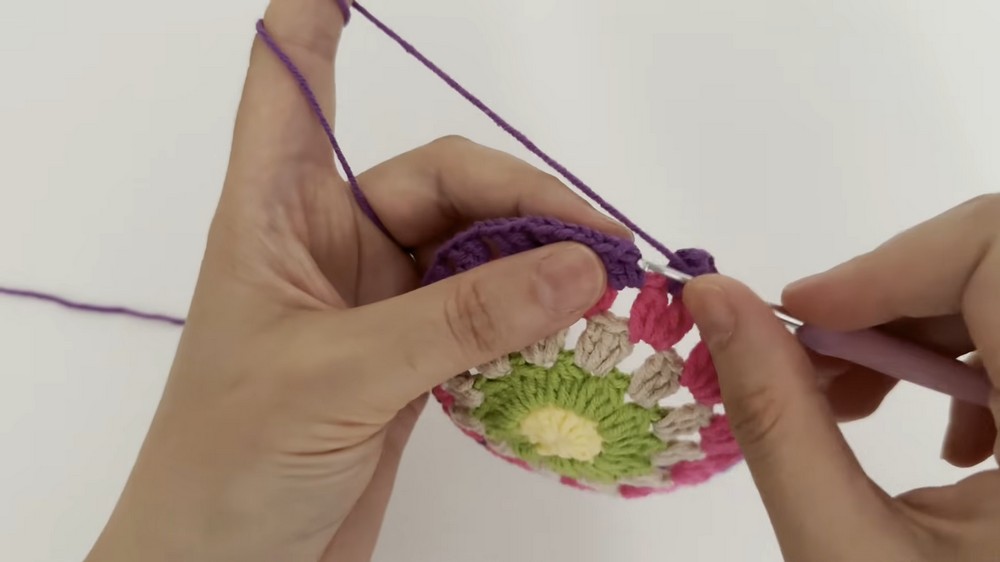
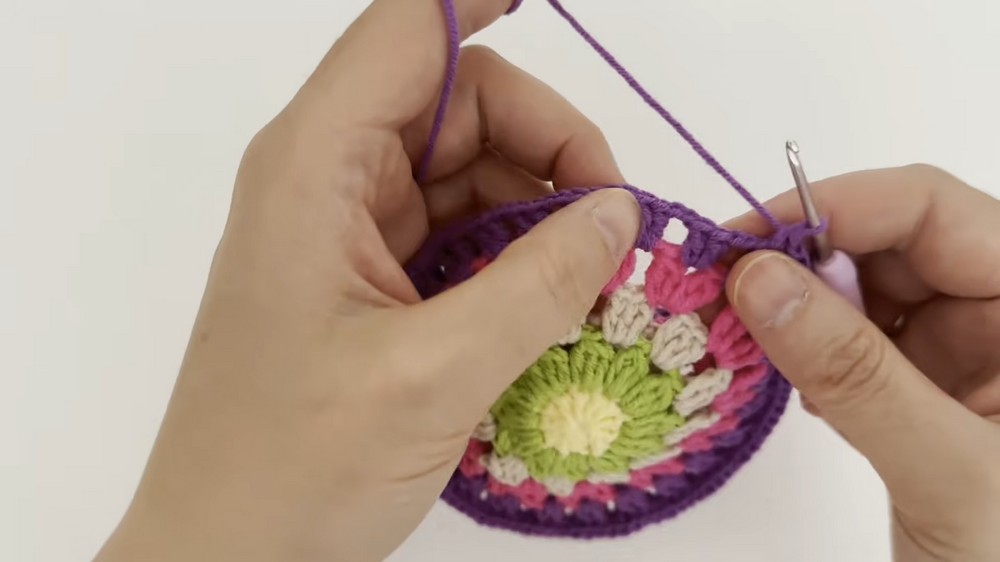
Round 5: Final Layer
- Attach the final color.
- In each CH 2 space:
- Work 2 DCs and a CH 2.
- Repeat this for every CH 2 space around.
- Join with a SL ST at the starting DC, secure with a CH 1, and cut the yarn.(Total Stitches: 12 Groups of 2 DCs, with CH 2 gaps)
Assembly & Finishing
Preparation
- Make two identical circular pieces using the above instructions.
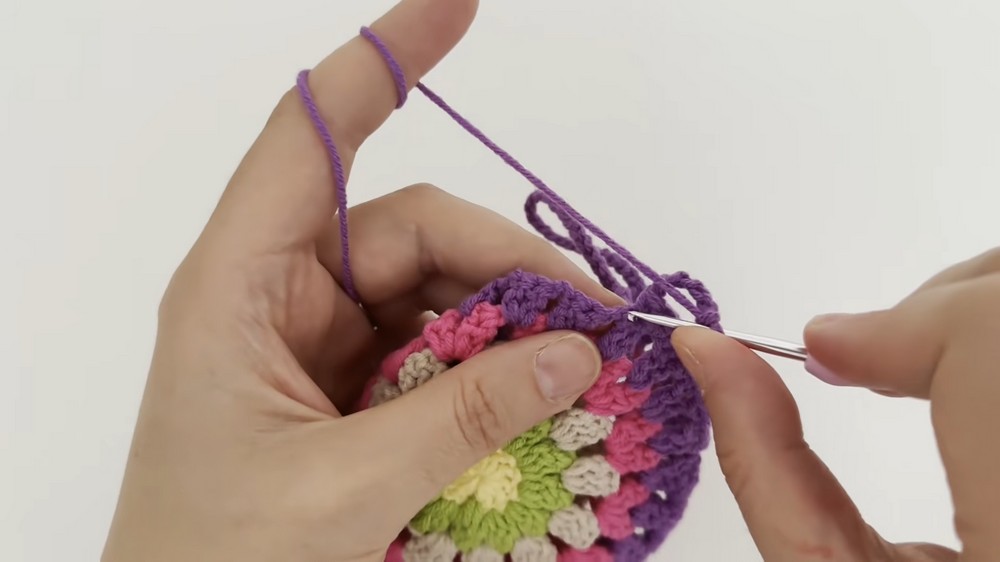
- For the second piece, after completing Round 5, do not cut the yarn.
Joining the Two Pieces
- Hold the two circular pieces together with the wrong sides facing each other.
- Use the working yarn from the second piece.
- Join the edges with SC stitches, inserting the hook through the corresponding stitches of both layers.
- Stop before fully closing the circle, leaving a small gap for the wallet opening.
Adding Straps & Loops
- Edge Border: Continue working SC stitches along the edges of the wallet opening to create a clean and finished look.
- Creating the Closure Loop:
- At the middle of one side of the purse, CH 24 (or your desired length) to form a closing strap.
- Attach the chain with a SC into the next stitch.
- Adding the Closing Tab:
- On the opposite side of the wallet, CH 6 to form a smaller loop.
- Secure it by attaching it with a SC to the adjacent stitch.
Conclusion
Congratulations, Your foldable crochet mini wallet/purse is now complete. Perfect for holding small essentials, this project is both functional and fun. Customize it with colors, embellishments, or different strap lengths for a personalized touch. Don’t forget to share your creation with friends or use it as a thoughtful handmade gift.