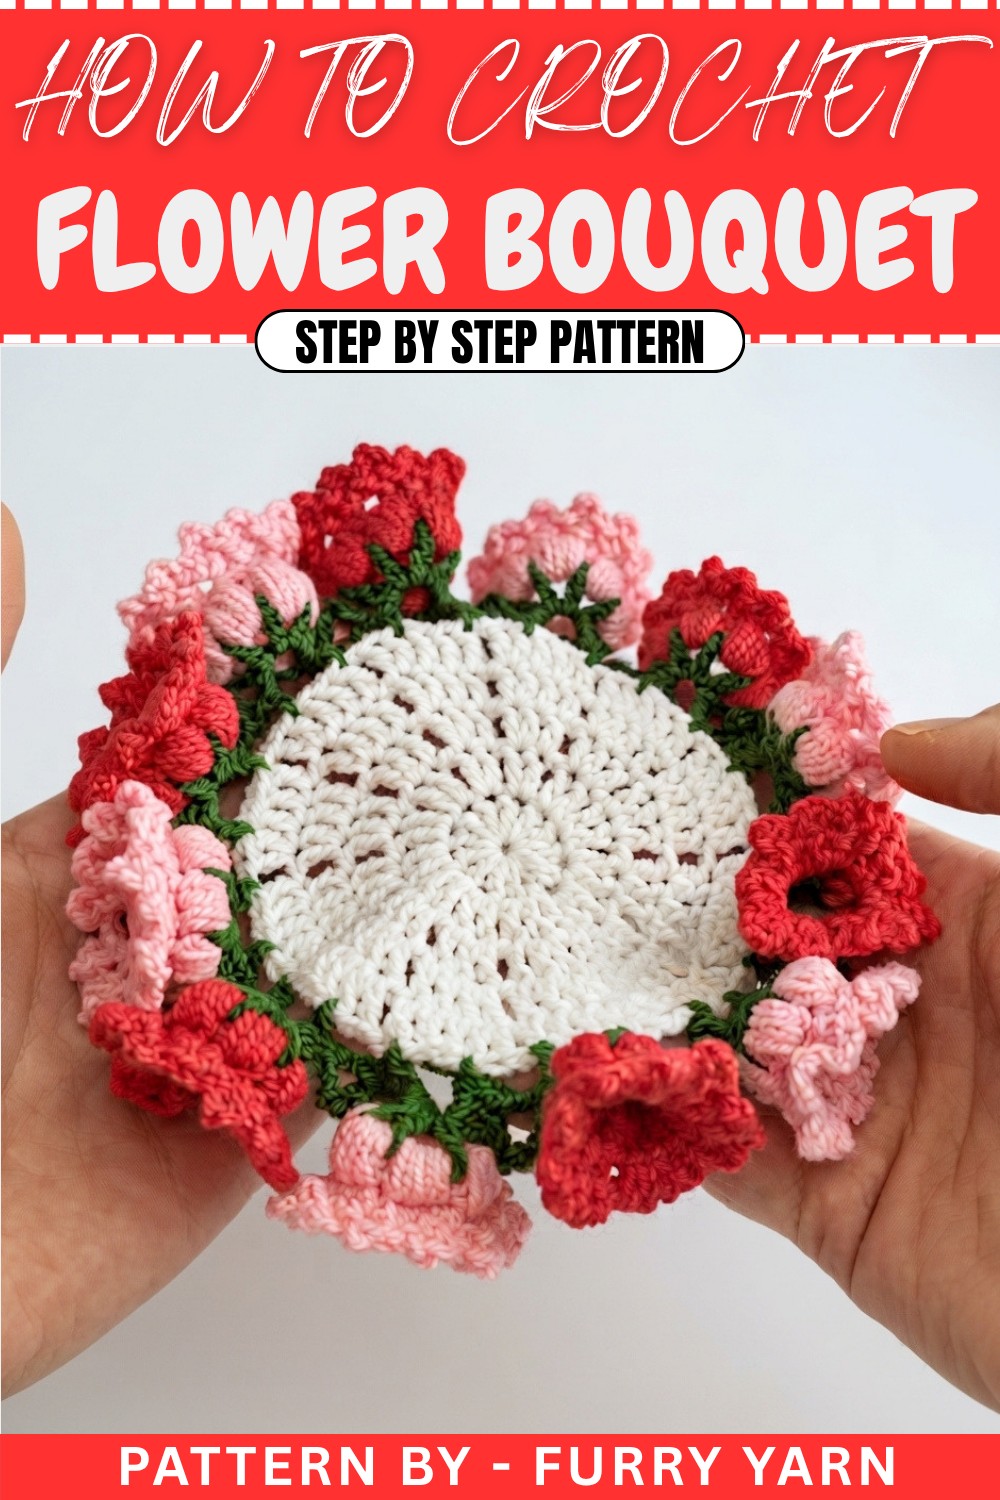
Pretty Crochet Flower Bouquet Free Pattern To Add Colorful Charm
Stitch a pretty bouquet with this Crochet Flower Bouquet Free Pattern that is easy for beginners and adds a lovely handmade touch to any room.
Furry Yarn shares some delightful tutorials that always catch my interest, especially when it comes to creating something fresh and beautiful. Recently, I came across their guide that leads you through making a charming collection of crocheted flowers with soft textures and intricate details. The petals and leafy stems come together in a naturally rounded shape that feels both lush and inviting. One project that really stood out is the Crochet Flower Bouquet Free Pattern, which offers the chance to crochet a lifelike bouquet full of dimension and warmth.
Unique Crochet Flower Bouquet Free Pattern To Brighten Any Space
What I love most is how flexible this bouquet can be. You can easily make a small arrangement for a cozy spot or a larger, fuller bunch to brighten up a space, simply by changing the number of flowers and leaves you add. The construction mainly involves working in rounds and slip stitches, which shape each petal beautifully. A handy tip: choose a smooth, medium-weight yarn to accentuate the stitch texture, ensuring the petals stand out clearly.
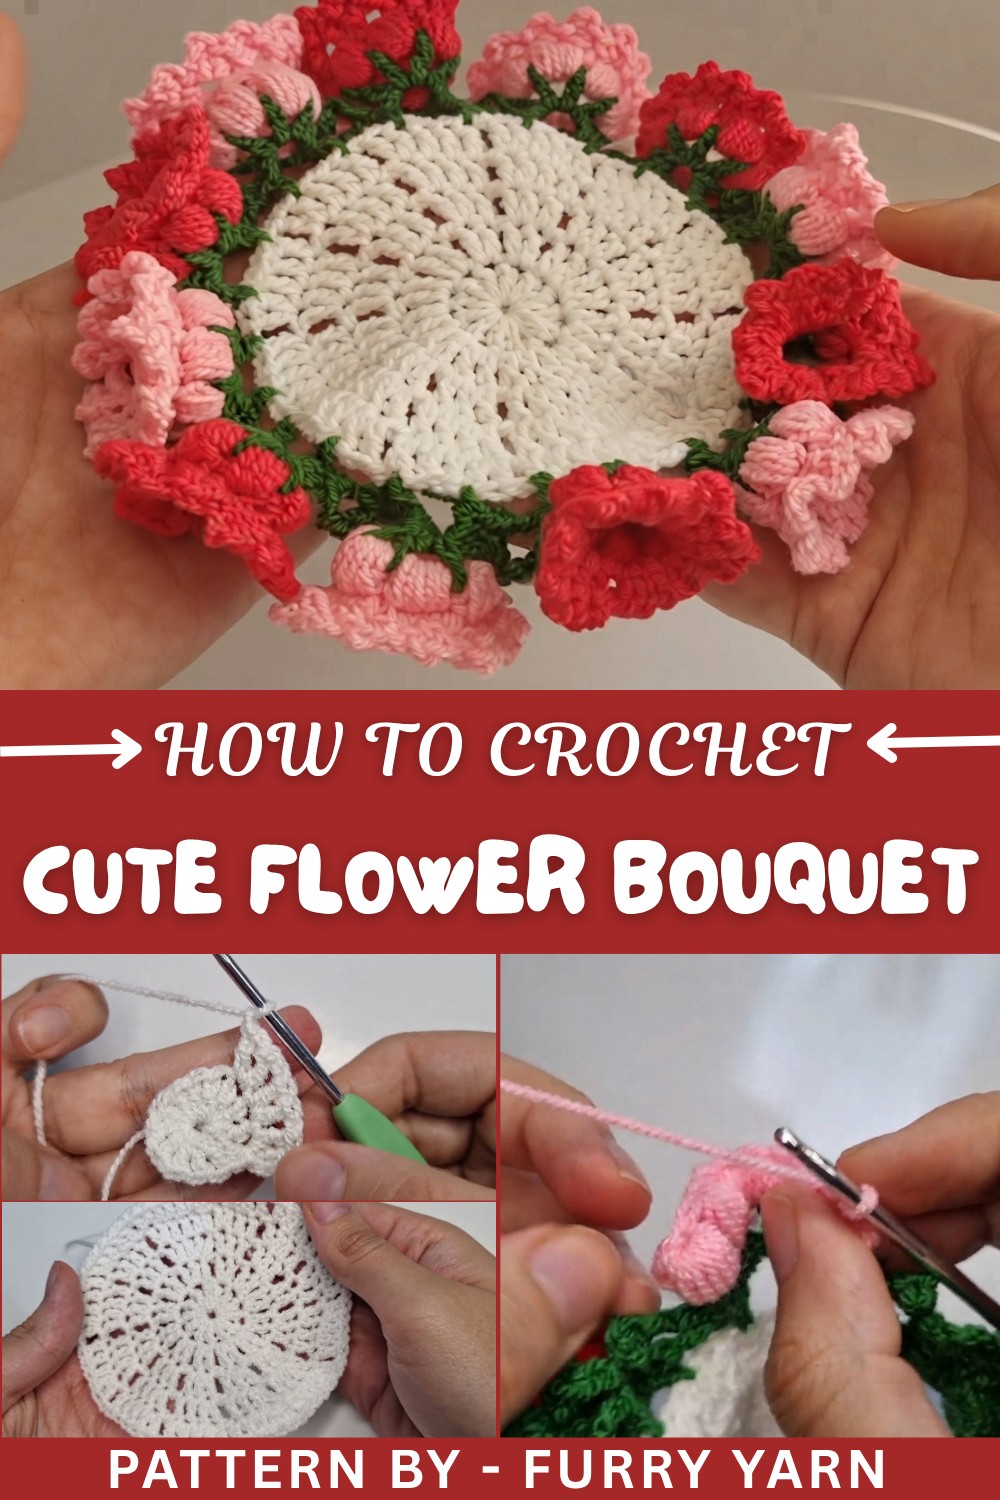
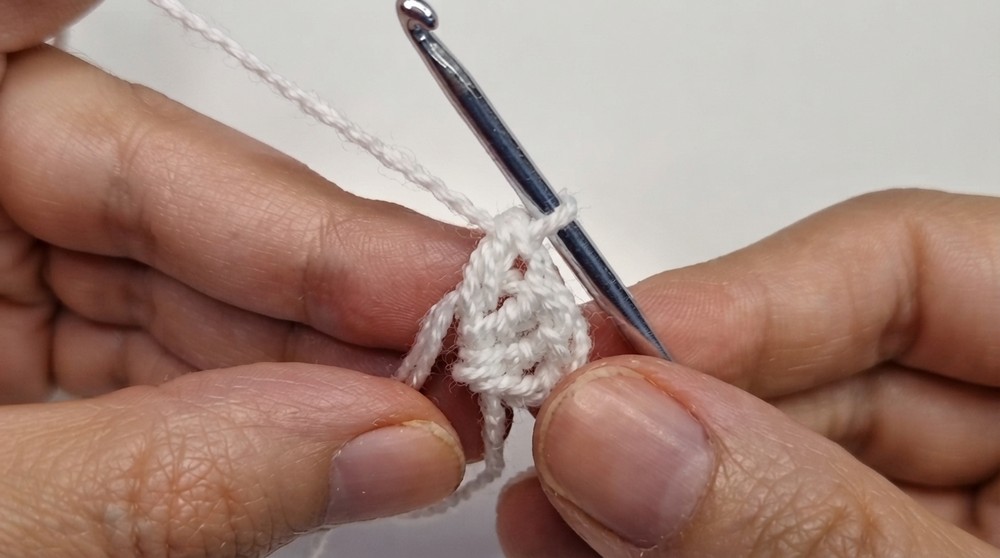
The inspiration behind this bouquet was the idea of having everlasting blooms—something cheerful for everyday life or special occasions like birthdays and anniversaries. It also works as a thoughtful gift, especially when customized with colors that reflect the recipient’s taste or the season. Adding different yarn textures or personal touches can spark creativity, making each bouquet unique and meaningful.
Crochet Flower Coaster Pattern
In this crochet pattern, you will follow a step-by-step method to work a beautiful, multi-layered flower coaster. The project starts with a magic ring, is built up with crisp double crochet rounds, and is adorned with a green leafy edge and dimensional flower petals. Each element is explained clearly so that the process is logical, smooth, and achievable as you progress from the center outwards. Upon finishing this vibrant coaster, you will have a stunning piece that stands as a testament to your growing crochet abilities. Let's proceed with clarity and detail for each stitch and round.
Quick Overview Of Pattern
- Work the center base of the coaster with a magic ring and rounds of double crochet.
- Expand the base using increases and chains to build up to the final coaster size.
- Add a decorative green edge that forms little leaf shapes.
- Crochet an additional highly textured green round to enhance the leafy effect.
- Create and attach separate three-dimensional flower petals at the top, using accent color yarn.
Notes
- Choose colors to reflect your personal style; classic combinations or bold contrasts each yield beautiful results.
- Keep your tension even, especially in petal and decorative rounds, for a uniform shape.
- Weaving in the yarn tails as you work can provide a neater finish.
- Refer to each round meticulously before proceeding to the next to ensure stitch counts and placements remain consistent.
Skill Level
Intermediate
Though the construction uses basic stitches, transitions between sections and the petal construction may require some experience. Familiarity with working in the round, switching colors, and finishing techniques is beneficial.
Materials
- Yarn: Main color for the base; green for edge/leaves; accent color for the flower petals (DK/sport or worsted weight recommended).
- Crochet Hook: 3.5 mm – 4.0 mm (E-4 to G-6), select according to yarn.
- Scissors
- Yarn Needle: To weave in ends.
Measurements / Sizing
- Finished coaster diameter: Approximately 10–12 cm (4–5 in.), depending on yarn and hook size.
- Flower petals rise about 1–2 cm off the coaster surface for slight three-dimensional effect.
- (Schematic: A simple round motif, approximately the size of your palm.)
Gauge
- Gauge is not crucial; aim for a sturdy, flat base without curling or ruffling.
- Typical: 5–6 double crochet = 1 inch (2.5 cm).
- Adjust hook or tension for neat stitches and a flat circle.
Stitch Abbreviations
- MR: Magic Ring
- ch: Chain
- sl st: Slip Stitch
- dc: Double Crochet
- sc: Single Crochet
- hdc: Half Double Crochet
- st: Stitch
- sp: Space
Special Stitches
- Magic Ring (MR): Form a loop, insert hook, yarn over, pull up a loop, continue as pattern directs.
- Half Double Crochet (hdc): Yarn over, insert hook, yarn over, pull through, yarn over, draw through all loops.
- Picot (used in petals): Chain 3, insert hook in previous st or third ch, yarn over, pull through.
The Crochet Pattern
Base – Center (Round 1)
- Begin with a Magic Ring (MR).
- Ch 2 (does not count as a dc).
- Work 12 dc into the ring: Yarn over, insert hook into ring, yarn over and pull up loop, yarn over and pull through two loops, yarn over and pull through last two loops; repeat for 12 dc.
- Pull yarn tail gently to tighten the MR.
- Join with a sl st to the first dc to close the round.
Base – Expansion (Round 2)
- Attach a new yarn (same as main color or coordinating color) with a slip knot/slip stitch at any stitch (insertion point should be neat and firm).
- Ch 2.
- Work 2 dc in the same st, ch 1,
- In the next stitch, work 2 dc, then ch 1.
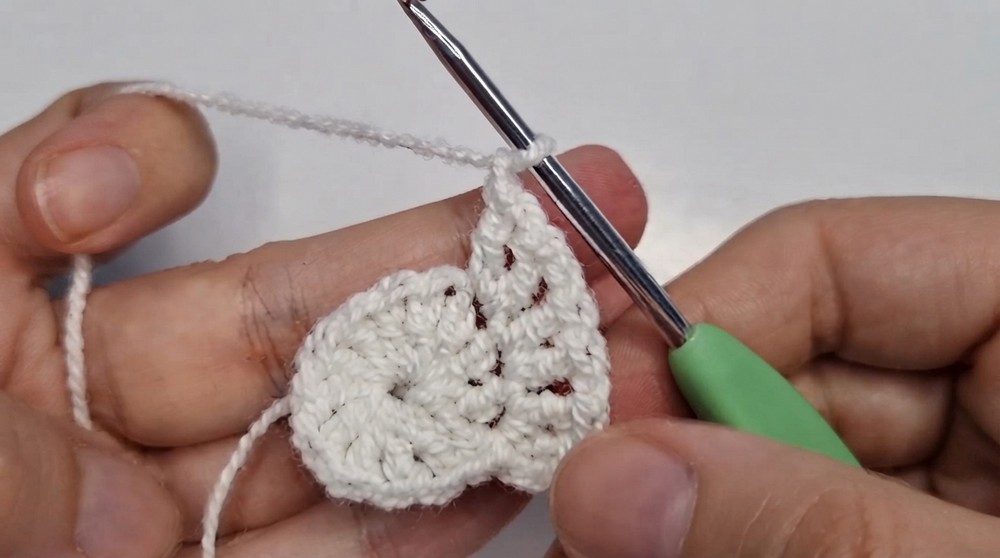
- Repeat this (2 dc, ch 1 in each st) a total of 12 times, working evenly around.
- Join with a sl st in the first dc to close the round.
Round 3
- Ch 2.
- 2 dc in the same st.
- 2 dc in the next st, ch 1.
- Skip 1 chain space (from last round).
- 1 dc in the next st, 2 dc in the following st, ch 1.
- Repeat from * for 12 times: pattern builds a staggered increase for even round growth.
- Join with a sl st in the first dc to complete the round.
Base – Expansion (Round 4)
- Ch 2.
- 1 dc in the same st.
- 1 dc in each of the next 2 sts.
- 2 dc in the next st, ch 1.
- Skip 1 chain space.
- 1 dc in the next st, 1 dc in the following st, 2 dc in the next st, ch 1.
- Skip 1 chain space and repeat this sequence 12 times to expand further.
- Finish with a sl st in the first dc to secure the round.
Base – Expansion (Round 5)
- Ch 2.
- 1 dc in the same st.
- 1 dc in each of the next 3 sts.
- 2 dc in the next st, ch 1.
- Skip 1 chain space.
- Continue the sequence: 1 dc in each of next stitches, 2 dc in the next st, ch 1.
- Skip 1 chain space.
- Repeat around for a total of 12 times.
- Join with a sl st to close.
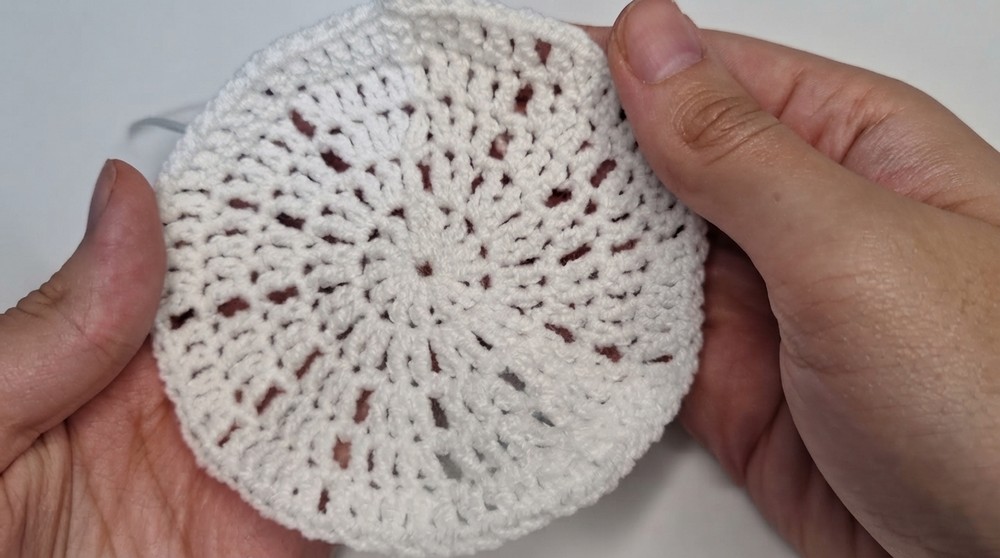
Green Decorative Edge (Round 6)
- Attach green yarn into any st.
- Ch 1.
- 1 sc in the same st.
- Ch 5.
- Skip 2 sts.
- 1 sc in the next st.
- Ch 5.
- Skip 2 sts; sc in the next st.
- Repeat this pattern for 12 times around—you will have 12 little loops.
- Join with a sl st to the first sc to close.
Green Decorative Edge (Round 7)
- Ch 1, 1 sc in same st.
- Ch 3.
- 1 dc, ch 1; repeat (1 dc, ch 1) four times more in the same loop.
- So, in each loop: (1 sc, ch 3, 1 dc, ch 1) x 5, 1 dc, ch 3, 1 sc.
- 1 sc, ch 7, insert hook into next ch-5 loop from previous round, sc.
- Ch 3, sc into same loop.
- Repeat this entire motif around (12 clusters total).
- Join with a sl st to finish this leafy border.
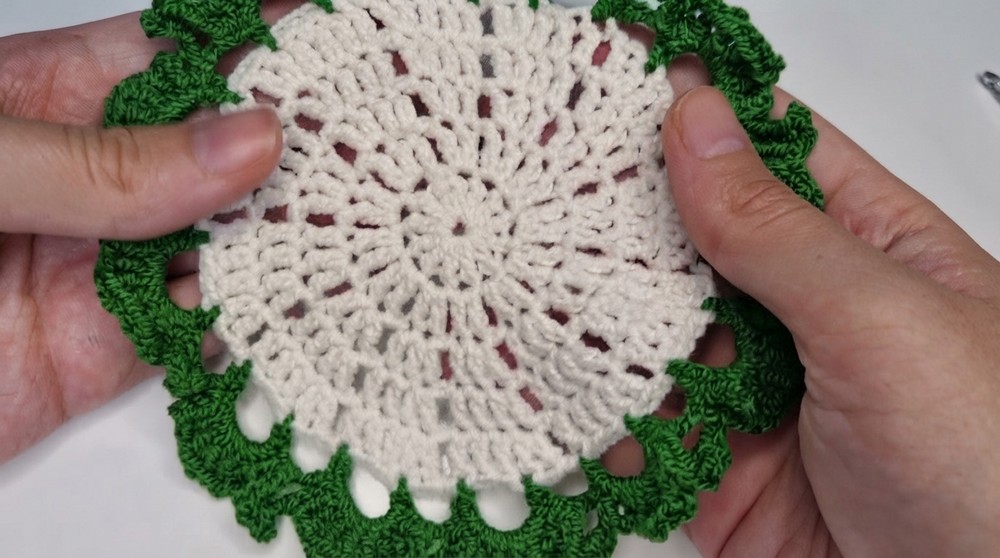
Flower Petals
- Attach petal yarn at any starting position (preferably at one of the big loops for neat effect).
- Ch 2.
- Work 6 hdc, ch 1.
- Repeat (6 hdc, ch 1) six times to complete all petal bases (these form the petals' foundation).
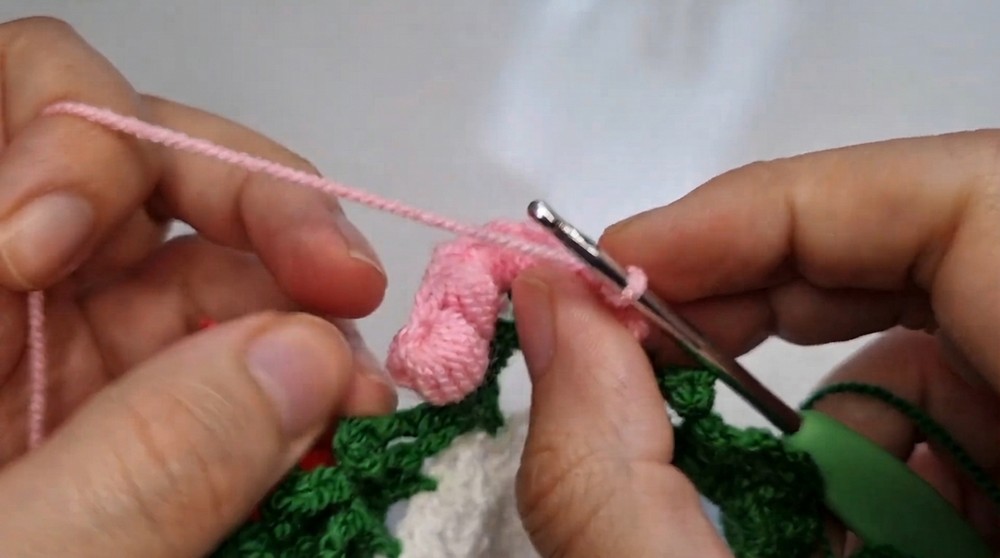
- Turn your work for petal shaping.
- Insert hook in first stitch, sl st.
- Ch 3.
- (In the next, dc, ch 3, insert hook into top of dc, pull through = makes a small picot at petal tip)
- 1 dc, ch 3, picot at each petal’s top, repeat across.
- Form petal loops by continuing this pattern, ending with a sl st to the next base, ch 1, then cut the yarn.
- Pull through to fasten off.
- Weave in all yarn tails with a needle or hook for a tidy finish.
Assembly & Finished Size
- Lay coaster flat and gently shape as needed, so petals sit evenly spaced.
- Diameter: 10–12 cm (about 4–5 in.), with petals slightly elevated.
- Weave in any leftover yarn tails.
- Coaster is now ready for everyday use or decorative display.
Conclusion and Ending Words
Each round has built upon the previous layers, resulting in a lovely and practical flower coaster. The design, with a structural center, intricate leafy edge, and bold petals, can easily suit any table or as a heartfelt gift for friends. The process encourages mastery over round work and shaping techniques, as well as increasing skills in color and detail application. Experiment with color placements and yarn weights to develop a variety of effects. Well-done on constructing this piece; may your coaster bring beauty and a sense of accomplishment to your space every day.