
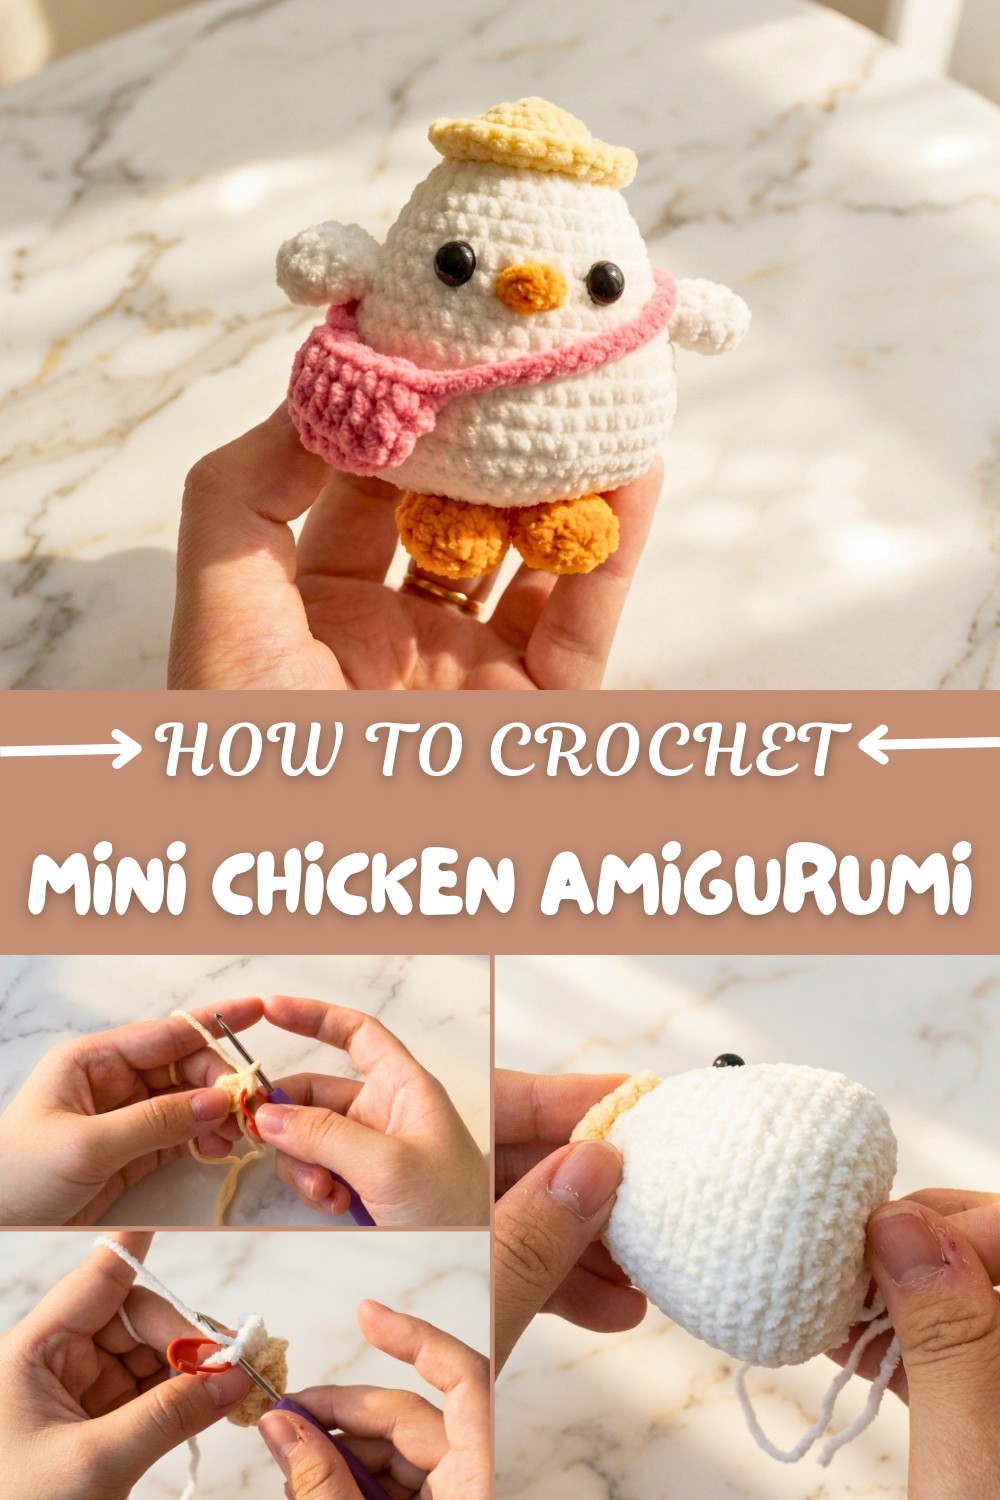
Pocket-Sized Free Crochet Mini Chicken Amigurumi Pattern
Enjoy pocket sized cuteness with Free Crochet Mini Chicken Amigurumi Pattern bringing cheerful farm inspired character and charming details.
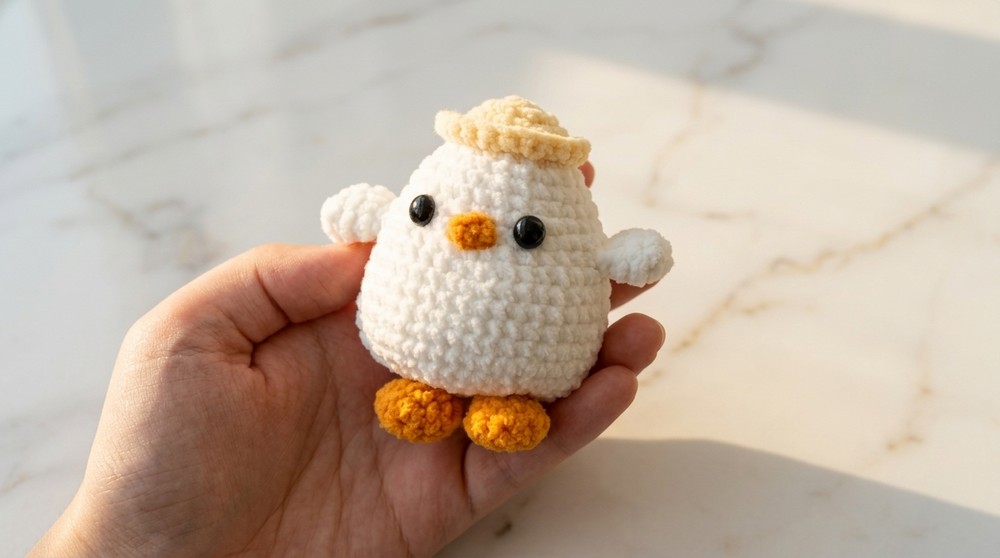
One of the most delightful little amigurumi projects I’ve enjoyed recently is this Free Crochet Mini Chicken pattern. With its round, plump shape and cheerful expression, this tiny chicken has a personality all its own. The texture is pleasantly firm due to the tight single crochet stitches worked in cotton yarn, giving the piece both durability and a neat, clean look.
This mini chicken suits crocheters at any skill level and works up quickly, making it ideal for a small gift or a charming decorative item. You can easily adjust its size by using different yarn weights or hook sizes, allowing for a family of chickens or unique versions to suit your taste. These make perfect gifts for springtime celebrations or even as a cute addition to a child’s toy collection.
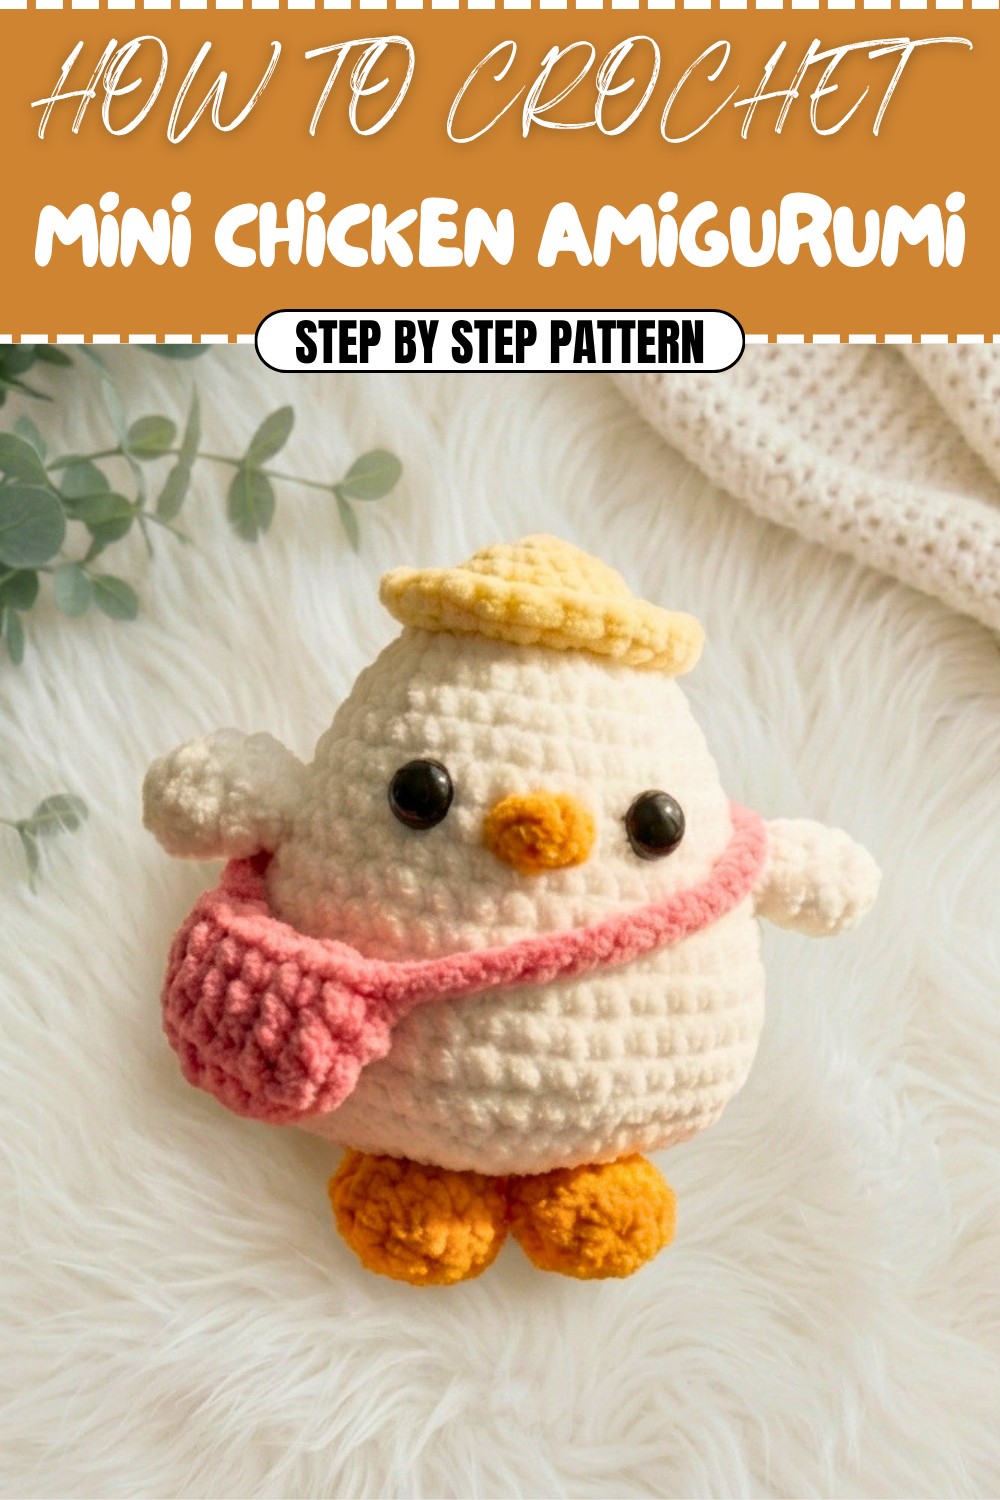
Free Mini Chicken Amigurumi pattern for Nursery Decor
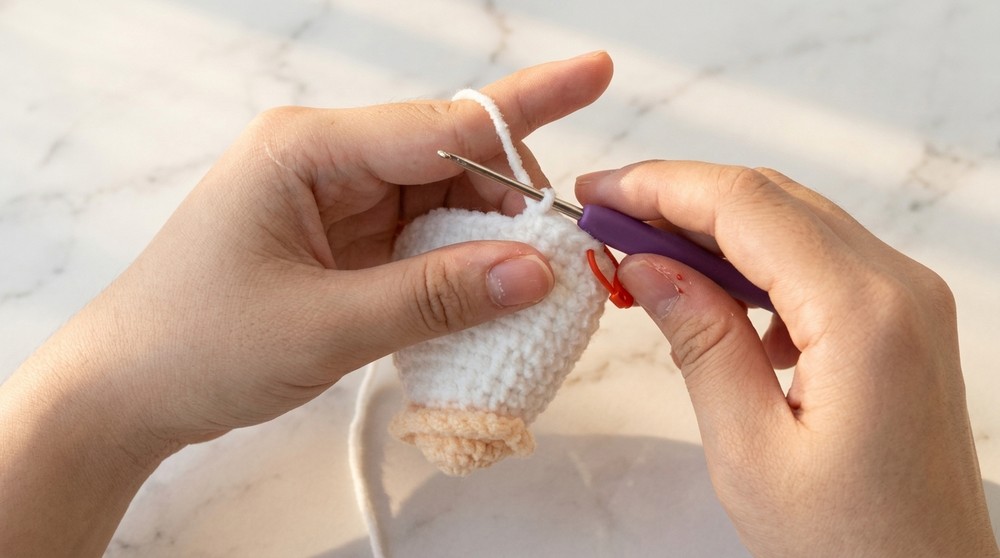
The construction involves working the body in one continuous round, shaping it with increases and decreases for that signature rounded form. Separate small pieces like the beak, wings, and comb come together during the finishing stage, giving the chicken its character. Using a stitch marker helps keep track of rounds and maintain consistent tension, which really pays off in the final appearance.
The choice of cotton yarn highlights the stitch definition beautifully, making details stand out crisply and providing a sturdy feel. Cotton’s natural breathability and toughness mean the mini chicken is built to last. Plus, there’s plenty of room to experiment with colors or add personal touches, turning this sweet little figure into something truly special.
Crochet Baby Chicken Amigurumi Pattern
This adorable baby chicken amigurumi pattern is simple yet irresistibly cute, perfect for beginners and crochet enthusiasts alike. You will create a small, cuddly chicken complete with wings, feet, and even a mini bag accessory. The design uses velvet yarn to achieve a soft texture and a plush finish. Working in rounds with basic stitches, you will learn to shape the chicken through increases, decreases, and creative stitch placement. This project is a delightful addition to your amigurumi collection or a charming handmade gift.
Skill Level & Terminology
- Skill Level: Beginner
- Terminology: US crochet terms.
The pattern uses fundamental crochet stitches such as single crochet, increases, decreases, working in both front and back loops, chains, and slip stitches. Knowledge of the magic ring starting method is recommended but will be explained.
Materials & Tools
- Velvet yarn (color of choice for the chicken’s body)
- 2 mm crochet hook
- Black or safety eyes (pair)
- Synthetic stuffing/fiberfill
- Scissors
- Yarn needle for sewing
- Optional: blush for finishing touches
Gauge
Gauge is not critical for this amigurumi piece but maintain a tight tension to avoid gaps in the stuffing. Approximately 10 single crochet stitches equal 4 cm using the specified yarn and hook.
Abbreviations List
| Abbreviation | Stitch | Description |
|---|---|---|
| ch | Chain | Creates foundation chain or turning chain |
| sc | Single crochet | Basic crochet stitch |
| inc | Increase | 2 single crochets in one stitch |
| dec | Decrease | Single crochet two stitches together |
| sl st | Slip stitch | Connect rounds or move yarn without height |
| st / sts | Stitch / Stitches | Singular or plural stitch units |
Special Stitch Instructions
Magic Ring: Begin rounds working in an adjustable loop so the starting hole closes tightly for a clean amigurumi foundation.
Working in Front Loop Only (FLO) and Back Loop Only (BLO): For texture and shaping, some rounds require working stitches only into the front or back loop of each stitch.
Finished Size
The completed baby chicken measures approximately 12-14 cm (4.7–5.5 inches) tall, depending on yarn tension.
The Pattern
Chapter 1: Introduction & Body Base
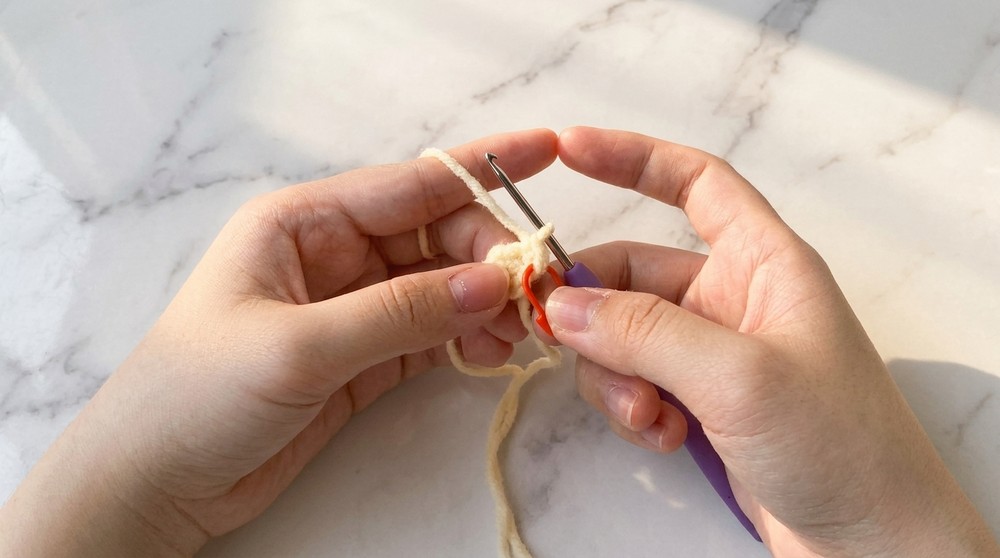
- Step 1: Make a magic ring.
- Round 1: Work 6 sc into the magic ring (6 sts). Mark the first stitch.
- Close the round with a slip stitch (sl st), then chain 1 (ch 1) to start the next round.
You have begun the tight, closed base of the baby chicken.
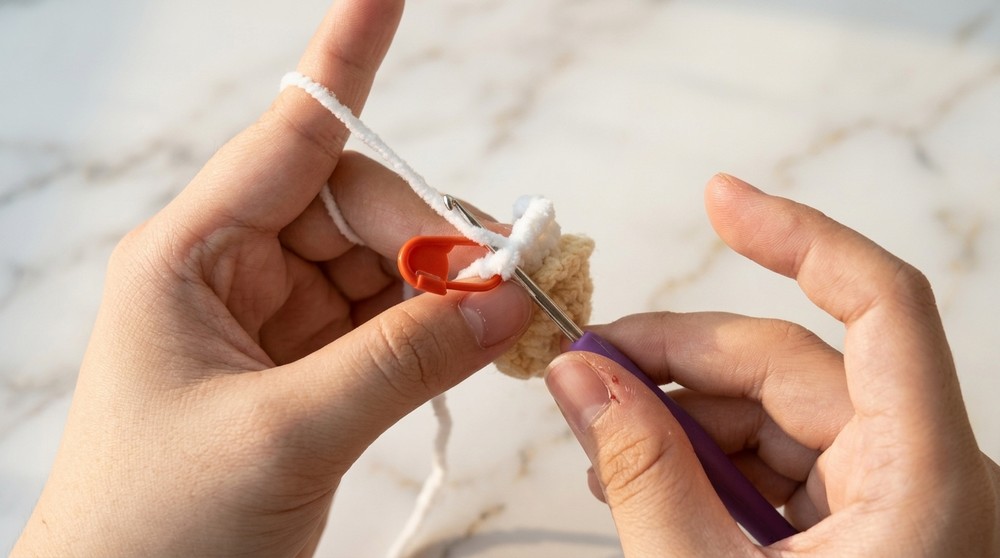
Chapter 2: Body Rounds
- Round 2: Repeat inc in every stitch (2 sc in each stitch) for a total of 12 sts.
- Round 3: Repeat [1 sc, inc] 6 times around (18 sts).
- Round 4: Work 18 sc evenly in each stitch — no increase this round.
- Round 5: Work only in front loops only (FLO): Repeat [1 sc, inc, 1 sc] 6 times (24 sts).
- Round 6: Change to your white yarn in the back loops of Round 4; 18 sc around in BLO.
The body is taking form with shaping and layering color.
Continued Body Shape & Size Increase
- Round 7: Repeat [1 sc, inc, 1 sc] 6 times around (30 sts).
- Round 8: Repeat [1 sc, 2 sc, inc] 6 times (36 sts).
- Round 9: 30 sc in each stitch around, no increases.
- Round 10: Repeat [1 sc, 1 sc, inc, 2 sc] 6 times. (36 sts)
- Rounds 11–12: 36 sc for two rounds.
Your chicken’s tummy is growing with smooth increases and consistent rounds.
Rounds 13–17: Further Increasing Body Width
- Round 13: Repeat [1 sc, 4 sc, inc] 6 times (42 sts).
- Rounds 14–16: 42 sc rounds to add height.
- Round 17: Repeat [1 sc, 2 sc, inc, 3 sc] 6 times (48 sts).
Body diameter expands with series of nicely spaced increases.
Decreasing to Shape Top & Neck
- Round 18: Repeat [1 sc, 1 sc, dec, 2 sc] 8 times (42 sts).
- Round 19: Repeat [1 sc, 2 sc, dec] 8 times (36 sts).
- Round 20: Repeat [1 sc, inc, 1 sc] 8 times (42 sts).
Neck is starting to take form through well-distributed decreases.
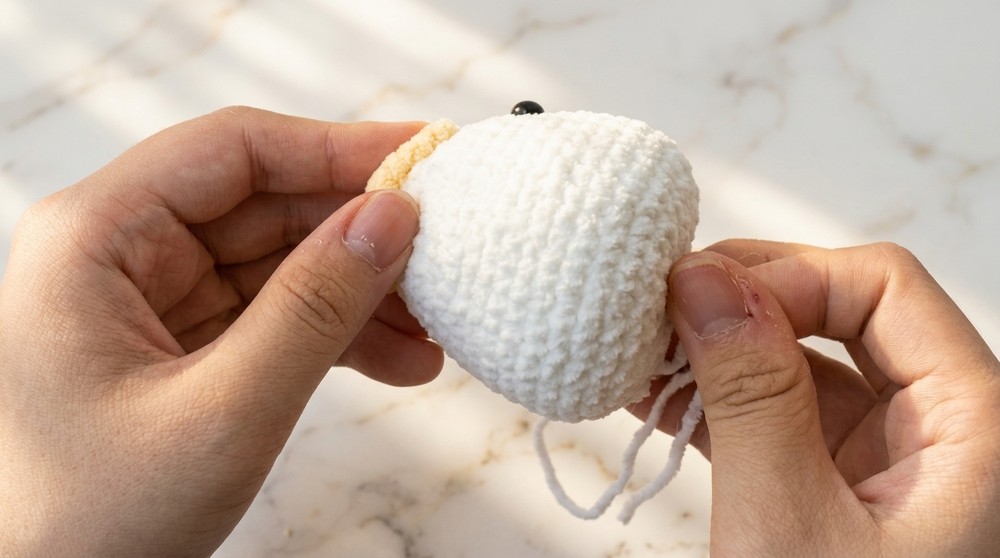
Eyes and Nose Placement
- Eyes: Attach safety eyes between Rounds 5 and 6, spaced six stitches apart.
- Nose:
- Start a magic ring.
- Work 1 sc, ch 1, 1 sc, sl st to form a small flat triangle.
- Sew the nose centered between the eyes.
Facial features give the chicken personality.
Closing the Head
- Round 21: Repeat [1 sc, dec] 8 times (24 sts).
- Round 22: Repeat dec 8 times (8 sts).
- Close the hole by pulling the yarn tightly and secure.
The head is sculpted and securely closed for stuffing.
Chapter 3: Wings (Make 2)
- Start with a magic ring.
- Round 1: 1 sc, then 4 sc around the ring (5 sts).
- Sl st and ch 1 to end the round.
- Round 2: Repeat [1 sc, 1 sc, inc, 2 sc] (7 sts).
- Rounds 3-4: 6 sc straight rounds for shape.
Two wings give your chicken charming side accents.
Chapter 4: Feet (Make 2)
- Round 1: Make a magic ring and work 6 sc inside, marking the first stitch.
- Round 2: Repeat [1 sc, inc] all around (9 sts).
- Round 3: 9 sc around.
- Round 4: Repeat [1 sc, dec] twice (6 sts).
- Round 5: 6 sc around.
Feet are sturdy and shaped for balance.
Chapter 5: Assembly of Wings and Feet
- Sew wings on the body below the neck area on either side, evenly spaced.
- Attach feet next to the middle hole at the bottom of the body, ensuring balance.
- Use pins first to place pieces before sewing for accurate positioning.
Your chicken’s silhouette is assembled and beginning to look complete.
Chapter 6: Mini Bag Accessory
- Step 1: Make a slip knot and chain 5.
- Step 2: Skip the first chain; in second chain, work an inc.
- Step 3: Work 2 sc in each remaining chains followed by 4 sc in the last chain.
- Step 4: On the other side of the chain foundation, work 2 sc, then an increase.
- Step 5: Join with a slip stitch to the first stitch, chain 1 to end.
- Round 2: Work 12 double crochet (dc) stitches all around for mini bag walls.
- Final Round: Work 12 single crochet stitches around for finishing.
- Create a chain strap of 35 ch stitches.
- Attach strap to opposite sides of mini bag with slip stitches and weave in ends.
The bag adds a playful accessory personalizing your baby chicken.
Chapter 7: Finishing Touches
- Sew the mini bag securely to the chicken’s body or wing for safe fit.
- Optionally, add blush or fabric paint on cheeks for a sweet rosy glow.
- Weave in all loose yarn ends to ensure neatness and durability.
Assembly & Finishing
- Stuff the body firmly at every stage, especially before closing to maintain a smooth, rounded shape without lumps or gaps.
- Use a yarn needle to securely stitch nose, eyes, wings, feet, and bag in position.
- Adjust and shape pieces gently after sewing.
Pattern Summary
This pattern combines basic stitches—magic rings, single crochets, increases, and decreases—with creative techniques such as working in front or back loops and folding pieces for dimension. It guides through incremental shaping of the body and head, then adds limbs and accessories to create a harmonious finished amigurumi. The construction emphasizes tight stitches for durability, and assembly steps to ensure a professional, clean finish.
Final Notes
Keep your stitch marker handy to track round beginnings, and refer to the stitch counts after each round to maintain accuracy. Personalize with colors, or add embroidery details for extra charm. This baby chicken amigurumi is not only a rewarding project but also an endearing gift or collectible.