
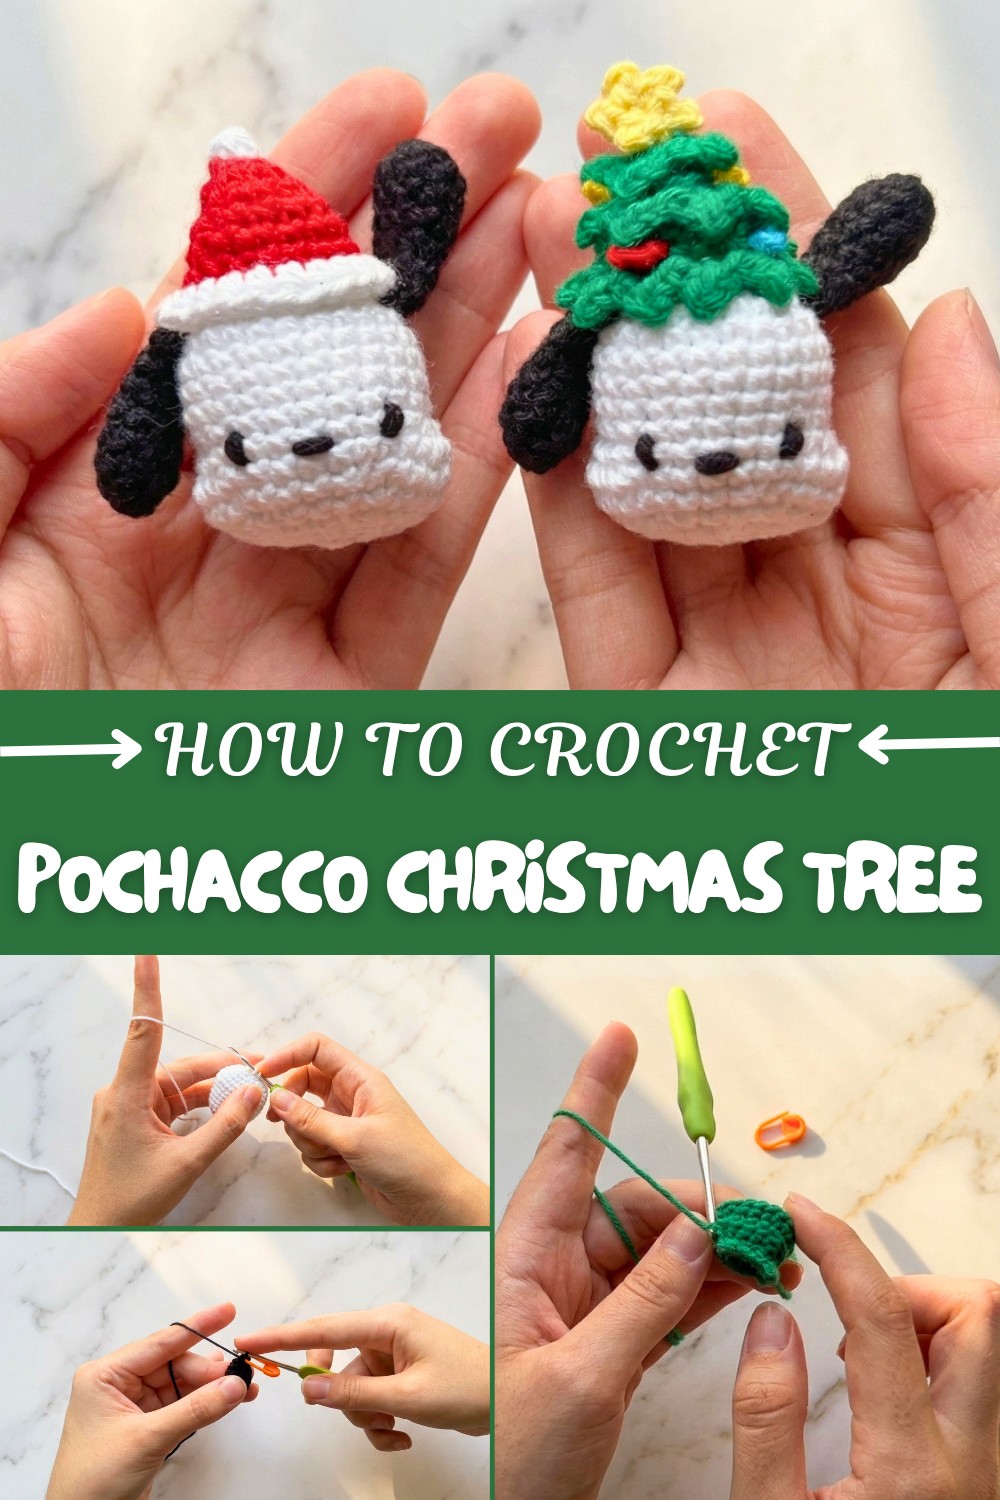
Pochacco Christmas Tree – Free Crochet Pattern
Holiday magic shines through Free Crochet Pochacco Christmas Tree Pattern with playful festive character style perfect for cheerful decor.
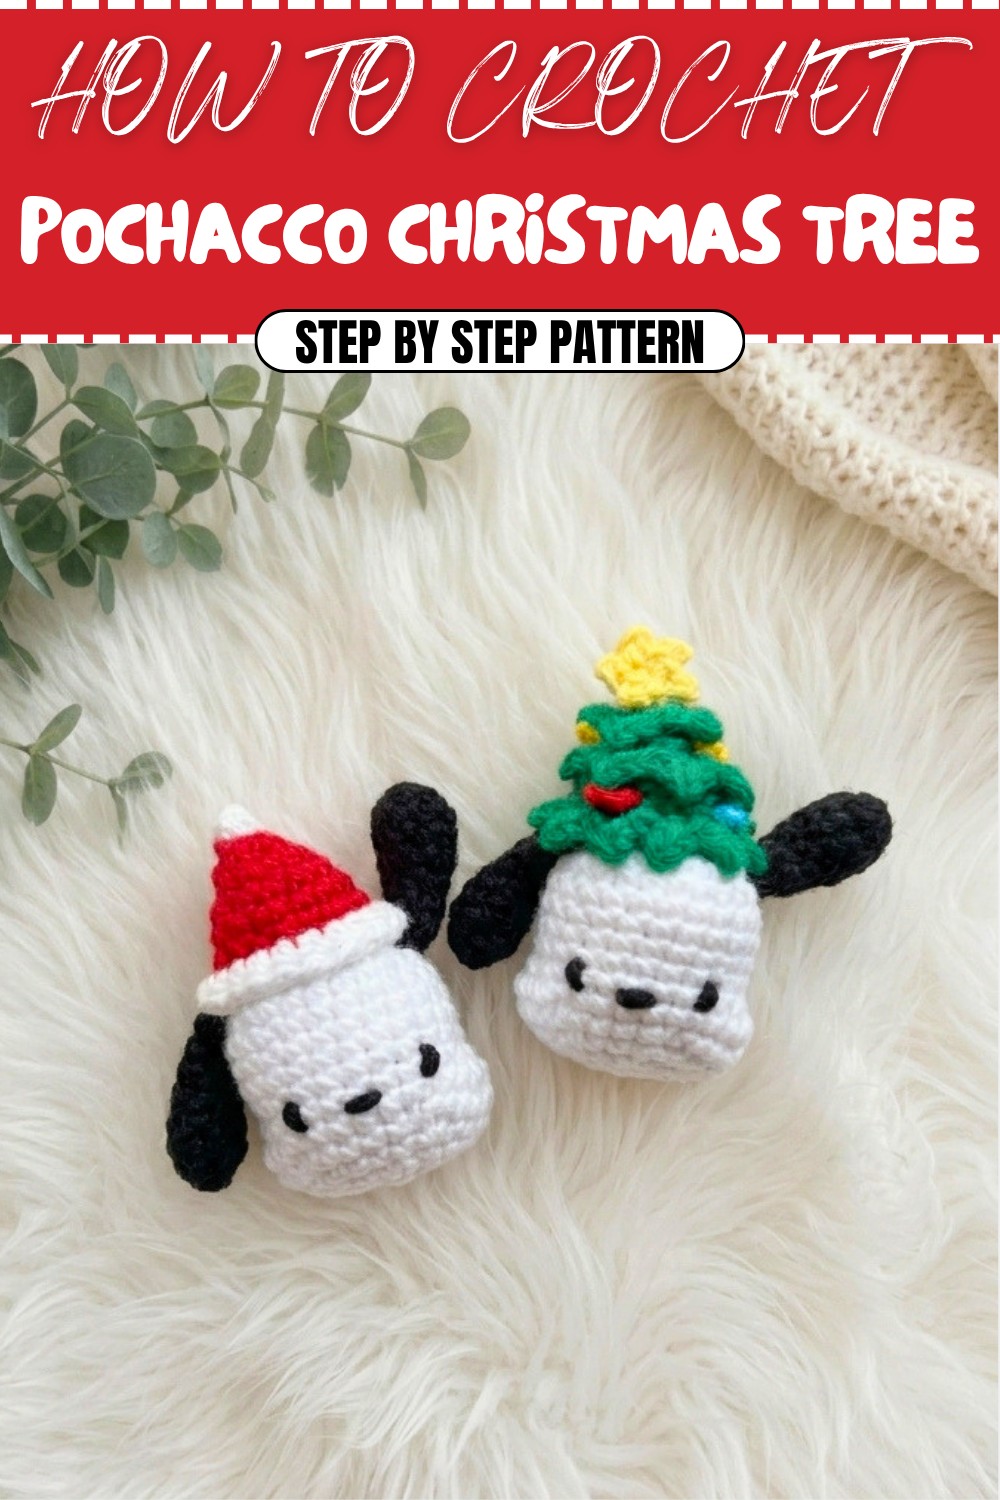
Holiday crochet projects have a special way of making every season feel more cheerful. The Free Crochet Pochacco Christmas Tree Pattern is a cute amigurumi decoration that combines the lovable Pochacco character with a festive Christmas tree design. It is a fun project for adding a handmade touch to holiday décor, and with a few small changes, the same idea can also become a keychain, hanging ornament, gift topper, bag charm, or a small desk decoration.
This design is full of charm and festive spirit. The Christmas tree shape is neat and well balanced, while the adorable Pochacco face and little details make it stand out. The finished project has a smooth texture and a soft rounded look that feels clean and polished. Its playful style fits beautifully on a Christmas tree, holiday table, shelf, mantel, or in a child's room. It also looks lovely as part of a seasonal handmade display and brings a warm and happy feeling wherever it is placed.
Easy Pochacco Christmas Tree Crochet Pattern
This pattern is a great choice for beginners as well as anyone who enjoys making amigurumi. Most of the project uses the single crochet stitch, which helps build a firm shape with clear and even stitches. The construction is simple and worked in small sections before everything is joined together. Paying close attention to the facial details and finishing touches will give the project even more personality.
The finished piece makes a thoughtful handmade gift for children, friends, teachers, or anyone who loves cute holiday decorations. It is also a wonderful collectible that can be displayed every Christmas for years to come. If you enjoy fun seasonal crochet projects that are easy to follow and full of character, this pattern is sure to be a joyful addition to your crochet collection.
Crochet Pochacco with Christmas Tree Hat Pattern
Make a charming Pochacco-inspired crochet figure topped with a festive Christmas tree hat using this detailed and easy-to-follow pattern. Worked in rounds with basic stitches and color changes, this project is perfect for crocheters who want a fun seasonal item or a cute collectible.
Summary
This pattern teaches you how to crochet a little Pochacco character with a unique Christmas tree design hat. The body and head are worked in white yarn, shaped with simple increases and decreases to form cheeks and the round head. The Christmas tree hat is made separately using green yarn and accented with picots and a star. The finished piece is a delightful handmade decoration or gift for holiday cheer.
Pattern Notes
- The work is done in continuous spiral rounds for smooth shaping, except where slip stitches are applied to finish rounds.
- Color changes are incorporated carefully to maintain clean edges.
- The cheeks are shaped by crocheting in front loops only, creating a textured contour.
- Stuff firmly while shaping the head to maintain form.
- Stitch markers are recommended to mark round starts.
- Adjust yarn weight and hook size to suit your tension and desired size.
Skill Level
- Suitable for advanced beginners to intermediate crocheters.
- Requires knowledge of basic stitches: chain (ch), single crochet (sc), increase (inc), decrease (dec), slip stitch (sl st).
- Working in front loops only for shaping and reading stitch patterns in continuous rounds.
- Basic sewing and assembly skills needed.
Materials
- Acrylic yarn in white, black, and green (2mm recommended but adjust as preferred)
- Crochet hook size 2 mm (or appropriate for chosen yarn)
- Yarn needle
- Stitch marker(s)
- Scissors
- Synthetic stuffing (to fill cheeks and head)
- Optional: small pom-poms or threads for decoration
Measurements / Sizing
- Finished Pochacco head height: approx. 10 cm (4 inches) excluding hat
- Hat height approx. 5 cm (2 inches) with star topper
- Overall size will vary based on yarn and hook choice
Gauge
- Not crucial for amigurumi but tight stitches preferred to avoid gaps.
- Approximate gauge: 15 sc x 15 rows = 10 cm (4 inches). Adjust with hook size if needed.
Gauge Swatch Tips
- Work a 10x10 cm square in single crochet using your yarn and hook.
- Check for firm but flexible fabric, amend hook if stitches appear loose.
Stitch Abbreviations
| Abbreviation | Term |
|---|---|
| ch | Chain |
| sc | Single Crochet |
| inc | Increase (2 sc in one stitch) |
| dec | Decrease (crochet 2 stitches together) |
| sl st | Slip Stitch |
| fp-sc | Front Loop Single Crochet (crochet in front loop only) |
Special Stitches
- Magic Ring: used to start circular rounds with a tight center.
- Front Loop Single Crochet (fp-sc): crochet into the front loop only of each stitch, used here for shaping cheeks and textural effects.
- Picot: chain 1, slip stitch into the first chain to create a small decorative bump — used on Christmas tree hat edges.
The Crochet Pattern
Head and Cheeks
Start:
- With white yarn, make a Magic Ring.
- Round 1: 6 sc in the ring (6 stitches). Pull tail tight to close. Mark first stitch.
Round 2:
- Inc in each stitch (12 sc).
Round 3:
- (1 sc, 1 inc) repeat 6 times (18 sc).

Round 4:
- (1 sc, 1 sc, 1 inc) repeat 6 times (24 sc).
Round 5:
- (2 sc, 1 sc, 1 inc) repeat 6 times (30 sc).
Rounds 6 to 10:
- Work straight rounds with 1 sc in each stitch (30 sc per round).

Shaping Cheeks (Round 11):
- Work 6 fp-sc increases across the round to shape cheeks: crochet 3 inc in front loops only (one inc per stitch), then 8 sc in full stitch, repeat the 3 fp-sc inc, finish with 4 sc full stitches (total 30 sc).
Round 12:
- Crochet in pattern: (1 sc, 1 inc) repeated twice where increases were made previously, picking up front loops only; then 8 sc.
Round 13:
- Crochet 8 sc in usual stitches; repeat (1 sc, 1 inc) 3 times, finish with 4 sc.
Head Shaping
Round 14:
- Turn your work; make 2 sc, then dec, then 2 sc, repeat 6 times (24 stitches).
Round 15:
- Work (3 sc, dec) 3 times around (21 stitches).
Round 16:
- (1 sc, dec) repeat 6 times (18 stitches). Before continuing with next rounds, stuff the cheeks firmly.
Round 17:
- (1 sc, dec) repeat 6 times (12 stitches).
Round 18:
- Make 6 dec evenly spaced (6 stitches).
Finishing Head:
- Close opening by threading yarn through the front loops of remaining stitches, pull tight and secure.

Detailing the Cheeks
- To create more defined cheek curves, pass yarn back and forth on sides, gathering stitches above the increased areas to create a sunken effect.
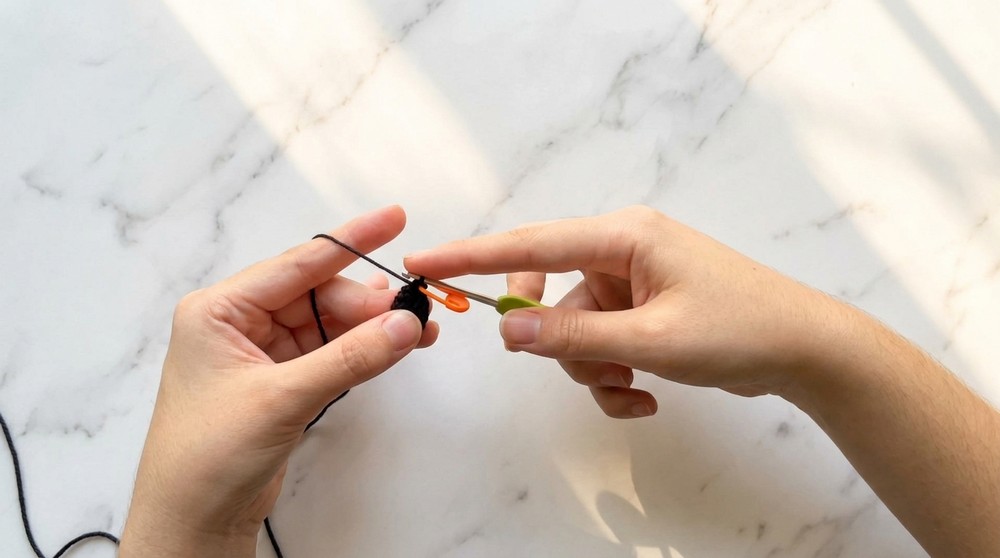
Ears (Make 2)
Start:
- Magic Ring, 6 sc inside (6 stitches).
Round 2:
- (1 sc, inc) repeat 3 times (9 stitches).
Rounds 3-5:
- Work 1 sc in each stitch around (9 stitches).
Round 6:
- Work (1 sc, dec) 3 times (6 stitches).
Round 7:
- Work straight 6 sc.
Finishing:
- Fold each ear in half. Insert hook through both sides and work 3 sc to close fold, securing ear shape.
Assembly of Ears and Face
- Sew ears onto head between rounds 4 and 6, positioning symmetrically.
- Sew nose centrally between ears.
- Optional: embroider face details as desired.
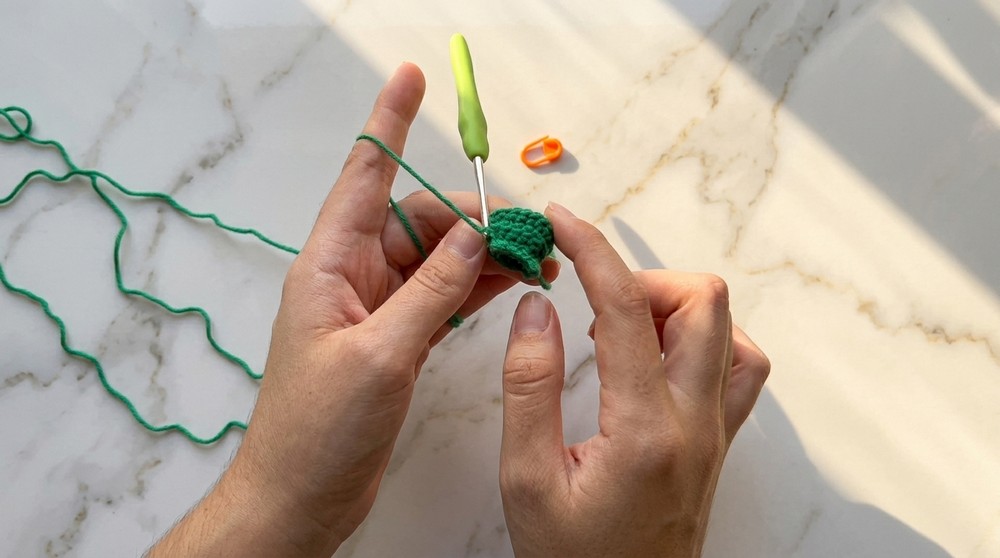
Christmas Tree Hat
Start:
- With green yarn, Magic Ring, 6 sc inside (6 stitches).
Round 2:
- (1 sc, inc) repeat 3 times (9 stitches).
Round 3:
- Work only in back loops: (1 sc, inc) repeat 3 times.
Round 4:
- Sc in each stitch (9 stitches).
Round 5:
- Work in back loops only: (2 sc, inc) repeat 3 times (12 stitches).
Round 6:
- Sc each stitch (12 stitches).
Round 7:
- (3 sc, inc) repeat 3 times (15 stitches).
Round 8:
- Sc around (15 stitches).
Edging:
- Chain 1, then work picots evenly spaced on edge around the hat to simulate decorations on the Christmas tree.
Star Topper for Hat
- Magic Ring: chain 2, sl st in first chain, repeat 5 times to make star points.
- Sew star onto top of hat.
Assembly of Hat
- Stuff lightly inside hat to keep shape.
- Sew hat securely onto the top of the head.
Optional Red Hat Alternate
- Repeat rounds 1–6 of green hat, but do not work in back loops.
- Add a row of white half-double crochet stitches as trim.
- Attach a pompom or work 4 sc in one stitch for a fluffy bobble.
Assembly & Finished Size
- Stuff cheeks and head firmly for round shape.
- Position head on desired surface or attach to any base if desired.
- Sew ears and hat firmly, ensure symmetry.
- Add any embellishments like pom-poms or sewn dots to decorate hat as desired.
- Finished height approx 15 cm (6 inches) including hat.
Conclusion
- A lovely project combining simple stitches and shaping techniques suitable for intermediate beginners.
- Ideal for holiday decorations, gifts, or charming collectors’ items.
- The crochet techniques used offer practice with magic rings, front loop stitches, and shaping by increases and decreases.
- Encouraging to try for those wanting a festive, cute toy with personalized embellishments.