
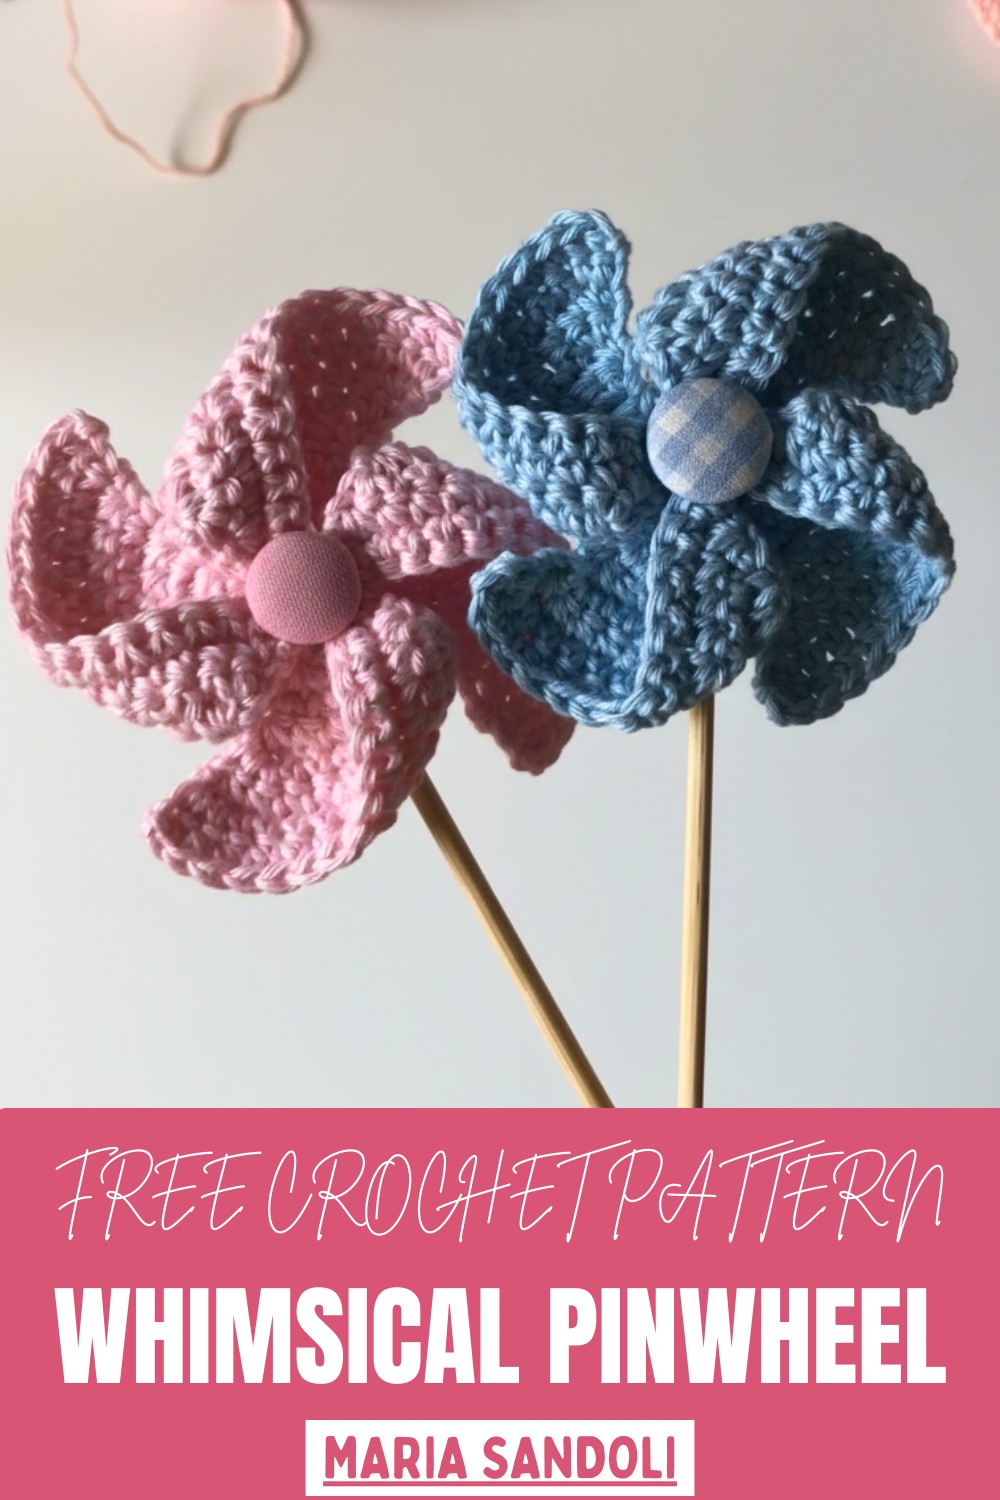
Elevate your skills with this playful Free Crochet Pinwheel Pattern, offering a fun, simple, and stylish project for all skill levels.
Bring a playful burst of color and texture to your crochet projects with the Crochet Pinwheel Pattern, a design that delights the eye and engages the hands. Ideal for blankets, cushions, home décor, or even wearable accessories, it adds charm and character wherever it’s used. Its versatile structure allows for endless creative possibilities while maintaining a polished, handcrafted look.
Special Features, Uses, and Materials
-
Special Features:
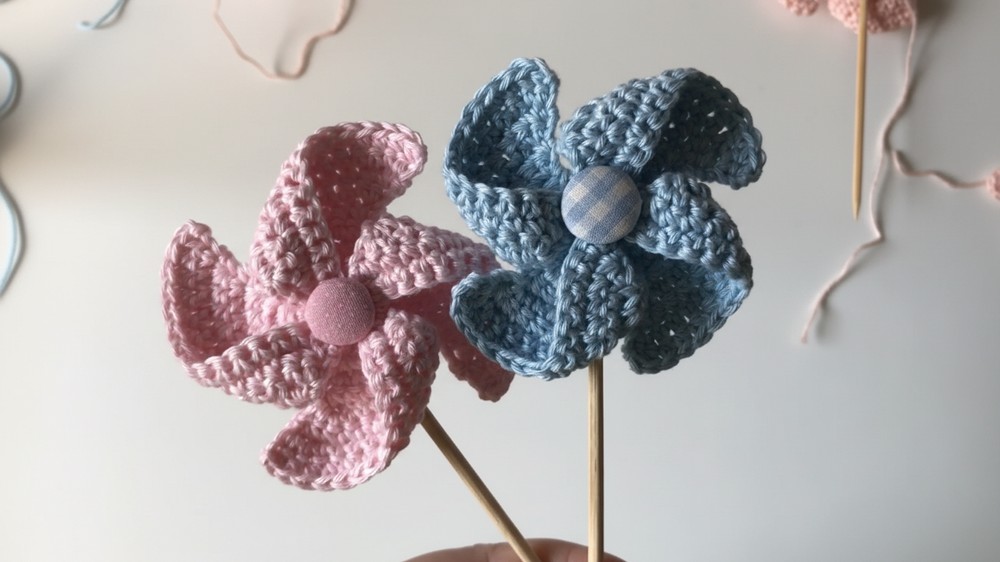
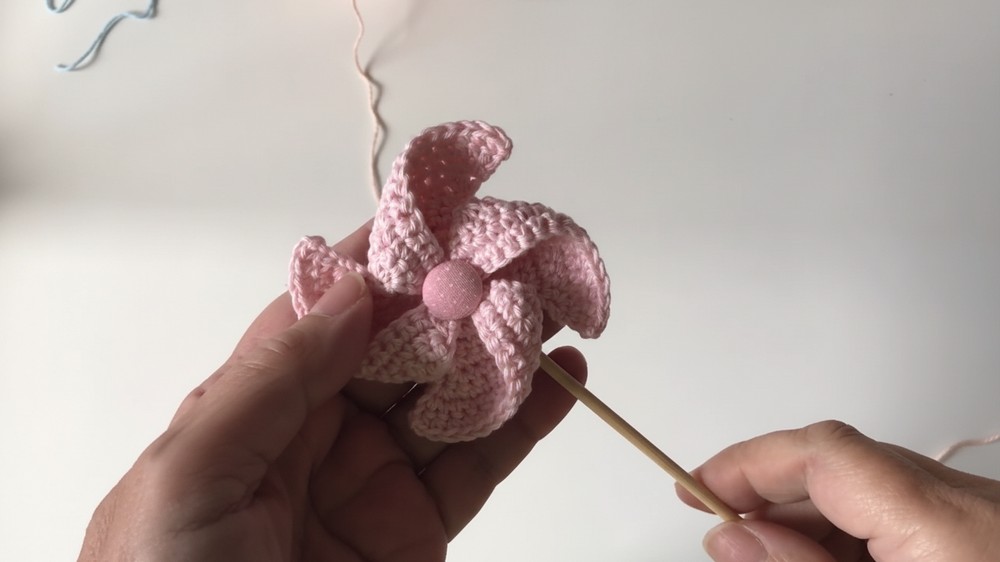
- This unique piece combines crochet art with a simple novelty item. The project uses a small, fabric-covered button for a tidy center and is mounted on a wooden skewer to function as a decorative pinwheel. It offers an excellent way to use up small amounts of yarn.
-
Uses: Use the finished Catavento as a decorative item for a garden, a unique party favor, or a cute homemade toy.
-
Materials:
-
Yarn: Fine-weight yarn, such as Bella (the tutor uses the color 243).
-
Hook: Crochet needle size 2 mm.
-
Notions: A pair of scissors, fabric or textile glue (the tutor mentions Glitter brand), a small button to cover, and a wooden skewer (like a churrasco or barbecue stick).
-
-
Difficulty Level: The tutor classifies this project as Super Easy (super fácil de fazer), making it suitable for all skill levels.
Adorable Crochet Pinwheel Pattern for Fun Projects
This pattern offers flexibility for color choices, stitch variations, and project size, making each finished pinwheel unique. Lightweight yet structured, it can serve as a standalone motif, part of a larger blanket or pillow, or even as a decorative accessory. With its dynamic design, tactile texture, and handmade elegance, the crochet pinwheel adds personality, charm, and sophistication to any project.
Tutor's Suggestions
-
Yarn Scraps: The project is ideal for working with leftover yarn scraps (sobrinhas de linha).
-
Triangle Shape: When creating the blades, remember that every row is a back-and-forth row (carreiras de ida e volta), not worked in the round.
-
Increasing: To form the triangle shape, you must place an increase (two single crochet stitches) in the first stitch and the last stitch of every row.
-
Securing the Handle: Use both glue and sewing to attach the stick to the pinwheel securely, ensuring the piece does not come apart.
-
Handle Preparation: You can shorten the wooden skewer to the desired length before covering it.
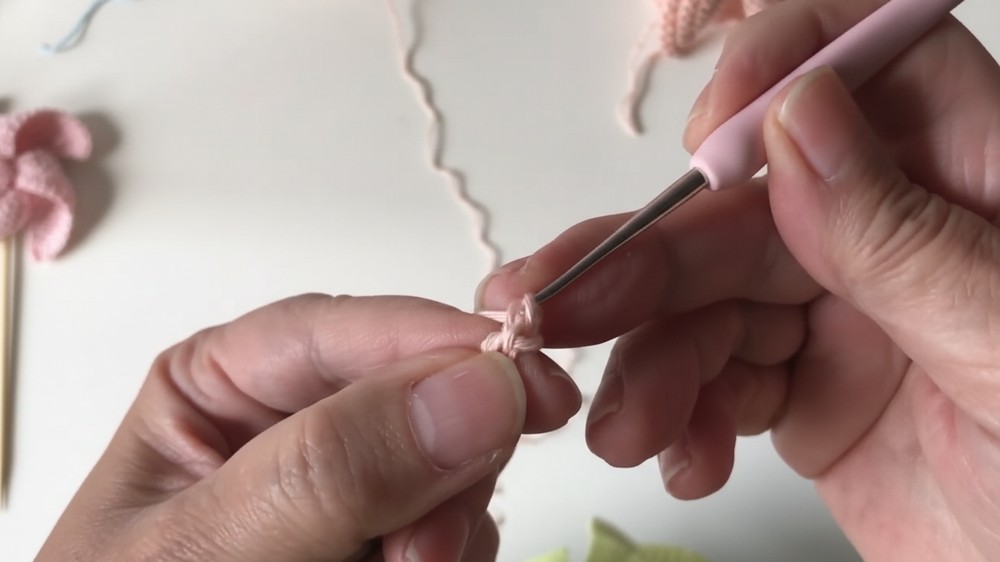
The Crochet Pinwheel Pattern begins with the start, forming a small, sturdy center using chain stitches and slip stitches to create a solid foundation.
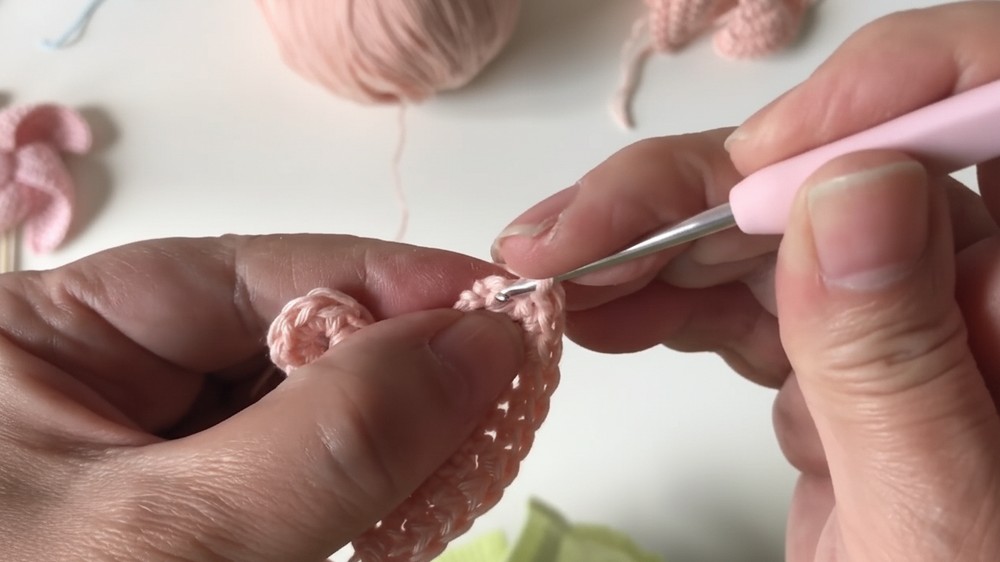
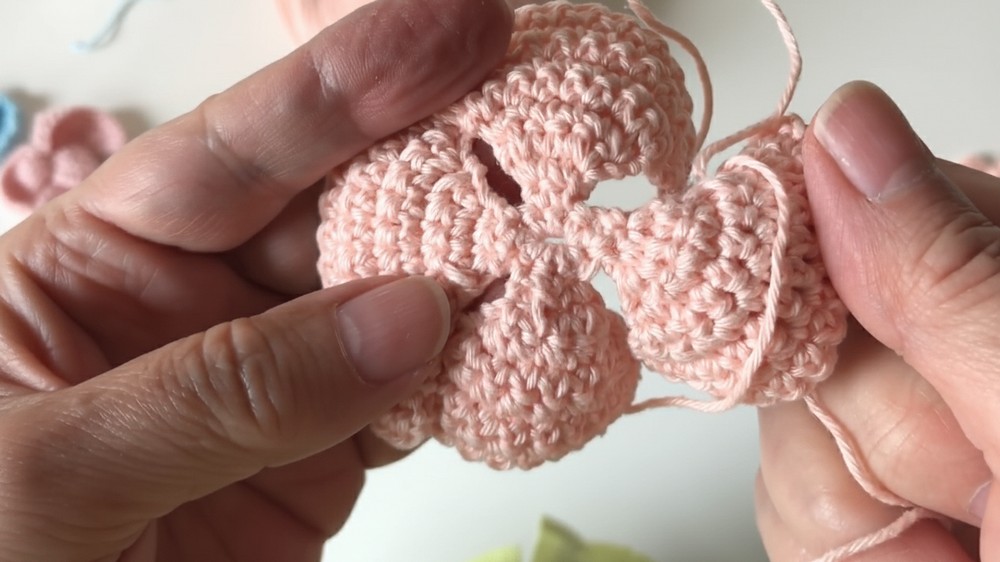
In the mid stage, the pinwheel’s rotating segments are built outward with combinations of double crochet, half-double crochet, and shell stitches, allowing the pattern to expand symmetrically while providing room for color experimentation. Each segment is carefully shaped to maintain balance and visual appeal.
In the end stage, finishing touches such as joining edges, weaving in loose ends, or adding a decorative border complete the piece with a neat, cohesive look.
Conclusion
Your handmade crochet pinwheel is now complete! You have successfully created a beautiful decorative item by mastering the simple triangular shape and securing all the components with both glue and careful stitching.
Final Tip
For the strongest assembly, wait until the fabric glue on the handle is completely dry before sewing the final security stitches. This prevents the pieces from shifting while you work and guarantees a firm hold.