
Perfect Fall Crochet Sweater Pattern to Stay Warm and Chic
Rock the comfy oversized aesthetic this fall by making a relaxed beautiful crochet sweater with roomy sleeves that look great over basic jeans.
Fall is the perfect time to cozy up with your favorite yarn and crochet hook while creating something truly special. Think about crocheting a sweater that combines style, comfort, and warmth all in one delightful project. That’s exactly what this crochet sweater offers, it’s a wearable piece of art that not only lets you stay snug during chilly autumn days but also gives your wardrobe an elegant update. The sweater’s detailed yet approachable design makes it a wonderful project for crocheters who enjoy experimenting with stitches and love creating lasting pieces.
This Crochet Sweater Pattern is a Total Showstopper
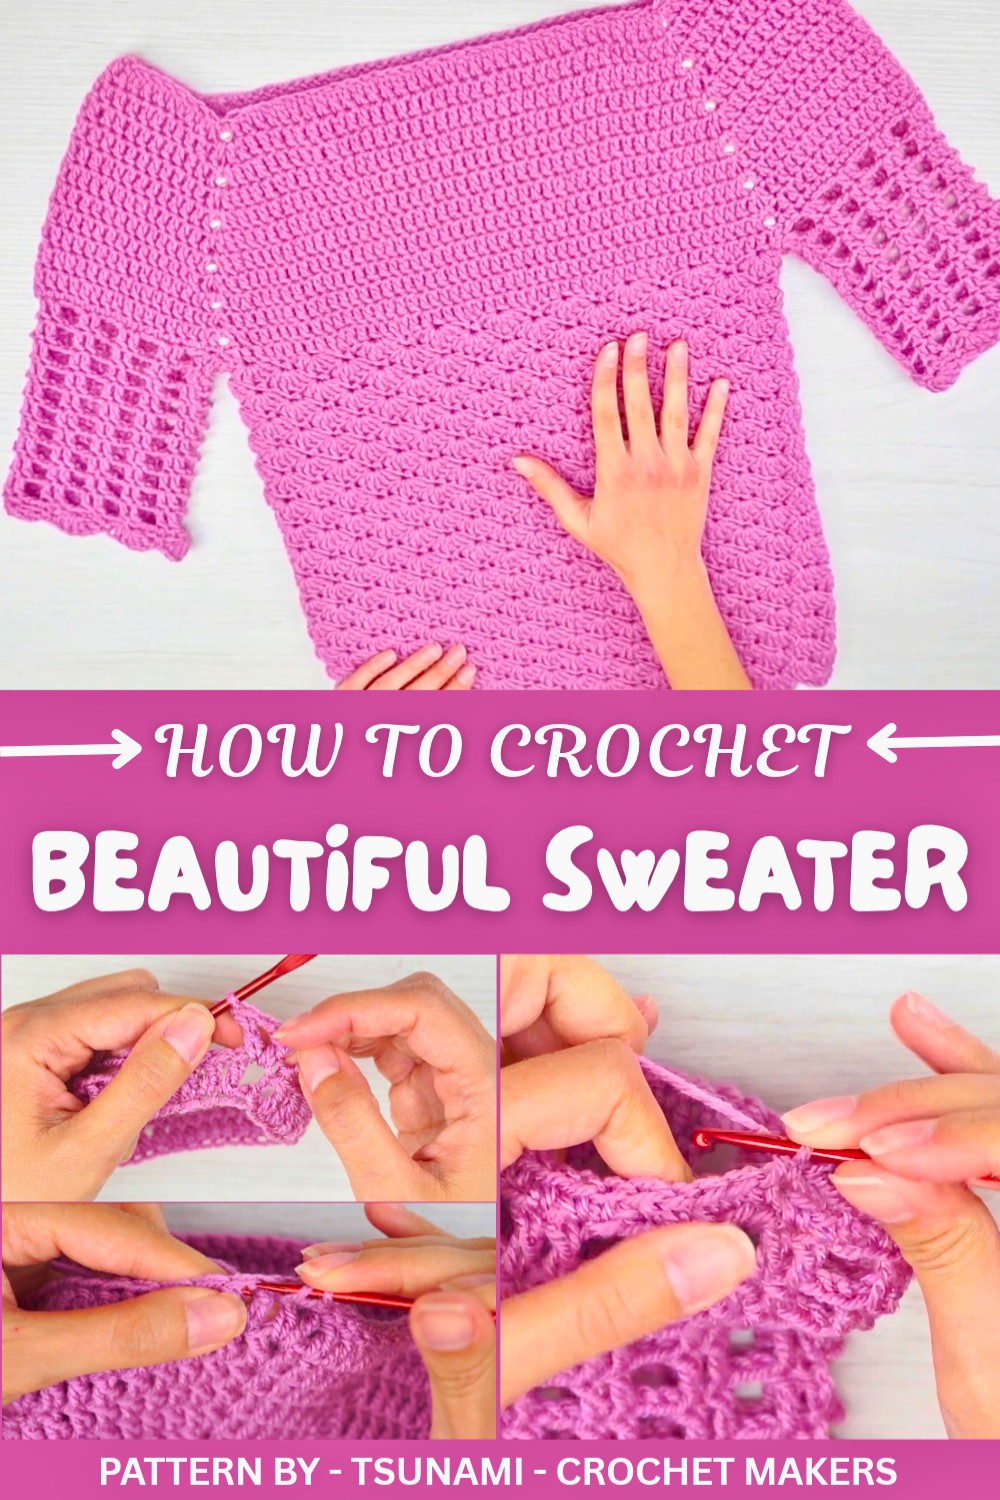
One of the standout features of this sweater is its flattering shape and intricate stitchwork. Designed with a top down technique, it allows you to tailor the fit perfectly to your body. Customizable sleeve lengths, hem detailing, and openwork sections add charm and versatility, making it ideal for layering over jeans or a dress for cozy fall outings. The textured patterns in the yoke and delicate finishing stitches take the sweater from simple to stunning. Whether worn as a casual statement piece or styled for an evening around the bonfire, this design adapts beautifully to the season.
Presented by TSUNAMI - Crochet Makers, the tutorial ensures even beginners can follow along with confidence. Known for their detailed instructions and creative projects, the channel adds a professional touch while keeping the process fun and relaxed. With this project, you’ll not only enjoy crocheting but also take pride in wearing (or gifting) something entirely handmade.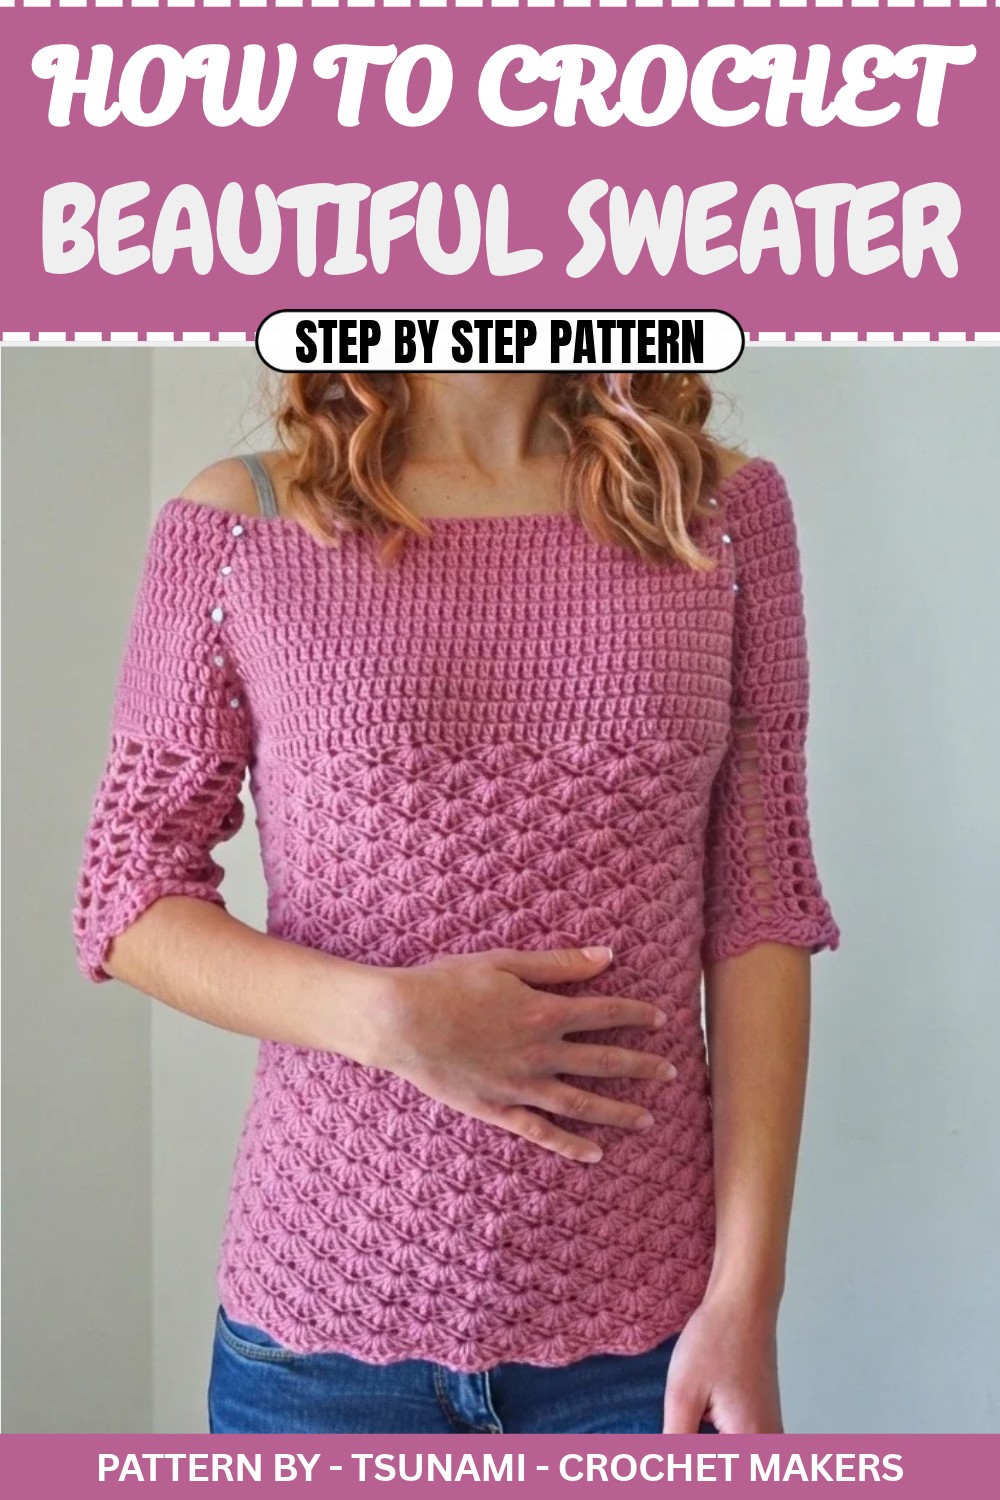
Crochet Pattern: Elegant Sweater with Textured Sleeves
Quick Overview of Pattern
- Project Name: Crochet Textured Sweater with Optional Openwork Sleeves
- Size: Fully adjustable to measurements for various sizes (instructions provided)
- Style: Rectangular neckline, textured bodice, and customizable sleeves
- Key Features: Beginner-friendly increases, versatile design for multiple seasons
Notes
- Katy demonstrates how to measure and customize the pattern for various sizes—perfect for creating a tailored fit.
- The sleeves can be crocheted as full-length, three-quarter length, or left sleeveless.
- This pattern features a textured “fan” or “shell” stitch for the bodice.
- For best results, focus on using cotton yarn for spring/summer or acrylic for cooler weather.
Skill Level
Advanced Beginner
Materials
- Yarn: Acrylic or cotton yarn suitable for your desired season
- Hook Size: 4.5mm crochet hook
- Other Tools: Scissors, yarn needle, stitch markers
Measurements / Sizing
- You’ll need two main measurements for this project: the circumference of the head (for the neckline) and the circumference of the bust (for body size).
- The example size shared corresponds to Bust: 80 cm and Head: 55 cm (adjustable).
- To determine measurements for other sizes, divide the bust circumference by 2 (e.g., 80 cm becomes 40 cm).
Gauge
Gauge is determined based on the yarn and hook. Before starting, create a sample swatch and ensure your foundation chain matches the required width based on the head circumference.
Stitch Abbreviations
- ch: Chain
- sl st: Slip Stitch
- sc: Single Crochet
- dc: Double Crochet
- st(s): Stitch(es)
Special Stitches
Fan Stitch (or Shell Stitch):
- Work five double crochets into the same stitch. Skip two stitches, and secure with a single crochet in the next stitch.
The Crochet Pattern
Base Neckline and Foundation Setup
- Begin by creating a foundation chain equivalent to the head circumference. For example, Katy chained 96 ch for a 55 cm neckline. (Ensure the chain count is divisible by 6 for even distribution.)
- Join the chain into a circle using a sl st, being careful not to twist your work.
- To calculate distribution for a rectangular neckline:
- Divide the total chain count by 6. (E.g., 96 ÷ 6 = 16.)
- Assign 16 sts to each shorter side of the rectangle and 32 sts to the longer sides.
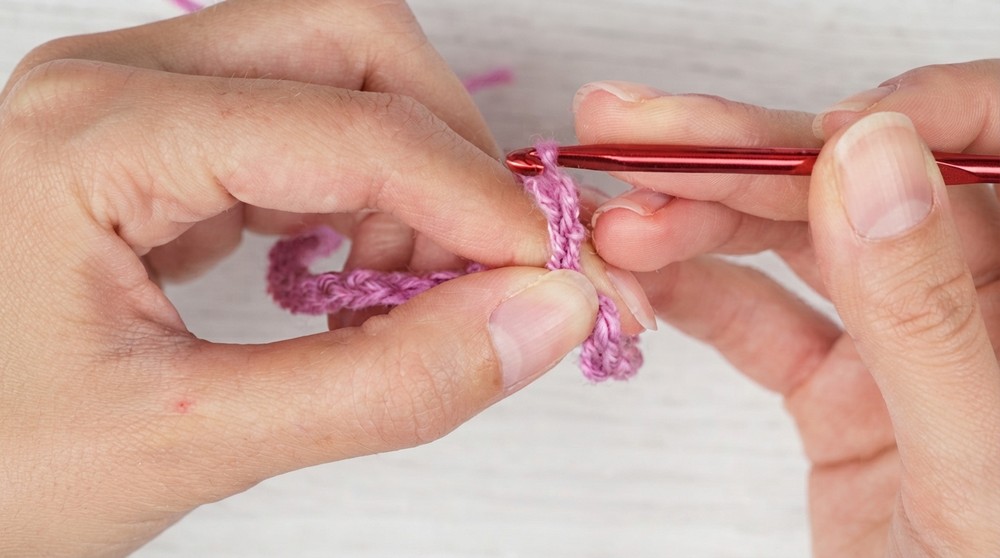
Round/Row 1: Foundation Round
- Ch 3, which counts as your first dc. In the first ch, work dc, ch 1, dc for the corner.
- Work 14 dc evenly along the longer edges, followed by ch 1 for the corner.
- On the shorter edges, work 7 dc, followed by ch 1 for the corner.
- Repeat this pattern until the foundation row is complete.
- Close the round with a sl st to the top of the beginning ch 3.
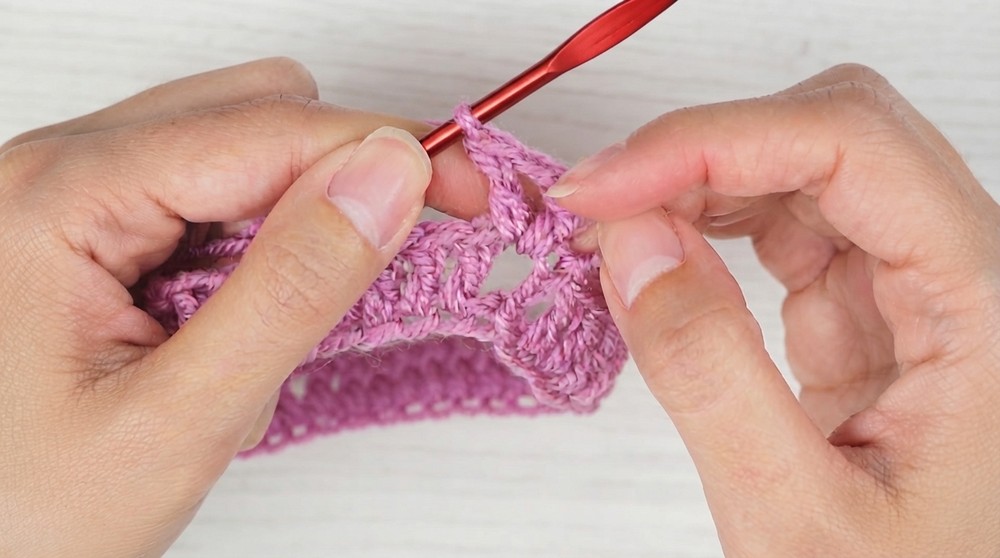
Increases and Yoke Rounds
- For the next several rounds, continue adding increases in each corner ch 1 space by working dc, ch 1, dc in those spaces.
- In all other stitches (except for corner chains), work 1 dc into each st across.
Pro Tips:
- For larger sizes, just continue to work increases in the corners until the yoke reaches the desired size (half of the bust circumference, e.g., 40 cm for a total 80 cm).
- Adjust the neckline by reducing or increasing the total number of foundation chains and dividing them by six for the rectangular shape.
Joining the Yoke (Begin Body Work)
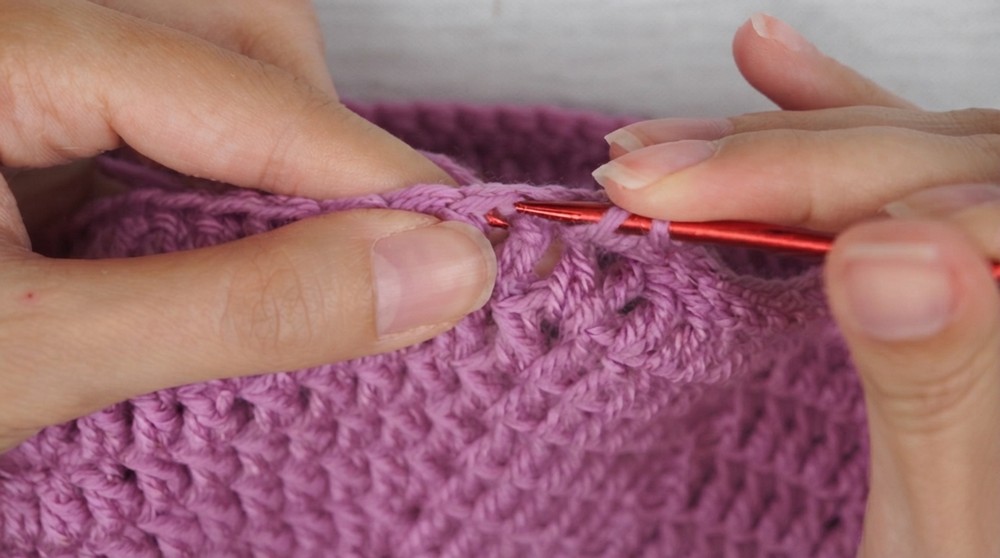
- Once the yoke reaches your desired width, fold the piece so the corners match on each side, creating sleeve openings.
- Skip the stitches allocated for sleeves and join the front and back using a sl st to create a complete body circle.
Body (Fan Stitch Pattern)
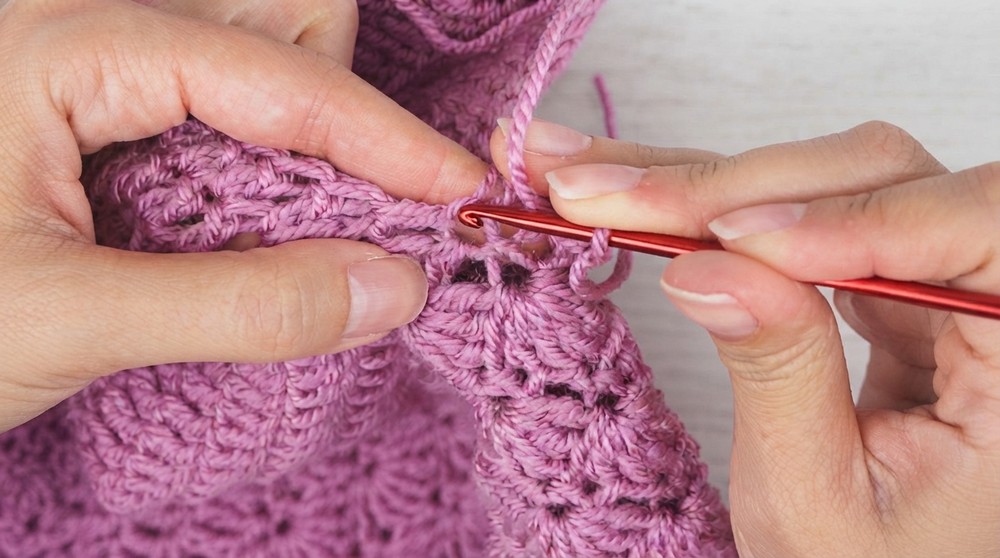
- Begin with ch 1 and sc in the first st.
- Skip 2 sts and work 5 dc (a fan) into the third st.
- Skip the next 2 sts and sc into the next st, creating a space between the fans.
- Repeat this pattern—sc, skip 2, 5 dc, skip 2, sc—around the body.
- Adjust the stitch count at the end of the round if necessary. Close the round with a sl st into the first sc.
- In Round 2, alternate the placement of the fan and sc: work a sc into the center dc of each fan from the previous round and the fan into each sc from the previous round.
Pro Tips:
- Alternate these two rows of stitching (fan, sc round followed by sc, fan round) until the body of the sweater reaches your desired length.
- Refer to measurements to ensure it covers the bust area as desired. For 80 cm bust circumference, Katy’s sample sweater measures 40 cm height from neckline to hem.
Sleeves (Optional)
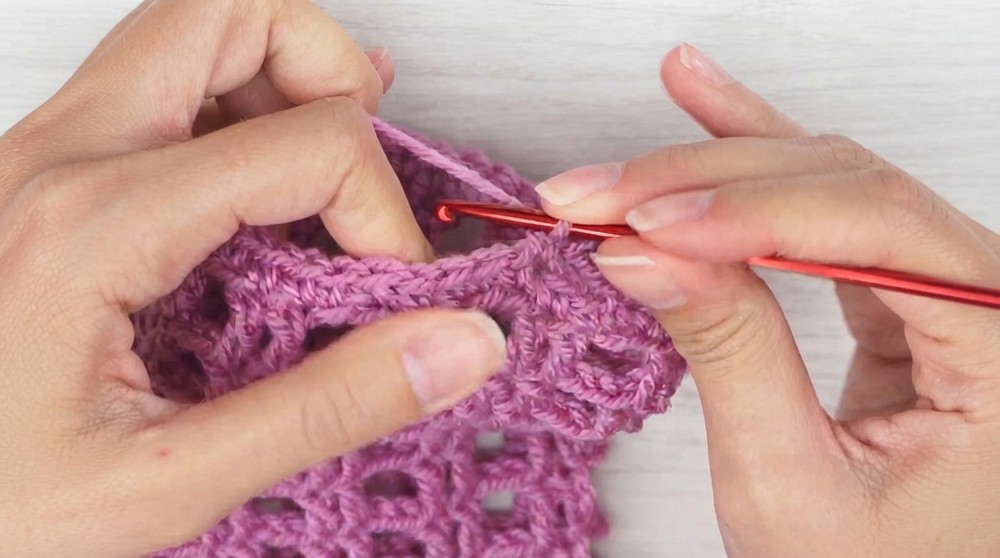
- Attach the yarn to the underarm edge at the stitch marker. Ch 1 and work sc evenly around the armhole opening. Join with sl st at the end of the round.
- Work an open two dc plus ch 2 pattern for a lacy sleeve texture:
- Ch 3 (first dc), dc into next st, ch 2, skip next 2 sts.
- Dc in the next two sts, ch 2, skip two sts, and repeat.
- You may also alternate rows of fan stitch and sc for a different sleeve texture.
- Continue working in identical rounds until the sleeve reaches your desired length (short sleeve, three quarter, or full length).
- Finish the sleeves with a row of single crochet or detail with a fan stitch border for an elegant touch.
Finishing Touches
- To complete the sweater, weave in all loose ends securely. Ensure no gaps remain at the joins.
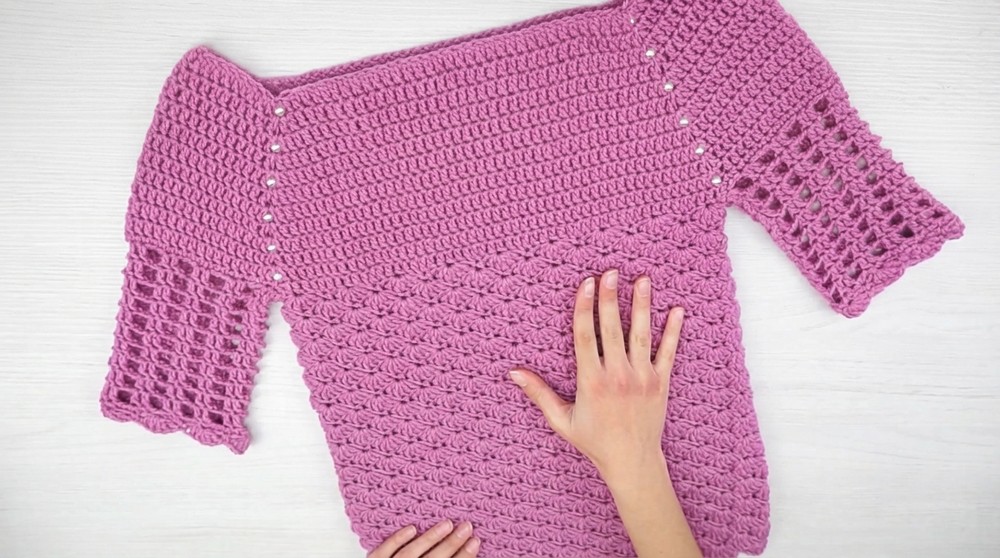
- Katy added pearl embellishments using matching thread and a needle—feel free to customize your sweater with beads, buttons, or other decorative accents to make it truly yours.
Assembly & Finished Size
Once completed, your sweater will feature a striking textured front and back, with or without sleeves. The finished size depends on the measurements you used, which can be tailored for all body types. Katy’s example features a Size S with an approximate bust measurement of 80 cm.
Conclusion and Ending Words
Your new crochet sweater is ready to wear. This versatile project can be adapted to any size or season, making it a perfect wardrobe staple or gift. Whether you leave it sleeveless for summer or add cozy full length sleeves for winter, this pattern is a testament to your creativity and craftsmanship.