
Modern Crochet Lace Square Earrings Pattern for Everyday Glam
Highlight your individuality easily with the Free Crochet Lace Square Earrings Pattern for artful, unique lace accessories.
Finding lightweight and stylish earrings that are comfortable to wear all day can be challenging. These lace square earrings pattern solve that problem beautifully by offering a delicate and airy design that won’t weigh you down. Their beauty lies in the open, lace-like pattern made with double crochet stitches, chain loops, and slip stitches, creating a soft square shape that adds a subtle yet elegant touch to any outfit. Perfect for casual wear or special occasions, they bring charm without discomfort, making them a go-to accessory for those who want style and ease combined.
What Else Can Be Made From This Pattern?
This lace square pattern is perfect for much more than earrings. Smaller squares can become decorative coasters or bookmarks, while joining multiple motifs can form scarves, table runners, or unique appliques. By adjusting yarn colors and thickness, this pattern transforms easily to suit a variety of creative and practical crochet projects.
Learn this Easy Crochet Lace Square Earrings for Classic Beauty
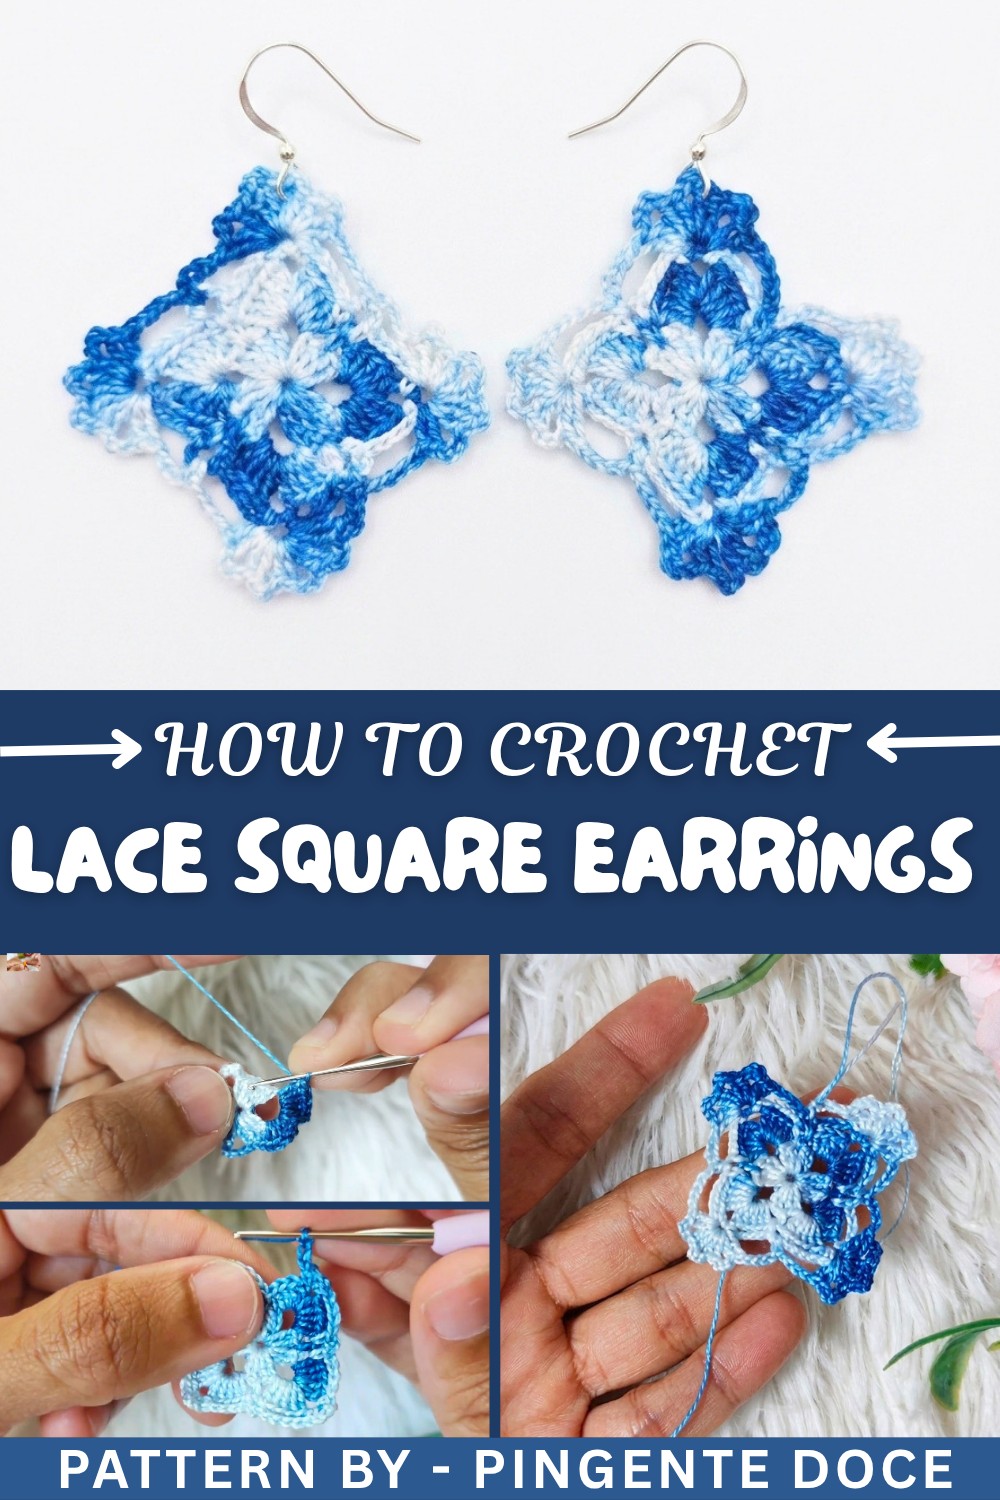
The pattern begins with a slip knot and chain base, gradually forming the square motif through rounds of double crochets separated by chains, which keeps the design light and breathable. Working stitches in the spaces adds texture while maintaining the open look that defines the lace style. For stability and durability, applying a light mixture of fabric glue and water on the back reinforces the piece without stiffness. Attaching earring hooks finishes off these charming earrings, ready to wear or gift.
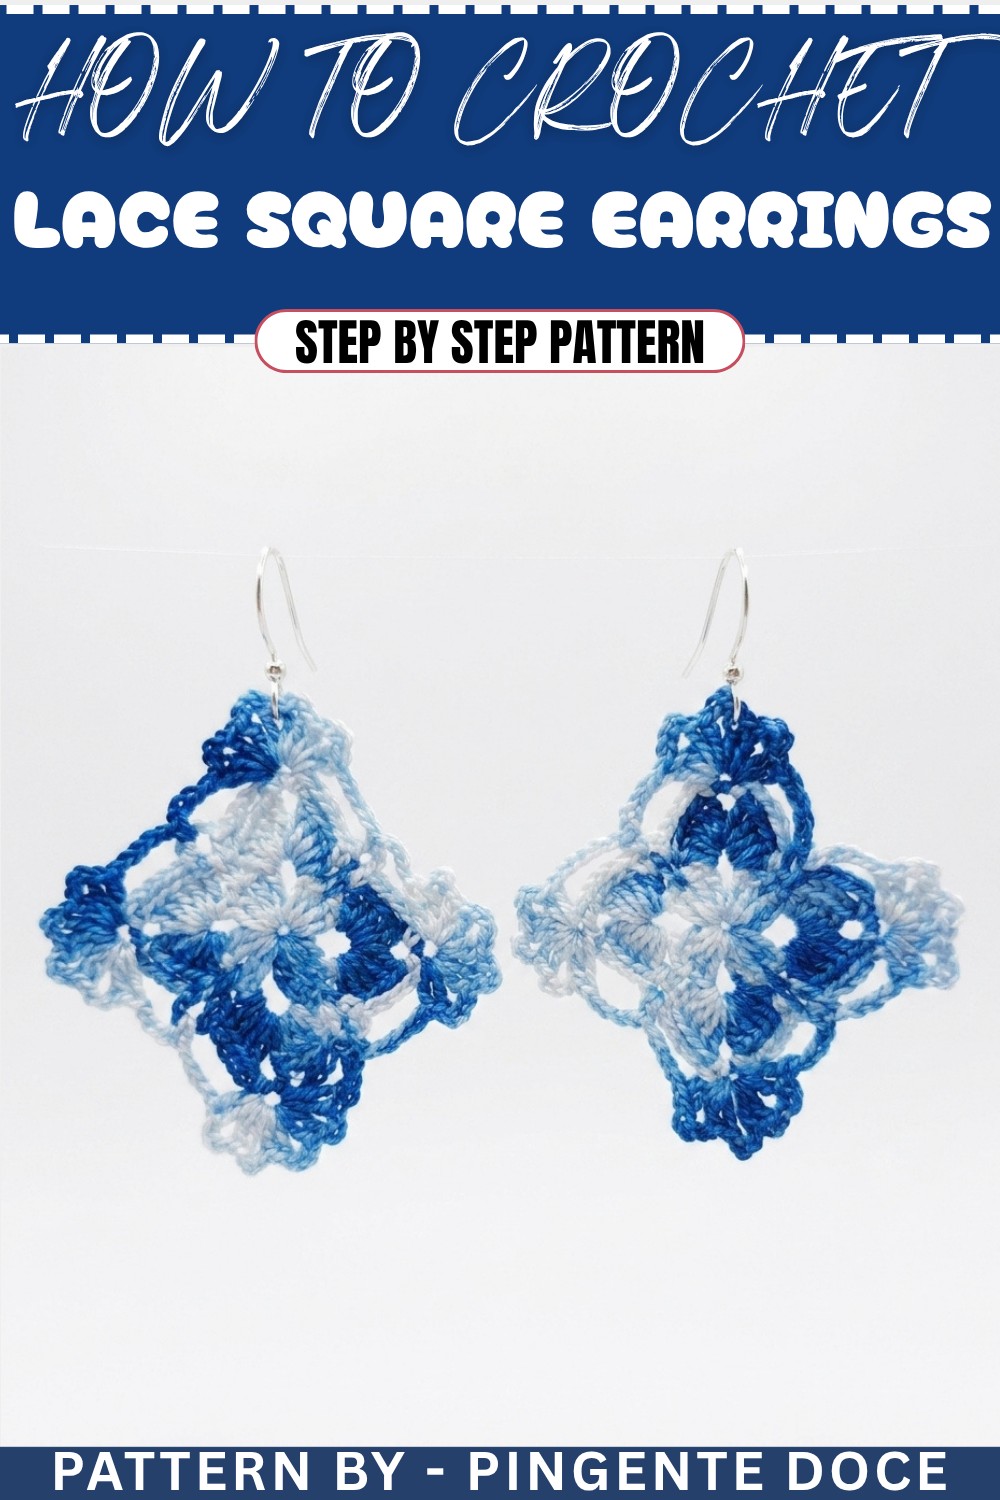
Crochet Floral Patterned Earrings
Crochet earrings are an elegant and unique way to accessorize any outfit, and this crochet floral earring pattern is no exception. Inspired by delicate flowers, this pattern combines a circular core with lace-like petal details made using foundational stitches such as double crochets, chains, and picot-like accents. With just a few materials and about an hour of your time, you can create stunning handmade earrings for yourself or as special gifts. The project is versatile, allowing you to experiment with different thread colors and hook sizes for personalized results.
Skill Level & Terminology
- Skill Level: Intermediate. This pattern is great for those familiar with beginner-level stitches (chains, double crochets, slip stitches) and ready to incorporate more detailed sequences like working in spaces and multi-row designs.
- Terminology: US Crochet Terms are used throughout:
- Slip Knot: A method for getting the thread ready to work on the hook.
- Chain (Ch): A basic looping stitch used to create spaces and delicate structures.
- Slip Stitch (Sl st): Used for joining stitches or moving across rows.
- Double Crochet (Dc): A tall stitch requiring yarn overs and pull-throughs.
- Single Crochet (Sc): A short and tight foundational stitch that creates a neat look.
Materials & Tools
- Thread:
- Embroidery thread in a mixed blue shade, or other lightweight crochet thread of your choice.
- Hook: 1 mm crochet hook.
- Scissors: To cut thread ends.
- Fabric Glue: A mixture of fabric glue and water to stiffen the earring.
- Earring Hardware: Earring hooks and a hoop for jewelry assembly.
- Sewing Needle: To weave in thread ends.
- Brush: For applying the fabric glue mixture.
Gauge
Gauge is not critical for this design. The finished earring will measure approximately 3 inches in diameter, depending on thread thickness and hook size.
Abbreviations List
| Abbreviation | Meaning |
|---|---|
| Slip Knot | Starting knot for crochet |
| Ch | Chain |
| Sl st | Slip Stitch |
| Dc | Double Crochet |
| Sc | Single Crochet |
Special Stitch Instructions
Slip Knot:
- Create a loop by wrapping the thread around your finger. Pull the working thread through the loop and tighten onto the hook.
Double Crochet:
- Yarn over, insert hook into designated stitch or space, yarn over and draw up a loop. Yarn over, pull through the first two loops, yarn over, pull through the last two loops on the hook.
Chain Stitch:
- Yarn over and pull through the loop on your hook. Repeat for the desired number of chains.
What You'll Learn & Why You'll Love This Pattern
You’ll Learn:
- How to create a circular lace-like base with chain segments.
- Properly incorporate double crochets and single crochets for texture and volume.
- How to stiffen your earring for a professional finish and attach jewelry hardware.
Why You’ll Love It:
This pattern is quick, elegant, and endlessly customizable. You can bring your personal flair to these earrings by using different thread colors or by adjusting the number of rounds for a larger or smaller piece. The floral aesthetic and lightweight result make this project perfect for everyday wear or gifting.
Finished Size
The completed earring is approximately 3 inches in diameter. You can adjust the size slightly by using thicker thread or increasing the number of rounds.
The Pattern Itself
Part 1: Circular Core
Round 1:
- Create a Slip Knot and make 6 Chains (Ch).
- Join the last chain to the first chain with a Slip Stitch (Sl st), forming a ring.
- Make 3 Chains (Ch) (counts as your first double crochet).
- Inside the ring, work 2 Double Crochets (Dc).
- Chain 1 (Ch) to create a separating loop.
- Work 2 Double Crochets (Dc) into the ring.
- Repeat the sequence of Ch 1, 2 Dc four more times, giving you six groups of double crochets in total.
- End the round with 5 Chains (Ch) to create a loop, and join to the top of the first chain with a Slip Stitch (Sl st).
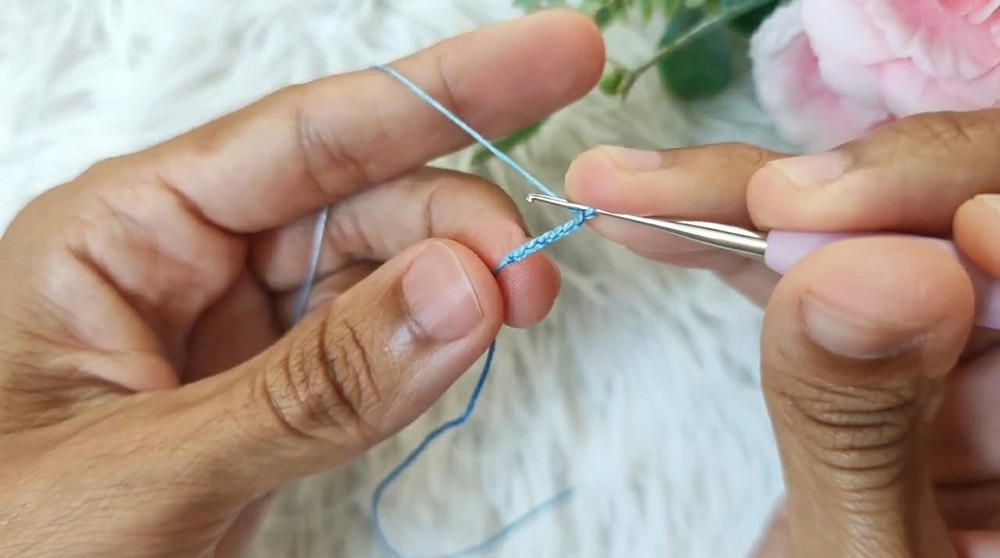
Quick Tip: You’ve now established the base of the earring with open loops to form the foundation for the floral design.
Part 2: Petal-Shaped Second Round
- Work directly into the first chain space created in Round 1.
- In the first space, make 1 Single Crochet (Sc), 5 Double Crochets (Dc), and 1 Single Crochet (Sc).
- Move to the next chain space and repeat the sequence: 1 Sc, 5 Dc, 1 Sc.
- Continue this pattern in every chain space until the end of the round.
- Join with a Slip Stitch (Sl st) to the first Single Crochet (Sc).
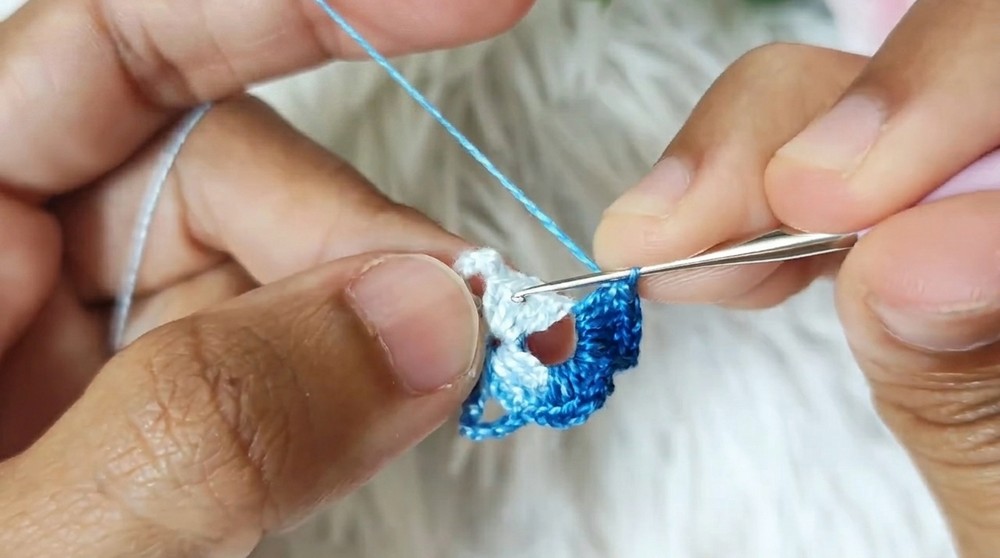
Overview: At this point, the circular base is adorned with petals created from 5-dc groups, bringing the floral design to life.
Part 3: Lace-Like Edge and Detailing
Round 3: Decorative Layer
- Begin by positioning your hook on the first Single Crochet (Sc) of the previous row.
- Work 4 Chains (Ch), then make 1 Single Crochet (Sc) into the top of the next petal's center double crochet.
- Ch 3, and return to the same point to create a tiny loop.
- Repeat the sequence:
- 4 Chains (Ch) to move to the next petal.
- 1 Single Crochet (Sc), Ch 3, 1 Sc at the peak of the next petal.
- Continue around the edge, finishing all petals. Tie off with a Slip Stitch (Sl st) after completing the last repetition.
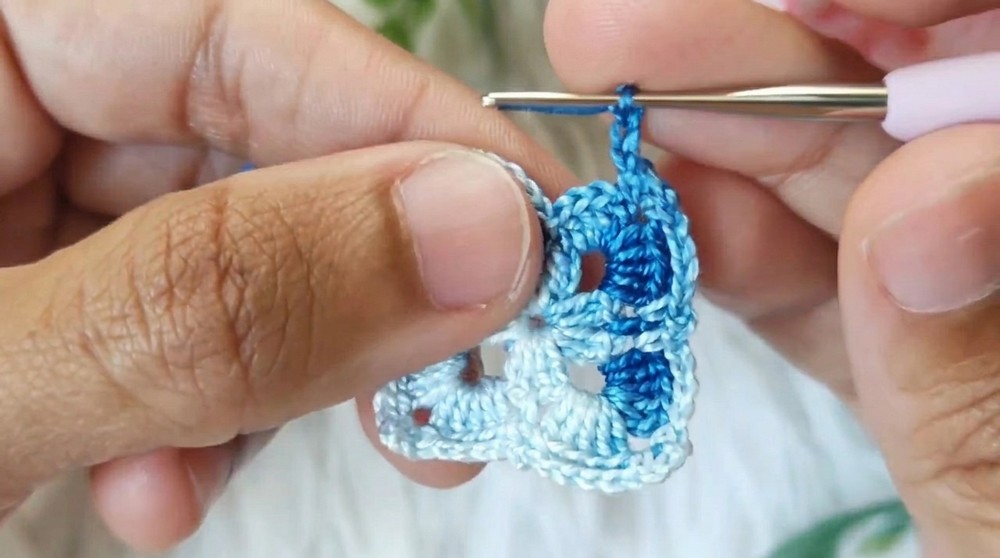
Part 4: Adding Rows for Depth
- Work 4 Chains (Ch) and make 1 Double Crochet (Dc) into spaces between petals.
- Continue alternating Chains and Double Crochets for an airy, layered design.
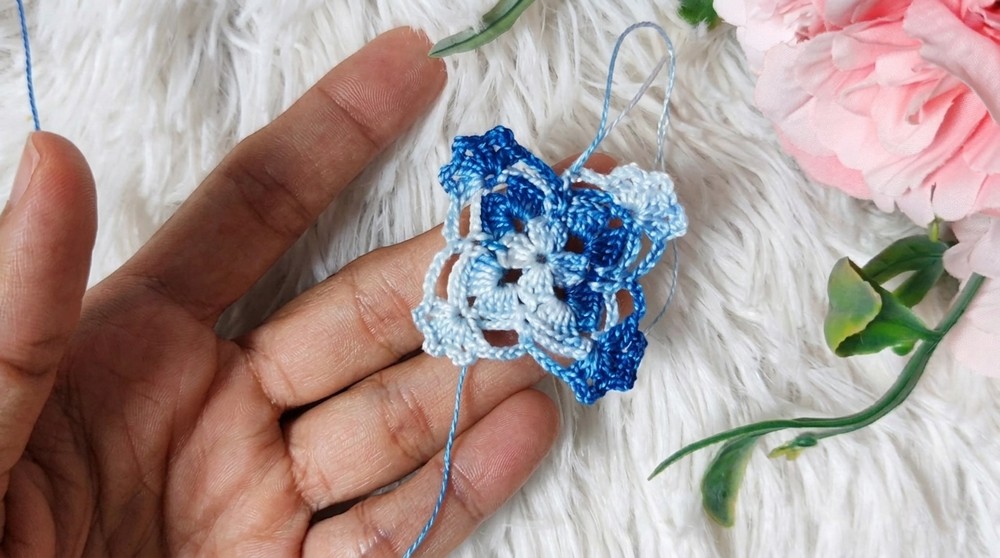
Overview: Add 1–2 extra rows around the piece if you’d like to increase the size or density.
Assembly & Finishing
- Blocking and Hardening:
- Mix fabric glue with a small amount of water, and use a brush to apply the mixture to the backside of your work. This will help stiffen the earring and preserve its shape. Allow it to dry completely.
- Attach Hardware:
- Add the hoop or earring hooks to the topmost part using pliers. Ensure the hardware is tightly in place for durability.
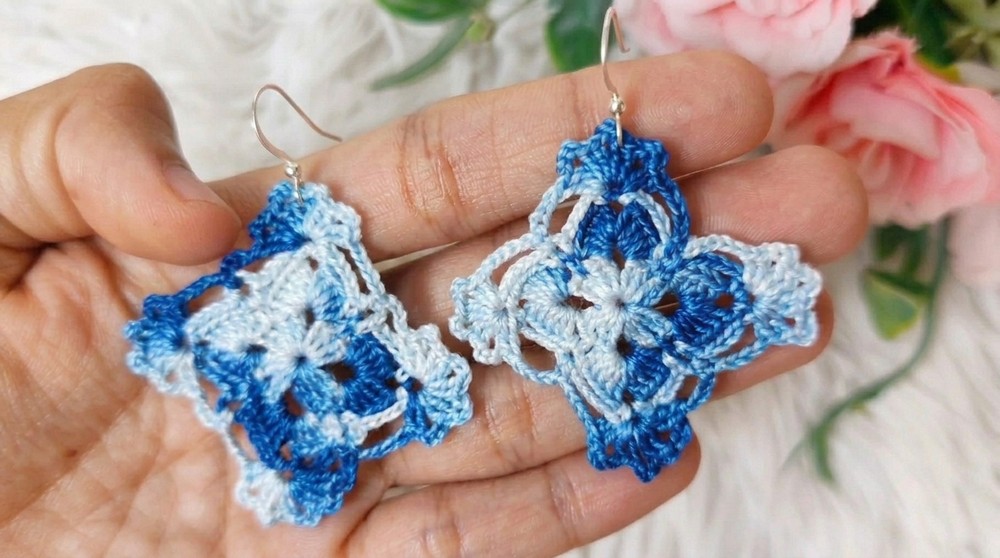
Tip: Use matching or metallic thread for seamless attachment.
Difficulties & Solutions
Challenge: Uneven Petals or Uneven Tension
Solution: Focus on consistent yarn tension, especially when creating the 5-dc clusters. Use a light hand to maintain uniformity.
Challenge: Earring Warping After Assembly
Solution: Use fabric glue and blocking proactively to ensure each piece is crisp and even.
Final Thoughts
This crochet floral earring pattern is elegant, beginner-friendly, and a fantastic way to show off your skills. The detailed petals and lace edges come together beautifully, creating a professional and stylish accessory. Whether you're gifting it to friends or wearing it yourself, it's sure to gather compliments. Experiment with color combinations, thread textures, and sizes to create one-of-a-kind pieces.