
Easy Crochet Lily of the Valley Bag Charm Free Pattern for Handmade Gifts
Start your Crochet Lily of the Valley with this simple pattern that shows you how to create beautiful, delicate flowers perfect for gifts or decoration.
Brighten any space or accessory with the delicate charm of the Lily of the Valley. The Crochet Lily of the Valley captures the flower’s tiny, bell-shaped blooms using yarn and simple crochet techniques suitable for all skill levels, including beginners and children. This project adds a natural and elegant touch to clothing, home decor, and gifts.
Customization of size and color allows for creative expression. Classic white petals paired with soft green leaves create a traditional look, while pastel or vibrant shades offer a fresh twist. These flowers can be made small for subtle accents or larger for bold statements that stand out.
Lovely Crochet Lily of the Valley Bag Charm Free Pattern to Personalize Your Bag
The uses for these crocheted flowers are varied. They enhance hats, scarves, and garments by adding delicate details. In the home, they decorate cushions, curtains, or form small bouquets that enhance any room. Additionally, they serve as thoughtful handmade gifts, either on their own or as part of cards and arrangements.
The pattern employs mainly single crochet and slip stitch, basic stitches that provide a crisp shape for the petals and leaves. This simplicity makes the project accessible and rewarding for beginners while allowing more experienced crocheters to enjoy the process too.
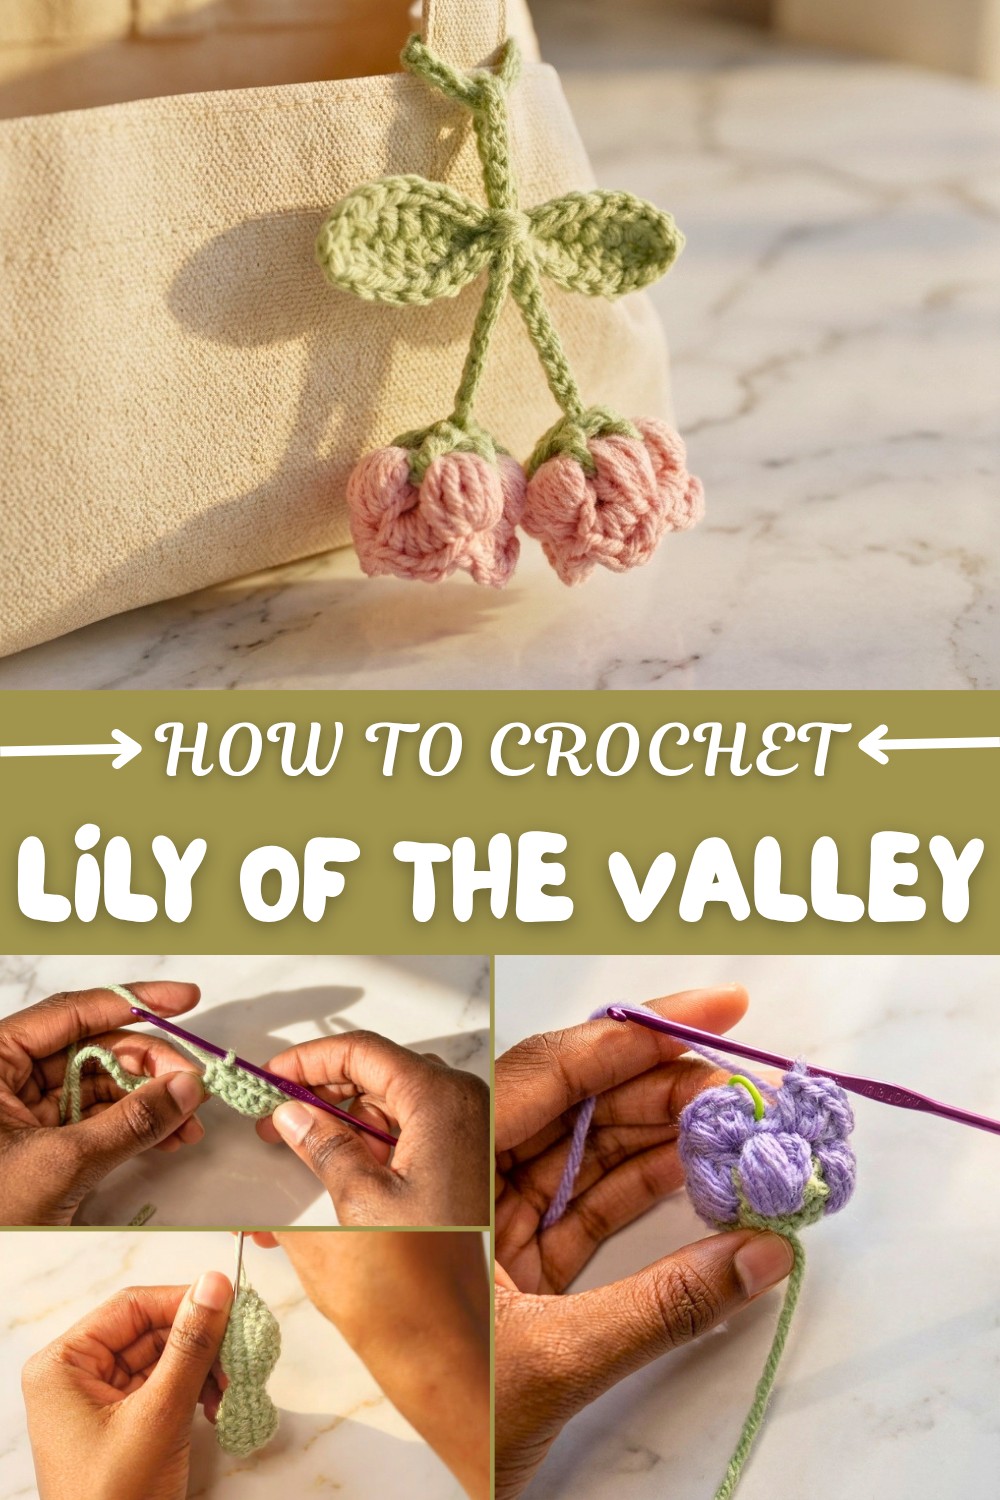
Working on the Crochet Lily of the Valley offers a peaceful and enjoyable experience. Each flower contributes softness and grace, transforming everyday items into charming and personalized creations. This activity combines creativity with relaxation, resulting in beautiful pieces that bring warmth and style.
Crochet Camellia Flower Pouch Patter
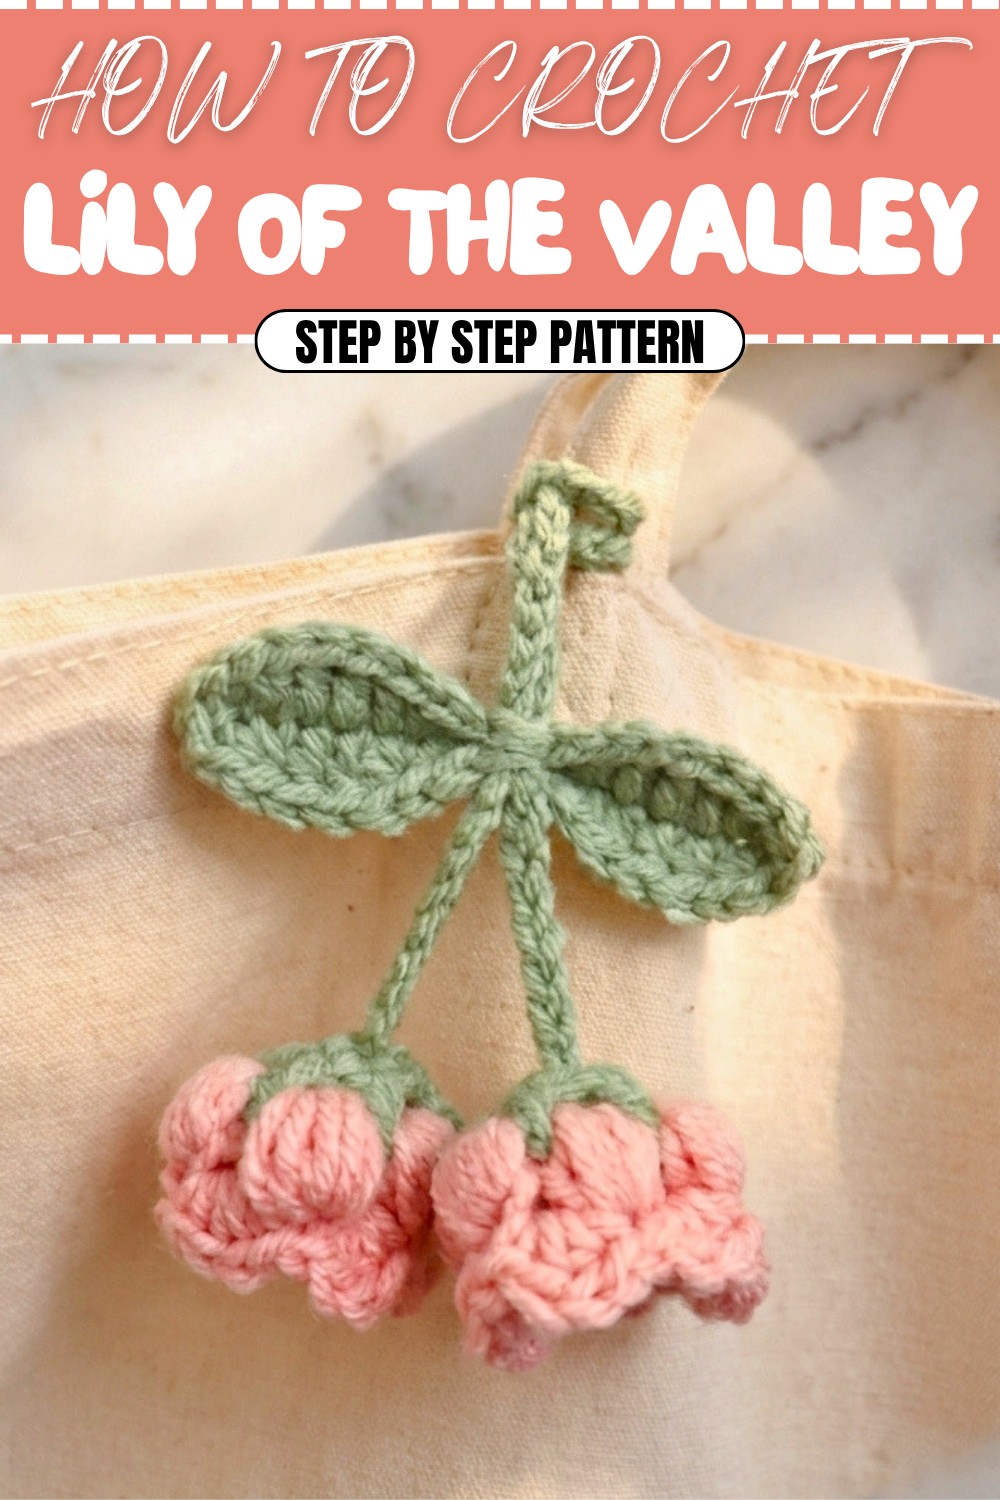
Pattern Notes
- Use a smaller crochet hook (3.5 mm) to achieve neat stitches and proper pouch structure.
- Keep your tension looser when working bubble stitches for easier handling and better puff effect.
- Weave in tails as you go to reduce finishing work.
- Follow the stitch counts and markings carefully to maintain symmetry.
- This pattern incorporates slip stitches to join rounds and chains to create foundation rows.
- Stitch markers are essential for marking rounds and important stitch placements.
Skill Level
- Suitable for confident beginners to intermediate crocheters.
- Requires knowledge of basic crochet stitches (chain, single crochet, double crochet, half double crochet, slip stitch).
- Familiarity with special techniques such as magic ring and bubble stitch recommended.
Materials
- Two colors of weight 4 (medium) acrylic yarn: one for the stem, one for the flower.
- 3.5 mm crochet hook.
- Stitch marker (or substitute such as an earring).
- Tapestry needle for weaving ends.
- Scissors.
Measurements / Sizing
- Finished pouch size depends on yarn tension and gauge.
- Flower diameter approximately 3 inches.
- Leaf length approximately 4 inches.
- Stem length approximately 6-7 inches (adjustable).
Gauge
- Gauge is flexible; stitch tightly for a firmer pouch.
- Bubble stitch boosts texture and puffiness of the flower.
- Adjust hook size if needed to match stitch tension.
Stitch Abbreviations
- ch = chain
- sc = single crochet
- hdc = half double crochet
- dc = double crochet
- sl st = slip stitch
- st(s) = stitch(es)
- yo = yarn over
Special Stitches
- Magic Ring: A method to begin crocheting in the round starting with a tight adjustable loop.
- Bubble Stitch: Make 6 loops by repeatedly yarn over and pulling up loops into the same stitch, then yarn over and pull through all loops on hook to create a puffed cluster.
The Crochet Pattern
1. Starting the String (Pouch Opening)
- Begin with a slip knot.
- Chain 48.
- Cut the yarn and pull through the last chain to secure.
- This forms the base string piece.
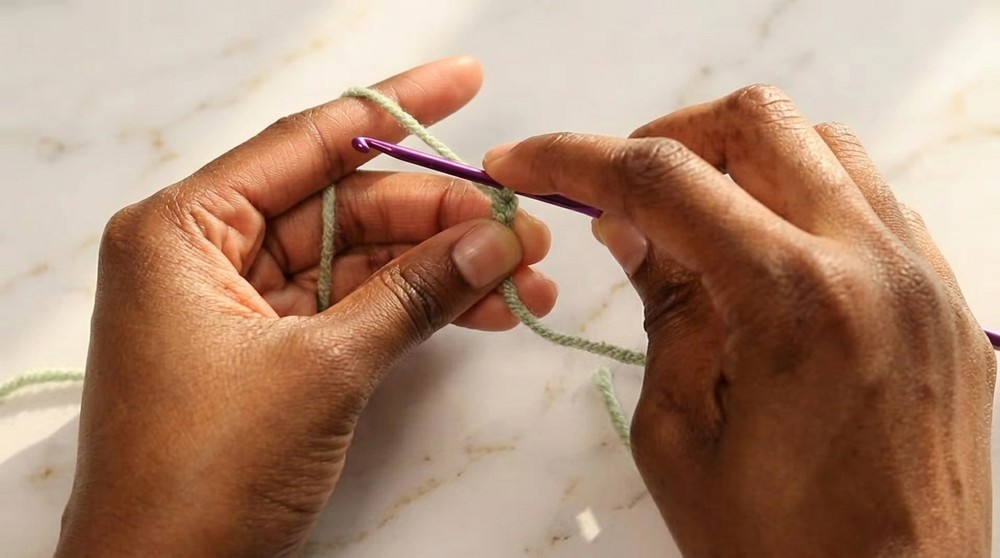
2. Crochet the Leaf
- Make a slip knot and place it on hook securely.
- Chain 16.
- Round 1: Skip the first chain. Work 1 sc in the second chain.
- Work 1 hdc in the next chain.
- Work 1 dc in each of the next 3 chains.
- Work 1 hdc, 1 sc, 1 sl st in the next 3 chains respectively.
- Work 1 sc, 1 hdc in the next 2 chains.
- Work 3 dc, one in each of the next 3 chains (mirroring the previous side).
- Work 1 hdc.
- Round 2: In the last chain, work 3 sc.
- Work on the opposite side of the foundation chain:
- 1 hdc in the first space.
- 3 dc, one in each of the next 3 spaces.
- 1 hdc, 1 sc, 1 sl st in the next spaces.
- 1 sc, 1 hdc, 3 dc (mirroring previous side).
- 1 hdc.
- Finish with 2 sc in the final space.
- Slip stitch to join at the first stitch of this round.
- Chain 1, cut yarn leaving tails for sewing.
- Weave in all tails neatly.
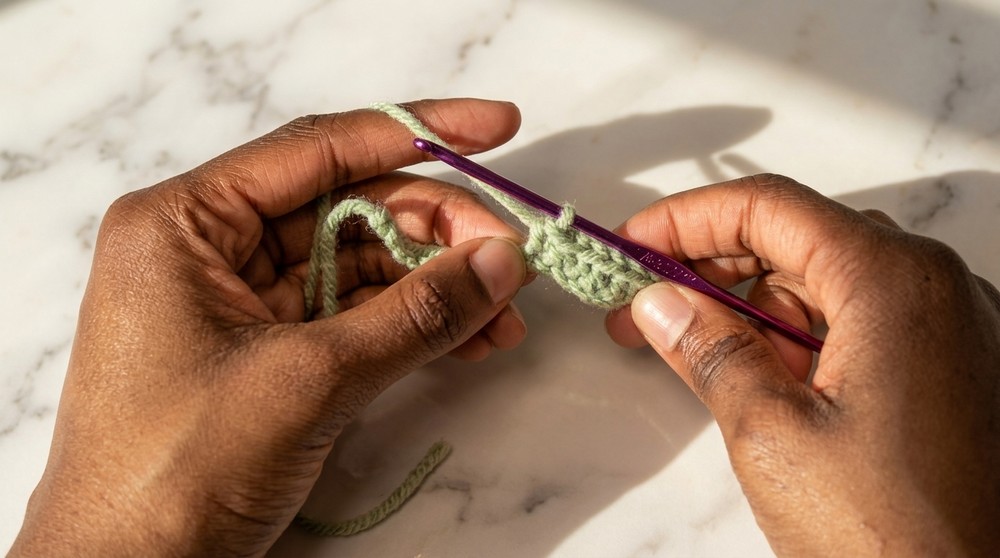
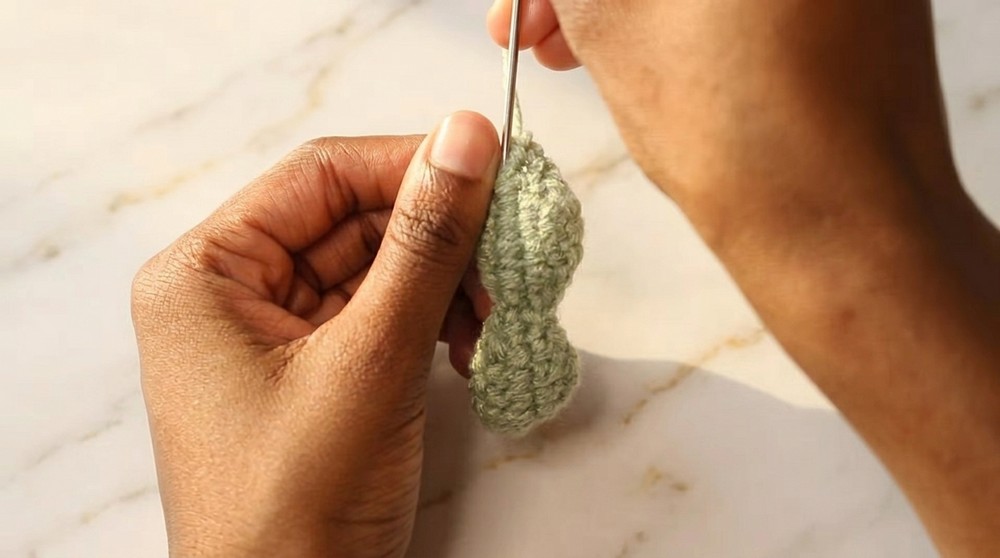
3. Crochet the Stem
- Round 1: Start with a magic ring.
- Work 5 sc into magic ring.
- Pull tail to close the ring slightly.
- Join with slip stitch to first sc.
- Round 2: Chain 3 (counts as first dc). Mark this chain.
- Chain 1.
- Work dc, chain 1 into each sc around (total 5 dc and 5 chain-1 spaces).
- Slip stitch to chain-3 marker to close the round.
- Chain 1, cut yarn leaving tail.
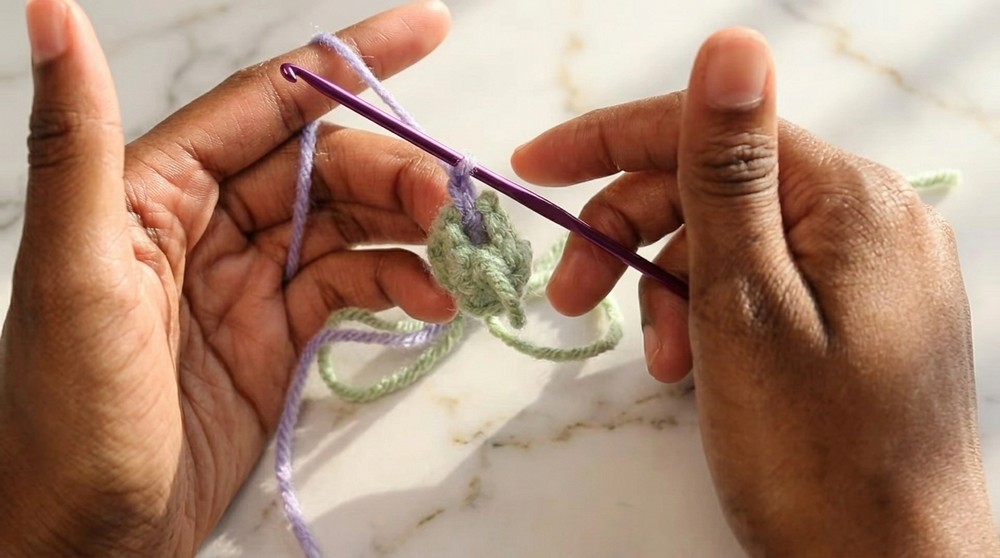
4. Crochet the Flower (Make Two)
- Make a slip knot.
- Attach slip knot to a gap on the stem (closest to the tail end recommended).
- Chain 2.
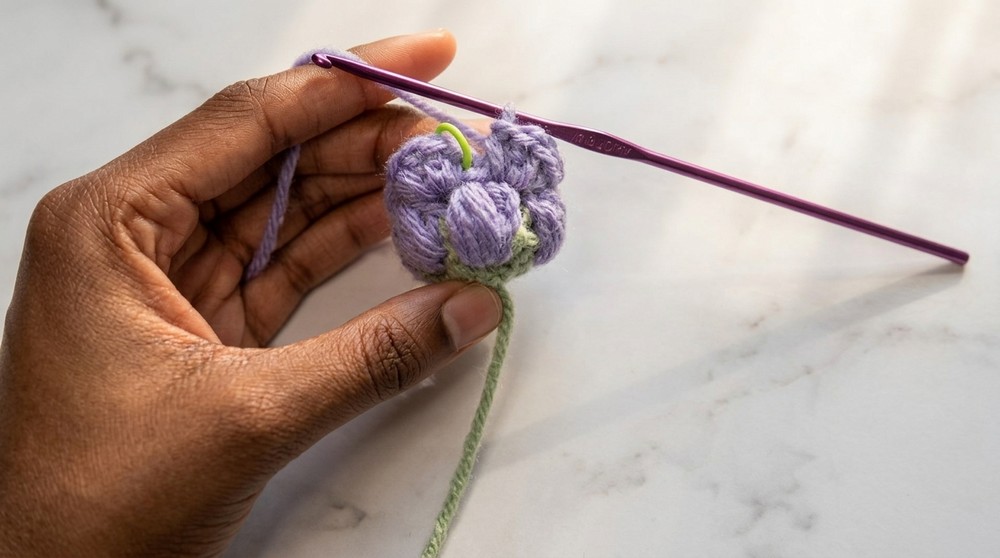
- Bubble Stitch Round: For each gap around the stem (6 gaps total), work the following:
- Yarn over and pull up loop six times to form 6 loops on hook.
- Yarn over and pull through all loops to form a bubble stitch.
- Chain 1 to secure.
- Slip stitch to beginning bubble stitch to join round.
- Chain 1.
- Round 2: In each space between bubble stitches:
- Work 1 sc, 2 dc, 1 sc.
- Slip stitch to first sc to close round.
- Chain 1, cut yarn and weave in ends.
- Repeat to make a second flower.
Assembly
- Thread leaf tails onto tapestry needle.
- Attach leaf to stem by sewing through the slip stitch row center.
- Attach flowers to stem position by sewing with yarn tail ends.
- Secure attachments by double or triple knotting.
- Trim remaining ends neatly.
- Stem remains flexible for flower movement.
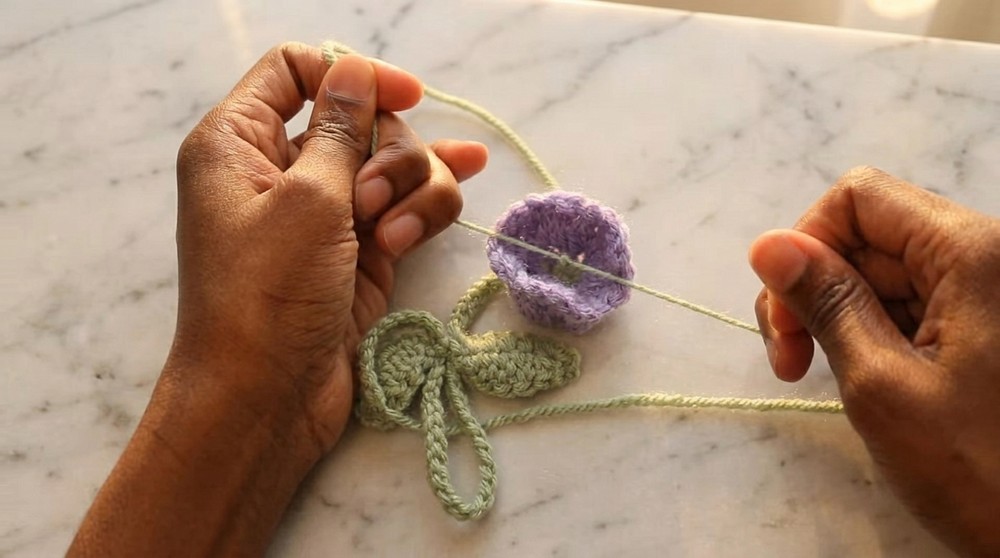
Finished Size (Approximate)
- Pouch width: 4 to 5 inches
- Leaf length: ~4 inches
- Stem length: 6 to 7 inches
- Flower diameter: ~3 inches
Summary
This pattern teaches how to crochet a charming pouch accented with camellia flowers and a leaf, complete with a stem that allows movement. The pouch uses weight 4 acrylic yarn and features textured bubble stitches for the flower petals. The finished piece is both decorative and functional, ideal for holding small essentials or gifting.