
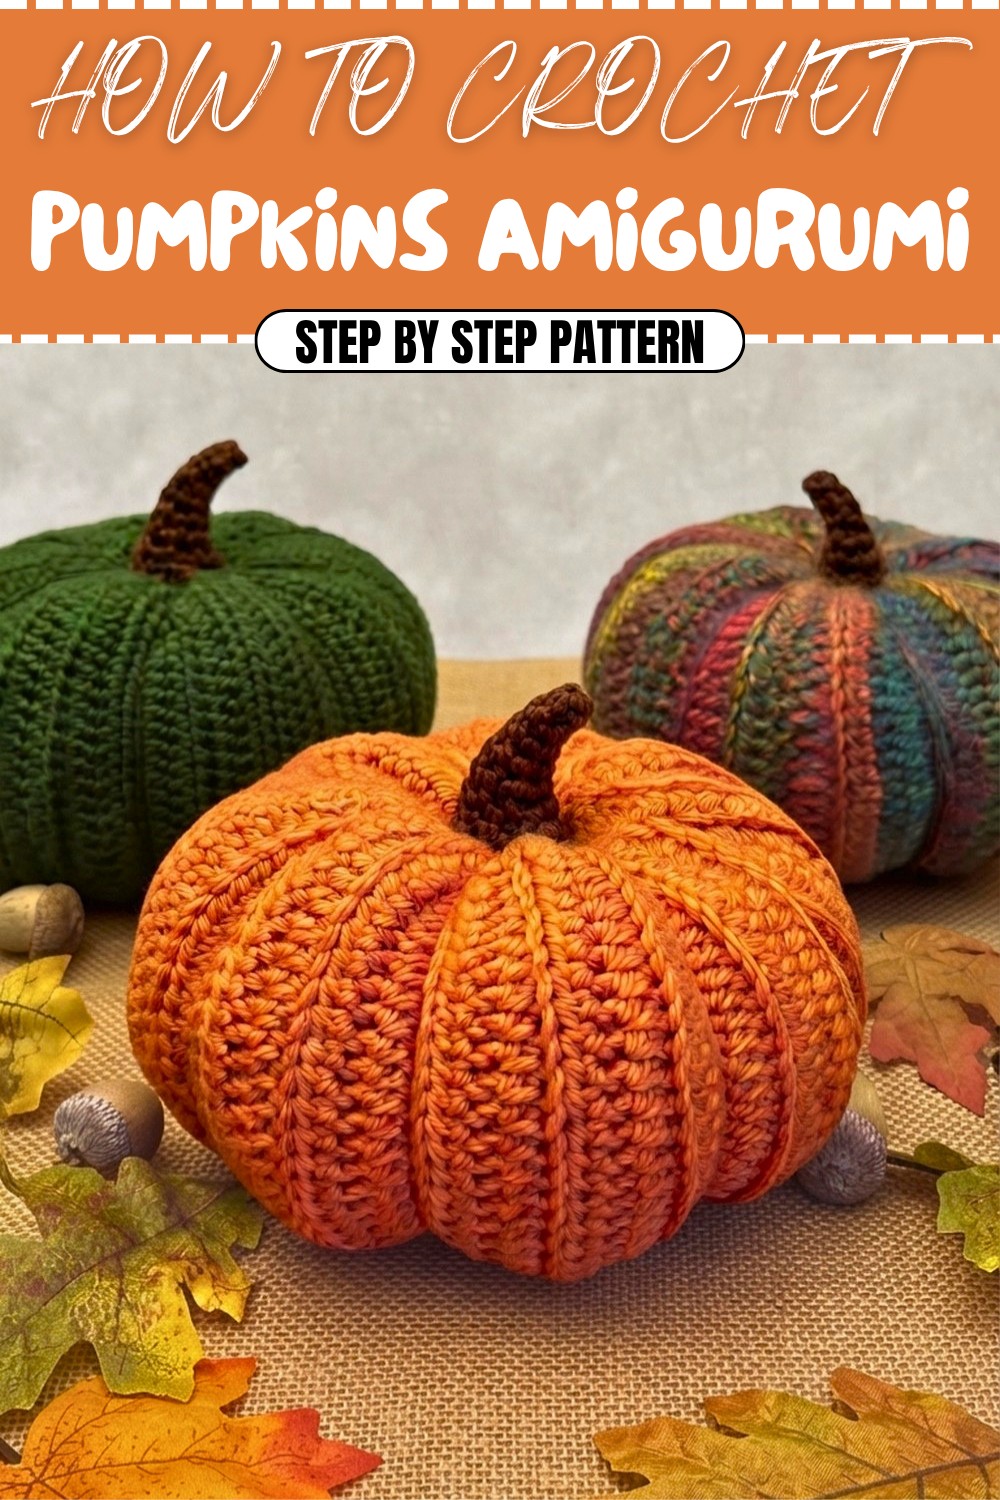
How to Crochet Pumpkin Amigurumi Pattern for a Festive Fall Look
Solve your fall decor needs using the Free Crochet Pumpkin Amigurumi Pattern and make playful pumpkins everyone will love.
Crocheting brings a special kind of joy, especially when you create something as charming and festive as these adorable pumpkins. Using the half double crochet stitch worked in the back loop, this crochet pumpkin amigurumi pattern gives the pumpkin a lovely textured look that is both simple and elegant. The back loop technique adds a subtle ridge, making the fabric sturdier and the shape more defined, perfect for beginners who want to see impressive results without complexity. With just a 4 mm hook and medium acrylic yarn, you can make these pumpkins quickly, adding a cozy handmade touch to your seasonal decor.
Beautiful Crochet Pumpkin Amigurumi Pattern for Harvest Season

This cute pumpkin amigurumi pattern is fully customizable, letting you create any size you like, from tiny table decor to larger centerpiece pumpkins. The pattern walks you through chaining, half double crochet in the back loops, joining edges, stuffing the shape, and adding those characteristic grooves using a simple running stitch. Finishing with a curved stem made with thoughtful stitch increases and sewing, it looks just like a real pumpkin ready for fall celebrations. It is a fun, satisfying project that is perfect for autumn or Thanksgiving decorations.
What is exciting about this pattern is how versatile it is. The stitches and techniques you learn here can be used to make many other shapes and items, like apples, pears, or small stuffed toys. By experimenting with yarn colors and sizes, you can create an entire collection of charming amigurumi fruits and vegetables. This pumpkin pattern is a great way to grow your crochet skills while crafting adorable and thoughtful gifts or decorations that everyone will love.
Crochet Pumpkin Pattern
Crochet pumpkins are the perfect handmade decorations for Thanksgiving, fall festivities, and cozy home setups. With this versatile pattern, you can create pumpkins of various sizes by simply adjusting the chain count and rows. This project features half double crochet stitches worked into the back loop for a textured ridge effect, and a curved stem is added for a realistic finish. Designed for both beginners and experienced crocheters, this fun and quick project is a great way to enhance your seasonal decor!
Skill Level & Terminology
Skill Level: Beginner.
Terminology: US Crochet Terms.
Materials & Tools
- Yarn: Size 4 medium-weight acrylic yarn (recommended), and about ½ meter of brown yarn for the stem.
- Hook: 4 mm crochet hook (one size smaller than recommended on the yarn label for firm stitches).
- Other Supplies:
- Scissors.
- Tapestry needles (one regular and one 3-inch long needle for detailed finishing).
- Stitch marker.
- Fiberfill stuffing material.
Gauge
Gauge is not essential for this pattern, but the rectangular panel should fold into a square shape to ensure proper proportions for the pumpkin.
Abbreviations List
- ch: Chain.
- hdc: Half Double Crochet.
- sl st: Slip Stitch.
- sc: Single Crochet.
- st(s): Stitch(es).
- bl: Back Loop.
Special Stitch Instructions
Half Double Crochet (hdc)
- Yarn over, insert your hook into the stitch (or back bump for foundation chains).
- Pull up a loop (you’ll have 3 loops on the hook).
- Yarn over, pull through all 3 loops.
Back Loop Only (bl)
In subsequent rows, insert your hook into the middle of the back loop of the stitch (ignore the front loop). This technique creates the raised ridge effect for texture.
Finished Size
The pumpkin's dimensions for the sample pattern:
- Height: 7 inches.
- Width: 6¾ inches (when folded in half before assembly).
For larger pumpkins: Add chains to the foundation row.
For smaller pumpkins: Reduce the number of rows.
What You'll Learn
- Back Loop Technique: Add structure and texture to a fabric using back-loop-only stitches.
- Cylinder Assembly: Seamlessly sew two ends together to form the base of the pumpkin.
- Three-Dimensional Detailing: Create indentations for realistic grooves and add a natural curved stem.
- Custom Size & Decorations: Modify the pattern dimensions and colors for endless customization!
You’ll love this pattern because it’s engaging, easy to personalize, and produces charming results suitable for a wide range of decor styles.
The Pattern
Step 1: Creating the Pumpkin Panel
Foundation Row:
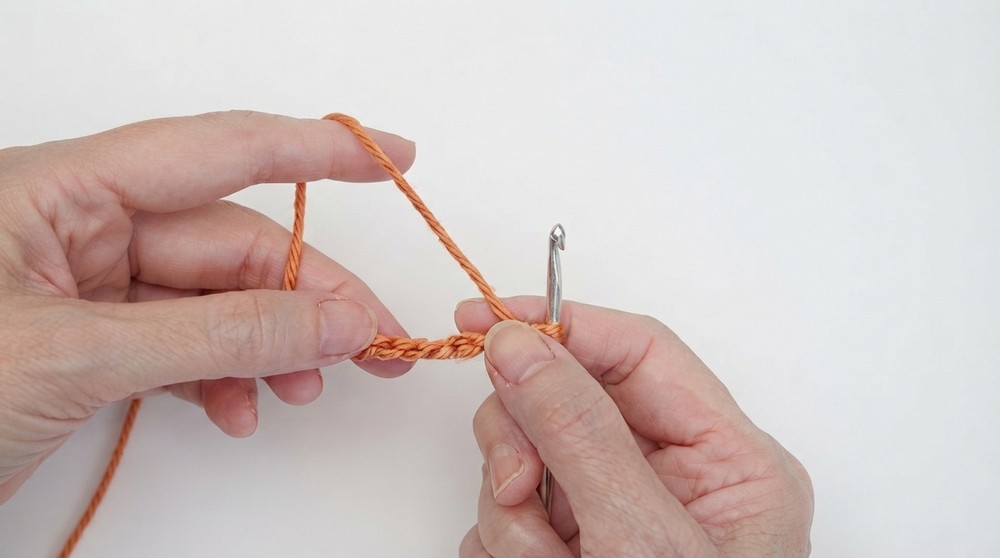
- Begin with a slip knot.
- Ch 32 (for the sample pumpkin).
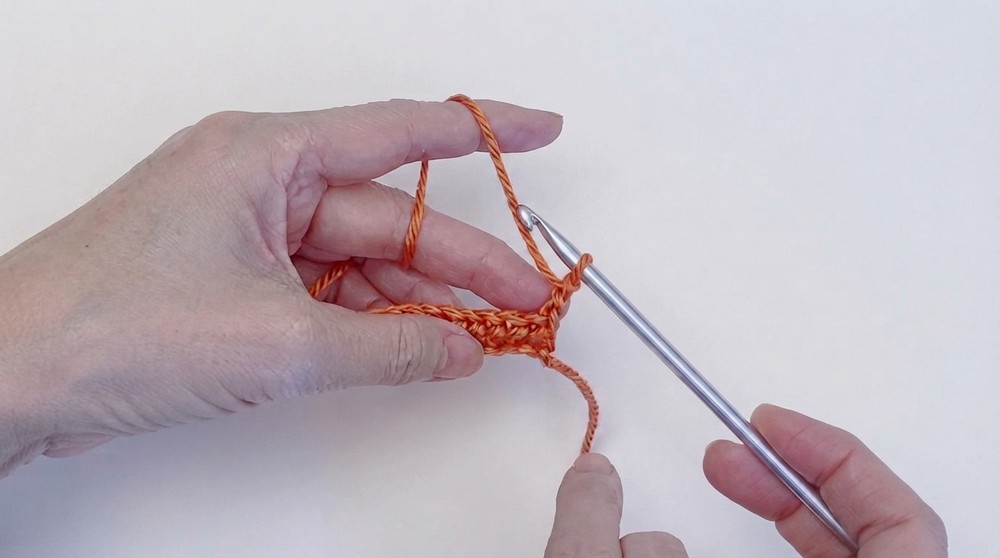
Row 1:
- Ch 2 (counts as the first hdc).
- Work hdc into the fourth chain from the hook, using the back bump of the chain to create a neat edge.
- Continue working hdc into the back bump for each chain across.
At the end of Row 1: You’ll have 32 hdc stitches in total.
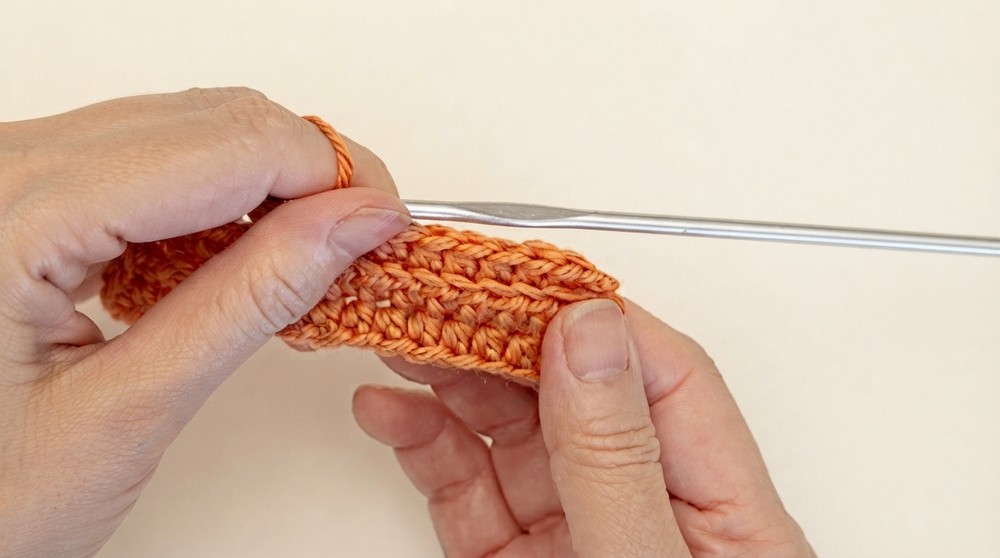
Row 2:
- Ch 2 (counts as the first hdc). Turn your work.
- Work hdc into the back loop only (bl) of each stitch across the row.
- When you reach the end, ensure the last stitch is worked into the marked top of the chain 2 from the previous row.
At the end of Row 2: You’ll have 32 hdc worked into their back loops.
Rows 3–41:
- Repeat Row 2 (hdc worked into the back loop only) for 39 additional rows until you have completed 41 rows total.
- Check dimensions: Fold the panel in half. It should appear roughly like a square (~7" height and ~6¾" folded width).
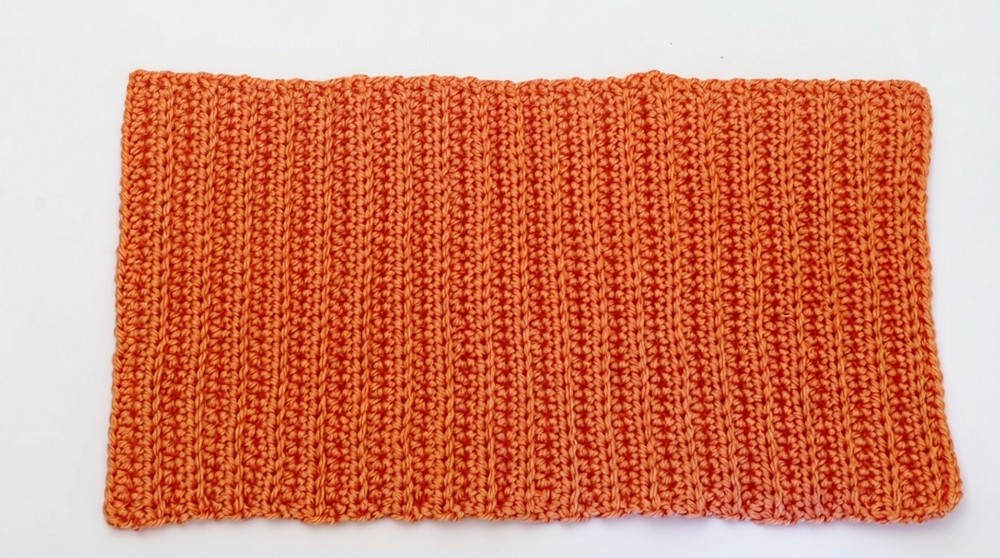
If you want a taller pumpkin, add chains to the foundation row and work more rows. Reduce rows for a smaller pumpkin.
Step 2: Forming the Cylinder
Joining the Panel:
- Ch 1, turn your work. Fold the panel in half lengthwise with right sides together.
- Slip stitch along the edge:
- Insert the hook into the front loop from the first side and the back loop from the opposite side.
- Yarn over, pull through both loops, then pull through the loop on your hook to complete the slip stitch.
- Continue slip stitching until the edges are fully joined.
At the end of Step 2: You’ll have formed a cylinder with a seamless join visible when turned inside out.
Step 3: Closing the Ends
Bottom Closure:
- Turn the cylinder inside out (seam side hidden).
- Using a tapestry needle and yarn, sew a running stitch around one open edge, spacing stitches about 1 inch apart.
- Pull the yarn tightly to cinch the edge closed.
- Tie a few overhand knots to secure it.
- Weave in the ends and hide them inside the pumpkin.
Top Closure and Stuffing:
- Repeat the running stitch process for the other open end but leave it slightly open for stuffing.
- Stuff the pumpkin firmly with fiberfill, shaping it as desired.
- Cinch the edge closed, tie knots, and hide the ends inside.
Step 4: Creating Indentations
Forming Grooves:
- Thread the 3-inch darning needle with double strands of yarn.
- Insert the needle through the top of the pumpkin and pull it out the bottom.
- Create grooves: Pull the yarn tightly around the sides to create indentations. Repeat for 8 strings spaced evenly around the pumpkin.
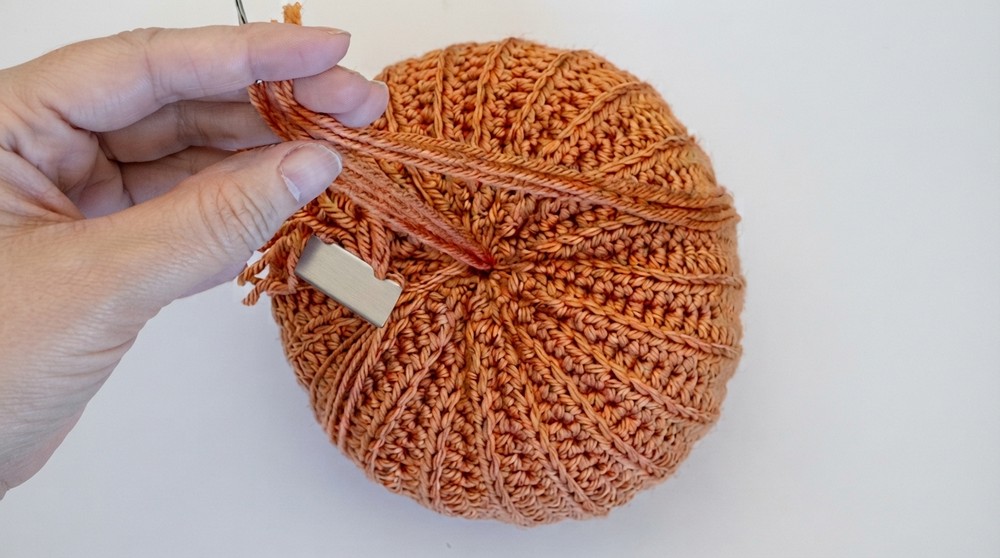
Tightly tie knots inside the pumpkin after completing each groove.
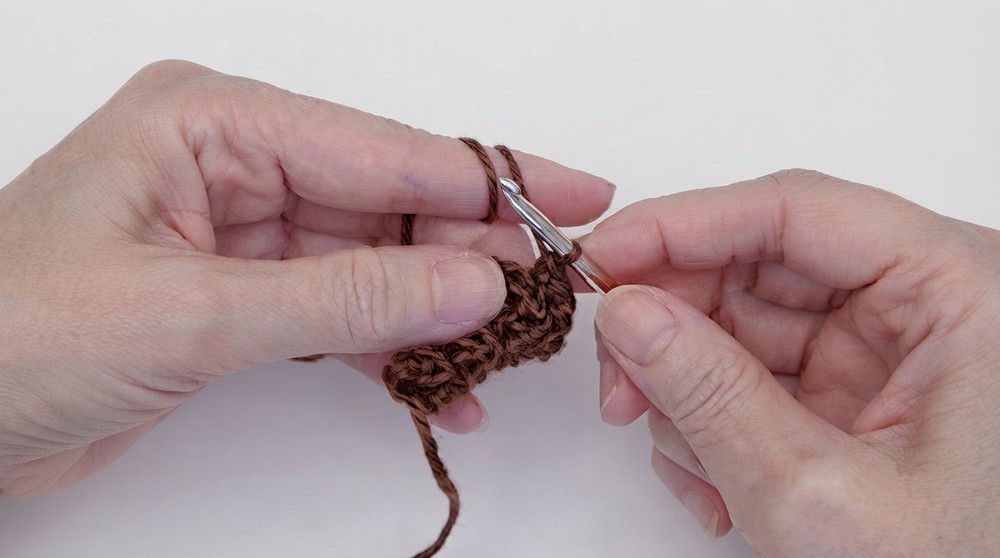
Step 5: Making the Stem
Stem Panel:
- Ch 5 for the foundation chain.
- Row 1:
- Ch 1, skip 1 chain, work sc into the next 4 chains.
- Rows 2–6:
- Ch 1, turn the piece. Work sc into each stitch across (4 stitches).
Forming the Tube:
- Join the edges: Slip stitch into the first stitch of Row 1 to create a tube.
- Weave in yarn tails or sew the top closed with invisible stitches.
Shaping:
- For a curved stem, work stitch increases in the middle of Rows 3–7:
- Place 2 sc in the third stitch to curve the stem naturally as you crochet additional rounds.
Final Round:
- Complete the stem and sew it onto the top of the pumpkin.
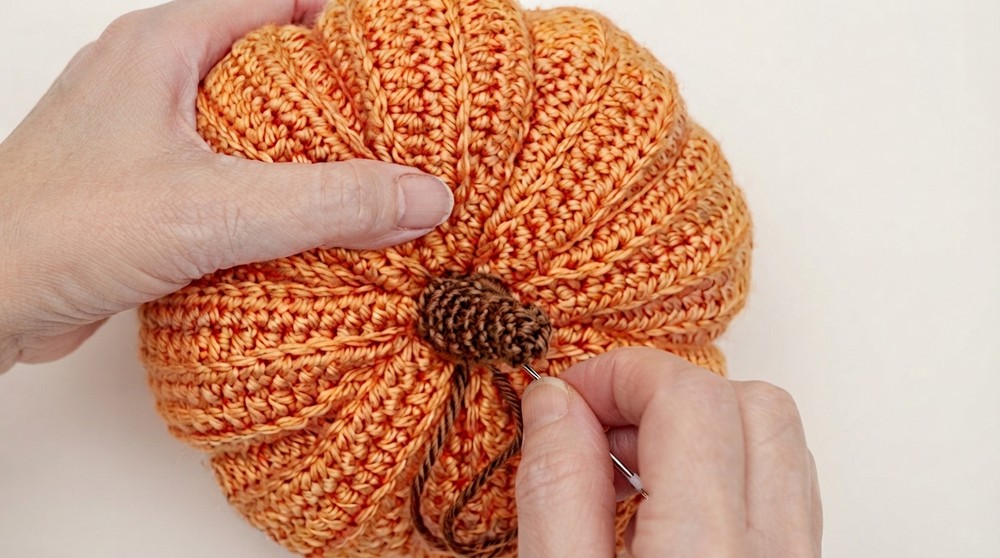
Assembly & Finishing
Attaching the Stem:
- Stuff the stem with fiberfill.
- Position it on top of the pumpkin and secure it with pins.
- Sew the stem in place using a running or overcast stitch.
Why You'll Love This Pattern
This crochet pumpkin amigurumi pattern allows for endless creativity—change the size, textures, or colors to fit your decor perfectly! You'll learn key techniques for shaping, seaming, and adding details while creating a charming seasonal piece that’s ready to adorn your table or mantel. Quick to make and easy to master, it’s a project you’ll love sharing with friends and family.