
How to Crochet Mushrooms Easily with Free Pattern & Tutorial
Try this Free Crochet Mushroom Pattern and create a fun little mushroom that is perfect for decorating your home or giving as a gift.
Creating a charming handmade project becomes effortless with the Free Crochet Mushroom Pattern, a design loved by beginners and experts alike. This project provides an ideal opportunity to combine function with whimsy, all while producing something uniquely personalized. Perfect for keychains, soft toys, or decorative accents, this crochet mushroom design is as versatile as it is fun to make.
Best Free Crochet Mushroom Pattern for All Skill Levels
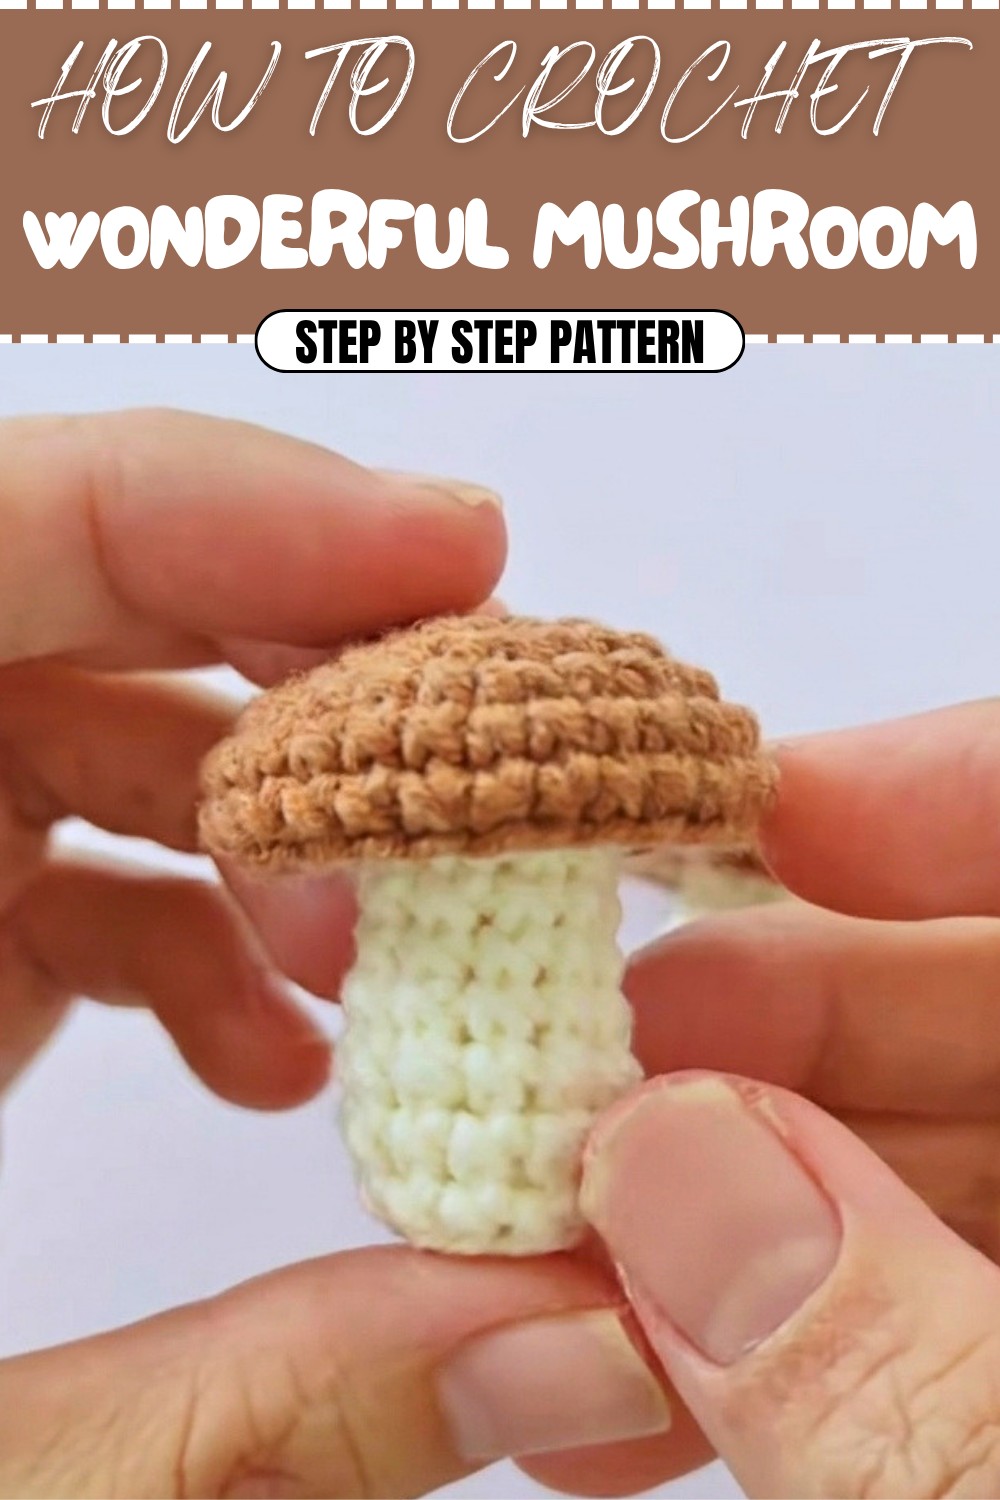
The mushroom pattern captures the timeless shape of these nature-inspired elements, showcasing a rounded, dome-like cap paired with a sturdy, cylindrical stem. The cap can be adorned with playful polka dots or left simple for a minimalist aesthetic, while the texture of the stem gives it definition and durability. A standout feature of this pattern is its adaptability, you can customize the size to suit your needs, whether creating miniature mushrooms for small gifts or larger ones as eye-catching centerpiece decorations.
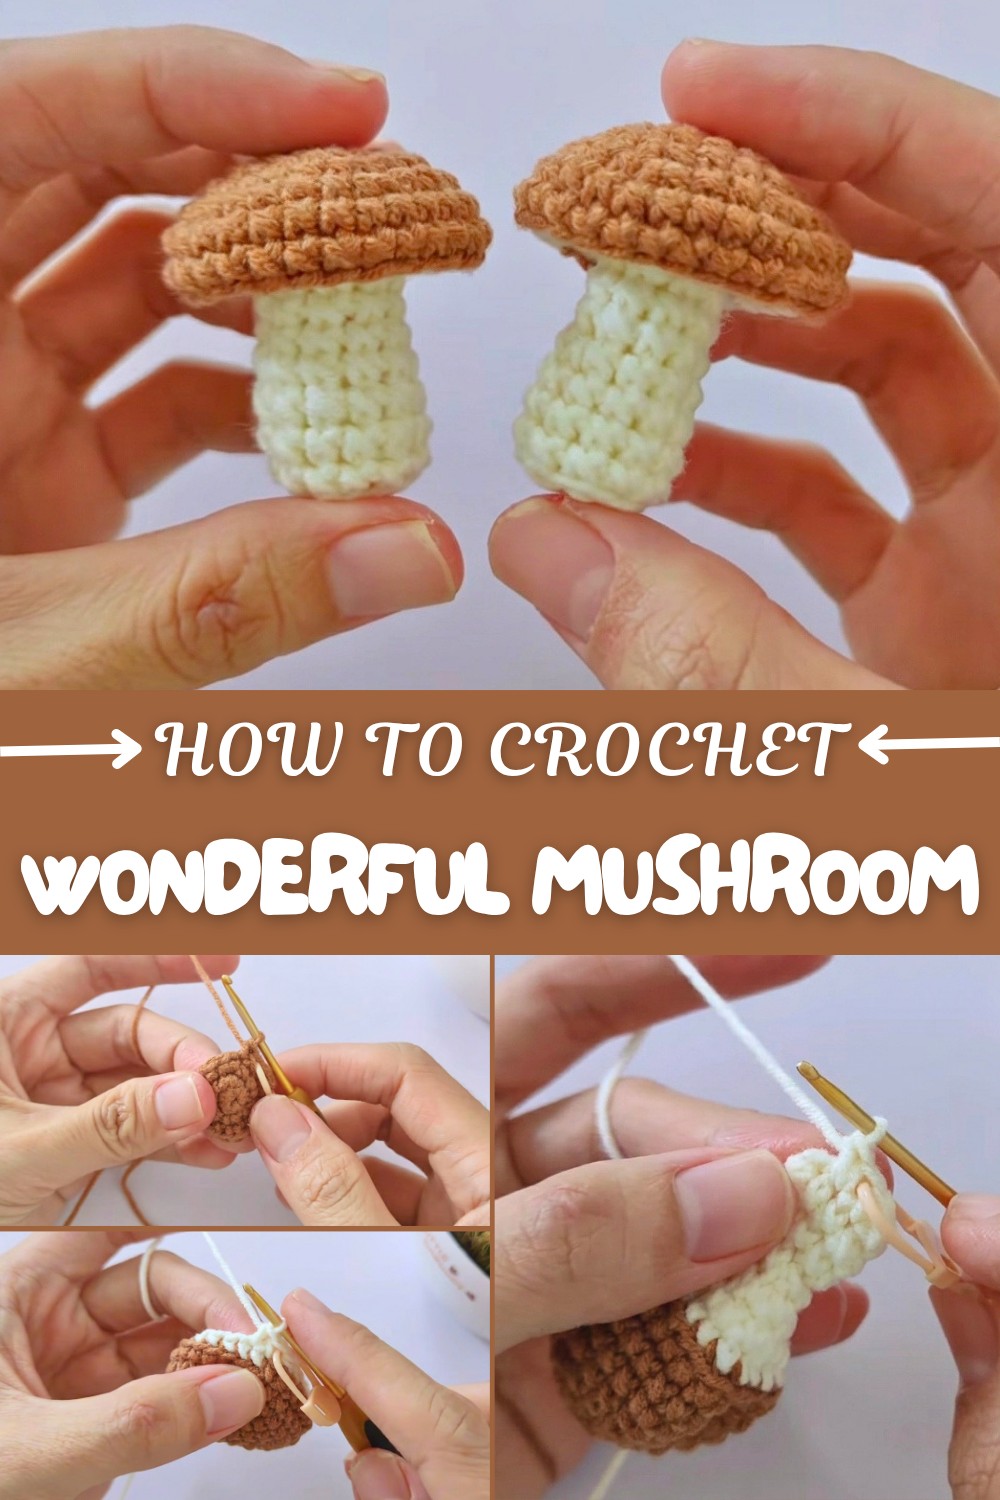
The construction process involves crocheting the stem and cap as separate components, then stitching them together to assemble the final design. Selecting the right yarn plays an essential role in achieving the desired texture. Cotton yarn delivers crisp and structured results, while acrylic or blended fibers create a softer and more plush appearance. To ensure that the mushroom maintains its shape over time, tightly-worked stitches are recommended, and consistent tension can make a noticeable difference in overall quality.
Inspired by the captivating forms found in nature, this pattern makes an excellent choice for thoughtful gifts or seasonal home decor. For special occasions, such as birthdays or holidays, a handmade crochet mushroom adds a unique and personal touch to your gesture. With an endless range of colors, sizes, and accents to choose from, it’s easy to bring your own personality to each piece, making this project both practical and enjoyable.
Crochet Mushroom Pattern
This crochet mushroom pattern creates a charming and compact decorative piece. The mushroom cap and stem are designed with precise increments and decreases, making it perfect for beginners who want to improve their foundational crochet skills or intermediate crocheters looking for a quick project. The small mushroom can be used as a decorative ornament, keychain, or part of a more elaborate crochet scene.
Skill Level
Beginner to Intermediate
This pattern is suitable for beginners who are comfortable working in rounds and understand basic crochet techniques. The incorporation of increases, decreases, and techniques like working in the front and back loops offers practice in building dimensional crochet.
Materials
- Yarn: Yarn Art Jeans 4ply (or any similar lightweight cotton yarn)
- Hook: 2.25mm crochet hook
- Additional Tools:
- Scissors
- Tapestry needle (for sewing and hiding ends)
Special Stitches
- Single Crochet (sc):
- Insert the hook into the stitch, yarn over, pull up a loop, yarn over, and pull through both loops on the hook.
- Increase (inc):
- Work 2 sc into the same stitch.
- Decrease (dec):
- Insert the hook into the stitch, yarn over, pull up a loop (2 loops on hook). Insert the hook into the next stitch, yarn over, pull up a loop (3 loops on hook). Yarn over, and pull through all 3 loops on the hook.
- Back Loop Only (BLO):
- When instructed to work into BLO, insert your hook into the back loop only of the stitch rather than under both loops.
- Front Loop Only (FLO):
- When instructed to work into FLO, insert your hook into the front loop only of the stitch rather than under both loops.
Stitch Abbreviations
- sc – Single Crochet
- inc – Increase
- dec – Decrease
- BLO – Back Loop Only
- FLO – Front Loop Only
Useful Tips
- This pattern is worked in continuous rounds and does not require slip stitches to join rounds. Use a stitch marker to mark the first stitch in each round to track your progress.
- When working with a magic ring, ensure the ring is closed tightly to avoid gaps in the center.
- If your decreases appear messy, experiment with invisible decreases to ensure clean and smooth shaping.
- The FLO section in Round 12 creates a ridge to mimic the underside of the mushroom cap. Focus on evenly tight stitches for a polished look.
Pattern Instructions
Mushroom Cap
Round 1:
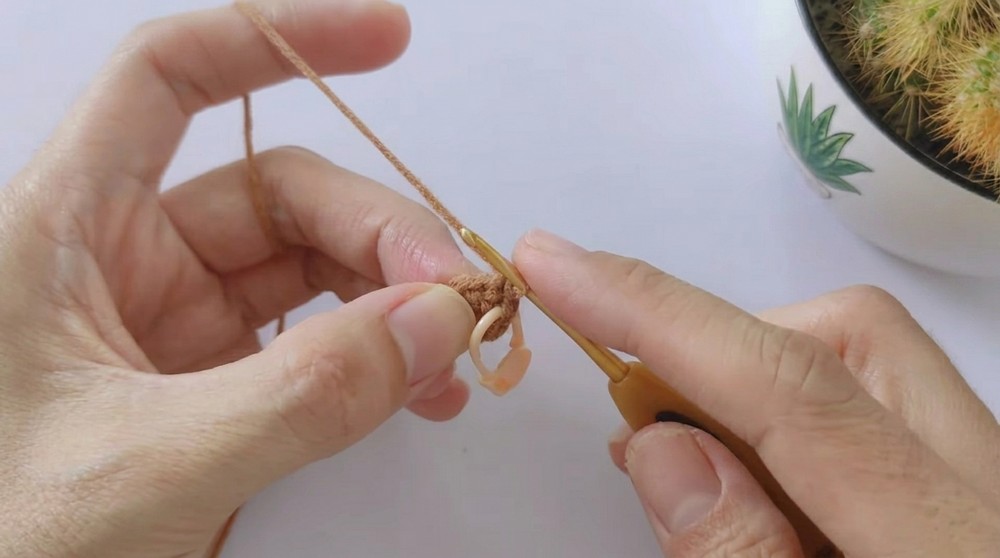
- Create a magic ring. Work 6 sc into the ring. (6 sts)
Round 2:
- Work 6 inc (2 sc in each stitch around). (12 sts)
Round 3:
- (1 sc, 1 inc) Repeat 6 times. (18 sts)
Round 4:
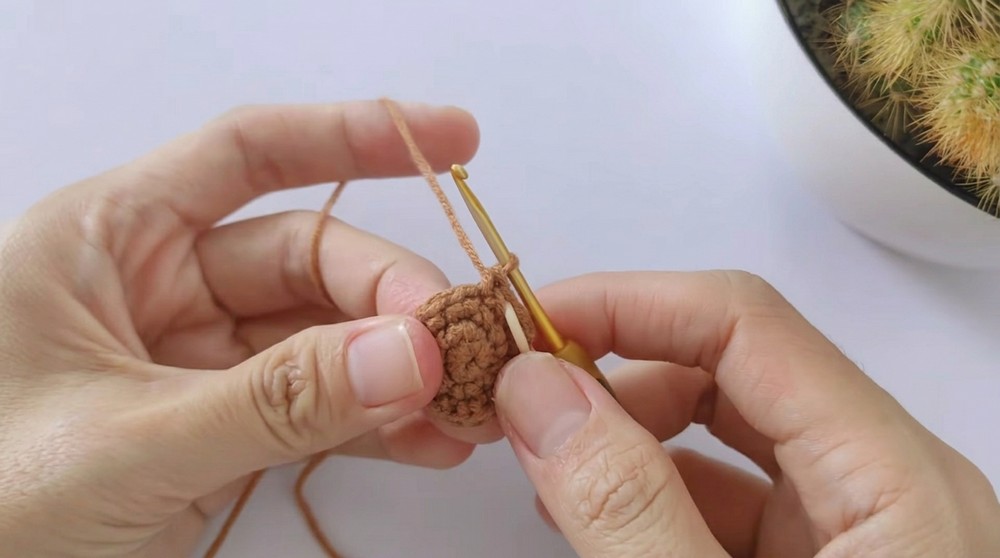
- (2 sc, 1 inc) Repeat 6 times. (24 sts)
Round 5:
- (3 sc, 1 inc) Repeat 6 times. (30 sts)
Rounds 6–7:
- Work 30 sc in each round (one sc in each stitch). (30 sts per round)
Round 8:
- Work in BLO only: (3 sc, 1 dec) Repeat 6 times. (24 sts)
Shaping the Mushroom and Stem
Round 9:
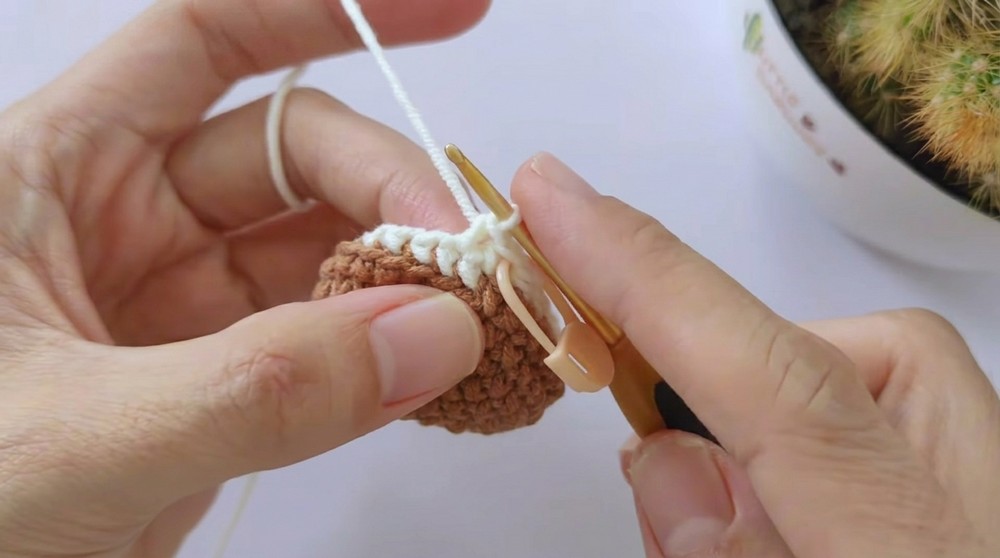
- (2 sc, 1 dec) Repeat 6 times. (18 sts)
Round 10:
- (1 sc, 1 dec) Repeat 6 times. (12 sts)
Round 11:
- (2 sc, 1 dec) Repeat 3 times. (9 sts)
Round 12:
- Work in FLO only: 9 sc (one sc in each stitch). (9 sts)
Stem
Rounds 13–14:
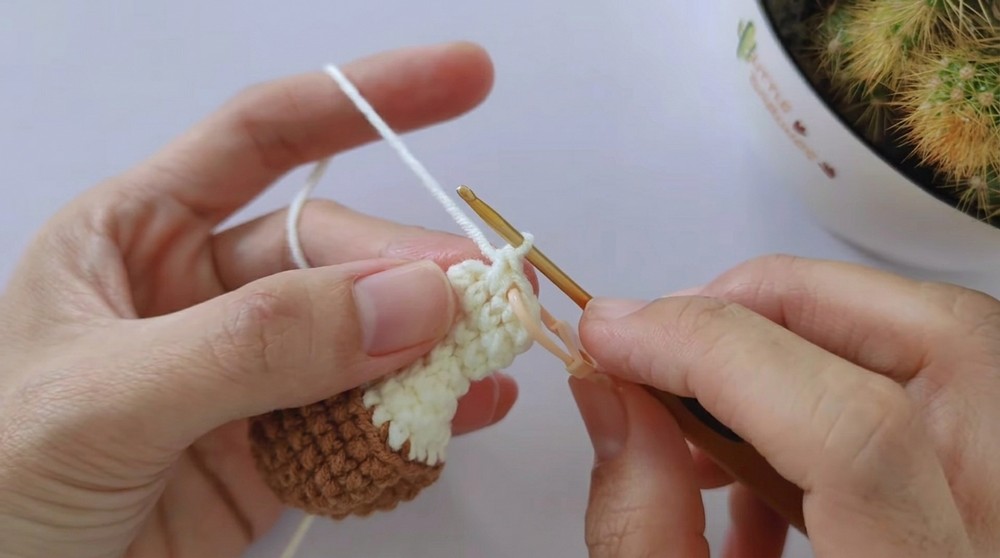
- Work 9 sc in each round (one sc in each stitch). (9 sts per round)
Round 15:
- Work 1 inc, then 8 sc. (10 sts)
Round 16:
- (4 sc, 1 inc) Repeat twice. (12 sts)
Rounds 17–19:
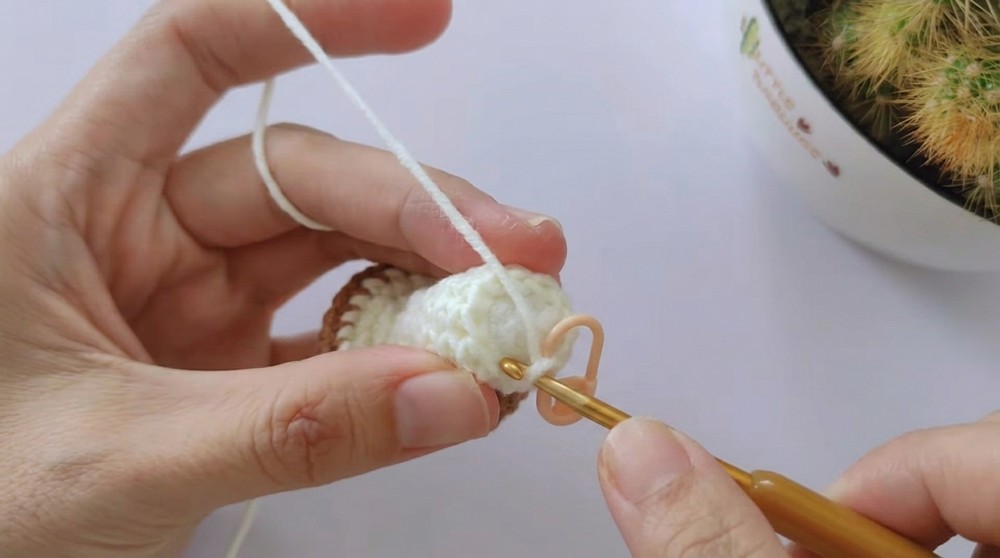
- Work 12 sc in each round (one sc in each stitch). (12 sts per round)
Round 20:
- Work 6 dec to close the opening.
Assembly and Sizing
- Shape the Mushroom:
- After completing Round 20, use the tapestry needle to fully close the opening. Weave it in and out of the stitches from Round 19 and pull tight.
- Weave Loose Ends:
- Use the tapestry needle to hide any loose yarn tails within the mushroom cap or stem. Trim excess tails.
- Final Sizing:
- The completed mushroom should measure around 5–7 cm in height, depending on your tension and material.
Useful Adjustments
- Change the yarn color halfway through the rounds if you want a red mushroom cap or other variations for a whimsical look.
- To customize the size, adjust the number of rounds or stitches in the cap and stem sections.
Conclusion
This crochet mushroom pattern is a delightful project for creating decorative accents. Its simple yet textured shape makes it visually appealing while offering a manageable challenge for beginners. Whether you make the mushroom as part of a fairy garden setup, as a keychain, or as a standalone piece, this design is versatile and timeless.