
How to Crochet Bucket Hat Pattern for Free to Match Any Outfit
Personalize your accessories easily with a free crochet bucket hat pattern for colorful, standout flair all season long.
One sunny afternoon, I found how a simple crochet project could brighten up my entire look. This beautifully crocheted bucket hat pattern is both stylish and functional. Its lovely rounded shape and smooth texture make it a perfect accessory to shield you from the sun while adding a cheerful touch to any outfit. This hat pattern is great for casual days at the beach, garden parties, or just a stroll in the park. Made with half double crochet stitches, the fabric feels soft but sturdy, offering comfort and durability. Its thoughtful pattern, including a gently flared brim, ensures it sits nicely on your head and keeps the sun out of your eyes, making it a versatile and practical piece for many occasions.
Fashionable Free Crochet Bucket Hat Pattern for Any Season
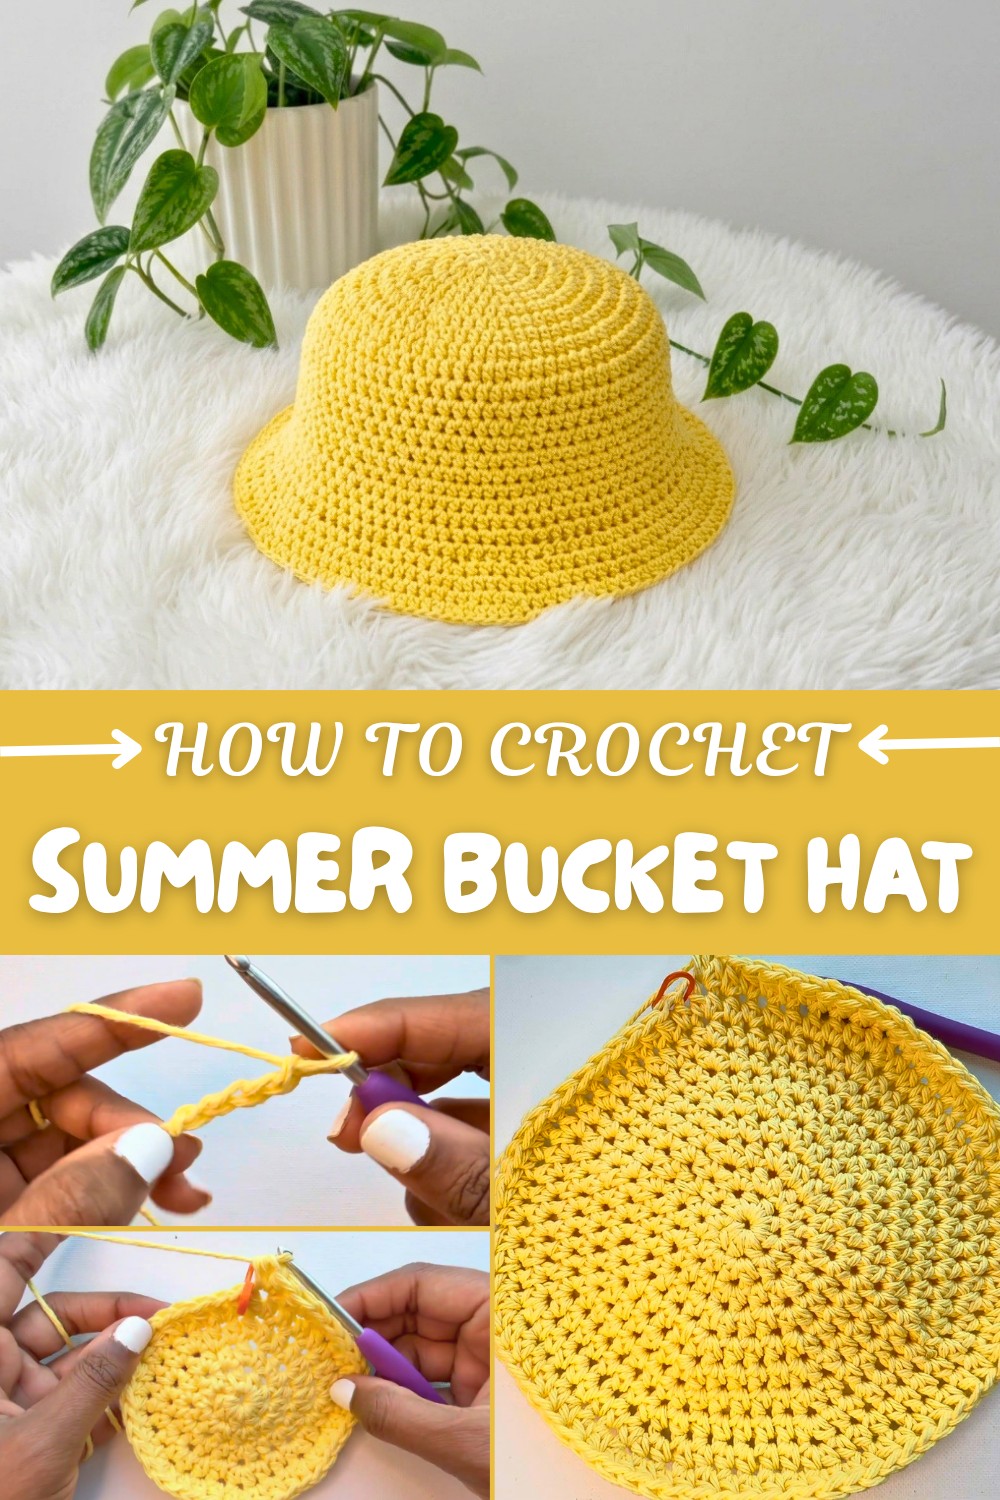
The hat starts with a magic ring, crocheted in rounds that increase gradually to form the top circle of the hat. Careful counting and the use of a stitch marker help keep the shape even as the rounds expand. After reaching the size to fit the head, the pattern transitions into working in the front loops only to help shape the body of the hat downward. The brim is carefully crafted with a combination of regular rounds and increase rounds to give just the right amount of flare without any curling or waviness. Every step is beginner-friendly, clearly explained, and paced so you can enjoy making it without feeling rushed.
Beyond the Bucket Hat: Other Fun Crochet Projects
Once you’re comfortable with this bucket hat pattern, you can easily adapt its techniques for other stylish wearables or home accents. Try making a cozy beanie by skipping the brim sections or lengthening the body for a slouchy look. Experiment with different yarn colors or textures to create seasonal hats, like a cozy winter version using soft wool blends. The same round crochet method is great for making round cushions or placemats, too—just adjust the size with more rounds! This pattern is a wonderful way to build your skills and open the door to many creative crochet possibilities.
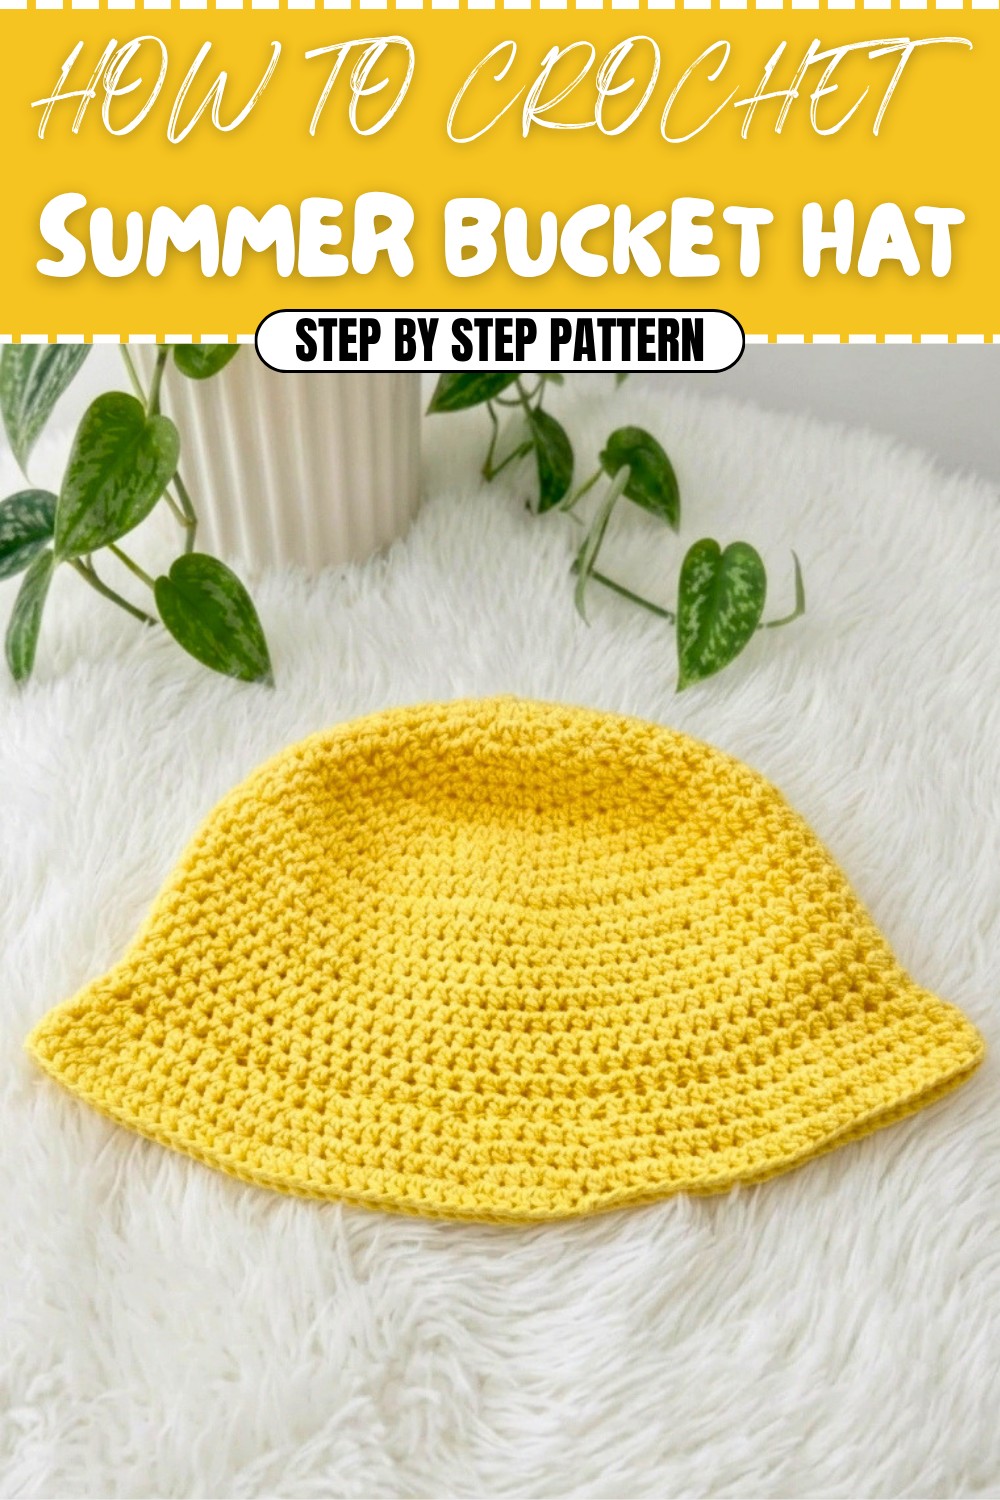
Lemon-Colored Bucket Hat – Step-by-Step Crochet Pattern
In this pattern, you will learn how to create a lemon-colored bucket hat that is stylish, versatile, and customizable to fit any size. Whether you're making it for yourself or as a gift, this cotton hat works perfectly for sunny days or as a fun accessory. The pattern uses simple increases, half double crochet stitches, and strategic shaping for seamless crochet. Let's get started!
Uses of This Pattern
- Fashion Accessory: Perfect for casual wear, the beach, or outdoor activities.
- Gifts: A thoughtful handmade present for friends or family.
- Customizable: You can experiment with different yarn colors and textures to match your personal style.
Skill Level & Terminology
- Skill Level: Beginner
This pattern is ideal for new crocheters or those building confidence with shaping techniques. It uses basic stitches and simple increases to create a beautiful finished piece. - Terminology: US Crochet Terms
Materials & Tools
To crochet the bucket hat, you'll need:
- Yarn:
- Sugar and Cream yarn in medium weight (#4), 100% cotton, 70+ grams. The pattern uses the color yellow, but you can choose your favorite shade.
- Crochet Hook:
- 4 mm (G) hook.
- Additional Tools:
- Scissors.
- Stitch marker for tracking rounds.
- Yarn needle for weaving in loose ends.
Gauge
Gauge is crucial for ensuring the correct size of the hat.
- Gauge: 4 half double crochet (hdc) stitches x 3 rows = 1 inch.
- Work a small gauge swatch in half double crochet before starting the project to ensure consistency.
Finished Size
The completed size small bucket hat has a 6.1-inch diameter (top) and a body portion reaching approximately 1 inch above the eyebrows. Adjust the size by adding or subtracting rounds of increases as desired.
Abbreviations List
| Abbreviation | Meaning |
|---|---|
| ch | Chain |
| hdc | Half Double Crochet |
| sl st | Slip Stitch |
| st(s) | Stitch(es) |
| inc | Increase (2 stitches worked into the same stitch) |
Special Stitch Instructions
- Slip Stitch (sl st): Insert hook into stitch, yarn over, and pull through both loops on the hook.
- Half Double Crochet (hdc): Yarn over, insert hook into stitch, pull up a loop (3 loops on hook), yarn over, and pull through all 3 loops.
- Front Loop hdc: Work only in the front loop of the stitch (closest loop facing you), leaving the back loop unworked.
What You'll Learn From This Pattern
- Constructing circular shapes with increases in the round.
- Changing stitch techniques to shape the hat.
- Working with front loop stitches for seamless direction changes.
- Building flared brims while maintaining structural integrity.
The Pattern Itself
Follow the detailed steps below to crochet your lemon-colored bucket hat.
Part 1 - Top of the Hat
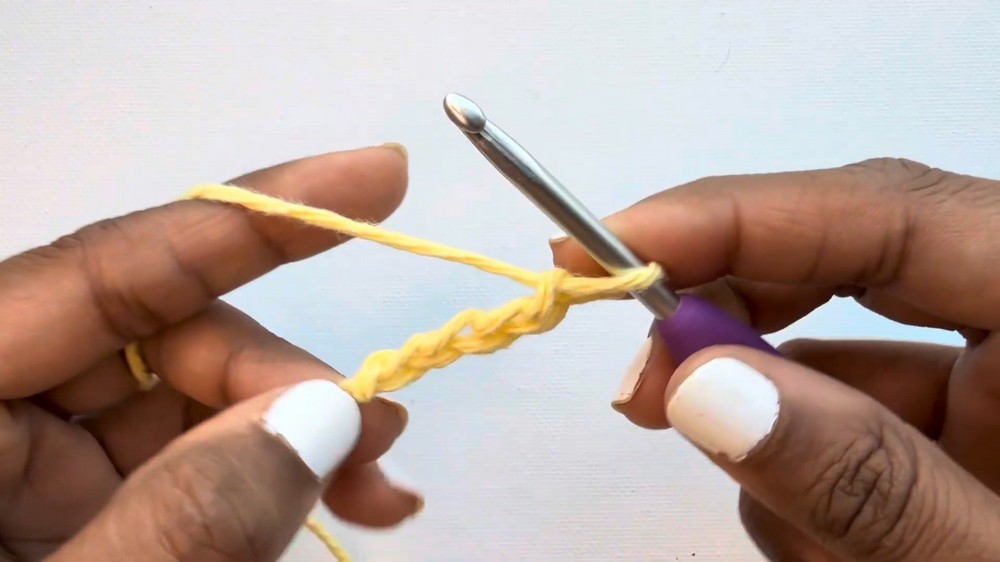
- Create a Slip Knot:
- Wrap yarn around your fingers to form an X, insert hook under the first strand, grab the second strand, and pull through. Tighten to secure.
- Foundation Circle:
- Ch 4, then slip stitch into the first chain to form a ring.
- Round 1:
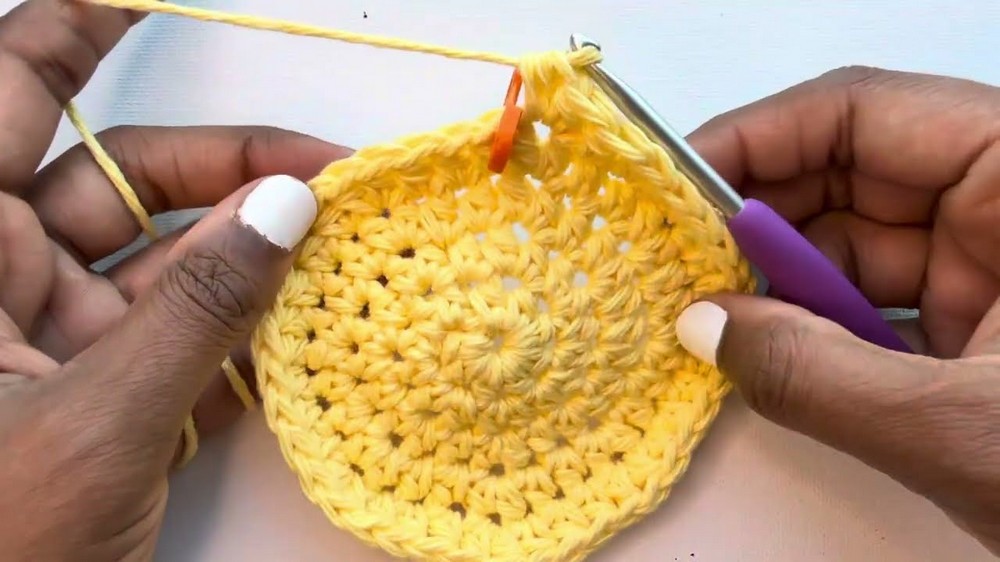
- Work 8 hdc into the ring. Pull the tail to close the center hole.
- Round 2:
- Work 2 hdc into each stitch around for a total of 16 stitches.
- Round 3:
- Work 1 hdc in the first stitch, 2 hdc in the second stitch (increase) all the way around. (24 sts)
- Round 4:
- Work 2 hdc, 1 increase all the way around. (32 sts)
- Round 5:
- Work 3 hdc, 1 increase all the way around. (40 sts)
- Round 6:
- Work 4 hdc, 1 increase all the way around. (48 sts)
- Round 7:
- Work 5 hdc, 1 increase all the way around. (56 sts)
- Round 8:
- Work 6 hdc, 1 increase all the way around. (64 sts)
- Optional Rounds:
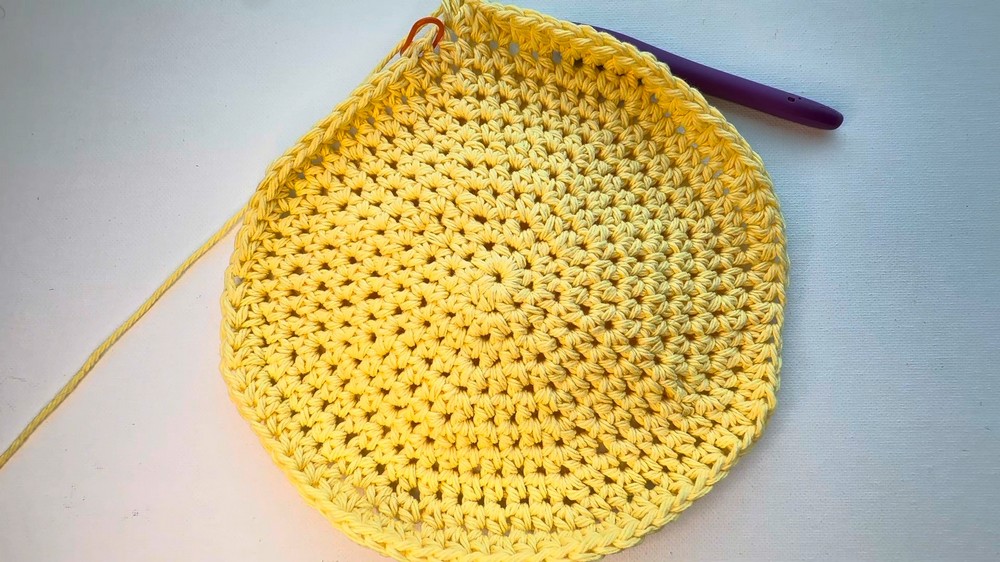
- If needed, continue increasing with 7 hdc, 1 increase for round 9 and 8 hdc, 1 increase for round 10 to achieve the desired width.
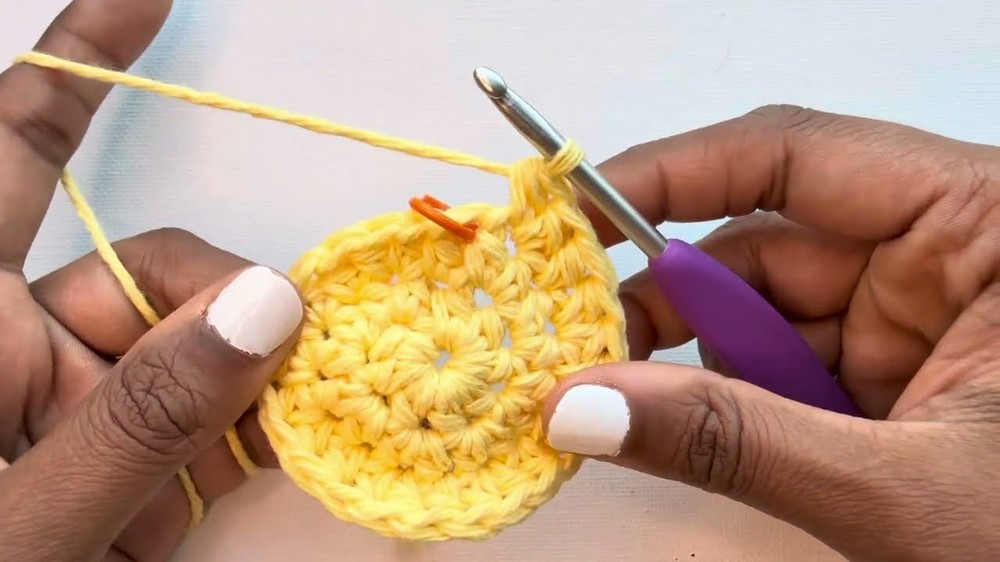
Plain Explanation:
In this section, you're building the circular crown of the hat by consistently adding increases. Count your stitches after each round to ensure accuracy.
Part 2 - Middle/Body of the Hat
- Turn Direction (Round 11):
- Work 1 hdc into the front loop only of each stitch around. (80 sts)
- Body Rounds:
- Rounds 12–20: Work 1 hdc into both loops of each stitch (regular hdc).
Plain Explanation:
Working in the front loops for round 11 shifts the hat’s direction downward. The body rounds add volume and create the characteristic structure of a bucket hat.
Part 3 - Brim
- Round 21:
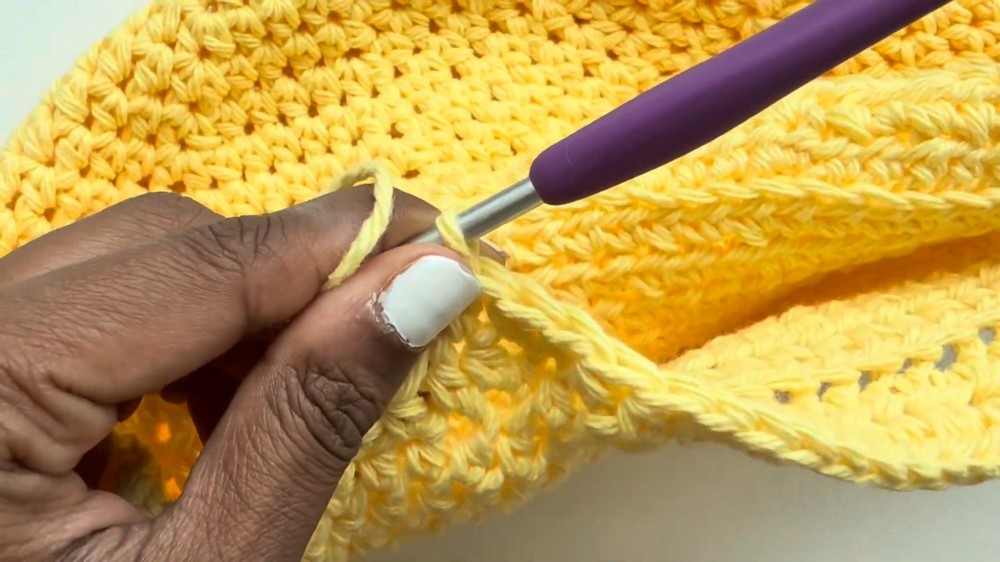
- Work 4 hdc in the front loop only, then 1 increase (2 hdc in the same stitch). Repeat around. (Adds flare.)
- Round 22:
- Work 8 hdc, then 1 increase all the way around.
- Round 23:
- Work 1 hdc into each stitch (no increases).
- Round 24 (Optional):
- Work 9 hdc, then 1 increase to further flare the brim.
Plain Explanation:
The brim is created by working increases after a set number of regular hdc stitches. Adding rounds without increases ensures the brim holds its flared structure without curling.
Part 4 - Assembly & Finishing
- Weave in Ends:
- Use a yarn needle to hide any loose ends by threading them along the inside edge of your hat.
- Try It On:
- Test the fit to ensure the brim flares correctly and adjust any loose stitches as needed.
- Optional Decorations:
- Embroider or add appliqués for a personalized touch.
Why You’ll Love This Pattern
The Lemon Bucket Hat pattern is the perfect addition to your crochet repertoire. You'll love the seamless crochet, the ability to customize fit and brim style, and how effortlessly it transitions from beginner practice to an elegant accessory.