
Handmade Free Crochet Pouch Pattern to carry daily keys
Slip smooth organization into your jacket with a Free Handmade Crochet Pouch Pattern while you make a light coin purse that fits in coat pockets.
Pattern By Anerom
Soft textures and cozy vibes are what make this pouch truly irresistible. Shaped into a small but functional design, this project is great for those little things you want to keep handy or present beautifully. The rounded edges and gentle stretch of the fabric make it equal parts practical and charming. Its subtle stitch work adds depth without overpowering the overall look, leaving room for fun embellishments like buttons, drawstrings, or even a ribbon.
The idea for this pouch came from a love for practical decorations that also serve a purpose. It’s the kind of piece that blends into everyday life while adding a touch of handmade warmth to your space. Using a medium weight cotton yarn is strongly recommended for this project, it holds the stitches nicely and keeps the structure firm without sacrificing softness. Plus, cotton’s natural shine helps emphasize the beauty of your stitch detail, creating a piece that feels polished yet approachable.
Learn How to Crochet This Adorable Pouch with Free Pattern
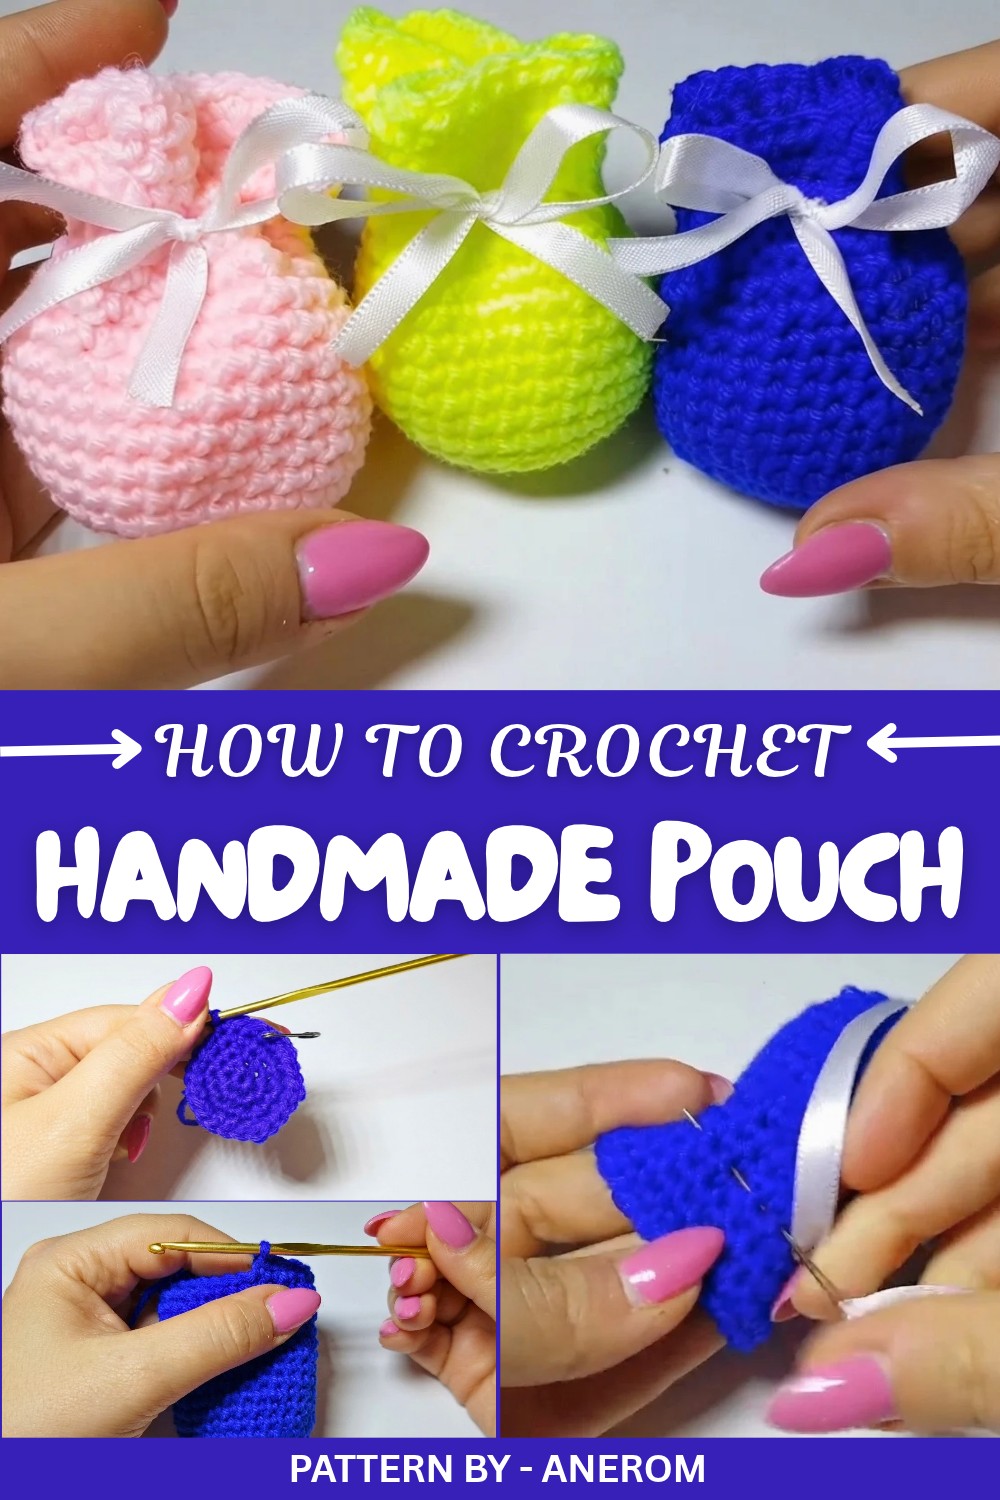
Working this pouch involves a simple construction method where rounds are used to create a seamless finish. Starting with a sturdy base, you’ll slowly shape it upward until the sides come together. It’s beginner friendly but allows for plenty of customization, so advanced crocheters can really have fun experimenting. Whether you choose bold stripes, playful appliqués, or a single solid color, this pouch is a reflection of your style.
Practical, customizable, and oh so charming, this pouch is sure to be a favorite. Turn it into a unique gift or simply keep it for yourself as a sweet everyday accessory. One thing’s for sure: it’s impossible to make just one.
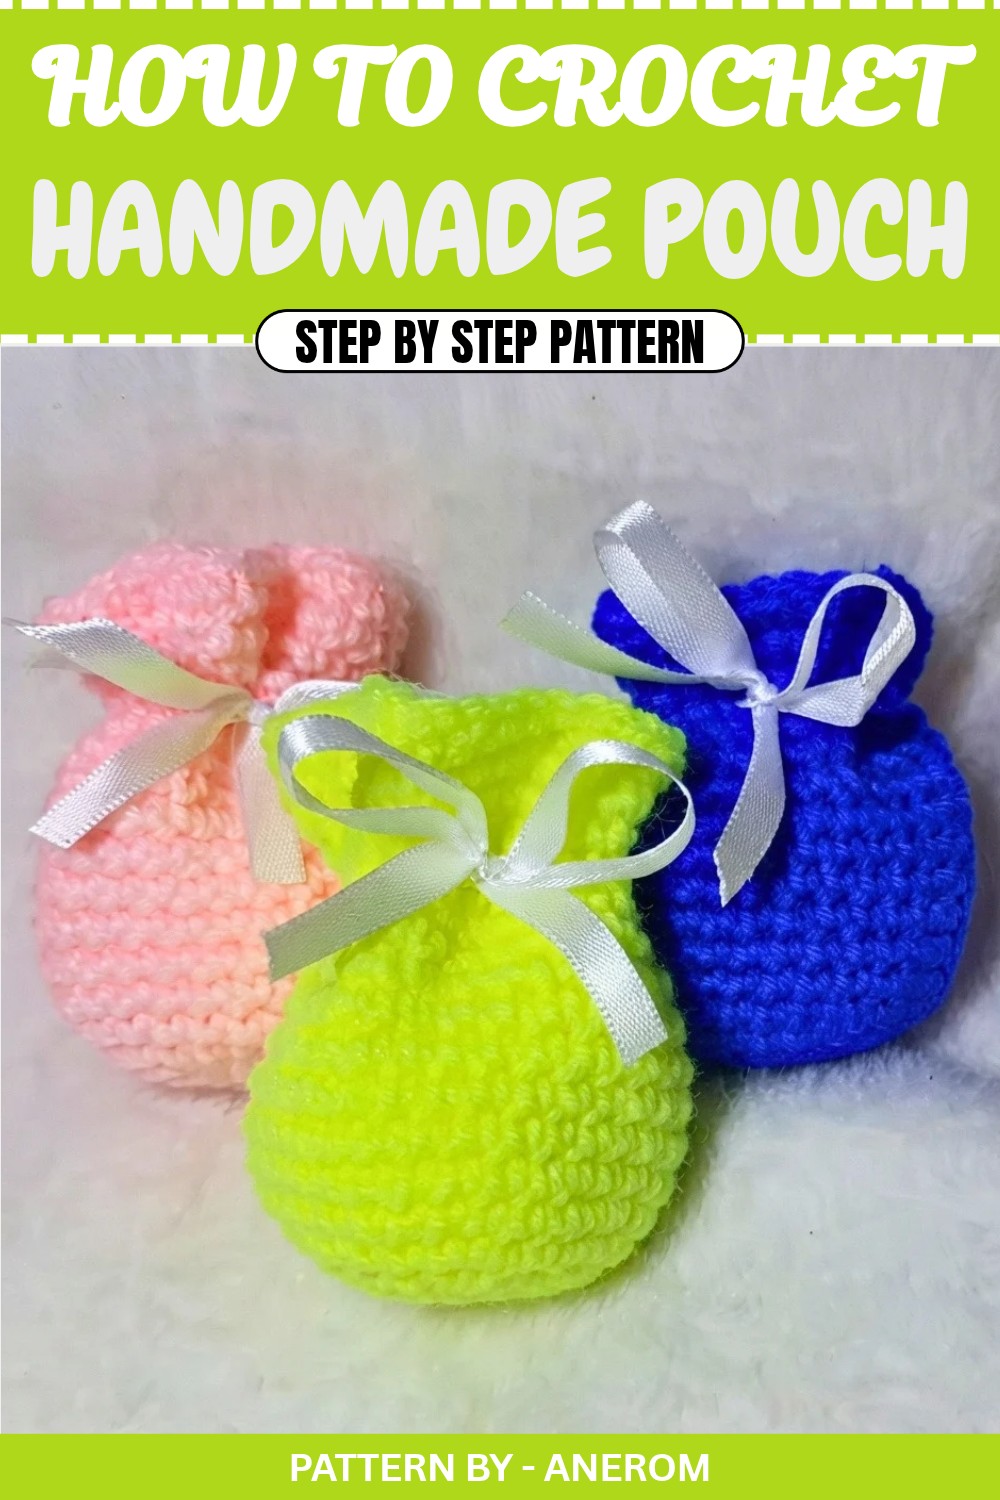
Crochet Party Favor Bag Pattern
Quick Overview of Pattern
- Type: Small Crochet Party Favor Bag
- Difficulty Level: Beginner
- Techniques Used: Magic ring, single crochet, increases, and joining rounds
- Features: Customizable size and decorations, including a ribbon detail
Notes
- This pattern is worked in rounds. A stitch marker is highly recommended to keep track of the first stitch of each round.
- Make the bag as colorful and decorative as you like. Feel free to experiment with different yarn colors and types of ribbon for a festive touch.
- All instructions are written in US crochet terms.
Skill Level
Beginner – Ideal for those who are new to crocheting but confident with basic stitches and working in the round.
Materials
- Yarn: Acrylic yarn in your choice of colors (medium weight suggested)
- Example: White, pink, yellow, blue, or multicolored yarn for creating a variety
- Hook: 3.0 mm crochet hook (adjust for your yarn weight)
- Ribbon: Thin ribbon for decorating and tying the bags (your choice of color)
- Fiberfill, organza, or tulle for stuffing or creating decorative interiors
- Scissors
- Stitch marker
- Tapestry needle
Measurements / Sizing
- Finished Height: Approximately 8–10 cm
- Width (at widest point): Approximately 6–7 cm
Gauge
Gauge is not critical for this project as the sizing can be adjusted, but it generally uses 6 single crochet stitches per 2 cm.
Stitch Abbreviations
- ch – Chain
- sc – Single Crochet
- inc – Increase (2 sc in one stitch)
- sl st – Slip Stitch
Special Stitches
Magic Ring:
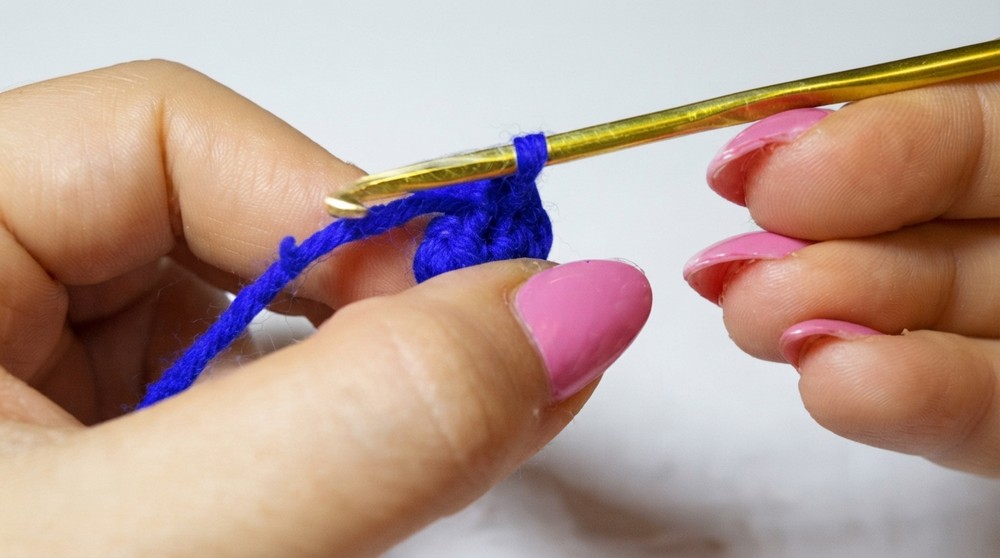
Create a loop with the yarn, insert the hook into the loop, pull up a loop, and chain one. Work the required number of stitches into the ring, then pull the tail tight to close the loop.
The Crochet Pattern
Bag Body
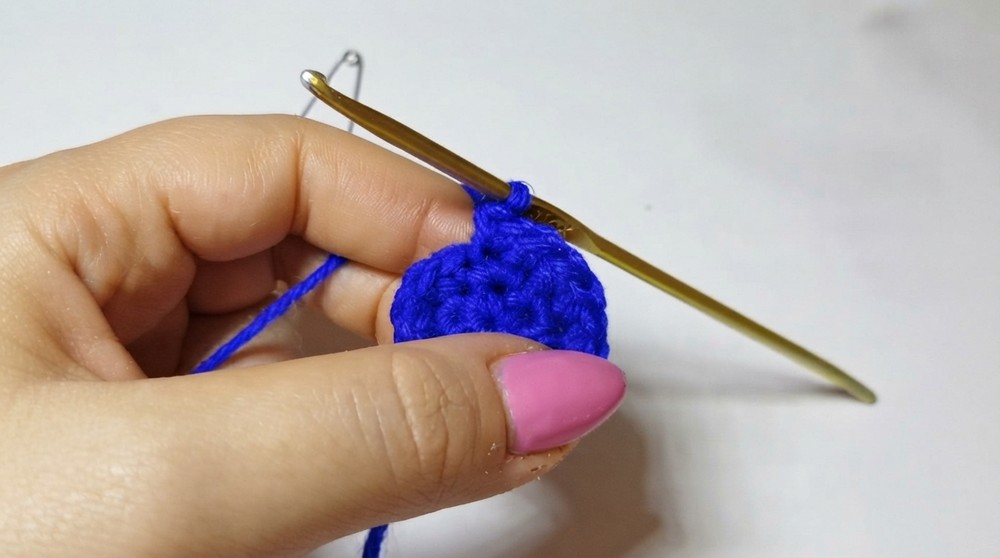
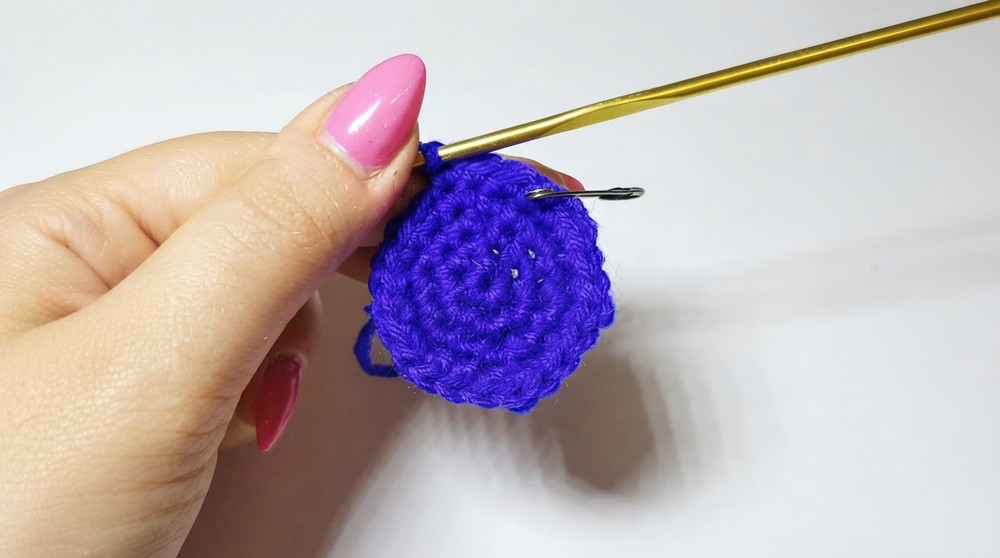
- Round 1: Create a magic ring. Work 6 sc into the ring. (6 stitches)
- Round 2: Work 2 sc in each stitch around (increase in each stitch). (12 stitches)
- Round 3: Sc in the first stitch, inc in the next stitch. Repeat around. (18 stitches)
- Round 4: Sc in the next 2 stitches, inc in the next stitch. Repeat around. (24 stitches)
- Round 5: Sc in the next 3 stitches, inc in the next stitch. Repeat around. (30 stitches)
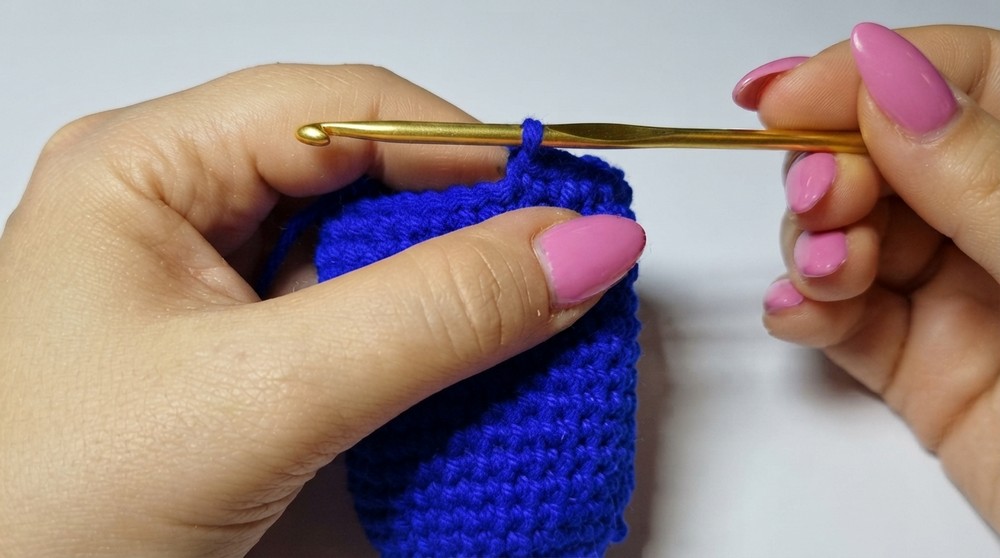
- Rounds 6–19: Work 14 rounds of sc in each stitch (1 sc in each stitch around — no increases). Remember to mark the first stitch of each round with a stitch marker to keep track. (30 stitches per round)
- Finish off: After completing the final regular round, in the next stitch, make 1 sl st. Fasten off, leaving a long tail for weaving in.
- Weave the Tail: Use a tapestry needle to weave the tail into the stitches to secure it and avoid unraveling. Trim any excess yarn.
Decoration with Ribbon
- Cut a piece of thin ribbon in your desired length (around 30–35 cm is recommended). You can choose contrasting colors for a more dynamic look.
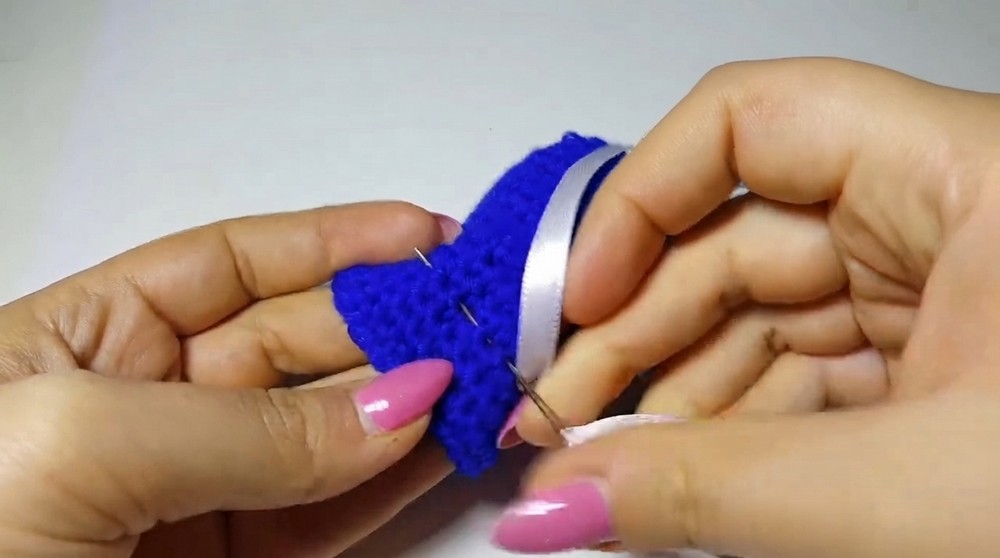
- Thread the ribbon through a tapestry needle. Decide which round of your bag (near the top) will be used for the decoration.
- Starting from the front, insert the needle and pull the ribbon through the stitches, skipping 1–2 stitches at a time as you weave around the circumference of the bag.
- Adjust the ribbon length at the front to ensure both ends are equal, leaving enough length for tying a bow.
- Once the ribbon is woven around the bag, tie a small bow at the front center of the bag. Trim any excess ribbon for a neat finish.
Assembly
- Stuff the Bag: If using the bag for decorative purposes, fill it with a bit of fiberfill, organza, or tulle for volume. If you’re using it as a favor bag for candies or confetti, place them inside instead.
- Secure the Opening: Once you’ve filled the bag, use the ribbon to tightly close the opening and tie a bow at the top.
Conclusion
Congratulations, You’ve just created your very own crochet party favor bag. These small, versatile bags can be used for holding confetti, candies, or other treats. Customize them in various colors or with different ribbons to suit special occasions such as birthdays, baby showers, or holidays. This quick and easy project is perfect for beginners and a great way to add a cheerful handmade touch to your celebrations.