
Free Ice Cream Cone Crochet Pattern for Sweet Creations
Enjoy this free crochet pattern and create a fun and delightful ice cream amigurumi that’s ideal for summer vibes or gifting to friends.
When I was little, I used to pretend my toys were running a tiny ice cream shop, serving invisible scoops to anyone who walked by. This free ice cream cone crochet pattern feels just like that childhood game, but much more colorful and fun. You’ll be making a cute, soft cone and a scoop that never melts, perfect for play kitchens, pretend shops, room décor, or even a keychain or bag charm. It looks charming on a desk or shelf and makes a sweet handmade gift for friends and kids.
This pattern uses simple stitches like single crochet and basic increases and decreases. With these, you can shape the cone and scoop so they look like real ice cream. These same stitches are also used to make amigurumi toys, fruits, doughnuts, cupcakes, and other small plushies, so learning them here opens the door to lots of other projects. The steps are explained in a friendly way so even a young beginner can follow along with a bit of help.
This Free Crochet Ice Cream Pattern Is Deliciously Cute
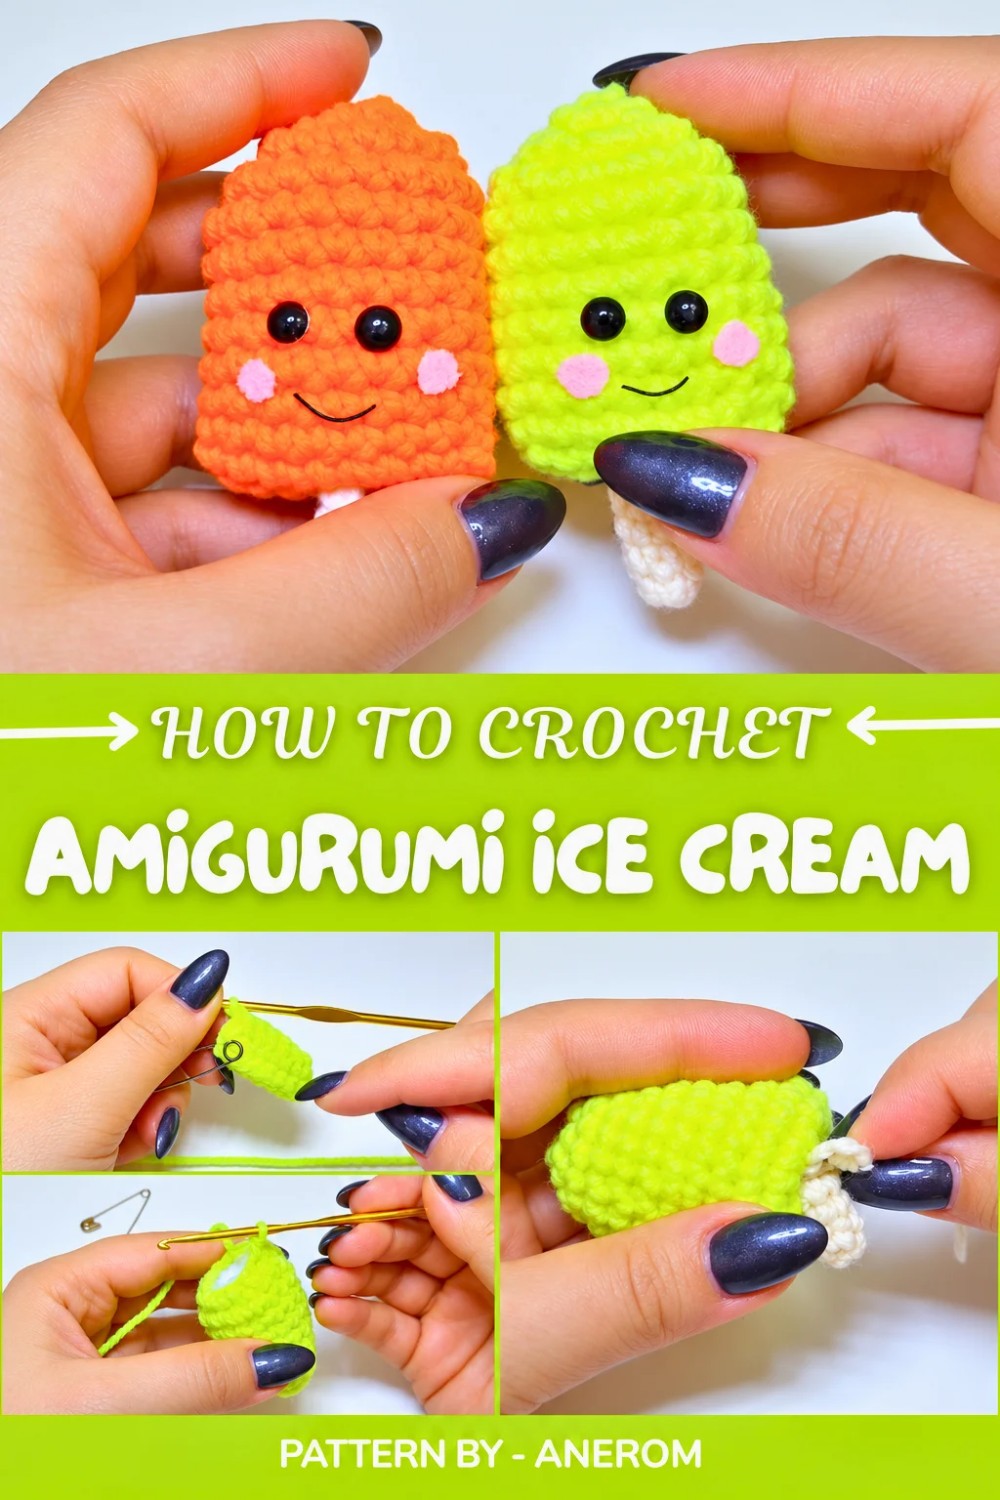
From this pattern, you will learn how to start with a magic ring, work in rounds, shape pieces using increases and decreases, and join parts neatly. You’ll also see how stuffing changes the look of your ice cream and how to sew the scoop onto the cone so it stays in place. These are core skills that you can use again and again.
Featured By Anerom
Once you understand this cone and scoop, you can crochet other treats using the same idea. You can turn the scoop into a stress ball, a small toy for dolls, or stack multiple scoops for a tall ice cream tower. With slight color and size changes, you can adapt it into cupcakes, donuts, macarons, or even little character heads with faces.
Some parts may feel tricky, like keeping the magic ring tight, working in small rounds, or counting stitches correctly. The simple solution is to go slowly, use a stitch marker to mark the first stitch of each round, and pause often to check your work. If the yarn feels hard to see, choose a light color. If it feels too tight, loosen your grip on the hook. With patience and a bit of practice, these small difficulties turn into easy steps you’ll soon know by heart.
Crochet Pattern: Adorable Amigurumi Ice Cream Cone
Quick Overview Of Pattern
- Project Type: Amigurumi ice Cream Conefd crochet.
- Uses: Home decor, keychains, toys, or gifts.
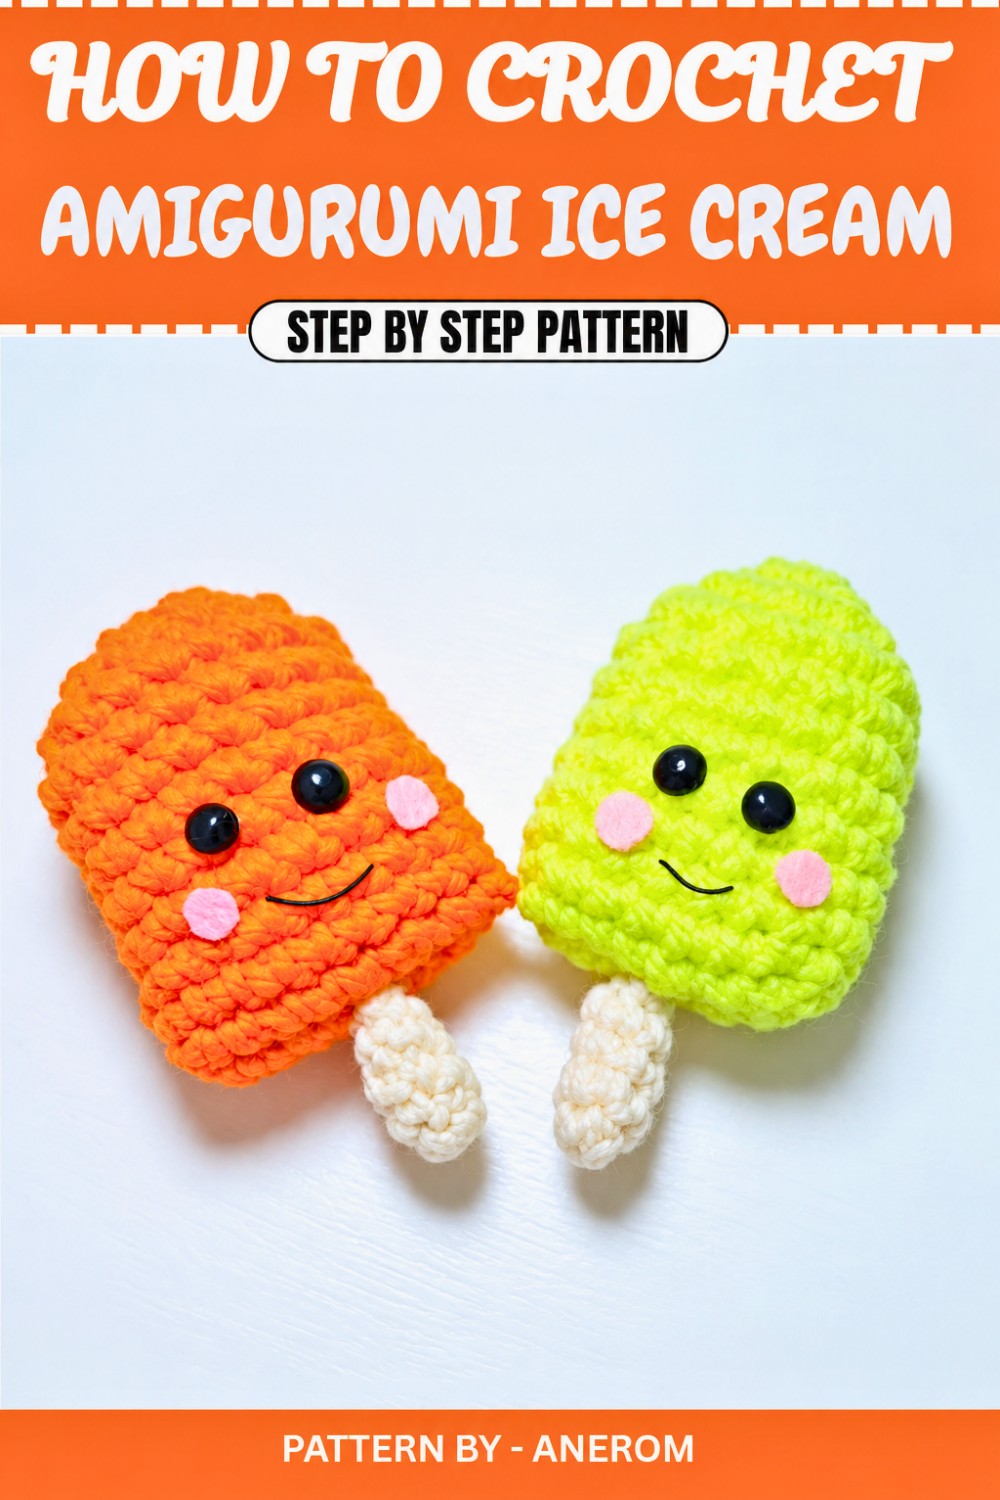
- Features: Rounded and stuffed ice lolly with optional facial details.
- Customization: Choose your favorite colors, add faces, textures, beads, and more.
Notes
- The main body of the ice lolly is worked in rounds from a chain base. The popsicle stick is added at the end.
- Work in continuous rounds (do not join or turn) unless specified otherwise. Use a stitch marker to mark the beginning of each round.
- Stuff the project lightly so it retains its shape without being too bulky.
- The face is optional and can be customized with beads, embroidery, and felt for added embellishment.
Skill Level
Beginner Friendly
This pattern primarily uses single crochet (US terminology) and basic decreases. The narrow popsicle stick is the only slightly challenging part, but it’s still beginner friendly with patience.
Materials
- Yarn:
- Yellow (for the ice lolly body).
- Beige or cream (for the popsicle stick).
- Black cotton thread (for the mouth).
- Hook:
- 2.5 mm crochet hook.
- Other Notions:
- Fiberfill stuffing.
- Stitch marker.
- Tapestry needle.
- Small piece of pink felt (for cheeks).
- Scissors.
- Glue (for attaching felt cheeks).
- 2 black half beads (for eyes).
Measurements / Sizing
The finished ice lolly is approximately:
- Length: 10–13 cm (including the popsicle stick).
- Width: 4–5 cm.
Gauge
Gauge is not critical for this pattern, but for reference:
- 22 sc x 26 rows = 10 x 10 cm with a 2.5 mm hook and DK yarn.
Stitch Abbreviations (US Terms)
- ch – Chain
- sc – Single crochet
- sc inc – Single crochet increase (2 sc in the same stitch)
- sc dec – Single crochet decrease (2 stitches worked together)
- sl st – Slip stitch
Special Stitches
- Front Loop Only Decrease (FLO sc dec): Insert hook into the front loop of the next stitch, then insert into the front loop of the following stitch, yarn over, and pull through both loops on the hook.
The Crochet Pattern
Step 1: Ice Lolly Body
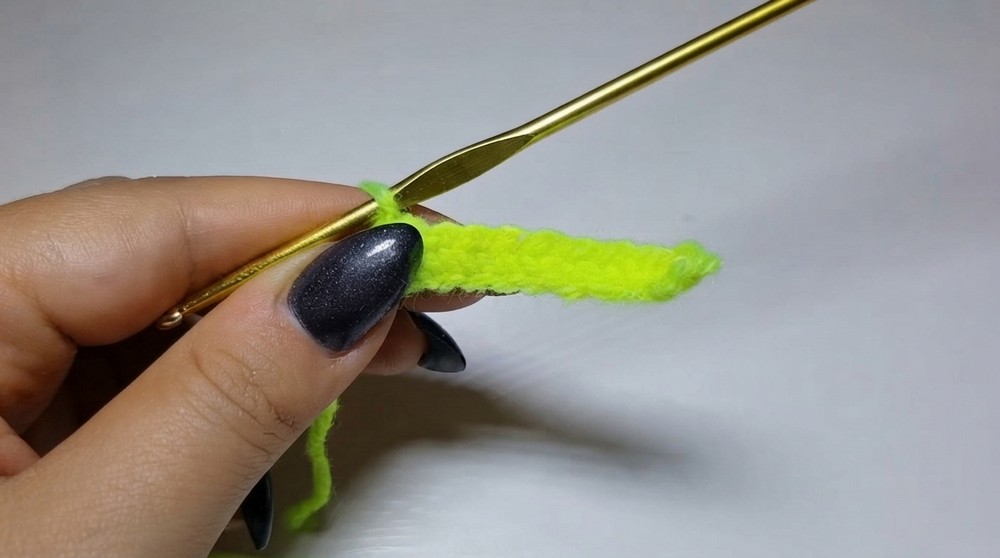
Foundation Chain and First Rows:
- Start with a slip knot.
- Make 10 chains (ch).
- Start working in the second ch from the hook.
Round 1:
- Work 1 sc into each chain across.
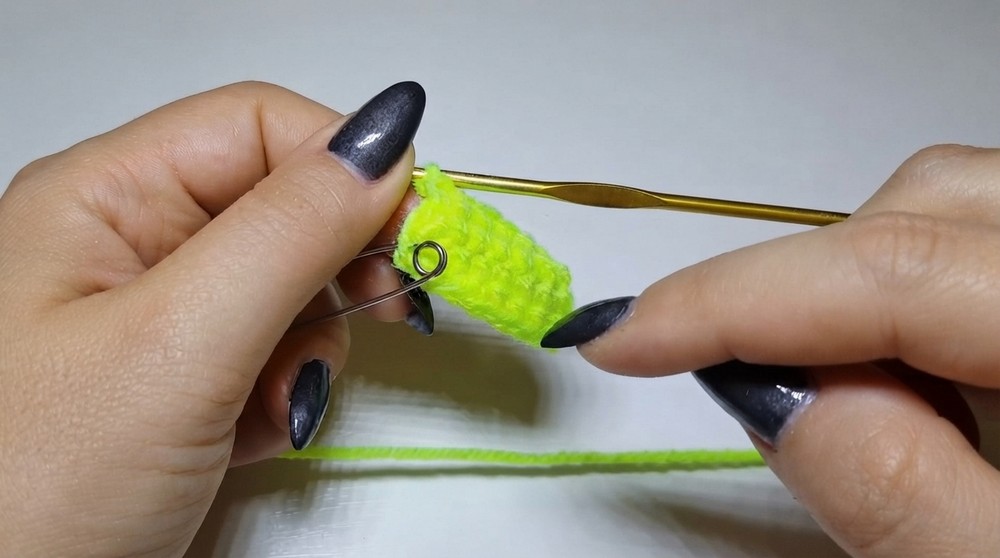
- Turn and work 1 sc into each chain on the opposite side of the foundation chain (this creates an oval base).
- [18 sc]
Round 2:
- Use a stitch marker to mark the first stitch of this round.
- Work 1 sc into each stitch around.
- [18 sc]
Round 3–10:
- Continue working 7 more rounds of sc, maintaining 18 sc in each round.
- Mark the start of each round and ensure you crochet continuously.
Round 11 (Shaping and Decreasing):
- 1 sc, 1 FLO sc dec; repeat around.
- Alternate 1 single crochet with 1 front loop only decrease.
- [12 sc]
Stuffing:
- Lightly stuff the ice lolly with fiberfill through the opening.
- Do not overstuff—keep the item slightly squishy and flat, rather than overly rounded.
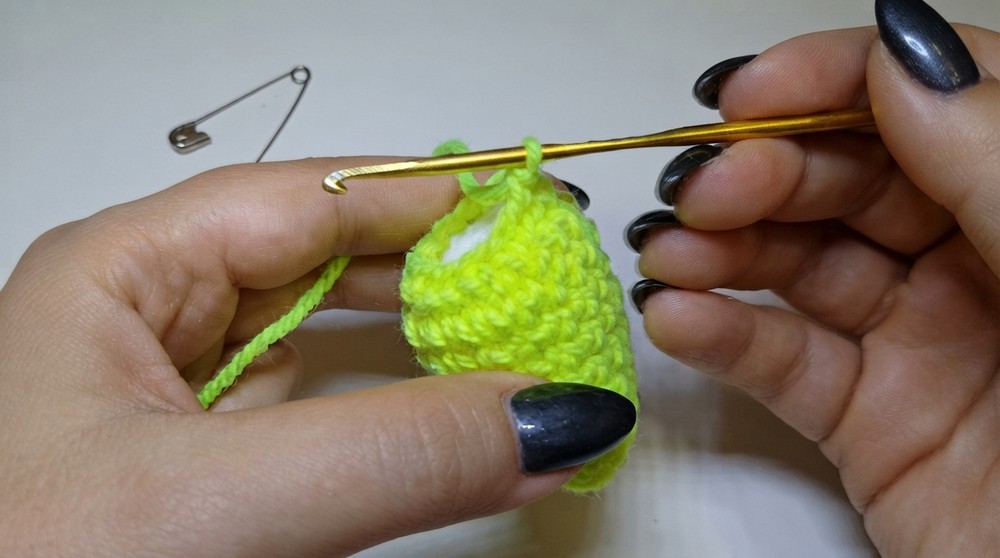
Round 12 (Closure):
- Work 6 FLO sc dec consecutively to close the opening.
- [6 sc]
- Pull yarn through the last loop and cut the yarn, leaving a long tail.
- Thread the long tail into a tapestry needle.
- Pass the tail through the remaining stitches around the opening; pull tight to close.
- Weave in the ends and set aside.
Step 2: Popsicle Stick
Round 1:
- With beige/cream yarn, start an MR (magic ring).
- Work 5 sc into the ring, then pull tight to close.
- [5 sc]
Round 2:
- Work 5 sc (1 sc in each stitch) around the ring.
- [5 sc]
Rounds 3–6:
- Continue working 3 more rounds of 5 sc each, creating a small cylindrical stick.
- Mark the start of each round if needed to avoid losing track.
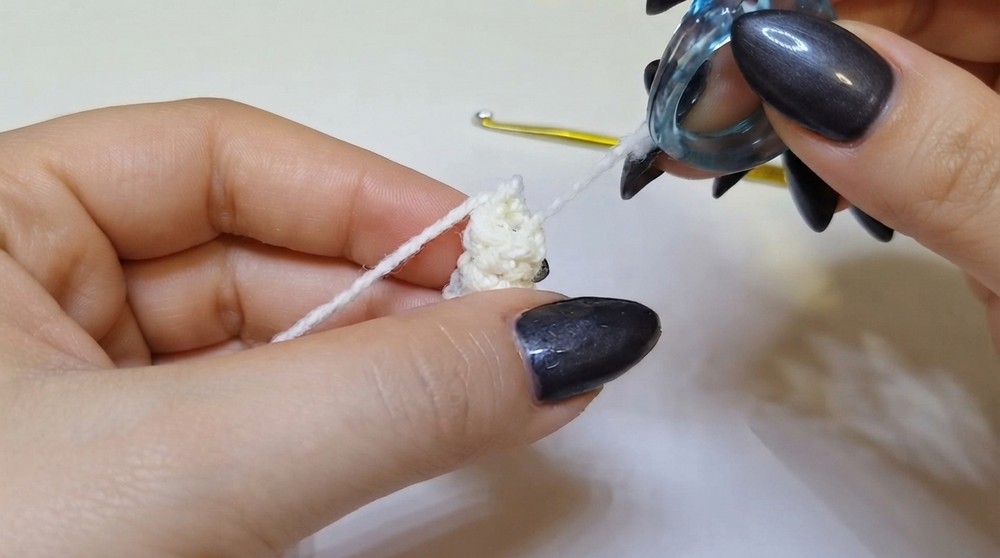
Stuffing and Closure:
- Lightly stuff the popsicle stick with fiberfill.
- Pull the yarn and cut it, leaving a long tail for sewing.
- Thread the loose end into the tapestry needle, and weave it through the stitches of the last round to close securely.
Assembly
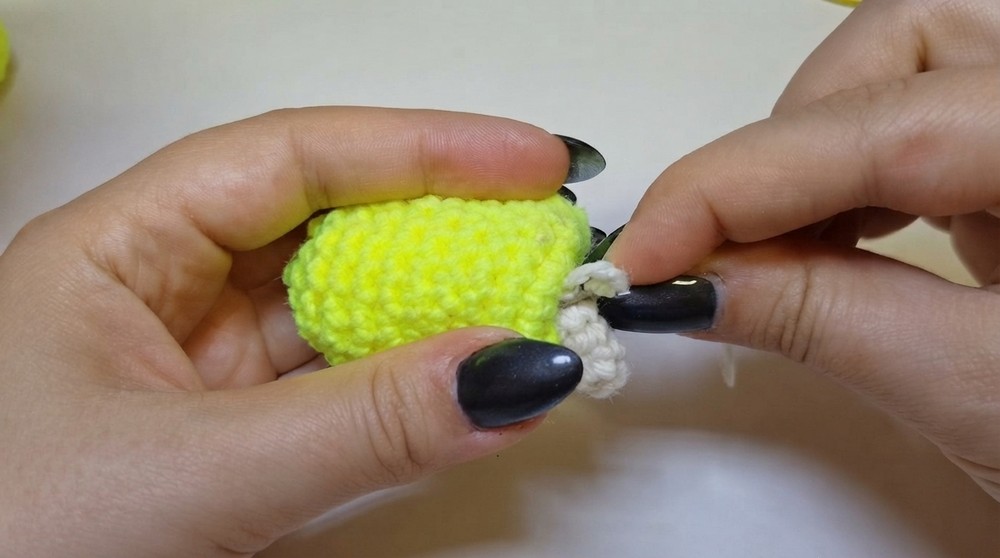
Attach the Popsicle Stick to the Bottom of the Ice Lolly:
- Position the rounded end of the popsicle stick against the bottom of the ice lolly (centered at the base).
- Use the long tail to sew the popsicle stick securely to the ice lolly using tight whipstitches.
- Once attached, weave in the remaining ends into the lolly body to hide them.
Optional: Add Facial Features
- Attach two half beads or safety eyes to the ice lolly face to make the eyes. Use glue or sew them in place.
- Cut two small pink felt circles for the cheeks and glue them on the lolly’s face.
- Use black cotton thread or yarn to embroider a small mouth directly under the eyes. This gives the ice lolly a cute, expressive look.
Finished Size
Your completed ice lolly is approximately 10–12 cm tall, including the handle, and makes a sweet decoration, keychain, or gift. Make it in multiple colors for a joyful collection.
Conclusion and Ending Words
This amigurumi ice lolly pattern is a delightful, summer themed project that’s fun, fast, and beginner friendly. Its compact size, adorable design, and vibrant colors make it a wonderful addition to your handmade creations, whether you’re crafting for fun or making small gifts for loved ones. The simple construction and easy stitches ensure this is a quick and enjoyable project for all levels. Have fun personalizing your ice lolly with different colors, faces, and decorations, and don’t forget to share your creations.