
Free Crochet Minions Ice Cream Pattern – Easy Tutorial
Sweet cartoon fun comes with this Free Crochet Minions Ice Cream Pattern that's inspired by favorite characters and tasty frozen treats.
The Free crochet Minions Ice Cream Pattern is a delightful and playful crochet project that results in a charming toy inspired by the lovable Minions characters. This pattern guides you in creating an ice cream cone with a fun minion face, combining a classic treat with popular cartoon charm. By making small adjustments to the pattern, you can easily customize it to create other character-themed ice creams or simple ice cream cones, making this pattern versatile and enjoyable for all crocheters.
This crocheted minion ice cream stands out with its bright and cheerful appearance. The ice cream scoop features the minion’s signature goggles, eyes, and smile, while the cone uses a textured stitch pattern that resembles a real waffle cone. The shape is rounded and sturdy, with a soft yet firm texture that holds its form well. The project’s whimsical style makes it perfect as a playful decorative piece, a toy for children, or a cute gift for Minions fans of all ages. The colorful and cartoonish look adds a fun touch to any room or collection.
Easy Minions Ice Cream Crochet Pattern for Beginners

Ideal for beginners, this pattern mainly uses single crochet stitches with some simple shaping for the rounded ice cream and cone sections. The clear instructions make it easy to follow, offering a satisfying project that can be completed fairly quickly. Once finished, the minion ice cream makes a wonderful gift, collectible, or unique decor item. If you enjoy easy, fun projects with a creative twist, this pattern is a great fit to brighten your crocheting time.
Crochet Minion Ice Cream Cone Amigurumi Pattern
Introduction
This fun and adorable Minion ice cream cone amigurumi combines a classic cone with a cute Minion character’s face on the ice cream ball. It can be used as a pendant, keychain, or small doll. The pattern uses standard amigurumi techniques and stitches such as single crochet, increases, decreases, double crochet, and slip stitch joins. With minor modifications in yarn color or size, you can also create other character-themed ice cream cones or fruity amigurumi toys.
Skill Level & Terminology
- Skill Level: Intermediate (basic knowledge of crochet in rounds and shaping needed)
- Terms: US crochet terminology is used throughout the pattern.
Materials & Tools
- Worsted weight yarn in yellow (Minion body), pink, black, white, and gray
- Crochet hook size 3.5 mm (E/4) or size appropriate to your yarn
- Stitch markers
- Yarn needle for sewing and weaving ends
- Fiberfill stuffing
- Scissors
Gauge
The gauge is not crucial for this pattern but try to keep your stitches tight so stuffing does not show through. Approximately 16 single crochets = 4 inches in continuous rounds.
Abbreviations
- ch = chain
- sc = single crochet
- inc = increase (2 sc in 1 stitch)
- dec = decrease (single crochet 2 stitches together)
- st(s) = stitch(es)
- sl st = slip stitch
- FO = finish off
- MR = magic ring
Special Stitch Instructions
- Magic Ring (MR): Begin the circle by forming a loop with the yarn and crocheting into this ring for a tight, closed center.
- Increase (inc): 2 single crochets in the same stitch.
- Decrease (dec): Crochet two stitches together by inserting the hook into two stitches, picking up yarn, pulling through both loops, and completing the stitch.
- Double Crochet (dc): Yarn over, insert hook into stitch, yarn over and pull through stitch (3 loops on hook), yarn over and pull through 2 loops twice.

Finished Size
Approximately 4.5 inches (11.5 cm) tall.
Pattern
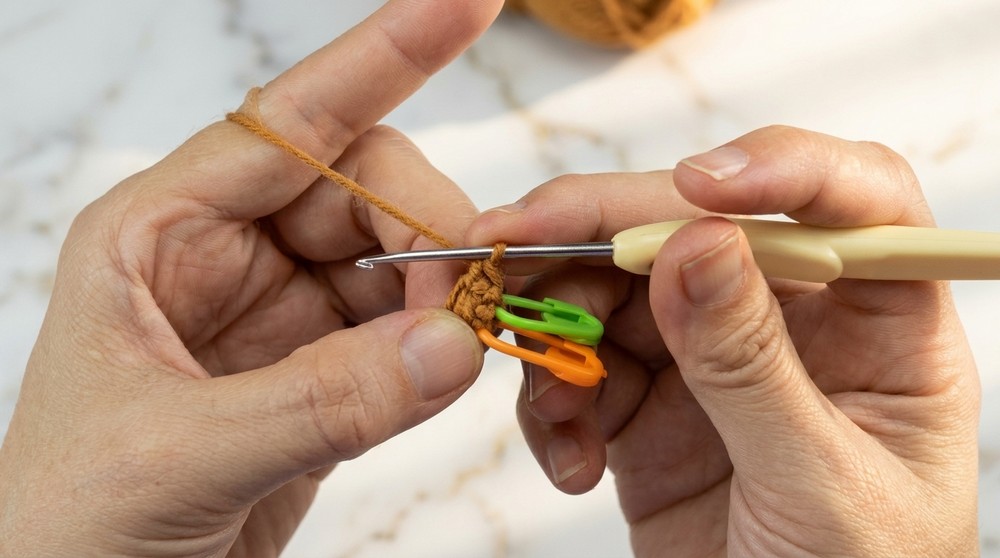
Cone Part
- Create a magic ring and work 4 single crochets (sc) into it.
- Mark the first stitch to indicate the start of the round. Pull the yarn tail tight to close the ring. (4 sts)
- Round 2: 1 sc, 1 inc — repeat 2 times around. (6 sts)
- Round 3: 1 sc, 1 inc, 1 sc — repeat 2 times. (8 sts)
- Round 4: 3 sc, 1 inc — repeat 2 times. (10 sts)
- Round 5: 2 sc, 1 inc, 2 sc — repeat 2 times. (12 sts)
- Continue increasing rounds following the same increase logic, referencing the stitch diagram as you go up to round 11. End round 11 with 24 sts.
- After round 11, cut yarn and secure. Leave a long tail for assembly.

Cone Summary
The cone is worked in continuous rounds starting from a small magic ring and gradually increasing every round to shape the cone’s open bottom.
Joining Cone
- Join the first and last stitches of the cone’s rounds using slip stitches to form a neat edge, and weave in the ends with a yarn needle.
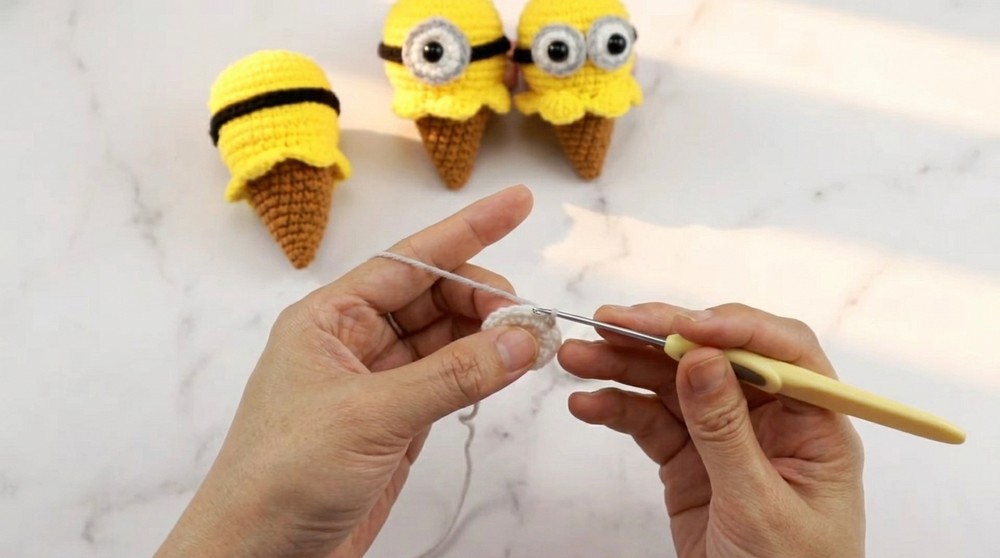
Ice Cream Ball Part
- Make a magic ring and crochet 6 sc inside. Mark the first stitch. (6 sts)
- Round 2: Inc in every stitch (2 sc in each st). (12 sts)
- Round 3: 1 sc, 1 inc — repeat 6 times around. (18 sts)
- Continue increasing rounds similarly until you reach round 12, following the diagram.
- From round 13 onwards, shape by doing decreases: 2 sc, 1 dec repeat 6 times. (Reduce to 12 sts)
- Round 14: Finish shaping as directed, then FO leaving a long tail for assembly.

Ice Cream Ball Summary
This part uses continuous rounds beginning with a magic ring, steadily increasing until the ideal size, then shaping with decreases to round out the ball.
Assembly
- Join the cone and ice cream ball at their openings stitch by stitch. Use a yarn needle and yarn tail to sew evenly around, ensuring the parts fit together snugly.
- Stuff the ice cream ball firmly with fiberfill as you sew to maintain shape without lumps.

Minion Eyes (Two Sizes)
Big eye:
- Begin with 8 sc in a magic ring. Increase by 8 in round 2.
- Embroider or use yarn to add grey around the eye by looping gray yarn around the stitches.
Small eye:
- Begin with 7 sc in magic ring. Increase by 7 in round 2.
- Repeat gray yarn embroidery as with the big eye.
Embroider or sew the eyes to the ice cream ball in correct positioning for a Minion look.
Eye Embroidery / Outsourcing Yarn
- Pull yarn through stitch loops to create eyelid shading, using the “out yarn” or “loop embroidery” technique to add dimension.
Black Strap (Goggle Band)
- Chain the length needed to wrap around the ice cream ball (approximate wrist size or desired length).
- Work single crochets on the chain back to the starting point to create a thick strap.
- Sew the strap around the head portion of the Minion ice cream ball securely.
Finishing Touches
- Sew all ends securely inside the piece to hide tails.
- Add small embroidered details like the mouth, hair, or buttons with yarn or embroidery thread.
- Place stitch markers as needed during the process to keep track of rounds.

Explanation and Tips
This amigurumi uses single crochet as the primary stitch in continuous rounds, helpful to avoid seam lines. The cone’s shape is built by incrementally increasing stitches, while the ice cream ball incorporates increases and decreases for shaping. The Minion’s signature round eyes are created separately and sewn on, with detailing added by yarn embroidery techniques.
If you’re familiar with magic ring, single crochet, increase, and decrease stitches, and comfortable crocheting in the round, this project will be clear and enjoyable. The addition of double crochet in assembling and black strap work adds slight variation, giving you practice with multiple stitches.
Assembly & Finishing
- Align the cone and ice cream ball so their edges meet perfectly before sewing them together to avoid lumps or misalignment.
- Use fiberfill stuffing generously to keep the toy plush but not overstuffed to maintain shape.
- Use the yarn needle for invisible seam finishing and to securely attach the eyes and straps.
- Attach the strap tightly but comfortably to hold the Minion’s goggles in place.
Summary
This Minion ice cream cone amigurumi is a delightful project combining simple shapes, familiar stitches, and creative finishing touches. It’s perfect for those with a little amigurumi experience willing to try shaping and assembly. When finished, it creates a unique, cuddly toy or keychain with a fun, personality-filled design. Whether gifting it to a friend or adding to your own collection, this project is sure to bring smiles all around!