
Free Crochet Water Bottle Holder Pattern for Beginners
Keep your water close with this free crochet water bottle holder pattern, a cute, functional accessory perfect for walks, trips, workouts, and busy days.
Pattern By Muzhi Crochet
A water bottle holder is one of those crochet projects that’s as practical as it is enjoyable to make, which is why I wanted to share about this free crochet water bottle holder pattern. It’s perfect for carrying your bottle hands free on walks, trips to the park, or even just running errands. With a sturdy base to hold the bottle securely and a breathable yet stylish lace like texture for the body, this project is versatile and easy to customize to your needs.
Free Crochet Water Bottle Holder Pattern for Outdoor Fun
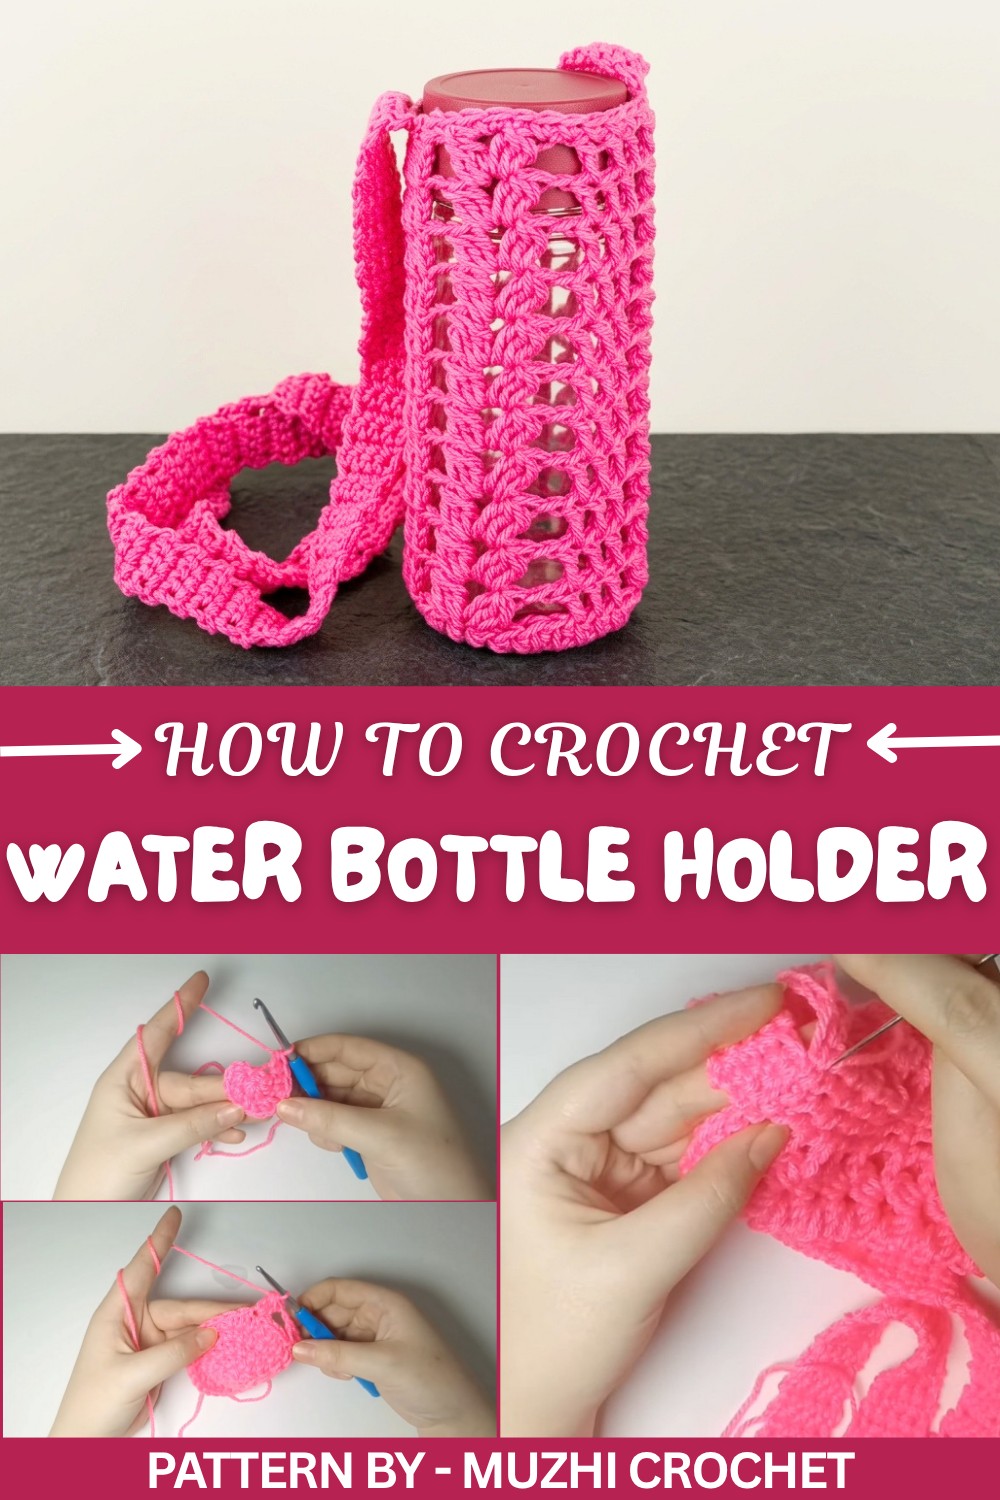
The design features a classic cylindrical shape with a long strap you can adjust to your preferred length, making it comfortable to wear across your shoulder or as a crossbody. Using basic stitches ensures the project is beginner friendly while still adding texture that complements the overall look. Want your holder to carry a smaller or larger bottle? Adjust the diameter of the base or repeat more rows for the body, it’s all customizable depending on what you need.
This holder is constructed seamlessly, starting from the base and working upward in continuous rounds. With medium weight yarn, such as cotton or an acrylic blend, you’ll get a sturdy finish that supports the weight of the bottle while keeping the textured stitches crisp and defined. I love how yarns with a bit of stretch balance functionality with durability, giving the holder a soft but supportive feel.
The idea for this project came from a need for convenience—having bottled water close at hand without occupying your hands. It’s a thoughtful gift for busy friends who enjoy outdoor activities, or even as a practical accessory for your own day to day routine. You can personalize it with color changes, embellishments, or even trendy stripes, making it a cheerful and creative addition to your crochet lineup.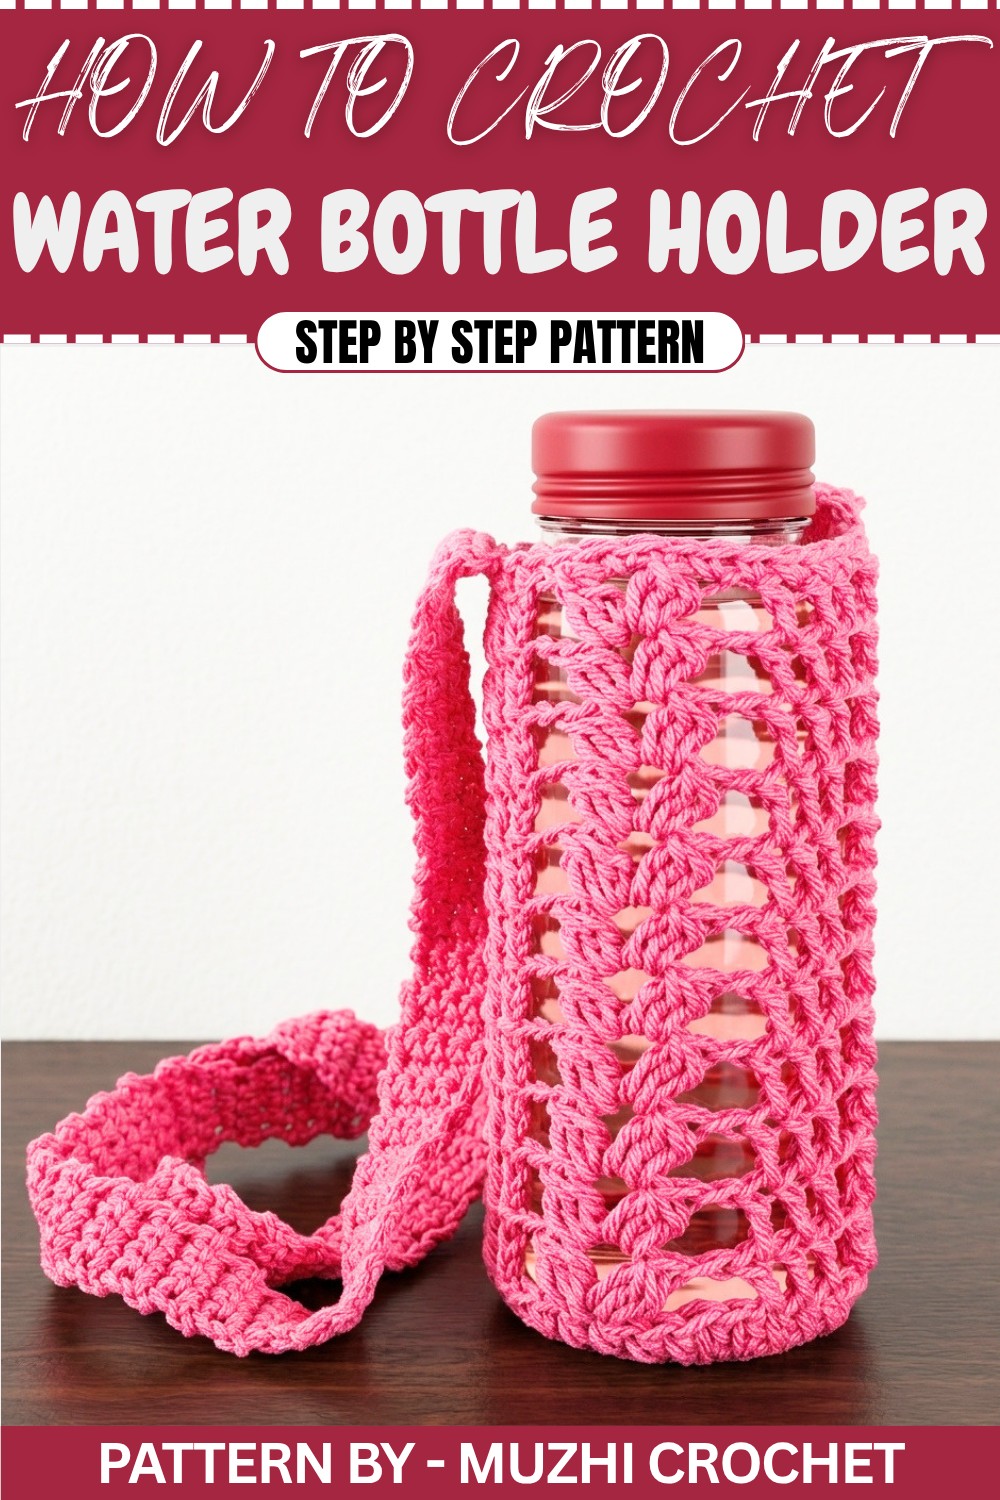
Free Crochet Pattern: Water Bottle Holder
Quick Overview of Pattern
- Pattern Type: Water Bottle Holder with adjustable strap.
- Skill Level: Beginner friendly with basic stitches (magic ring, half double crochet, double crochet, single crochet).
- Construction:
- Crochet a circular base to fit the bottom of your water bottle
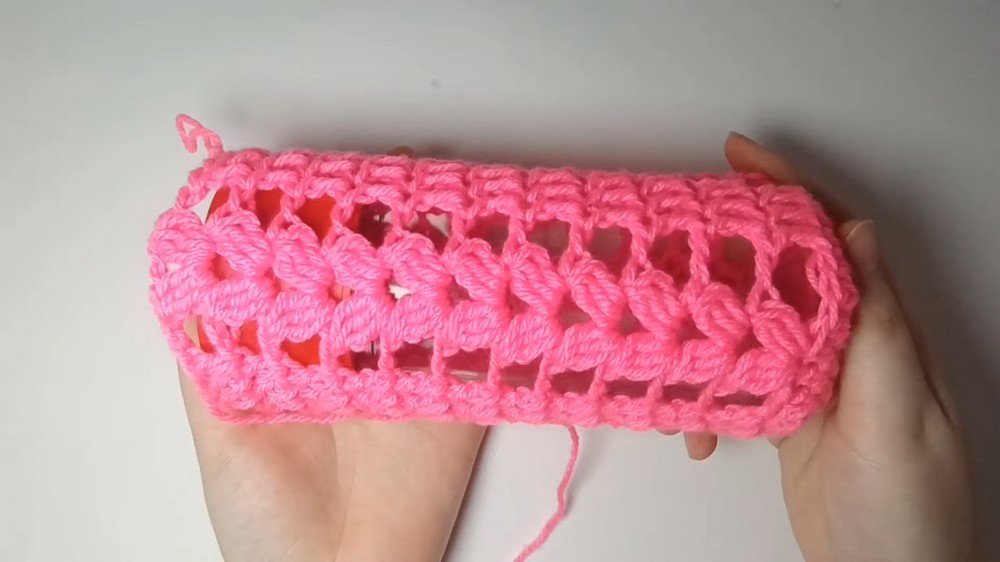
- Create the body with a decorative eyelet stitch
- Make an adjustable strap with single crochet rows
- Assemble by attaching the strap to the holder
Notes
- The number of rows in the circular base depends on the bottom size of your water bottle. For smaller bottles, fewer rows are required. For larger bottles, add extra rows.
- Adjust the strap length based on your preferences; the tutorial demonstrates a strap of 130 rows.
- Customize the yarn and colors to match your style.
Skill Level
✔ Beginner-Friendly (basic stitches: ch, sl st, hdc, sc, dc).
Materials
- Yarn:
- Double-knit or 8-ply yarn (~20 g).
- Any type of yarn works; adjust hook size accordingly.
- Crochet Hook: Size 4 mm or as suitable for your yarn.
- Darning Needle: For sewing the strap and weaving in ends.
- Scissors: To cut yarn.
Sizing
- Base Diameter: Adjust the size to fit the bottom of your water bottle.
- Body Height: Make as tall as needed for your bottle, around 11 rows is an average.
- Strap: Suggested length is 130 rows for a shoulder length strap.
Gauge
- No strict gauge required. The base should fit snugly underneath your bottle.
Stitch Abbreviations
- ch: Chain
- sl st: Slip Stitch
- hdc: Half Double Crochet
- hdc inc: Half Double Crochet Increase
- dc: Double Crochet
- sc: Single Crochet
Special Stitches
Magic Ring
- Wrap the yarn around your fingers three times, with the working yarn at the back.
- Insert your hook under the first two loops and grab the last loop; pull it through.
- Slide the yarn off your fingers carefully, ensuring the loop remains intact.
- Ch 1 to secure.
The Crochet Pattern
A. Base: Circular Bottom
Row 1:
- Start with a magic ring.
- Ch 1.
- Into the magic ring:
- Work 6 hdc.
- Yarn over, insert hook into the ring, pull up a loop (you will have 3 loops on hook).
- Yarn over again, pull through all 3 loops.
- Work 6 hdc.
- Pull the tail to tighten the ring.
- Join with sl st into the first hdc.
Row 2:
- Ch 1 (does not count as a stitch).
- Work 2 hdc in each stitch around (hdc inc).
- At the end of the row, you should have 12 hdc stitches.
- Join with sl st into the first stitch.
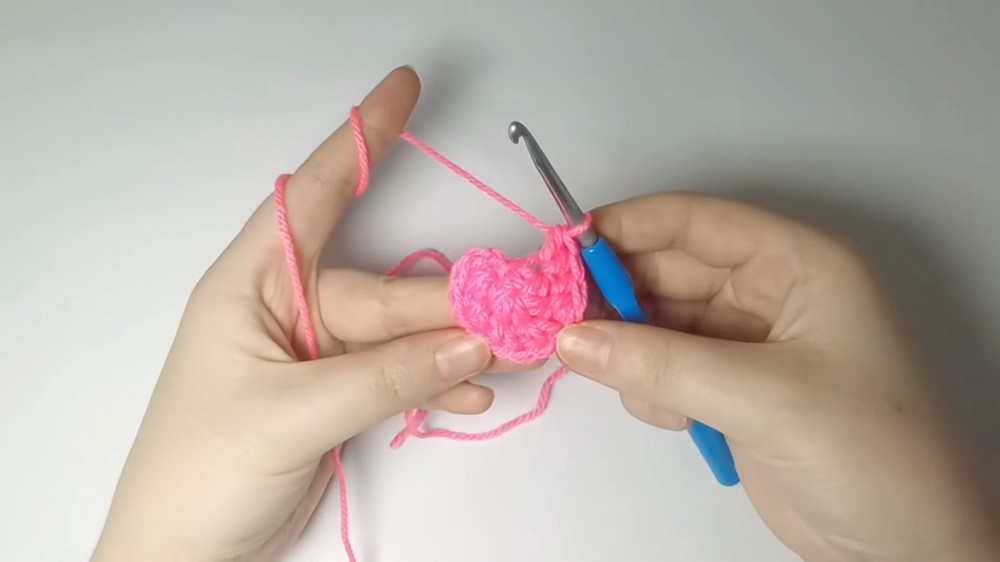
Row 3:
- Ch 1.
- Alternate 1 hdc in the first stitch, and 2 hdc in the second stitch (hdc inc) all the way around.
- You should now have 18 stitches.
- Join with sl st into the first stitch.
Row 4:
- Ch 1.
- Alternate 2 hdc in consecutive stitches followed by 1 hdc inc in the third stitch.
- You should now have 24 stitches.
- Join with sl st into the first stitch.
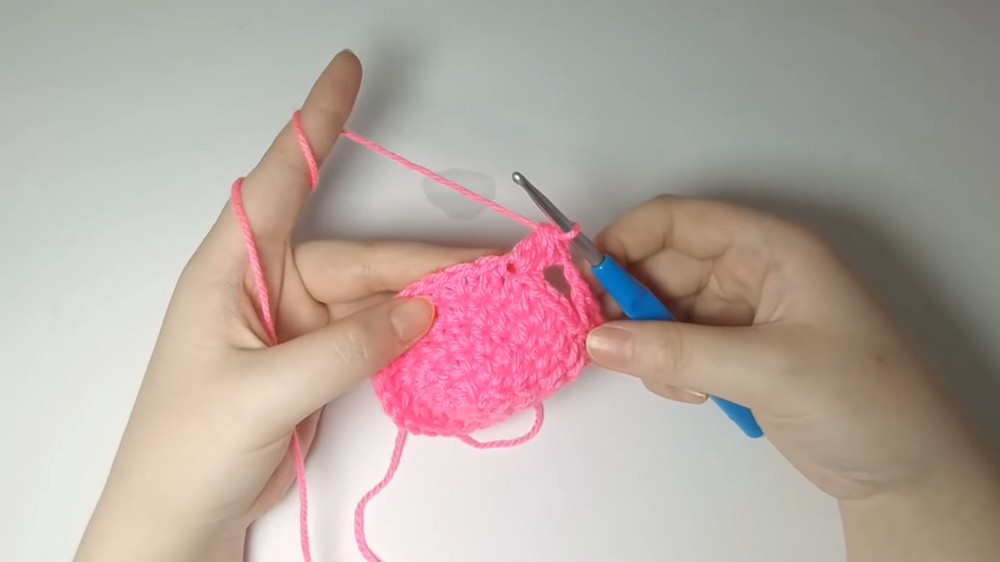
Row 5:
- Ch 1, then:
- Alternate 3 hdc followed by 1 hdc inc.
- Continue this repetition until the end of the row.
- Join with sl st into the first stitch.
Adjust to Fit Your Bottle’s Bottom:
- Measure the diameter; if it's still too small:
- Row 6: 4 hdc normally, then 1 hdc inc.
- Row 7: 5 hdc normally, then 1 hdc inc.
- Continue adding rows until the base fits the bottom snugly.
B. Body of Water Bottle Holder
Row 1: Eyelet Stitch
- Ch 2.
- Crochet 3 dc into the next three stitches.
- Chain 1, skip 4 stitches, and work 3 dc into the next stitch.
- Repeat:
- Ch 1, skip 4 stitches, 3 dc.
- At the end:
- Sl st into the first double crochet.
Rows 2–11:
- Repeat Row 1 until the body of the holder measures the height of your bottle.
- Adjust the number of rows based on the height of your bottle:
- For taller bottles: Add rows.
- For shorter bottles: Remove rows as needed.
C. Top Border
Last Row:
- Ch 1 and work sc into each stitch across the row (include all chain spaces and stitches).
- Join with sl st into the first sc.
D. Strap
Step 1: Strap Width
- Create a slip knot and attach to hook.
- Ch 4 (for a narrow strap; increase for a wider strap).
- Add 1 additional ch for turning.
Row 1:
- Starting in the second chain from the hook, work 4 sc (or sc for the number of chains).
Rows 2–130:
- Ch 1, turn work.
- Work sc into each stitch across (4 sc total).
- End each row with ch 1 and turning.
- Repeat until the strap reaches desired length.
Customize Strap Length:
You can add more or fewer rows to make your strap longer or shorter.
Assembly
Attaching Strap
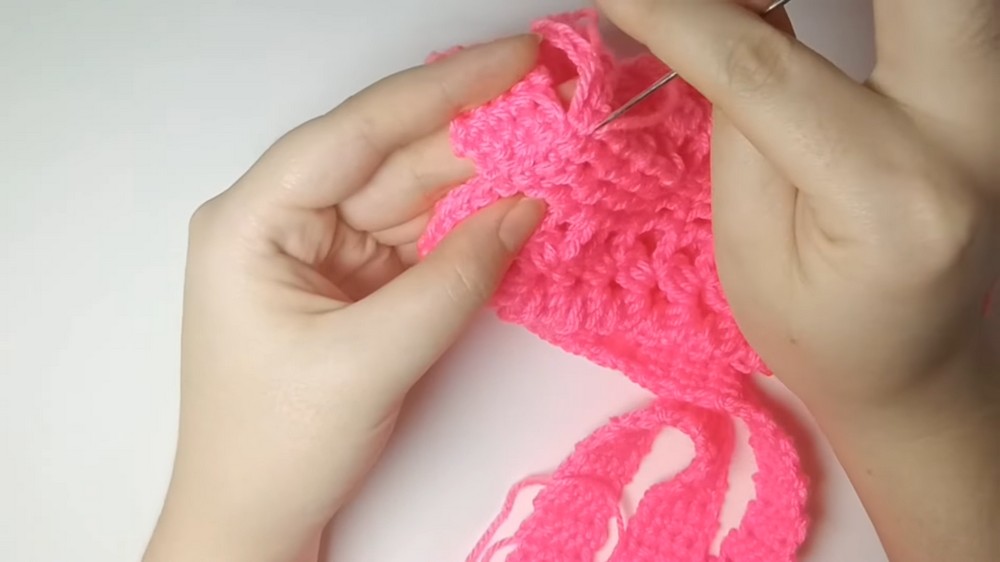
- Take one tail from your strap, thread it through a darning needle.
- Using the tail:
- Attach one end of the strap to one side of the holder.
- Go through the front loops of the stitches (both strap and holder).
- Sew across the edge securely.
- Repeat on the other side:
- Use the tail from the strap's starting slip knot.
- Sew it to the opposite side using front loops only.
Finalizing Details
- Weave in loose ends using darning needle.
- Cut all remaining tails with scissors or nail clippers.
Finished Size
- Bottom: Matches your bottle’s base size.
- Body: Matches height of your bottle.
- Strap: Adjustable, but sample features 130 rows of sc for shoulder-length.
Conclusion
Congratulations, You’ve now completed your handy crochet water bottle holder. With its snug base, breathable body, and comfortable strap, this accessory is perfect for carrying your bottle wherever you go. Adjust colors, strap size, and design to make this pattern your own.