
Free Crochet Tulip Keychain Pattern for Cute Backpacks
Turn colorful yarn into a cute tulip keychain with this free crochet pattern, a fun and easy project to make charming accessories for bags, keys, or gifts.
Carry a touch of nature with you wherever you go, a tulip that’s both charming and useful. This crochet tulip keychain is a vibrant project brought to life on the Vaneskyn Tejidos channel, a favorite destination for crochet enthusiasts. With tutorials that feel like a friendly conversation, Vaneskyn Tejidos turns yarn into cheerful keepsakes, making even beginners feel confident as they work through delightful pieces like this tulip keychain.
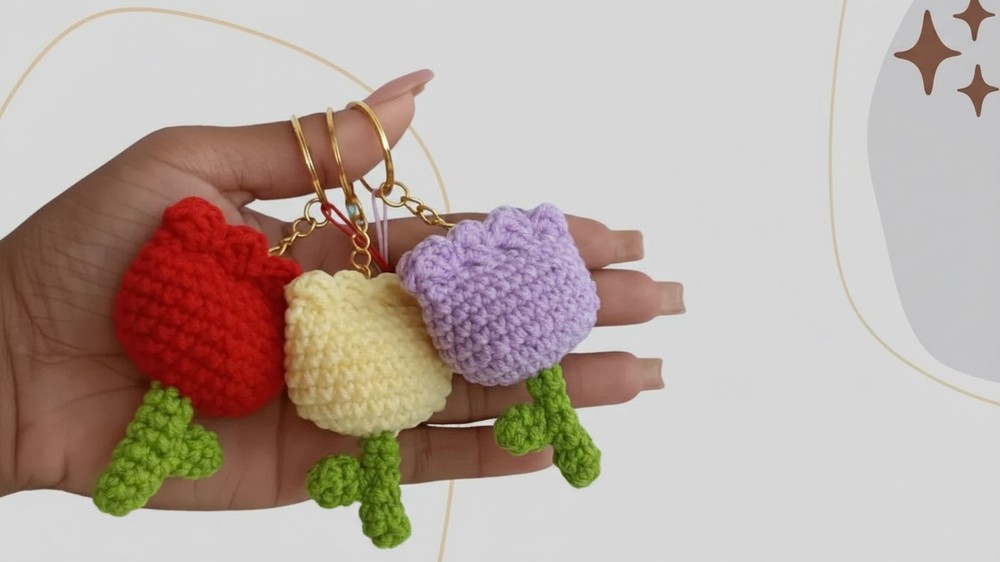
This keychain captures the beauty of a blooming tulip, complete with elegant petals, a slender stem, and a delicate leaf. Its compact size makes it ideal for attaching to your keys or bags, adding a splash of color and personality. The combination of soft acrylic yarn in purple and green allows the tulip to stand out, bringing a fresh feeling of spring to your everyday accessories.
Free Crochet Tulip Keychain Pattern for Quick Projects
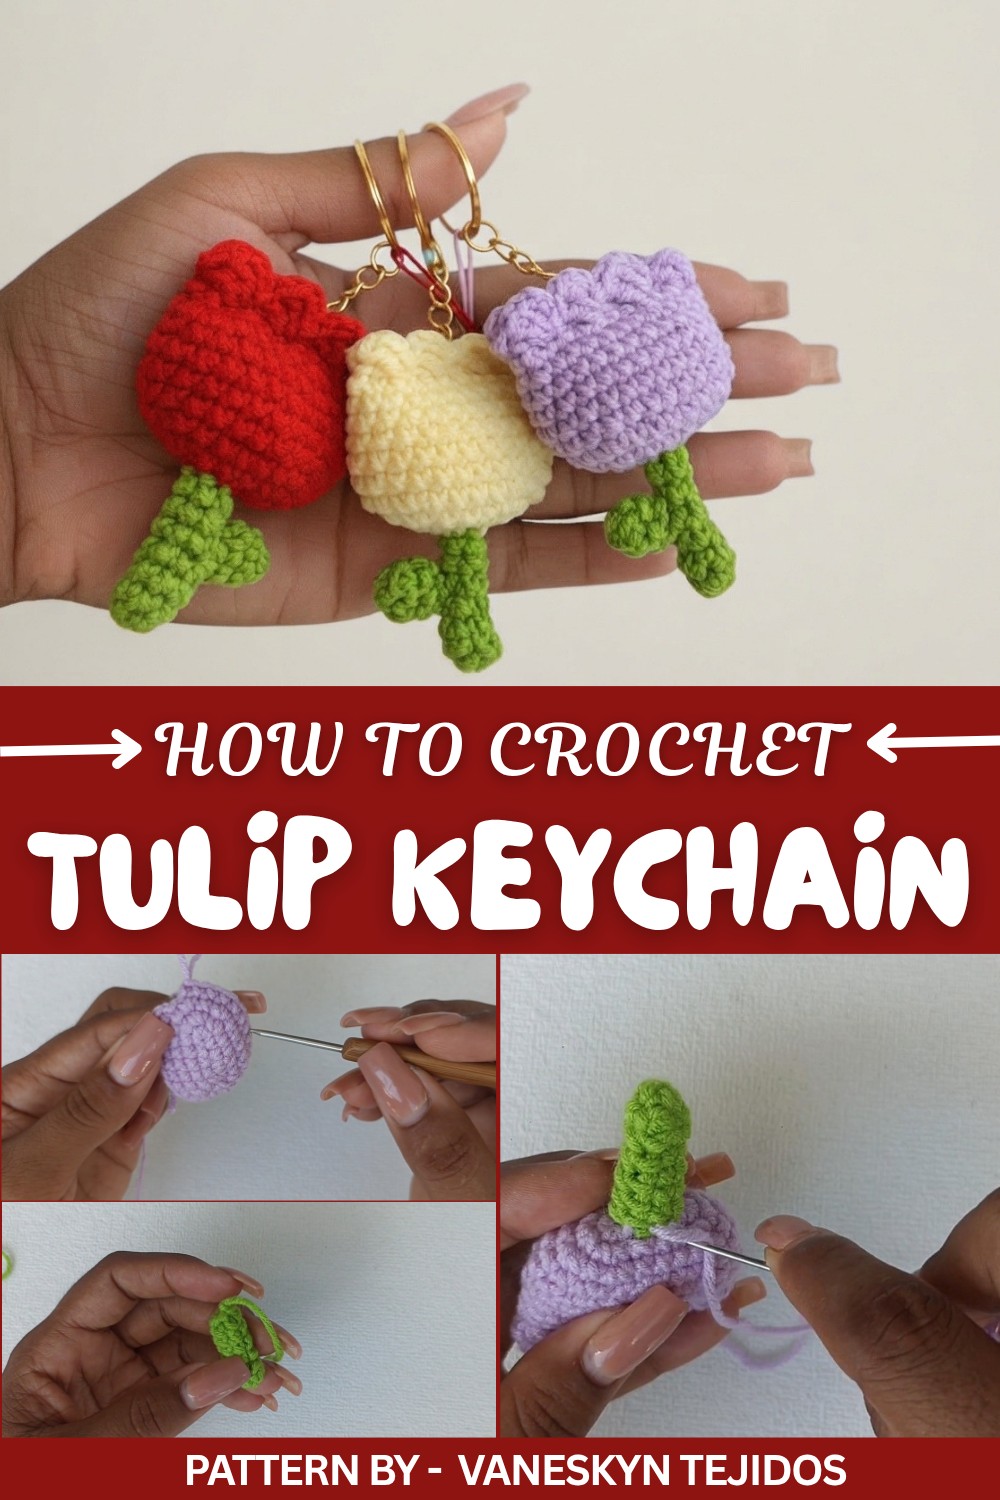
Using simple techniques like single crochet, increases, and working in rounds, this project is easy to handle while still feeling rewarding. The assembly process ties it all together, resulting in a stylish and lightweight piece that brings joy wherever it goes. Additionally, it offers plenty of room for personal touches, such as experimenting with bold colors or classic hues to match your mood.
Whether gifting it to someone special or keeping one for yourself, this tulip keychain brings charm and heart to your crochet projects. Perfect for small moments of relaxation, it’s a reminder of how even the smallest things can brighten your day.

Crochet Tulip Keychain – Free Pattern
Create a charming tulip-shaped keychain with this detailed step by step crochet pattern. Perfect as a thoughtful gift or for adding a touch of handmade beauty to your everyday accessories, this project is quick, fun, and beginner friendly.
Quick Overview of Pattern
- Project: Crochet Tulip Keychain
- Time: Quick and ideal for short crocheting sessions
- Skills: Chain, single crochet, half double crochet, increases, decreases
- Features: Tulip flower, leaf, stem, and keyring assembly
Notes
- Use a 2.5mm hook for a tighter stitch. A 3mm hook can be used for a slightly looser finish.
- Keep your tension even throughout the project for a smooth, tight design.
- Always close rounds with slip stitches unless otherwise stated.
- Use stitch markers to maintain accuracy during key sections.
Skill Level
Beginner: This pattern uses basic stitches and techniques, making it ideal for crocheters exploring small decorative projects for the first time.
Materials
- Katia “Twitch” yarn (100% acrylic):
- Purple (or desired flower color)
- Green (for stem and leaf)
- 2.5mm crochet hook (or 3mm if preferred)
- Keyring or metal loop
- Tapestry needle
- Scissors
- Synthetic filling or batting
Measurements / Sizing
- Tulip Height: Approximately 5 inches, including the stem
- Leaf Length: Approximately 1.5 inches
Gauge
Exact gauge is not critical, but tight stitches are essential to maintain the item’s shape. Aim for compact single crochet stitches with no gaps.
Stitch Abbreviations
- ch = Chain
- sc = Single Crochet
- sl st = Slip Stitch
- inc = Increase (two stitches in the same stitch)
- st(s) = Stitch(es)
Special Stitches
Magic Ring: Create a ring by wrapping the yarn around your fingers and crocheting into the loop, allowing you to tighten it to close any gaps.
The Crochet Pattern
Step 1: Tulip Head
Foundation
- Chain 6.
- Skip the first chain, and in the second chain, work:
- 1 sc in each of the next 3 chains (4 sc total).
- Turn your work, and in the last chain space:
- Work 3 sc together to round the end.
Opposite Side of the Chain
- Continue down the other side of the chain:
- 1 sc in each of the next 3 chains.
- In the same space as the first stitch, work:
- 2 sc (to round the bottom side).
- Join with a slip stitch to complete the round.
- (You should now have 12 sc total).

Round 2
- Chain 1.
- Work:
- 1 inc (2 sc) in the first stitch,
- 3 sc in the next three stitches,
- 3 increases (2 sc in each of the next 3 stitches),
- 3 sc in the next three stitches,
- 2 increases (2 sc in each of the last two stitches).
- Join with a slip stitch.
- (18 sc total).

Round 3
- Chain 1.
- Work:
- 1 sc in the first stitch,
- 1 inc (2 sc in the next stitch),
- 4 sc,
- Repeat the sequence (1 inc, 1 sc) 3 times,
- 4 sc,
- 1 inc,
- 1 sc,
- 1 inc.
- Join with a slip stitch.
- (24 sc total).
Rounds 4–9
- Work 1 sc in each stitch around.
- At the end of each round, join with a slip stitch and chain 1 to begin the next round.
- (24 sc total per round).
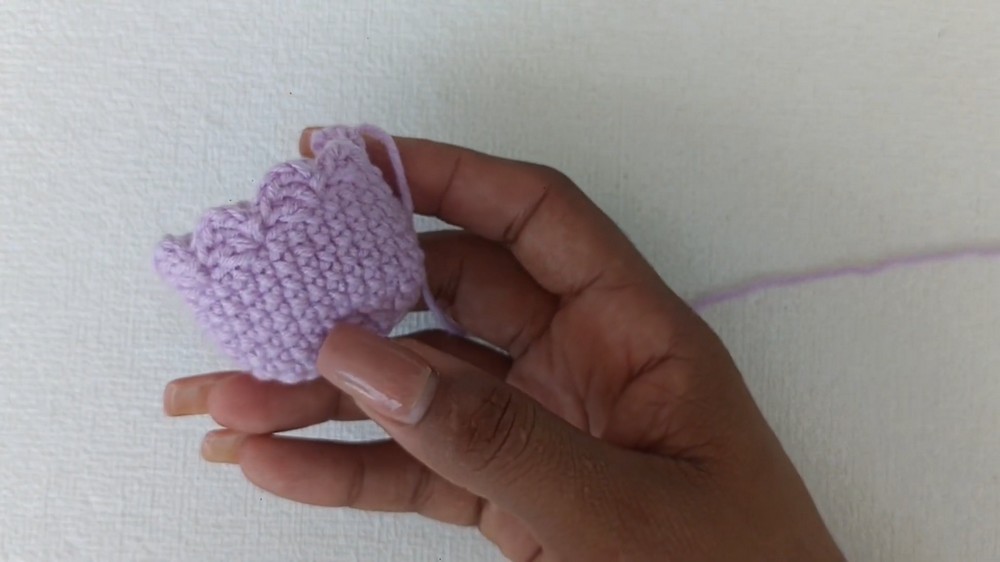
Round 10: Petal Edges
- Chain 3.
- Work:
- 2 dc in the same stitch.
- Skip 2 stitches, and slip stitch into the 3rd stitch.
- Repeat the following sequence around:
- Chain 3, 2 dc in the same stitch, skip 2 stitches, sl st into the next stitch.
- At the end of the round, join with a slip stitch, leaving a long tail for sewing the tulip later.
Step 2: Stem
Foundation
- Make a magic ring.
- Chain 1 and work 5 sc into the magic ring. Pull the ring tight.
- Join with a slip stitch.
Shaping the Stem
- Work 1 sc in each stitch around (5 sc total) for 7 rounds.
- Fasten off, leaving a long yarn tail for sewing.

Step 3: Leaf
Foundation
- Make another magic ring.
- Chain 1 and work 5 sc into the ring. Pull the ring tight.
- Join with a slip stitch.

Shaping the Leaf
- Work 3 rounds of 1 sc in each stitch around (5 sc total).
- Fasten off, leaving a long yarn tail for sewing.
Step 4: Assembly
Stuff the Tulip Head
- Lightly stuff the tulip head with synthetic stuffing. Avoid overstuffing, as this may distort the tulip's shape.
Close the Tulip Head
- Use a tapestry needle and the long tail from the tulip to sew the top of the tulip head closed.
- Use invisible stitches to secure and create a clean finish.
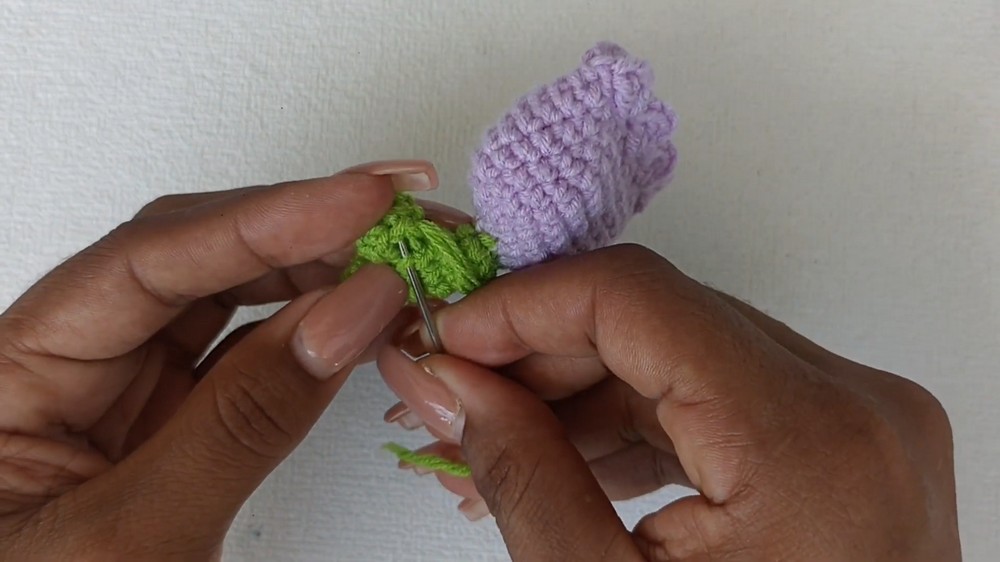
Attach the Stem
- Use the long yarn tail from the stem to attach it to the center bottom of the tulip.
- Carefully sew around in small, even stitches to ensure the stem is secured.
Attach the Leaf
- Position the leaf along the side of the stem, wherever you like.
- Using the long yarn tail from the leaf, sew it onto the stem with an invisible stitch technique, ensuring the stitches are hidden.
Attach the Keyring
- Finally, attach the keyring or loop to the top of the stem by either tying it in place with yarn or sliding it onto the top securely.
Final Dimensions
- Tulip Height (with stem): ~5 inches
- Leaf Length: ~1.5 inches
Conclusion
Congratulations, You’ve now completed your crochet tulip keychain. This bright and beautiful keychain is perfect for gifting or accessorizing your own keys or bag. Experiment with different colors to create unique tulips and crochet an entire bouquet.