
Trendy Crochet Vinyl Record Keychain Pattern for Beginners
Spin up some style and solve gift ideas instantly using this Free Crochet Vinyl Record Keychain Pattern for music lovers everywhere.
Music lovers and crochet enthusiasts alike will appreciate the charm of this tiny vinyl record keychain. With its classic black color and neat circular shape, it adds a retro vibe to your keys, bag, or any place that needs a little musical flair. The pattern uses simple but effective crochet techniques, mainly single crochet stitches and the magic ring, making it approachable even for beginners who are eager to try something fun and quick.
Step-by-Step Crochet Vinyl Record Keychain Free Pattern Guide
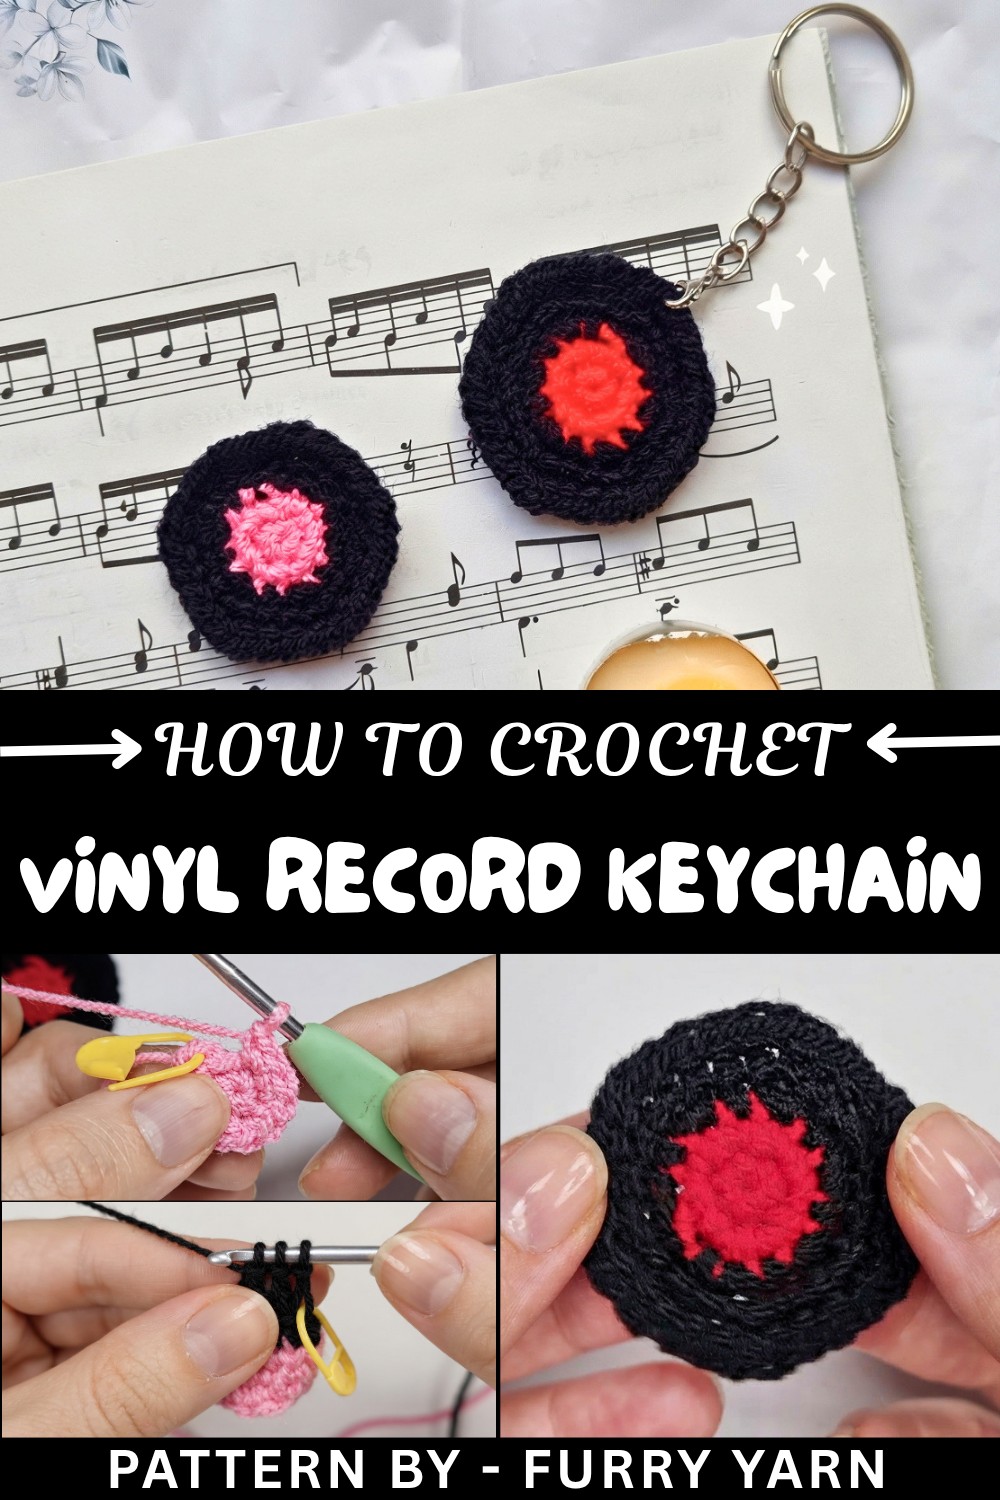
Creating the record starts with a magic ring, into which six single crochet stitches are worked to form a tight circle. Each following row involves increasing stitches by working two single crochets into the same stitch, expanding the circle smoothly and evenly. Slip stitches help finish the edges with a clean look, giving the keychain a polished feel. The yarn tail is sewn in carefully to secure everything, ensuring your little vinyl record holds its shape when attached to your keys. This compact project is perfect for a quick crocheting session but results in a trendy, handmade accessory that’s both practical and cute.
Other Creative Ideas From This Pattern
This same simple stitch pattern can be adapted to create other circular accessories like mini coasters, tiny mandalas, or button covers. By experimenting with different yarn colors and sizes, you can turn this basic shape into unique decorations or even gifts that celebrate your love for music and crocheting. It’s a wonderful foundation to expand your crochet repertoire with charming, easy-to-make items.
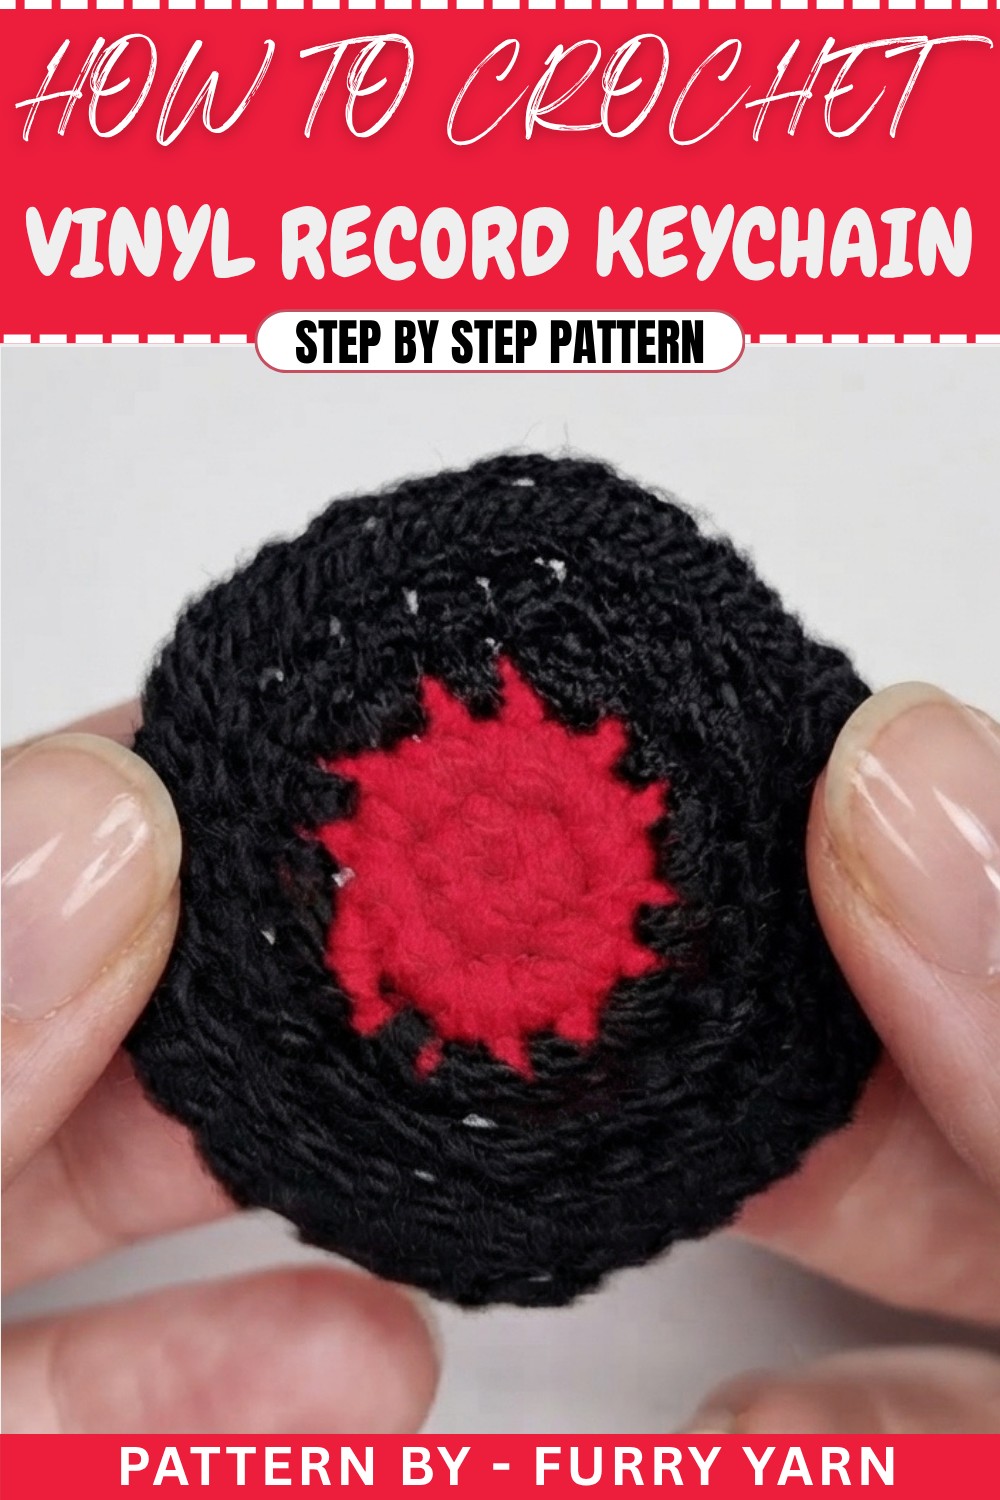
Crochet Pattern: Vinyl Record Keychain
Crochet your own adorable vinyl record keychain with this step-by-step pattern! This tiny, creative project not only makes a trendy keychain but also serves as a perfect gift for music lovers or a quirky addition to your own accessory collection. It's a fantastic beginner-friendly project that introduces basic crochet skills like the magic ring, single crochet, slip stitches, and increases. This pattern is both functional and fun, and you’ll love crocheting this quick and stylish accessory!
Skill Level & Terminology
- Skill Level: Beginner
- Terminology: This pattern uses US crochet terms.
Materials & Tools
- Yarn:
- Black or any color yarn for the record
- Optional: Any olorful yarn for additional details, like labels
- Crochet Hook: 3.00 mm or the size recommended for your yarn
- Tapestry Needle: For weaving in ends and attaching threads firmly
- Scissors: To cut the yarn
- Keyring or Keychain Hook: For attachment to keys or bags
Gauge
Gauge is not critical for this project, but tight, even stitches are recommended for neatness. Consider using a smaller crochet hook to ensure a sturdy final object.
Abbreviations List
Here is a quick glossary of crochet abbreviations featured in this pattern:
- ch: Chain
- sc: Single Crochet
- sl st: Slip Stitch
- yo: Yarn Over
- Inc: Increase (2 single crochets in the same stitch)
Special Stitch Instructions
Magic Ring
The magic ring allows you to crochet in the round without leaving a hole in the center. To make a magic ring:
- Wrap the yarn around your fingers to form a loop.
- Insert the hook into the loop, yarn over, and pull the yarn through, leaving a ring to work into.
Single Crochet (sc)
- Insert hook into the stitch.
- Yarn over, pull up a loop (2 loops on hook).
- Yarn over, pull through both loops on the hook.
Increase (Inc)
To increase, simply work 2 single crochets into the same stitch, as specified in the pattern.
Finished Size
The completed vinyl record keychain is approximately 2 inches in diameter, perfect for a keyring or bag charm.
The Pattern
Step 1: Begin the Vinyl Record Base
- Create a magic ring.
- Wrap the yarn around your fingers, insert hook, yarn over, and pull through to create a ring.
- Round 1:
- Ch 1, work 6 sc into the magic ring.
- Pull the loose end of the magic ring tightly to close the center, then sl st into the first sc to close the round.
For Beginners: The magic ring is a foundational crochet technique used to start projects worked in the round. If it feels challenging, you can use a chain-4 loop as an alternative.
Step 2: First Round of Increases
- Round 2:
- Ch 1, then work 2 sc into each stitch from the previous round. This is an increase (Inc).
- By the end of the round, you should have 12 sc.
- Close the round with a sl st into the first stitch.

For Beginners: Increasing in each stitch allows the circle to expand evenly. Use a stitch marker on the first stitch to keep track of the beginning of the round if needed.
Step 3: Expanding the Circle
- Round 3:
- Ch 1, work 1 sc into the same stitch, then in the next stitch, work 2 sc.
- Follow this pattern across the round: 1 sc, then 2 sc into the next stitch.
- You should now have 18 sc by the end of this round.
- Finish with a sl st into the first sc of the round.
- Round 4:
- Ch 1, work 1 sc into the same stitch, 1 sc into the next stitch, then 2 sc into the next stitch.
- Follow the pattern: 1 sc, 1 sc, 2 sc.
- By the end of this round, you should have 24 sc.
- Close the round with a sl st into the first stitch.
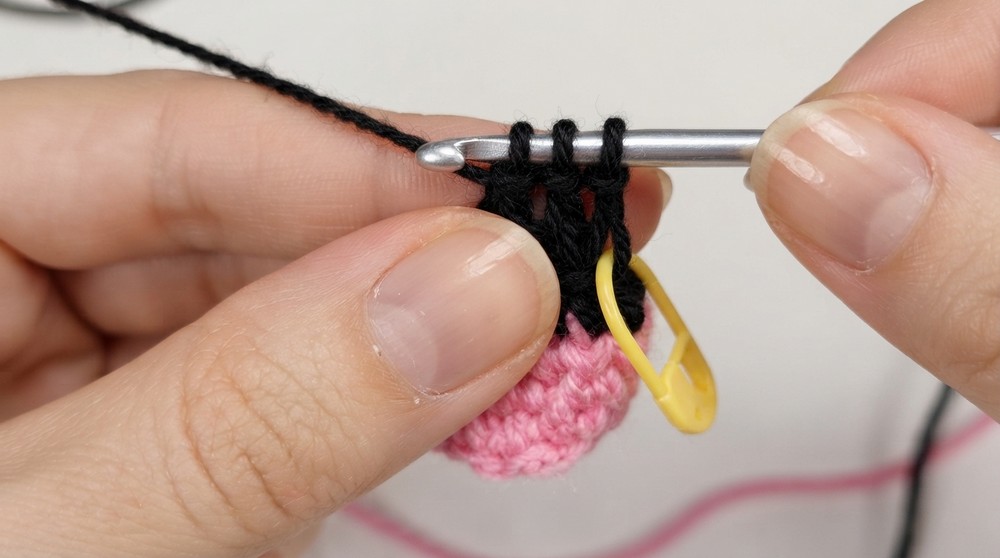
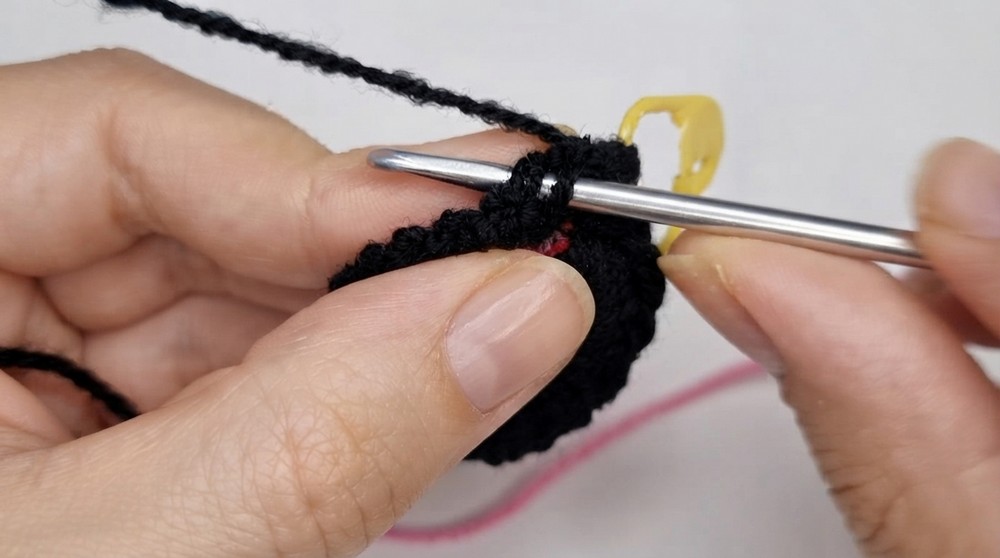
For Beginners: These rounds are where you expand the circle further by adding increases. Keep track of your stitch counts to ensure your circle remains flat and even.
Step 4: Final Expansion
- Round 5:
- Ch 1, work 1 sc into the same stitch, 1 sc into the next stitch, 1 sc into the following stitch, then work 2 sc into the next stitch.
- Follow this pattern across the round: 1 sc, 1 sc, 1 sc, 2 sc into the next stitch.
- By the end of this round, you should have 30 sc.
- Close the round with a sl st into the first stitch.
- Finish the base:
- Ch 1, pull the yarn through, and cut the yarn. Use your tapestry needle to weave in the loose ends.
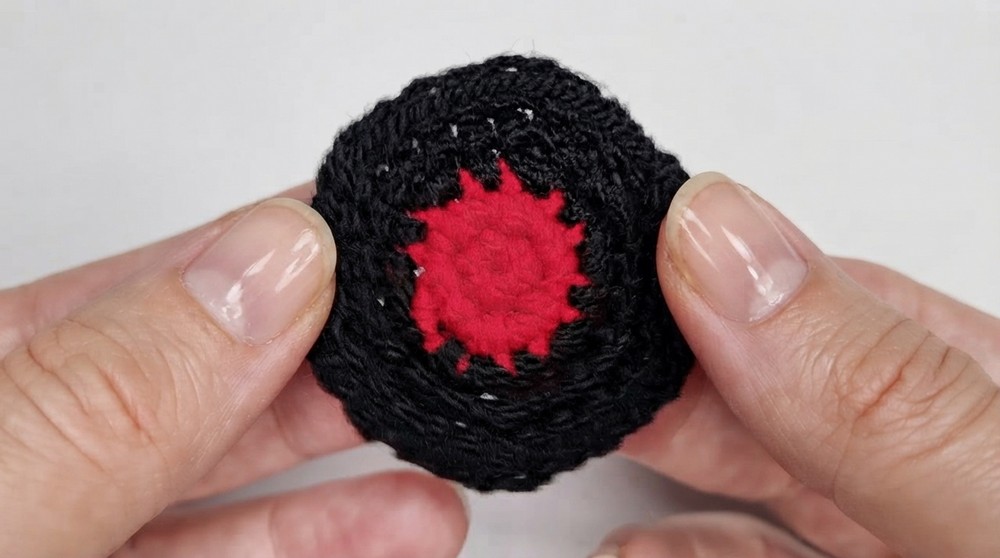
For Beginners: This marks the completion of your round vinyl coaster base. Keep your stitches consistent and ensure the final round is smooth.
Assembly & Finishing
- Add Personal Touches (Optional):
- You can change thread colors for a "label" in the center by switching colors for specific stitches (e.g., add white stitches in the center round).
- If using more colors, secure the end of each color strand by weaving it into the back of your work.
- Attach the Keyring:
- Using black yarn, create a small loop at the edge of the coaster. Attach securely using slip knots and weave in ends to ensure the loop stays in place.
- Add your keyring or keychain hook to the loop.
For Beginners: Experiment with colors and embellishments to make your keychain unique! Make sure the keyring loop is secure to avoid losing your keychain parts.
Troubleshooting & Solutions
Problem 1: Magic Ring is loose or won’t close properly
If your magic ring won't tighten, you may have missed wrapping your yarn properly. Practice by slowly forming the loop and pulling it closed. If the technique seems too advanced, replace it with a chain-4 loop and work into the loop instead.
Problem 2: Vinyl circle curls up or ruffles
When crocheting in rounds, it’s easy to accidentally create a dome or ruffle. This happens when you don’t stitch evenly or fail to follow the increase pattern. Double-check your stitch counts and correct your rows if necessary.
Problem 3: Attaching the keyring securely
Make sure your slip knot for the loop is tight and the yarn is thick enough to hold the keyring. It’s better to sew the loop securely to prevent it from slipping.
What You'll Learn
- How to make a magic ring – a great beginner technique!
- How to work in rounds using single crochet stitches.
- Increasing stitches to create a flat circle.
- Attaching decorative elements and securing a keyring.
Why You'll Love This Pattern:
This vinyl record keychain is small but stylish and quirky! It’s a great gift for music lovers and a fantastic way to practice working in rounds with simple stitches. Plus, it’s quick and takes only a little yarn, so it’s a fun project to make within an hour.