
Free Crochet Rug Pattern to Beautify Your Home Instantly
Try this free crochet rug pattern to create a stunning rug for your home that is simple, beginner friendly, and perfect for adding beauty to any space.
A cozy rug has the power to transform a space, it’s the unsung hero of home decor. One of the standout features of a handmade rug is the texture; it feels soft and inviting beneath your feet while adding warmth to the room. Round or rectangular, the shape can be tailored to fit snugly beside your bed, under your coffee table, or even in your hallway. The charm lies in its versatility, and with the right yarn, these rugs can exude sophistication or playful energy, depending on your color choices.
The featured style leans on practicality without sacrificing aesthetics. Smooth rows or tightly packed stitches provide durability, meaning it can handle bustling spaces while holding its structure. Chunky or velvet yarn works like magic here, making the finished product both durable and irresistibly soft. Pairing earthy tones for a rustic vibe or vibrant hues for bold personality ensures the rug reflects your personal taste.
Free Crochet Rug Pattern for Comfortable and Stylish Living
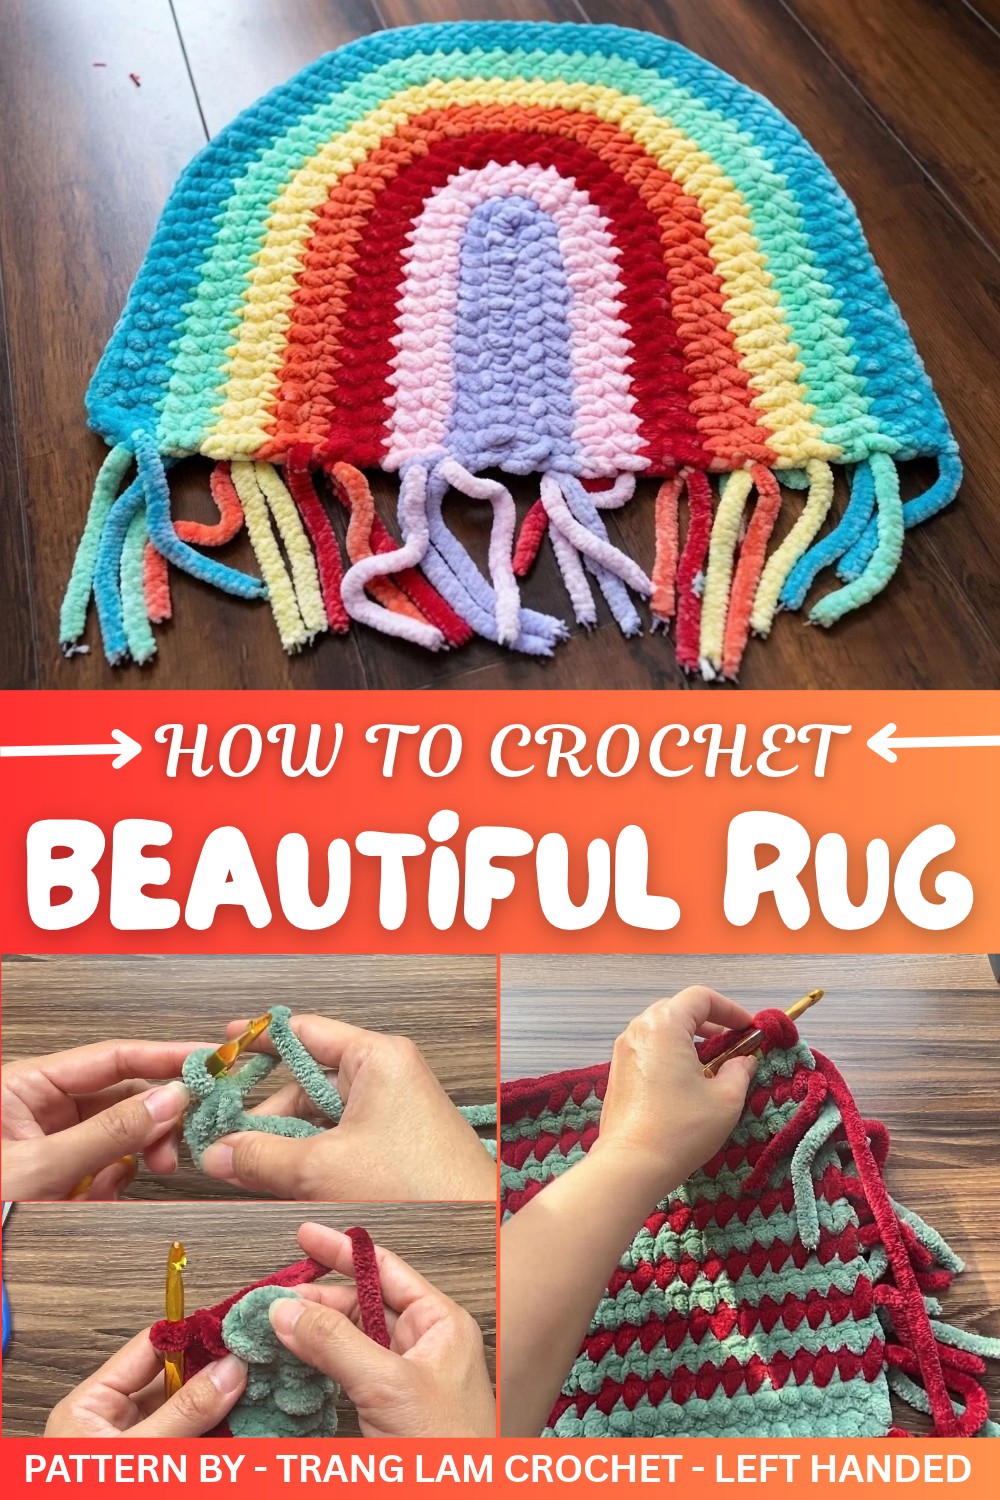
For those who enjoy experimenting, you’ll like that this project can be adjusted to any size, from small mats designed for cozy nooks to larger rugs that anchor a living space. Its construction isn’t intimidating even for beginners; basic techniques and straightforward assembly will have you feeling accomplished before you know it. A helpful tip is to keep your tension consistent to avoid uneven edges, and don’t forget to weave in yarn tails for a clean finish.
Featured By Trang Lam Crochet - Left Handed
This handmade rug makes a heartfelt housewarming gift, a practical addition to your space, or even a seasonal centerpiece in holiday colors. It’s all about creativity and finding joy in the process as you work toward something beautiful and functional. Play with textures, experiment with colors, and enjoy the satisfaction of having a truly personal home décor piece.
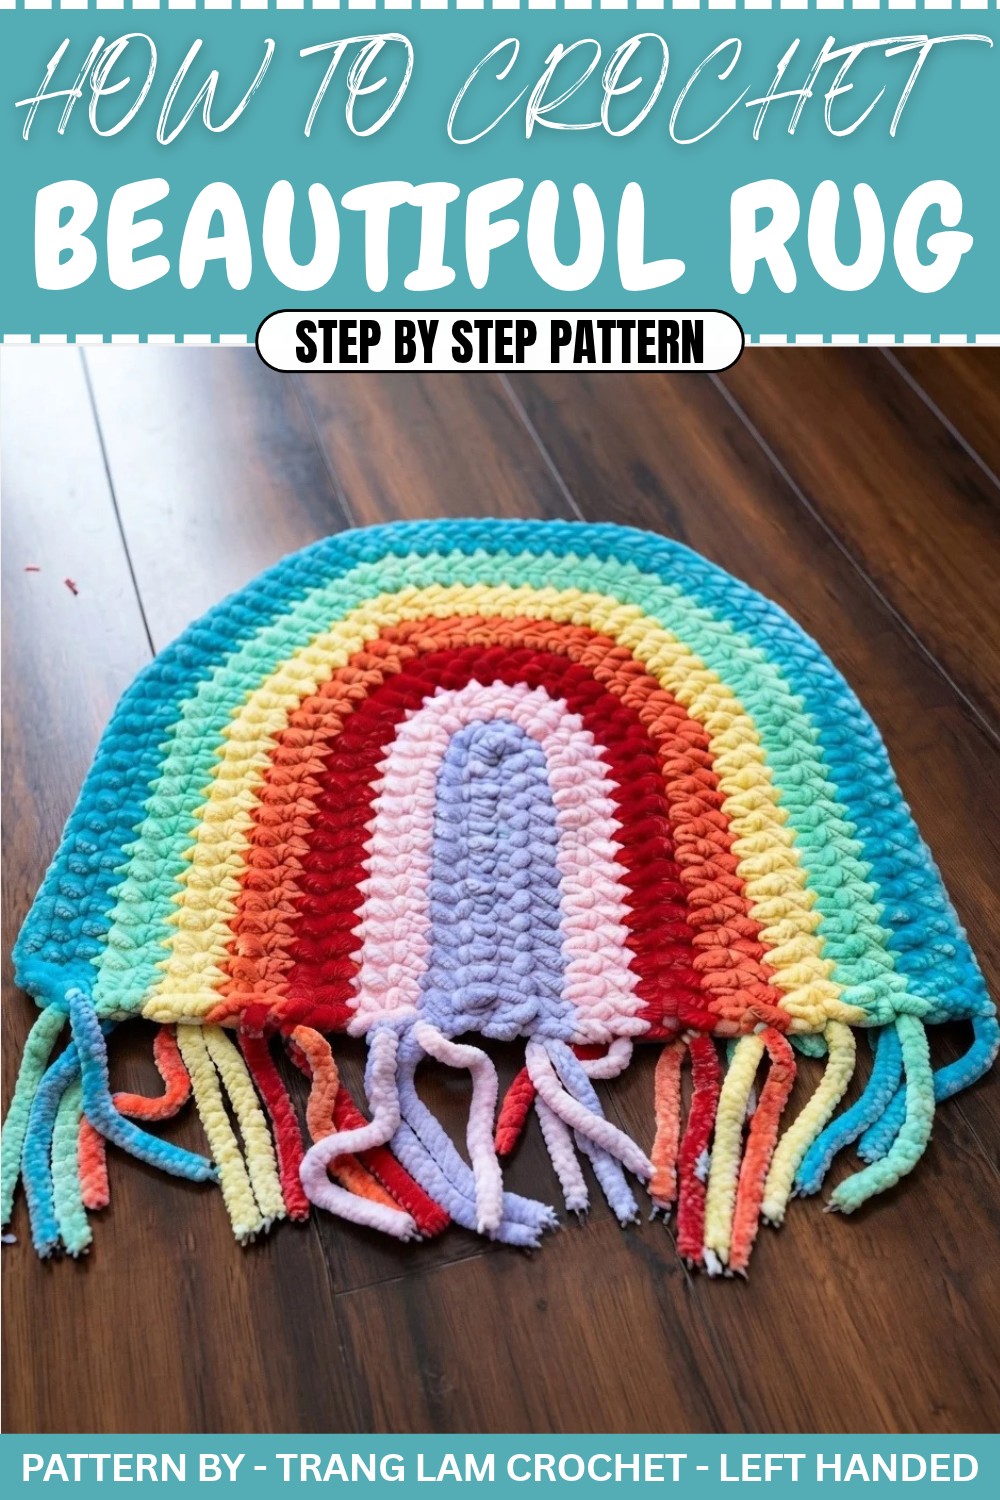
Crochet Rug Pattern
Quick Overview of the Pattern
- Project: Crochet doormat with color accents
- Design: Rectangular doormat with colorful rows and a firm edge for added structure
- Customizable: Can be adjusted to any size by adding or reducing foundation stitches and rows
- Key Stitches: Single crochet, single crochet increases, reverse single crochet
Notes
- This doormat design can be adjusted to any length or width. Add or subtract chains in the foundation row for length, and add rows for more width.
- Reverse single crochet (also known as the crab stitch) is used as the border in the final row to add a decorative and sturdy edge.
- You can choose any colors for the rows. In this pattern, rainbow colors and Christmas themed colors (red and green) were used.
Skill Level
Beginner to Intermediate
If you’ve mastered the single crochet stitch and are eager to learn or practice color changes and reverse single crochet, this is a perfect project for you.
Materials
- Yarn: 2 colors of chunky yarn similar to chenille or velvet yarn (e.g., “len nhung dua” in Vietnam) – approximately 100g of each color
- Hook Size: 8mm crochet hook
- Tools Required:
- Scissors
- A sewing or tapestry needle (optional, for weaving in yarn ends)
Measurements / Sizing
- Finished Size: Approximately 30cm x 40cm (can be easily adjusted by increasing/decreasing the chain foundation or adding rows).
- Customize the length and width based on your preference.
Gauge (and Stitch Pattern)
Gauge is not critical for this project, but ensure the stitches are even and loose enough to maintain a good drape.
Stitch Abbreviations
- CH: Chain
- SC: Single Crochet
- SC INC: Single Crochet Increase (2 SC in the same stitch)
- RSC: Reverse Single Crochet (working SC in reverse direction – from left to right instead of right to left)
- SL ST: Slip Stitch
Special Stitches
Reverse Single Crochet (RSC):
- Insert your hook into the previous stitch (to your right side).
- Yarn over, pull up a loop.
- Yarn over again and pull through both loops on the hook to complete the stitch.
- Repeat this process for a decorative and firm edging.
The Crochet Pattern
Follow this pattern to create your crochet doormat:
Step 1: Create the Foundation Chain
- Leave around 15 cm of yarn before starting the foundation chain (optional for tassels later).
- CH 15 (or adjust for your desired size).
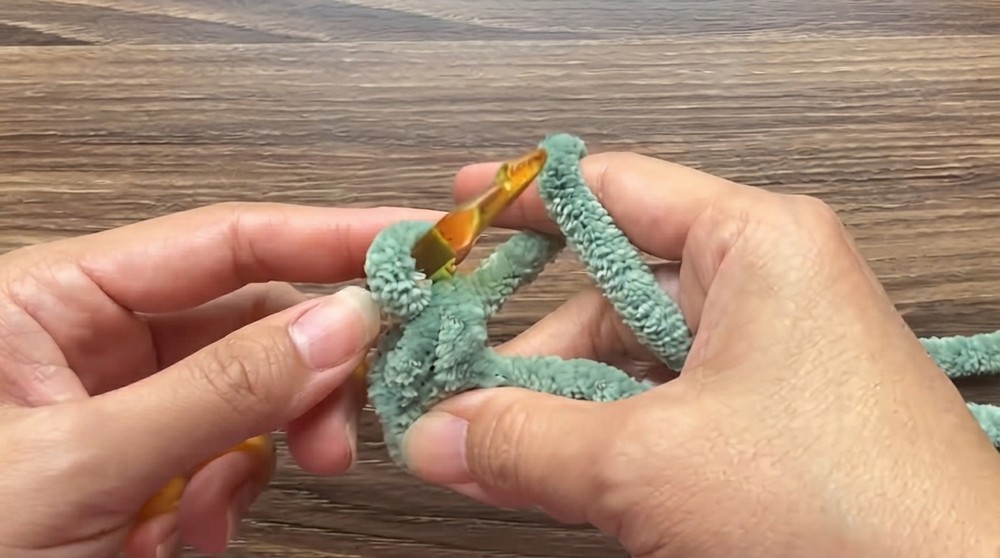
Step 2: Row 1 (First Set of Single Crochets)
- Skip the first CH and work 13 SC across the row in the remaining stitches.
- At the last stitch, work 3 SC in the same stitch to begin turning to the opposite side.
- Continue working into the underside of the foundation chain along the opposite side: 13 SC down the row.
- Secure the end but do not fasten off.
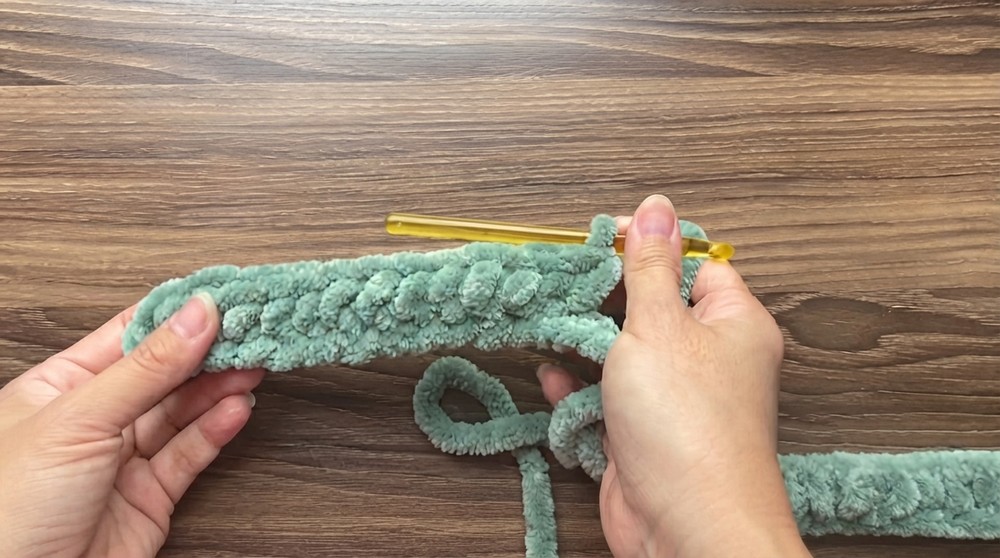
Step 3: Row 2 (Adding the First Color Change)
- Add a new color (Red). Drop the existing yarn color, leaving a 15cm tail for securing.
- CH 1 and turn. Work 13 SC along the row.
- At the rounded corner, there are now 3 SC from the previous row – work 2 SC in each of these 3 stitches to increase the width.
- Continue by working 13 SC along the opposite straight edge.
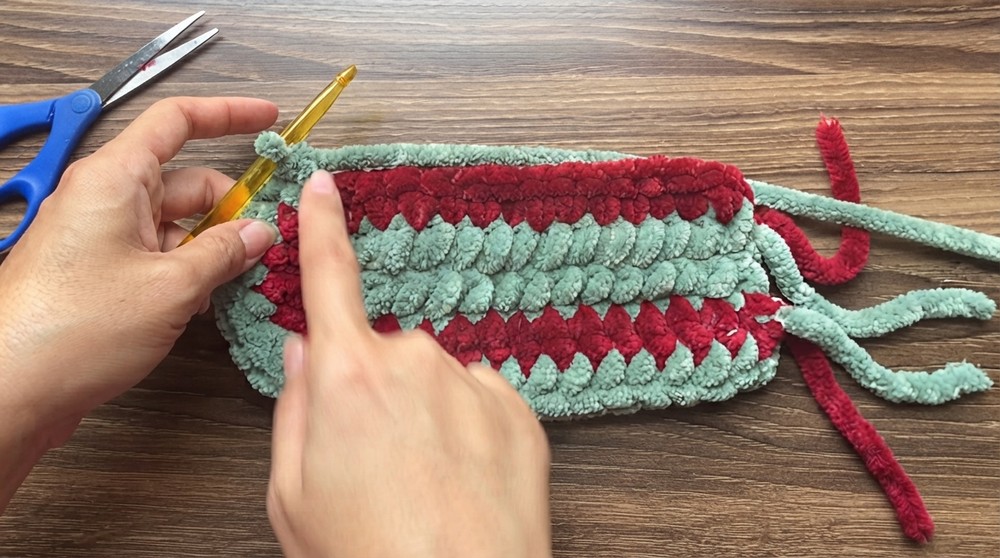
Step 4: Row 3 (Second Color Change)
- Add the second color (e.g., green). Secure the red and trim the leftover tail.
- CH 1 and turn. Work 1 SC in each of the next 13 stitches.
- At the rounded corner (where you’ve made increases in the previous row):
- Work 1 SC in the first stitch, SC INC in the second stitch.
- Repeat this sequence (1 SC, SC INC) for 3 total increases.
- SC across the opposite side again for 13 stitches in total.
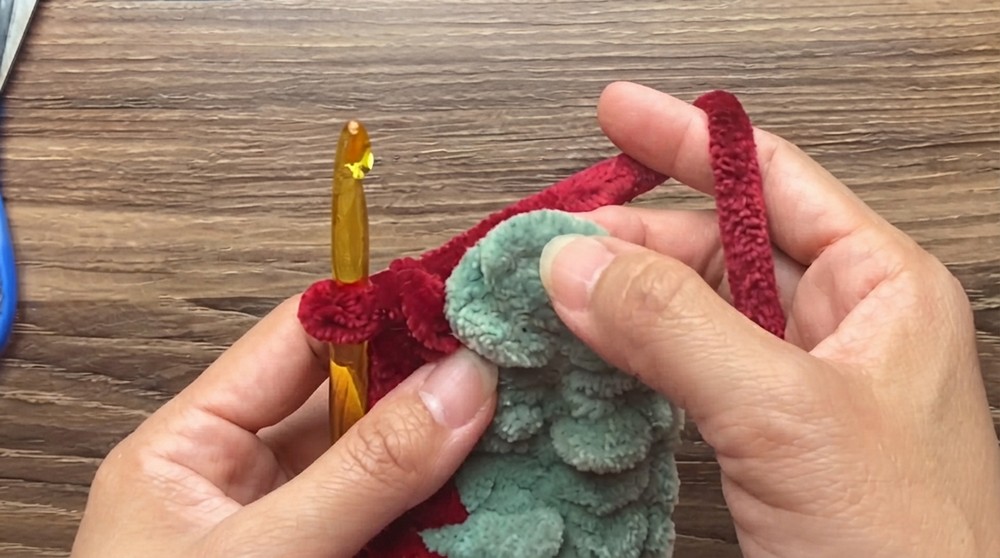
Step 5: Rows 4 Onwards (Repeating Pattern)
- Continue repeating Row 3, alternating colors at every other row:
- Red > Green > Red > Green, etc.
- Adjust the number of rows depending on your desired size.
- Use the same increase pattern for the corner stitches, adding width as needed:
- Follow a 1 SC, SC INC pattern as you go around the rounded corner.
Step 6: Final Row (Reverse Single Crochet Edging)
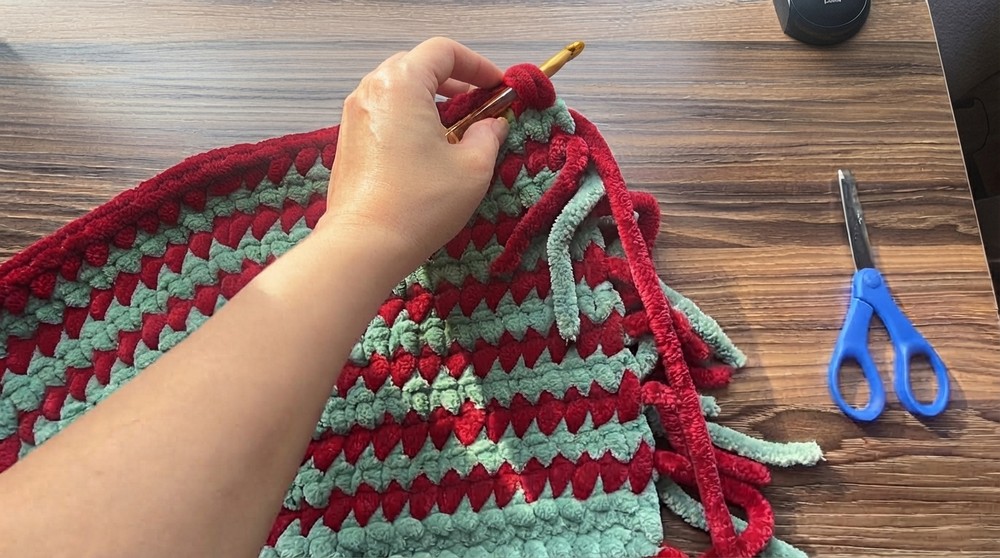
- When you reach your desired size (e.g., 14 rows), complete the final row in RSC.
- Switch to the last color before beginning the RSC row.
- For the entire final row, work 1 RSC in each stitch. This will create a neat, sturdy edge for your doormat.
Assembly & Finished Size
- Once you’ve completed the final RSC row, finish by fastening off your yarn and weaving in loose ends.
- If you left yarn tails for tassels, knot them together decoratively and trim them to an even length.
- Enjoy your completed crochet doormat! The reverse single crochet edging will help keep the mat flat and add a lovely texture.
Conclusion and Ending Words
Congratulations! You’ve just completed a handmade crochet doormat that is practical and beautiful. This versatile pattern lets you customize the size and colors to your liking, so it perfectly suits your home décor. The reverse single crochet edging adds a sturdy touch, ensuring it will look great and stay in shape. Thank you for following along, and I hope you enjoy your new handmade creation.