
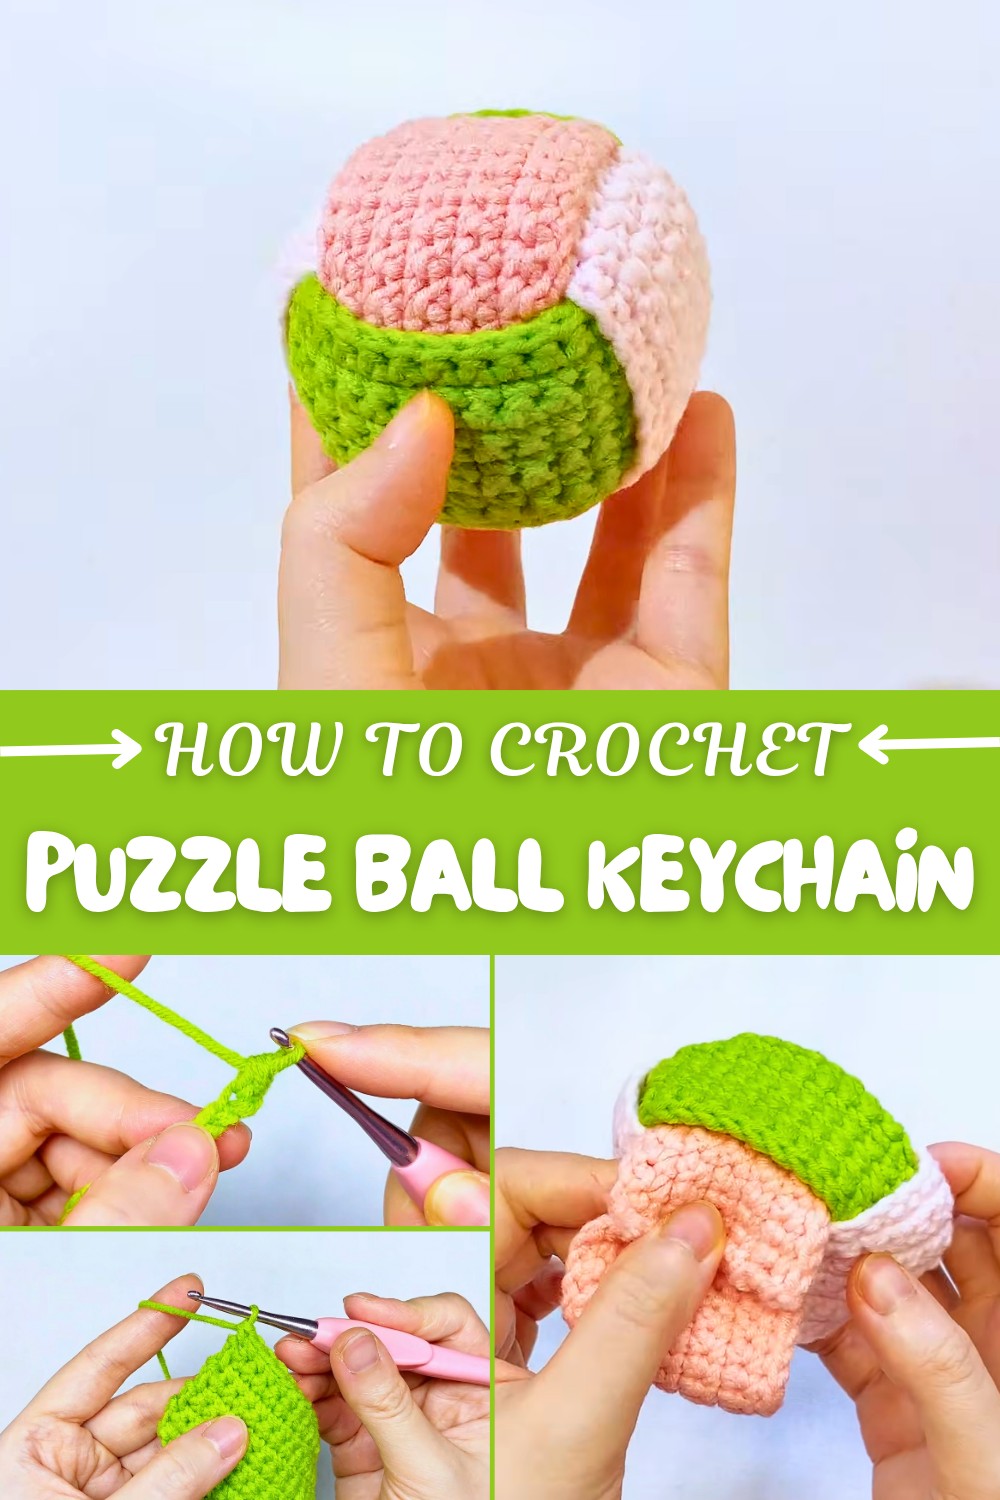
Free Crochet Puzzle Ball Keychain Pattern for Everyday Fun
Refresh your collection with a free crochet puzzle ball keychain pattern that's dynamic, colorful, and effortlessly fun for all.
Crocheting your very own puzzle ball keychain is not just a fun project, but it’s also an opportunity to create something with a unique design that offers beauty and purpose. Imagine carrying a small, interlocked ball with pops of your favorite colors hanging from your keys or decorating your bag. The simplicity of the design combined with the clever interweaving technique makes it a conversation starter wherever you take it. You can choose soft pastels for a subtle look, vibrant neon shades for a fun vibe, or even earthy tones for something more sophisticated. This pattern uses single crochet (sc) and slip stitch (sl st) to make it beginner-friendly while still offering an intriguing and polished final product.
Trendy Free Crochet Puzzle Ball Keychain Pattern for Statement Pieces
What makes this pattern extra special is its versatility. Completed with three interwoven crocheted pieces, the ball can serve as a keychain, a stress-relief sensory toy, or even a playful pet toy by leaving out the keyring. The interlocked design is sturdy and visually interesting, making it easy to adapt to various uses. With just a single crochet stitch and some sewing, you can crochet something that looks intricate yet is surprisingly easy to put together.
Other Fun Projects You Can Make Inspired By This Pattern:
The techniques and skills learned in this pattern can be applied to many other creative projects:
- Interlocking ornaments for holidays or special occasions.
- Pet toys shaped like balls, cubes, or other geometric designs.
- Hanging charms for bags or home décor.
- Soft baby toys, when made with larger yarn and safe materials for infants.
Crochet Interwoven Ball Pattern
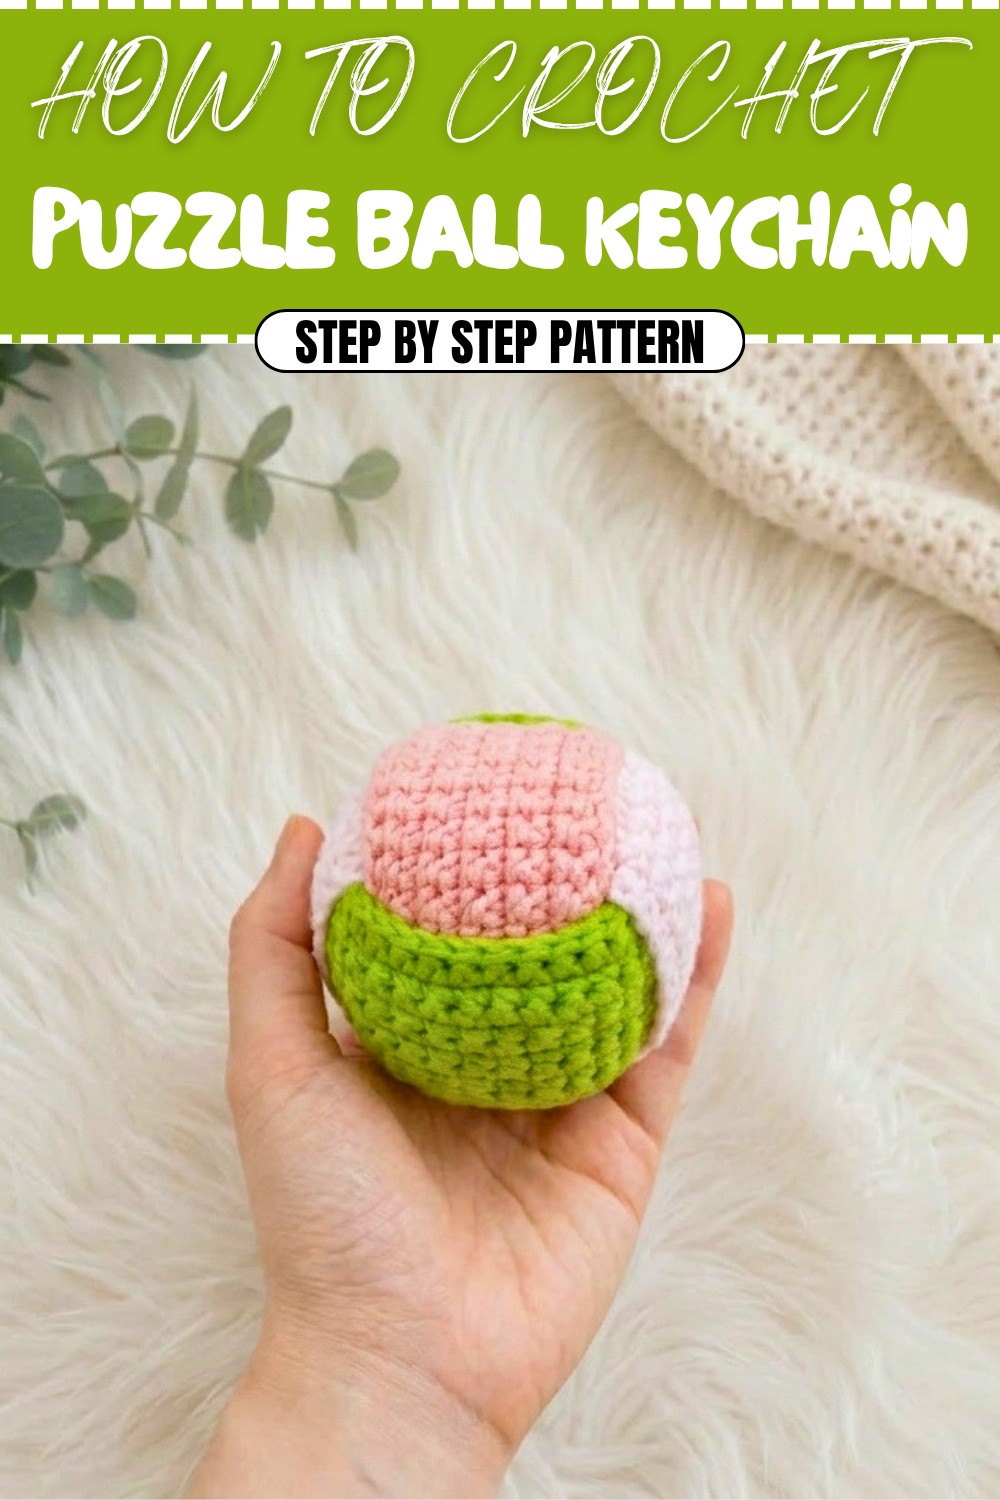
This delightful crochet interwoven ball is an ideal accessory for any household. Whether you use it as a fun hanging ornament, a playful pet toy, or even as decorative pieces for celebrations, this pattern is simple yet fascinating! The ball is constructed by crocheting three identical pieces that are later woven together to form its interlocked design. You’ll only need one stitch type: single crochet (sc), making this project beginner-friendly while still looking impressive.
The beauty of this pattern comes from its versatility. You can create the ball in a single color for simplicity or use vibrant combinations for a more eye-catching piece. This easy-going project allows you to practice basic crochet skills while creating something unique and functional.
Skill Level & Terminology
- Skill Level: Beginner
- Terminology: US Crochet Terms
This project is perfect for beginners as it uses only single crochet and slip stitches. It also introduces simple sewing techniques and assembly for an enjoyable learning experience.
Materials & Tools
- Yarn: Medium-weight yarn works best (e.g., worsted weight or cotton yarn). Feel free to experiment with colors for customization.
- Hook: 4.0 mm crochet hook or any hook suitable for your chosen yarn.
- Additional Tools:
- Stuffing (polyfill or cotton)
- Yarn needle (for sewing)
- Scissors
Gauge
Gauge is not critical for this pattern. However, if you'd like a reference, the finished pieces should measure approximately 10 cm (4 inches) in length before assembly when using medium-weight yarn and a 4.0 mm hook.
To adjust the size of the ball:
- Use a larger hook and bulkier yarn for a bigger ball.
- Opt for a smaller hook and lighter yarn for a smaller size.
Abbreviations (US Terms)
- sc – single crochet
- ch – chain
- sl st – slip stitch
- st(s) – stitch(es)
Special Stitch Instructions
Single Crochet (sc):
- Insert the hook into the indicated stitch.
- Yarn over, pull up a loop (you now have 2 loops on your hook).
- Yarn over again, pull through both loops to complete the stitch.
Slip Stitch (sl st):
- Insert the hook into the desired stitch.
- Yarn over, pull through the stitch and the loop on the hook in one motion.
Finished Size
Once assembled, the ball measures approximately 10 cm (4 inches) across, depending on yarn choice and tension.
The Pattern
You will crochet three identical pieces and later assemble them into the ball.
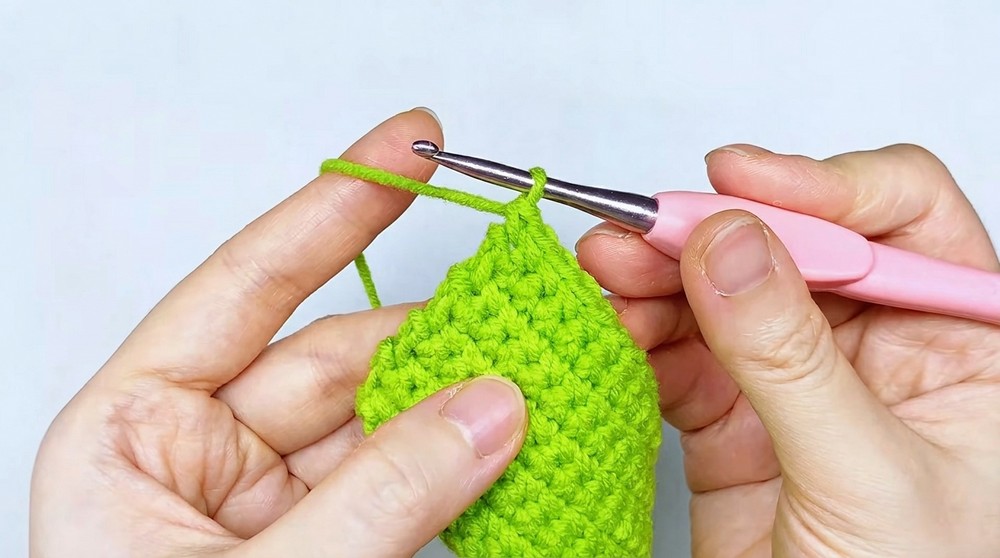
Step 1: Starting the First Piece
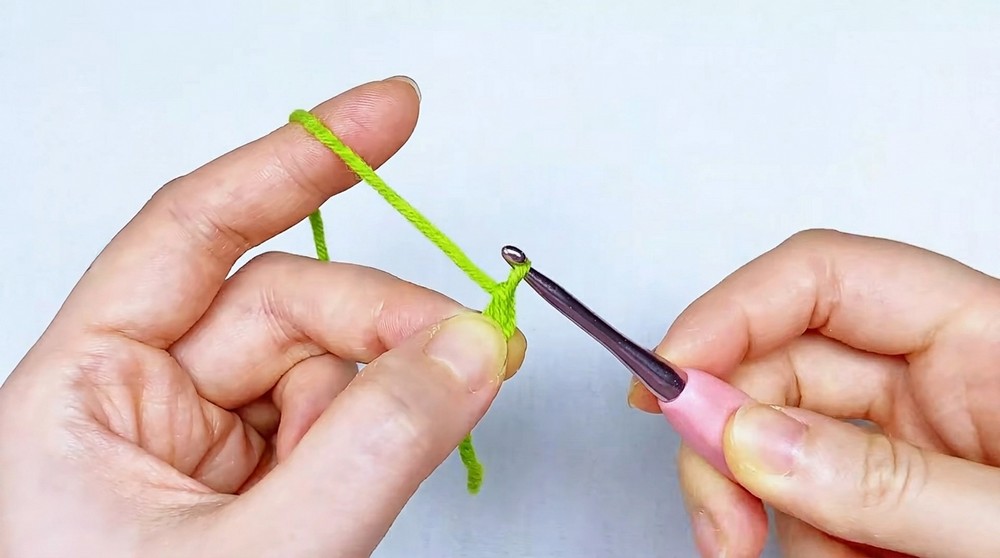
- Make a Knot:
- Take your yarn and wrap it around your pinky and middle finger to create a loop.
- Hold the cross section of the loop and slide your hook under the thread.
- Yarn over, pull through the loop, and pull the yarn tight to create the starting knot.
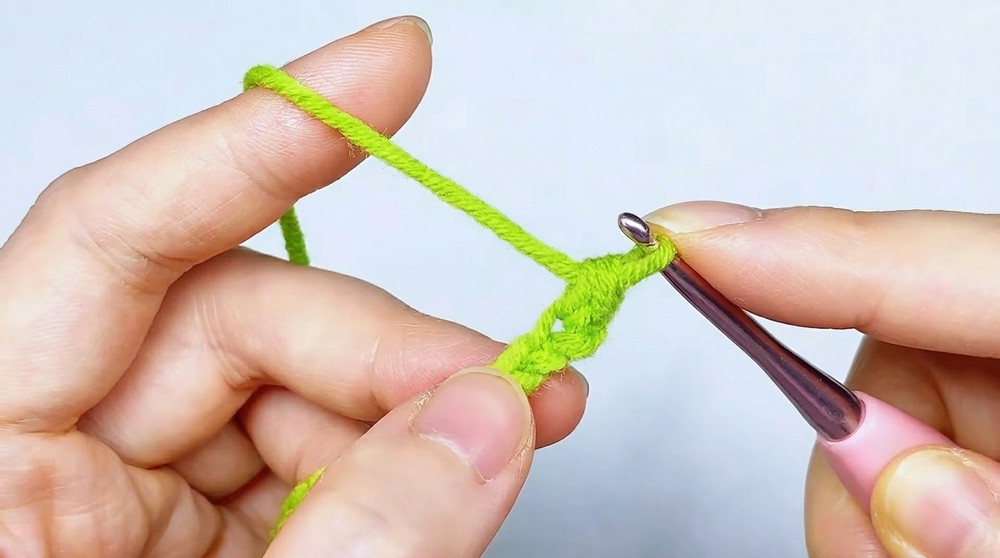
- Chain 36:
- Yarn over, pull through the loop on the hook, and repeat until you have 36 ch.
- Work Row 1:
- Skip the first ch, then insert your hook into the second ch.
- Single crochet (sc) into this stitch.
- Continue to make 1 sc into each remaining chain until the end of the row (35 sc total).
- Turn your work to prepare for the next row.
- Add a ch 1 at the end of the row as a turning chain.
Explanation (Step 1):
In this first step, you’ll crochet a total of 35 single crochets across the foundation chain. The turning chain allows you to begin the next row smoothly without pulling the stitches.
Step 2: Build the Rectangle
- Repeat the steps for Rows 2–10:
- Start each row with ch 1, turn, and work 1 sc into each stitch across.
- By the end, you will have 10 rows of 35 sc each.
- Finish the 10th row and prepare for the final slip stitch finishing.
- For Row 11:
- Instead of single crochets, work 35 slip stitches (sl st) across.
- After completing the row, cut the yarn, leaving a 6–8 inch tail for later sewing.
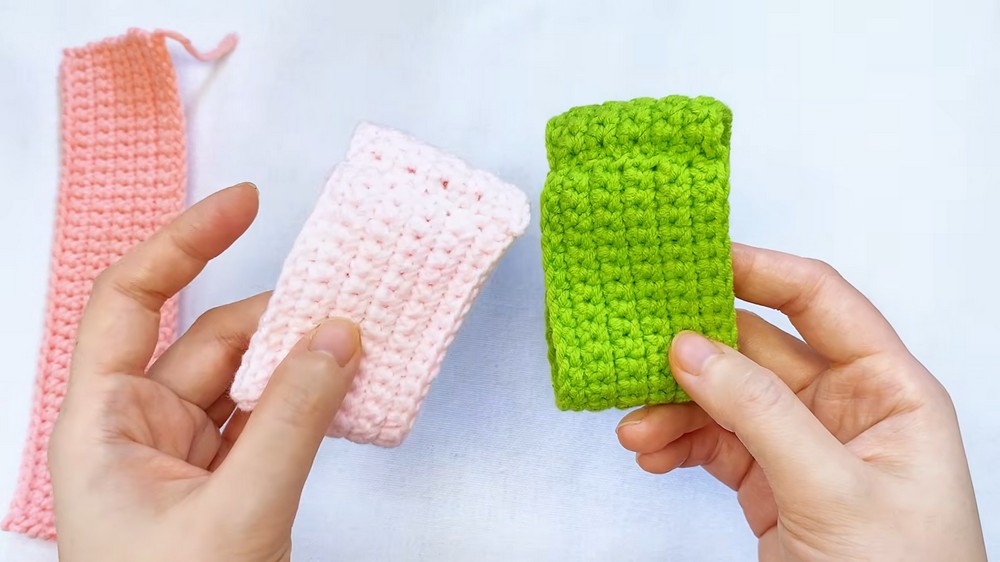
You’re creating one of the three identical rectangle pieces. The slip stitch in the final row gives the rectangle a neat edge.
Step 3: Crochet Two More Pieces
- Repeat Steps 1 and 2 to create two additional rectangles.
- Remember to leave long tails on all pieces for sewing.
You need three identical rectangles to complete the interwoven ball. Take your time and follow the same pattern to create each piece.
Assembly & Finishing
Step 4: Fold and Sew the Pieces
- Take one rectangle and fold it in half lengthwise. Use the yarn tail to sew along the edge, creating a long, closed loop.
- Repeat this process for the second piece.
- Leave the third piece unsewn for now.
Explanation (Step 4):
Each sewn rectangle should now look like a loop. These loops will form the framework of the ball.
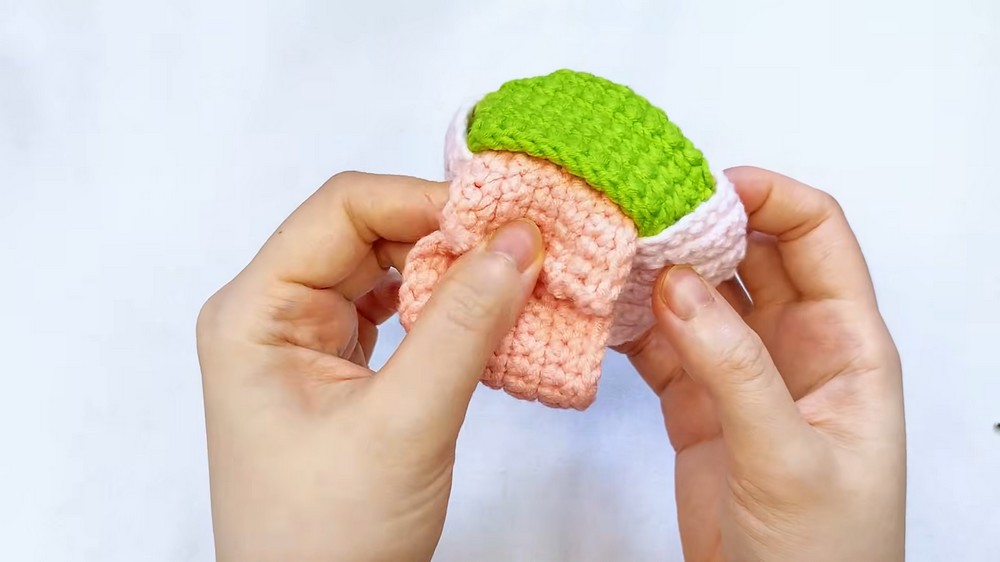
Step 5: Interweave the Pieces
- Place the first two loops together:
- Stack the two loops perpendicular to each other, forming a cross shape.
- Take the third piece (the unsewn loop):
- Carefully interweave this loop through the first two loops in an over-under fashion. This step forms the interlocked ball shape.
This step may seem tricky at first, but simply follow the over-under threading pattern to create a woven effect. Adjust the loops so they sit evenly and snugly.
Step 6: Sew and Add Stuffing
- Close the third piece:
- Using the yarn tail, overlap the two ends of the third piece and sew them together. Tie a knot to secure and trim any excess yarn.
- Stuff the ball:
- Use stuffing material to fill the ball through one of the openings. Adjust the stuffing to create a smooth, round shape.
- Shape and Finish:
- Gently adjust the position of the loops to finalize the woven design. Ensure the ball looks even on all sides.
What You’ll Learn From This Pattern
You’ll gain experience with a variety of crochet and assembly skills:
- Creating even single crochet stitches (sc).
- Finishing pieces with slip stitches (sl st).
- Sewing crochet together to form loops.
- Interweaving pieces to create a 3D structure.
Why You'll Love Making This Crochet Ball
- Fun and beginner-friendly pattern.
- A quick project that introduces basic crochet and assembly techniques.
- Highly versatile for multiple uses, from home décor to pet toys.
- Great for leftovers—use those extra yarn scraps creatively!