
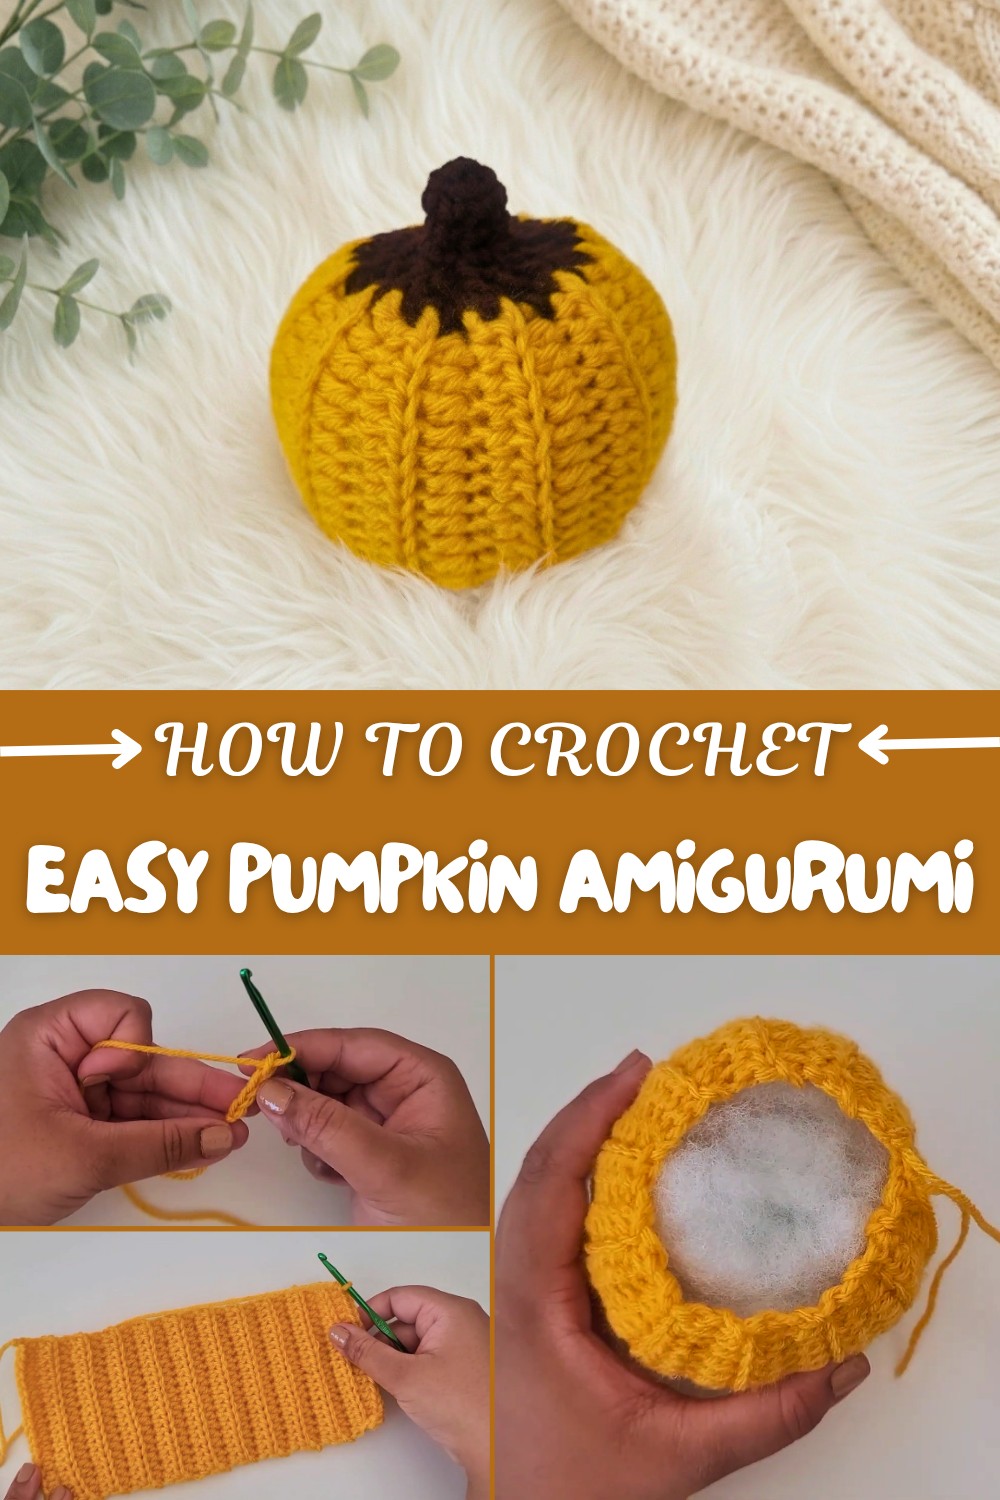
Free Crochet Pumpkin Amigurumi Pattern with Step by Step
Create a charming fall vibe with this free crochet pumpkin amigurumi pattern that's for beginners to stitch and enjoy a cozy seasonal decoration.
With a happy round face and a squishy, soft feel, this little crocheted pumpkin seems like it just rolled out of a fairy tale! Its plump shape and textured lines make it look charming and friendly, almost as if it’s waiting to greet everyone who comes by. This plushie loves to sit on your table, windowsill, or shelf, adding a cheerful autumn touch to any space.
Free Crochet Pumpkin Amigurumi Pattern for Fall Decor
You’ll find it perfect for decorating during fall festivals, Thanksgiving, or Halloween. It fits right in as a table centerpiece, a pocket-sized buddy for your desk, or a fun surprise in a gift basket. Kids love pretending it’s a playful garden friend, and grownups enjoy using it as a bag charm or even hanging it on a doorknob for a seasonal welcome. Make one, or create a colorful bunch in orange, yellow, cream, or any color you like, these little pumpkins are happy to join any party.
Creating this plushie is simple, but special too. You'll work with category 4 yarn and a 4 mm hook, using mainly the half double crochet (hdc) to create those soft, bumpy pumpkin lines. The pattern lets you use back loops only, so you get real pumpkin texture! When finished, the plushie is small and squeezable, but you can make yours bigger or tinier by changing the starting chain.
This little project isn’t just for making pumpkins—you can use the same idea for keychains, garlands, party favors, or soft toys for friends. Everyone will love this sweet pumpkin’s personality and the colorful joy it brings wherever it goes.
Easy Crochet Pumpkin Pattern
This step-by-step pattern for an adorable, plush crochet pumpkin! Perfect for autumn decor or Halloween, this pumpkin is quick to make and highly customizable. You’ll master simple shaping, basic seaming, and stuffing techniques—all in one project. This pattern is written in an easy-to-follow format, complete with explanations after each section for users who need a little extra help.
Skill Level & Terminology
Skill Level: Confident Beginner
Terminology: US Crochet Terms
This is a great project for those who know how to chain, half double crochet, and single crochet, and are ready to learn some simple seaming, decreasing, and stuffing techniques.
Materials & Tools
- Yarn: Medium (Worsted/Category 4) yarn in orange (pumpkin body) and brown (stem)
- Hook: 4.0 mm crochet hook (or size to match your yarn)
- Scissors
- Tapestry/darning needle
- Polyfill stuffing (or use yarn scraps, old fabric, etc.)
Gauge
Gauge is not critical for this project. Aim for relatively dense stitches so stuffing does not show through. Your pumpkin size will vary according to your yarn, hook, and tension.
Abbreviations List
| Abbreviation | Meaning |
|---|---|
| ch | Chain |
| hdc | Half double crochet |
| sc | Single crochet |
| sl st | Slip stitch |
| dec | Decrease (sc2tog) |
| st(s) | Stitch(es) |
| BLO | Back loop only |
| FLO | Front loop only |
Special Stitch Instructions
- Half Double Crochet (hdc): Yarn over, insert hook in stitch, yarn over and pull up a loop (3 loops on hook), yarn over and pull through all 3 loops.
- Single Crochet Decrease (sc2tog): Insert hook into next st, yarn over and pull up a loop, insert hook into following st, yarn over and pull up a loop (3 loops on hook), yarn over and pull through all three loops.
- Back Loop Only (BLO): Work the hdc into the back loop of the stitch only, leaving the front loop unworked.
Finished Size
- Approx. 3–4” wide and about 2” tall (size will vary with individual tension/materials)
- The pattern is easily resized by altering the starting chain and row count.
Pattern Process & How to Start
You will begin by creating a flat rectangle (the body of your pumpkin) with rows of half double crochets worked in the back loop only, which gives the pumpkin a ribbed, realistic texture. The rectangle is then seamed, gathered, and stuffed, and a simple stem is added on top. All stitches are basic: chain, hdc, sc, and slip stitch. Even beginners will enjoy seeing their pumpkin take shape row by row!
The Pattern Itself
1. Pumpkin Body
Step 1: Foundation Chain
- With orange yarn, make a slip knot.
- Ch 20.
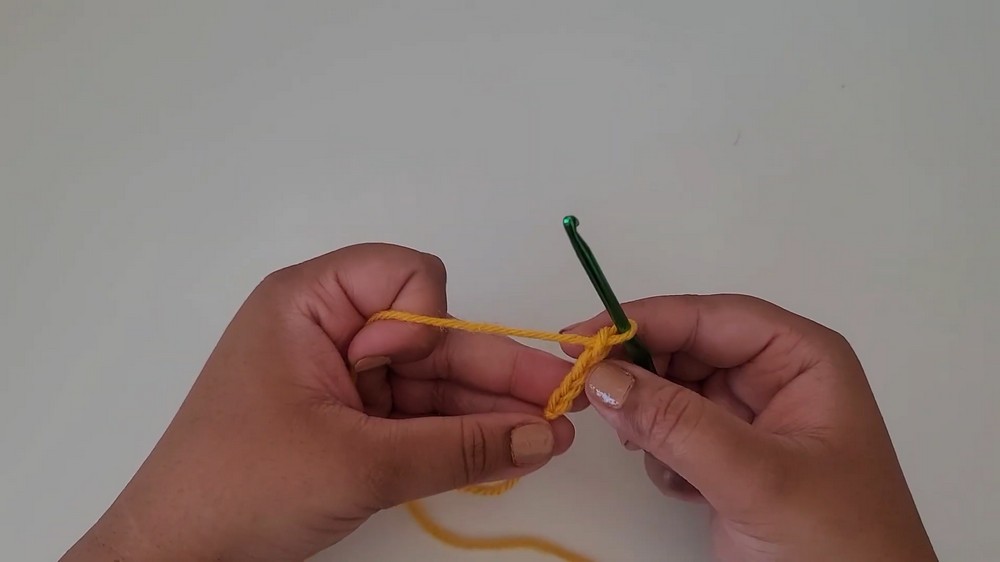
Start by making a chain of 20 stitches. This will be the width of your pumpkin; adjust the chain if you want a larger or smaller pumpkin.
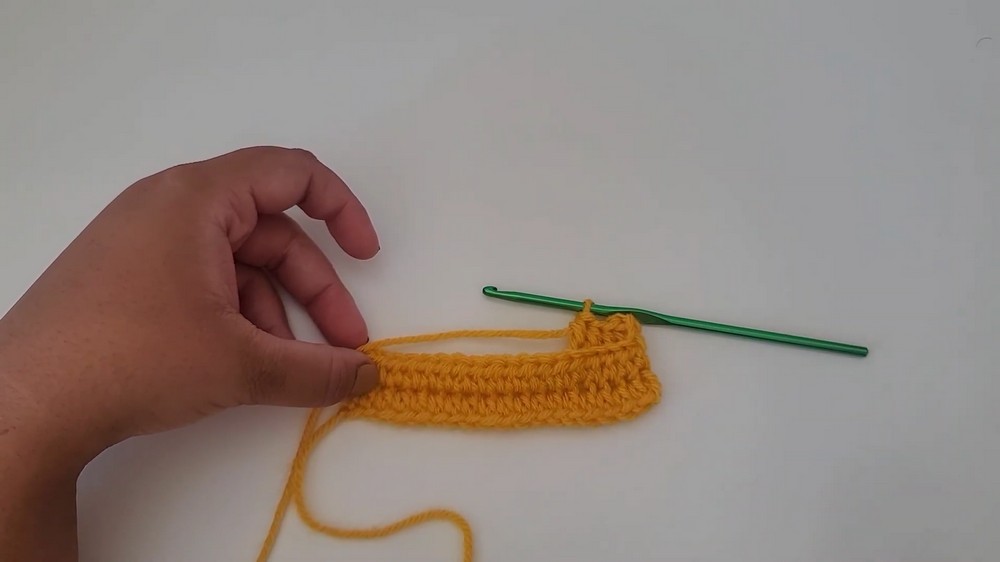
Step 2: Row 1
- Skip the last 2 ch (these count as the turning ch), hdc in the 3rd ch from the hook.
- Hdc in each remaining ch across (18 hdc).
- Ch 2, turn.
Work half double crochets into the chain, skipping the first two for easier turning and a neat edge.
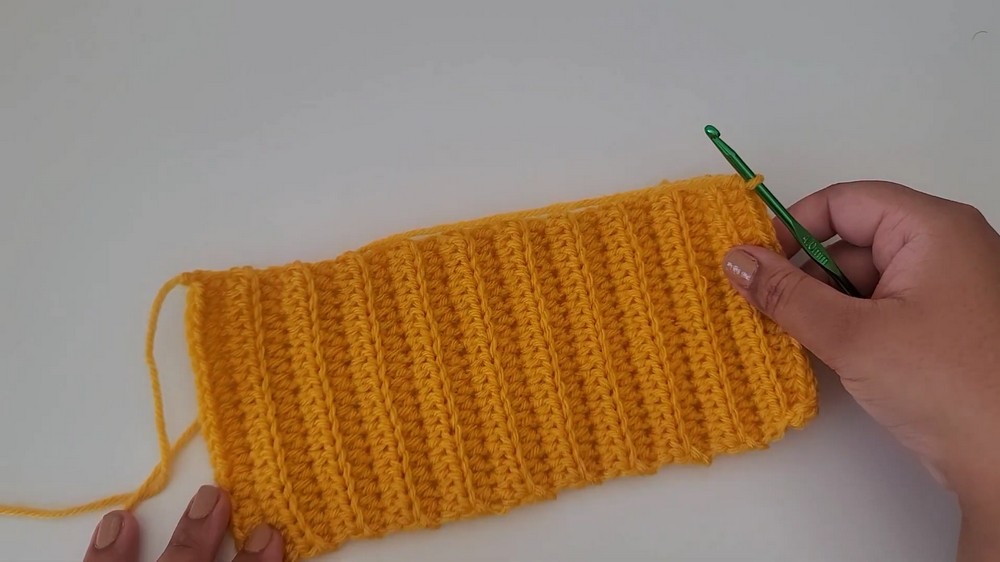
Step 3: Rows 2–21
- Working in BLO for texture:
- Hdc in back loop only of each st across (18 hdc).
- Ch 2, turn.
- Repeat for a total of 21 rows, or until your rectangle is approximately 2.5 times as long as it is wide.
For each new row, always half double crochet into the back loop only. This technique creates the classic pumpkin "ribs." Keep making rows until your rectangle is long enough for full, plump shape (21 rows in this example).
Step 4: Seam the Sides
- At the end of the last row, ch 1.
- Leave a long tail and cut yarn.
- Thread the tail onto a tapestry needle.
- Fold your rectangle in half (rows meeting).
- Seam the short sides together by weaving through the back loop of one side and the front loop of the other side. Continue this across to the end.
- Fasten off and weave the yarn through a few stitches to secure.
Use your long yarn tail to sew the sides together, matching front loop to back loop for an invisible seam. Tie off and secure the end to keep the seam strong.
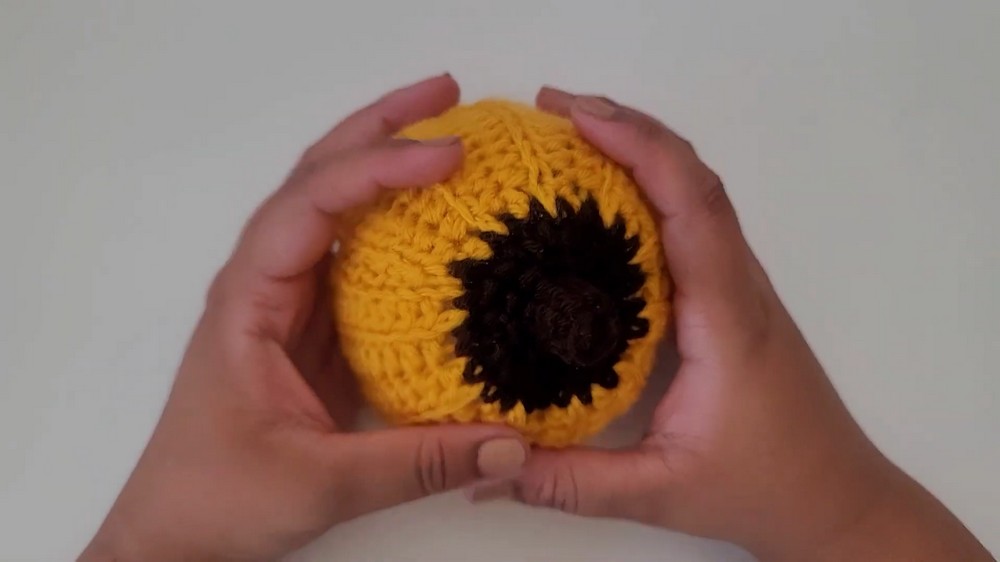
2. Pumpkin Top & Stem
Step 5: Attach the Stem
- With brown yarn, make a slip knot.
- Join brown yarn at the top seam with a single crochet (sc).
- Sc around the top opening as evenly as possible (don’t worry if the number isn’t exact; aim for about 26 sc).
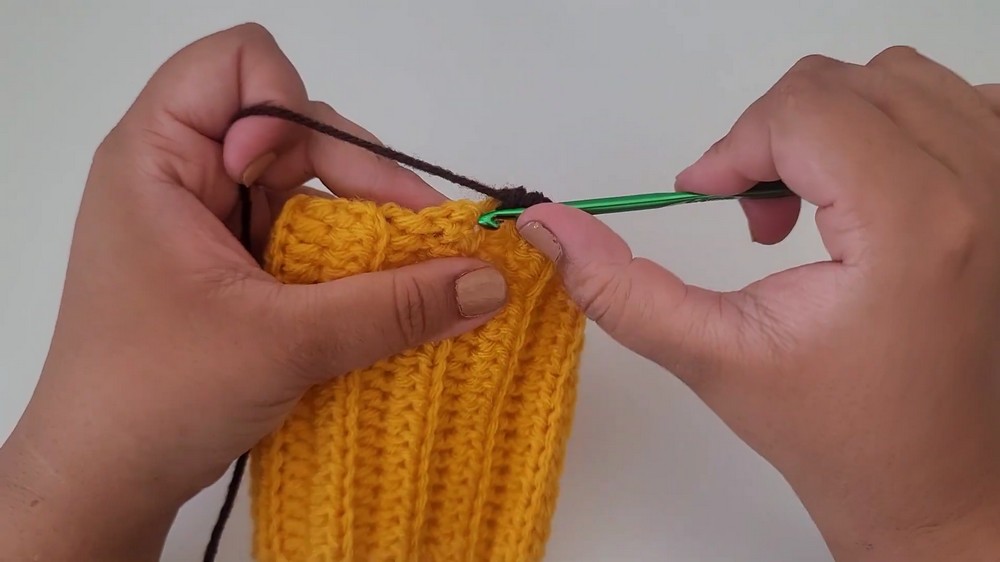
Don’t worry if your stitches aren’t perfectly even—just sc all around the top to make a neat edge for the stem.
Step 6: Closing the Top
- Join to first sc with a sl st, ch 1.
- Decrease around:
- Insert hook into next stitch, pull up loop, insert into next stitch, pull up loop (3 loops on hook), yarn over and pull through all loops — repeat around.
- You can end with a single sc if any stitches remain.
- Sl st to join, ch 1.
- Repeat a second round of decreases if the hole is still large.
- If you have about 7 stitches left, proceed to the stem.
Decrease in every stitch to cinch the top closed. Continue another round of decreases if the opening is still too wide.
Step 7: Crocheting the Stem
- With remaining stitches (usually 7), sc in each stitch around.
- Sl st to join, ch 1.
- Work 2 more rounds of sc in each stitch for a longer stem.
- End with sl st, ch 1.
- Leave a long tail, cut yarn.
Make a short, sturdy stem by working a few single crochet rounds in the small opening at the top.
Step 8: Finish the Stem
- Thread yarn tail onto a needle.
- Weave needle through inner loops of each stitch in final round of the stem, pull tight to close the top of the stem.
- Weave in and hide ends by bringing the yarn down through the stem and into the inside of the pumpkin.
Sew the stem shut by running your yarn through the inside loops and pulling tight. Pull the ends into the pumpkin to hide them.
3. Closing & Stuffing the Pumpkin
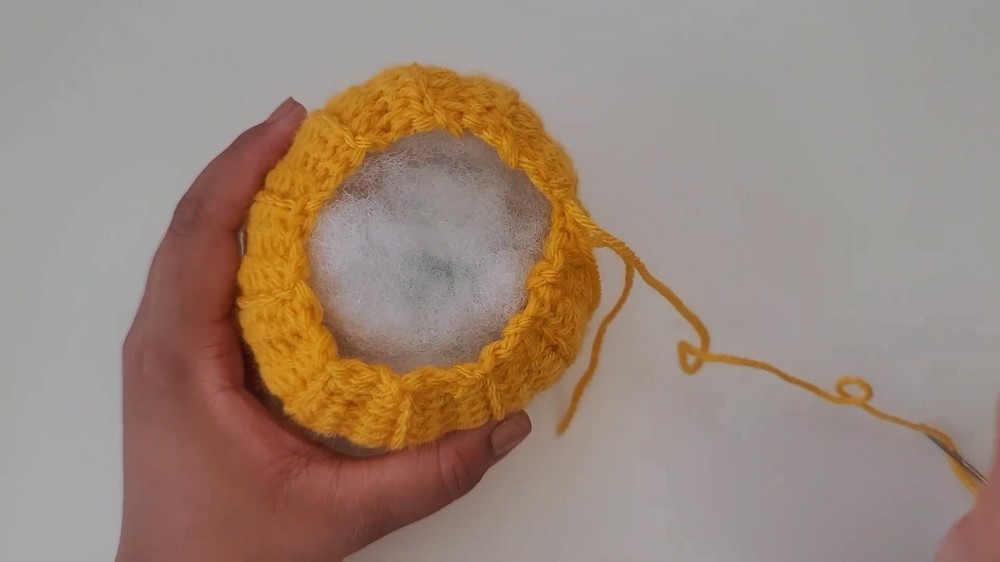
Step 9: Closing the Bottom
- Using a new length of orange yarn and needle:
- Attach yarn at one end of the pumpkin seam, tie a slip knot at the other end of the yarn.
- Weave the needle in and out along the bottom edge (like a drawstring bag).
- Pause before fully closing.
Weave your yarn through the bottom edge, but do not pull tight yet—you will add your stuffing next.
Step 10: Stuffing
- Fill pumpkin with polyfill or your chosen stuffing. Make it plump and even.
- Pull drawstring end tightly to close.
- Secure with knots; weave yarn through the center to fully close, making a knot and drawing any extra tails into the body.
Stuff your pumpkin firmly, then pull the drawstring shut. Secure tightly with a knot, and tuck any ends neatly inside.
Assembly & Finishing
- Go back through and weave in any loose ends from sewing or closing.
- Use your fingers to adjust and shape the pumpkin. Distribute the stuffing as needed for a symmetrical shape.
Check your work, hide all remaining yarn tails, and give your pumpkin a final shaping to make it look perfect.
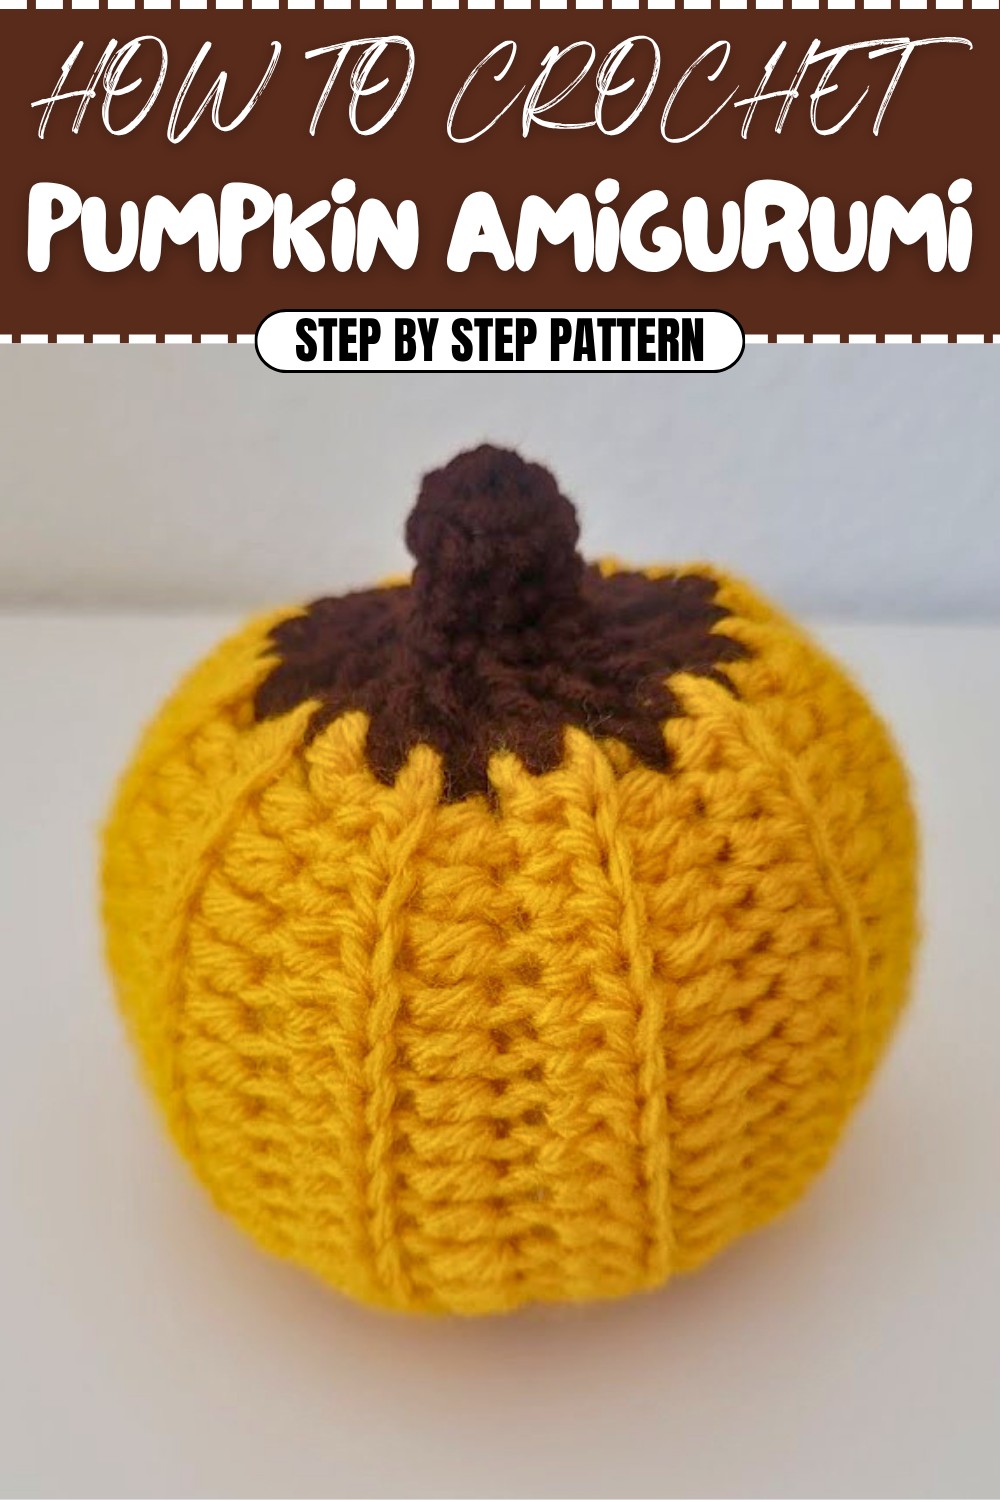
Conclusion
Congratulations! You have created a cute, ribbed crochet pumpkin—from a simple rectangle to a plump gourd—using only half double crochet and single crochet stitches. You now know how to seam, decrease, stuff, and close, with a clever drawstring technique and a realistic, easy stem. This is a great little project for seasonal decorating, gifts, or just celebrating your love of crochet.
Pattern Recap & Process Summary
- Crochet a rectangle in rows of BLO hdc.
- Seam short sides together.
- Single crochet around the top, decrease to close, and make a stem.
- Close bottom edge with drawstring, stuff, and cinch shut.
- Weave in all ends and shape.