
Free Crochet Pattern for Cute Tiny Cats You'll Love to Make
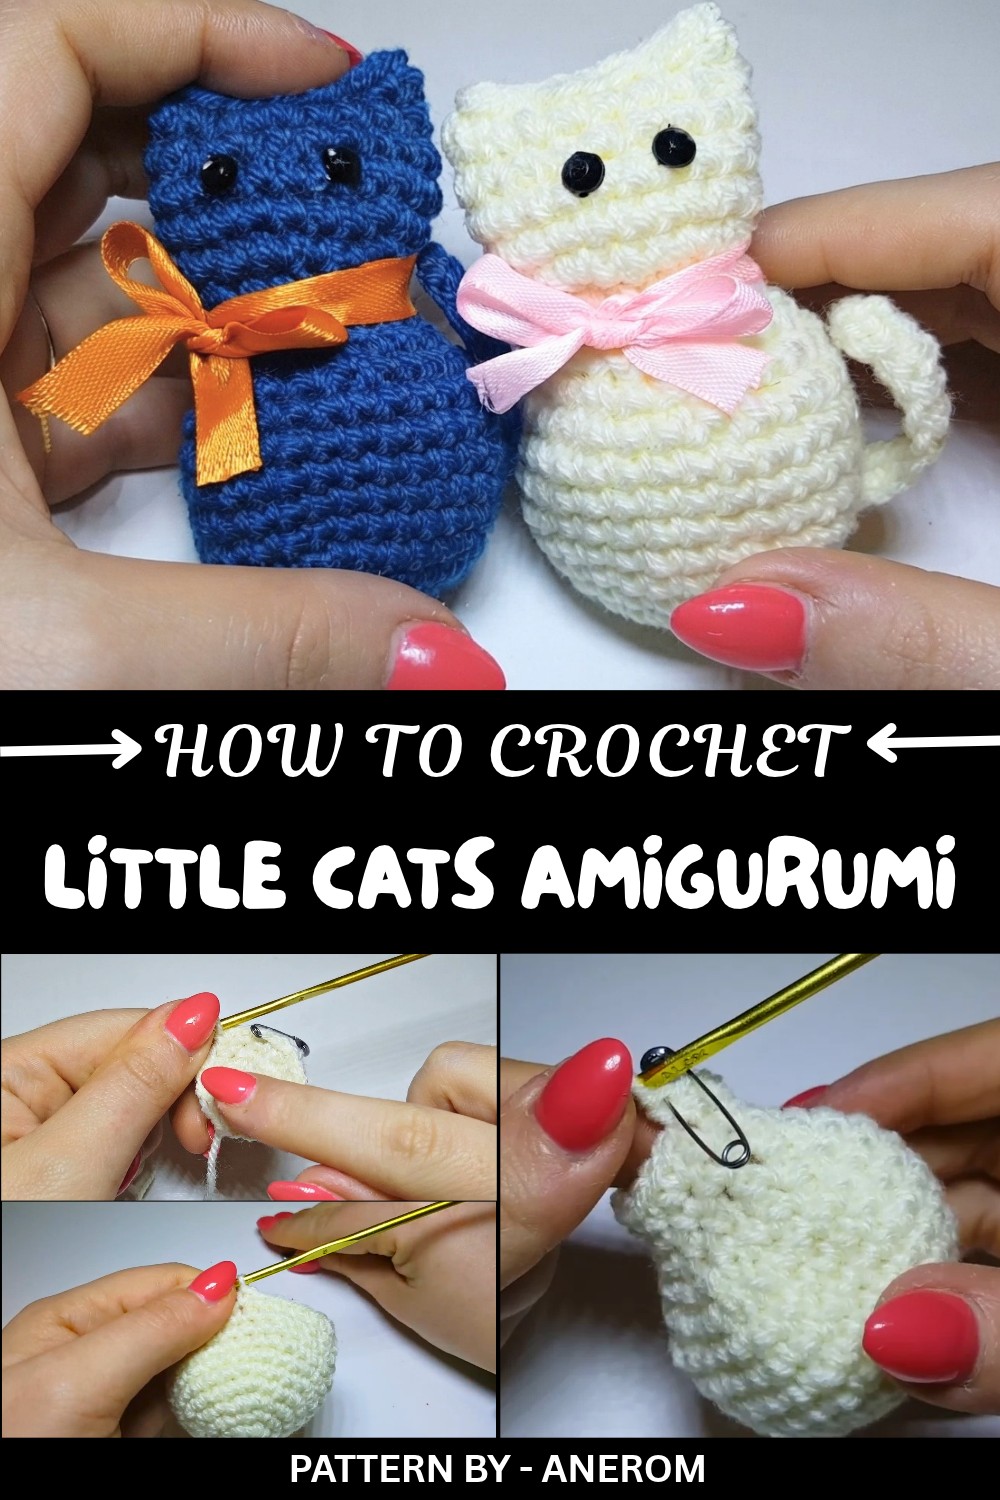
Anchor your bookmark with a Free Crochet Little Cats Amigurumi Pattern as a sweet reading buddy that sits comfortably atop your favorite open paperback books.
Tiny projects with big personality often steal the spotlight, and these adorable tiny cats are no exception. With their round and playful shape, perky little ears, and endless color possibilities, they’re the kind of handmade treasures that are simply irresistible. Using a basic crochet technique like the single crochet stitch and a magic ring for the base, this fun pattern is perfect for those just starting out or looking to try amigurumi. Best of all, the pattern is completely free, making it an accessible choice for any skill level.
Featured By Anerom
Their compact size makes them ideal as keychains, pocket companions, or desk décor, while their customizable features allow you to add a touch of personal flair. Choose your favorite yarn colors, add little bows or miniature accessories, and give each cat its own personality. You’ll love the smooth texture and firm yet soft appearance that comes from working tightly with your stitches. Every little detail adds to their character, and the possibilities for creativity are endless.
Free Crochet Cats Pattern That Everyone Is Talking About
Beyond crocheting tiny cats, this versatile pattern can spark your imagination for other designs. With slight modifications, turn it into a panda, bunny, or even a small puppy. Just change the ear shape, stitch placement, or added features, it’s an exciting opportunity to expand your creative adventures.
Finding it tricky to tighten your magic ring or manage decreases? Don’t worry, those small challenges have simple fixes. Gently pull the tail of your magic ring to close it tightly, and for decreases, work methodically while counting stitches to avoid confusion. Each tiny mistake is just part of the learning process.
Whether you’re creating adorable presents for friends, building a collectible set, or adding a splash of cuteness to your workspace, these little cats are the perfect project for beginners. With each completed piece, you’ll gain confidence, have fun, and end up with charming keepsakes that everyone will adore.
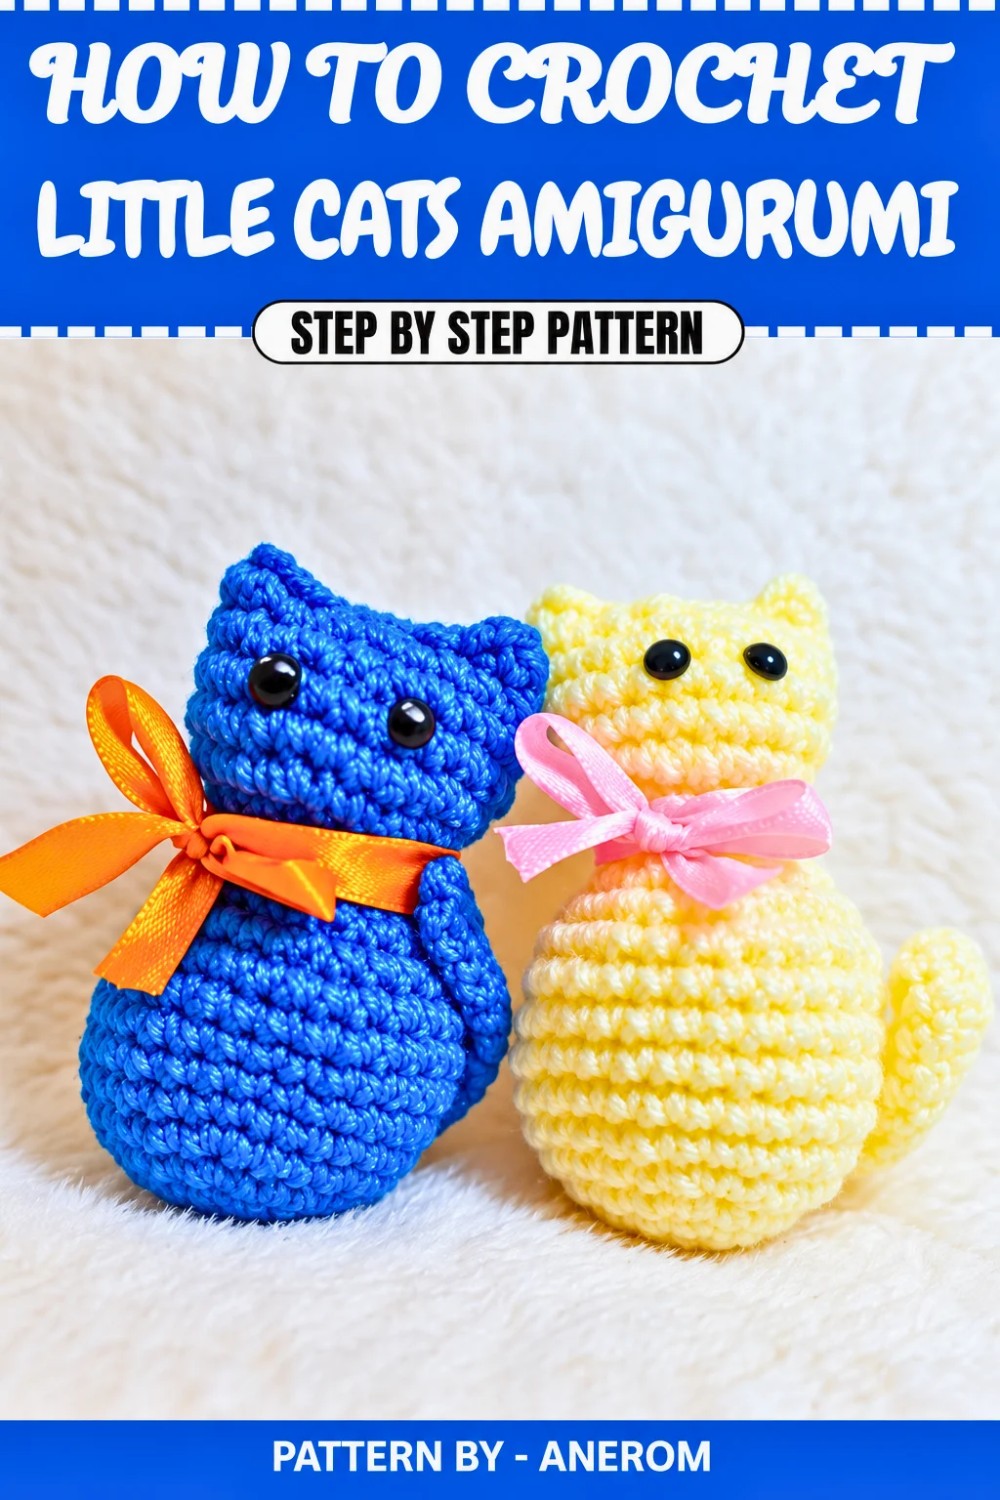
Crochet Pattern: Amigurumi Cat (Step-by-Step Guide)
Quick Overview of Pattern
- Project Type: Amigurumi Cat
- Difficulty Level: Beginner
- Customization: Personalize with different colors, ribbons, and decorative eyes
- Purpose: Perfect for gifting or adding to your crochet creations
Notes
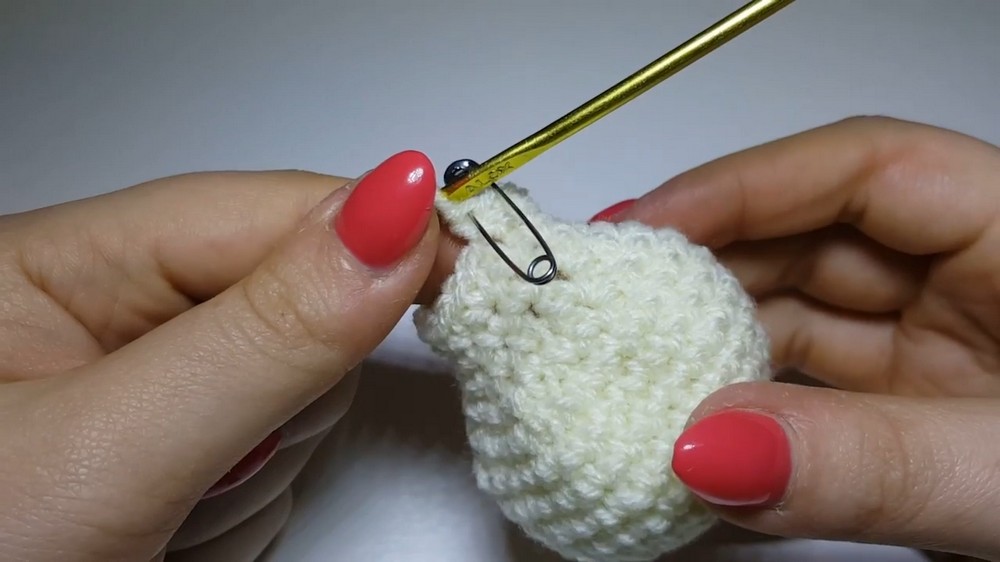
- Always mark the first stitch of every round with a stitch marker to maintain accuracy.
- Ensure tight and even stitches for a neat, polished look.
- Use black nail polish or acrylic paint if you don't have black beads or pearls for the eyes.
Skill Level
Beginner – Ideal for those who are new to crafting amigurumi or crocheting small toys.
Materials
- Acrylic yarn (Size 3) in colors of your choice (e.g., cream, dark gray)
- Crochet hook (size 3 mm)
- Stuffing
- Scissors
- Stitch marker
- Tapestry needle
- Ribbon for decoration
- Two half pearls for the cat’s eyes (black or colored with nail polish/acrylic paint)
- Glue for attaching the eyes
Measurements / Sizing
- Finished cat size: Approximately 8–10 cm in height, depending on yarn and tension used
Gauge
Gauge is not crucial for this project, but make sure your stitches are tight enough to keep the stuffing from showing through.
Stitch Abbreviations
- ch – Chain
- st(s) – Stitch(es)
- sc – Single crochet
- inc – Increase (two sc in the same stitch)
- dec – Decrease (single crochet two stitches together)
- sl st – Slip stitch
Special Stitches
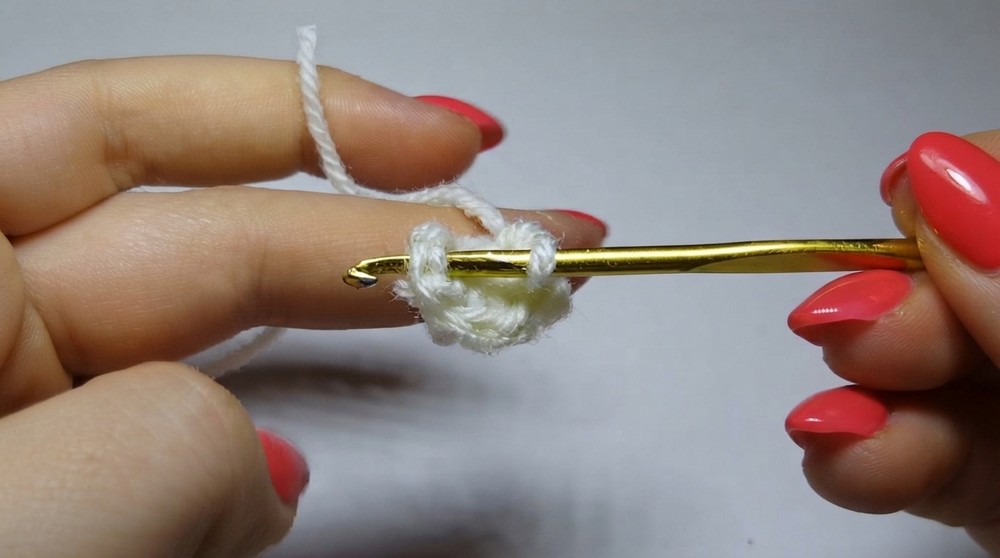
Magic Circle
- This is a technique for creating a tight, adjustable loop that’s perfect for starting amigurumi projects.
- Create a loop with the yarn, leaving a tail.
- Pull the working yarn through the loop to form a slipknot.
- Work the specified number of single crochets into the loop.
- Pull the tail tightly to close the loop.
The Crochet Pattern
Head & Body
- Use the acrylic yarn (color of your choice). Start by making a magic circle.
- Round 1: Work 6 sc into the magic circle. (6 sts)
- Pull the short end of the circle tightly to close.
- Round 2: Work 2 sc in each st around (increase). (12 sts)
- Round 3: Sc in next st, inc in next st. Repeat around. (18 sts)
- Round 4: Sc in next 2 sts, inc in next st. Repeat around. (24 sts)
- Rounds 5 to 9: Sc in each st around. (24 sts)
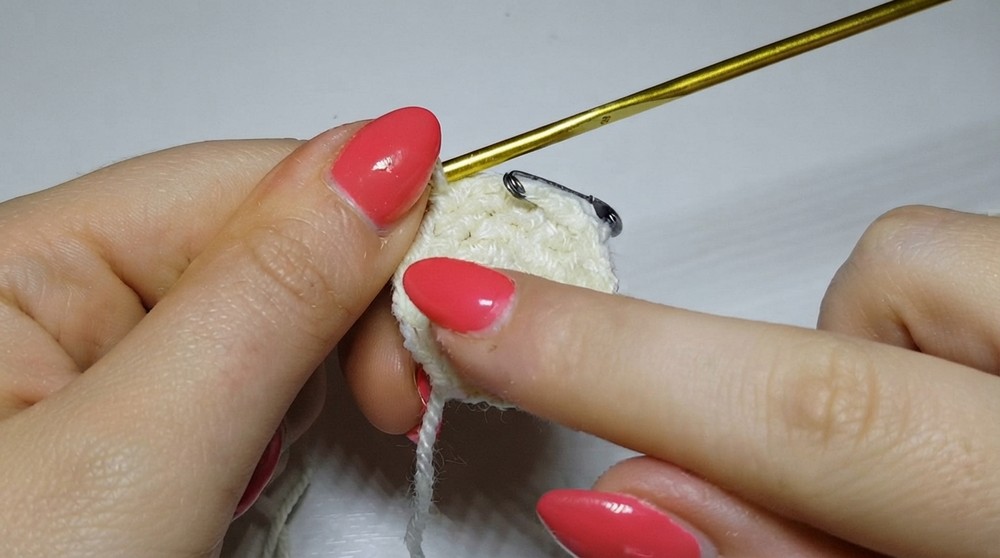
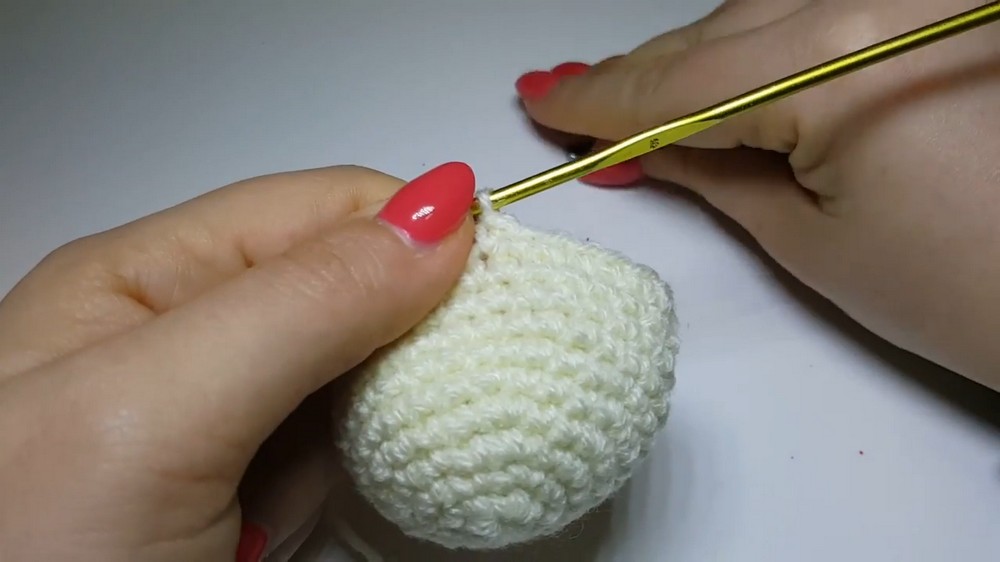
Decreasing for the Head
- Round 10: Sc in next 2 sts, dec in next 2 sts. Repeat around. (18 sts)
- Round 11: Sc in next st, dec in next 2 sts. Repeat around. (12 sts)
- Round 12: Dec in each st around. (6 sts)
- Stuff the head firmly with fiberfill.
Body
To create the body, continue working from the head:
12. Round 13: Sc in each st around. (6 sts)
- Round 14: Sc in next st, inc in next st. Repeat around. (12 sts)
- Round 15: Sc in next 2 sts, inc in next st. Repeat around. (18 sts)
- Round 16: Sc in next 3 sts, inc in next st. Repeat around. (24 sts)
- Rounds 17 to 18: Sc in each st around. (24 sts)
Decreasing for the Body
- Round 19: Sc in next 3 sts, dec in next 2 sts. Repeat around. (18 sts)
- Round 20: Sc in next 2 sts, dec in next 2 sts. Repeat around. (12 sts)
- Stuff the body tightly.
- Round 21: Dec in each st around. (6 sts)
- Close off with a sl st. Leave a long tail for sewing.
Ears
- Start by making a magic circle.
- Round 1: Work 6 sc into the magic circle. (6 sts)
- Round 2: Work 2 sc in each st around (increase). (12 sts)
- Round 3: Sc in each st around. (12 sts)
- Close off with a sl st. Leave a long tail for sewing.
Make 2 ears and sew them evenly at the top of the head.
Tail
- Create a slip knot and ch 12.
- Starting in 2nd ch from hook, sc across all 12 chains.
- Finish with a sl st. Leave a long tail for sewing.
- Attach the tail at the back of the body. Adjust the position based on your preference.
Assembly & Finished Size
- Sew the head onto the body securely.
- Attach the ears on top of the head. Ensure they are symmetrical.
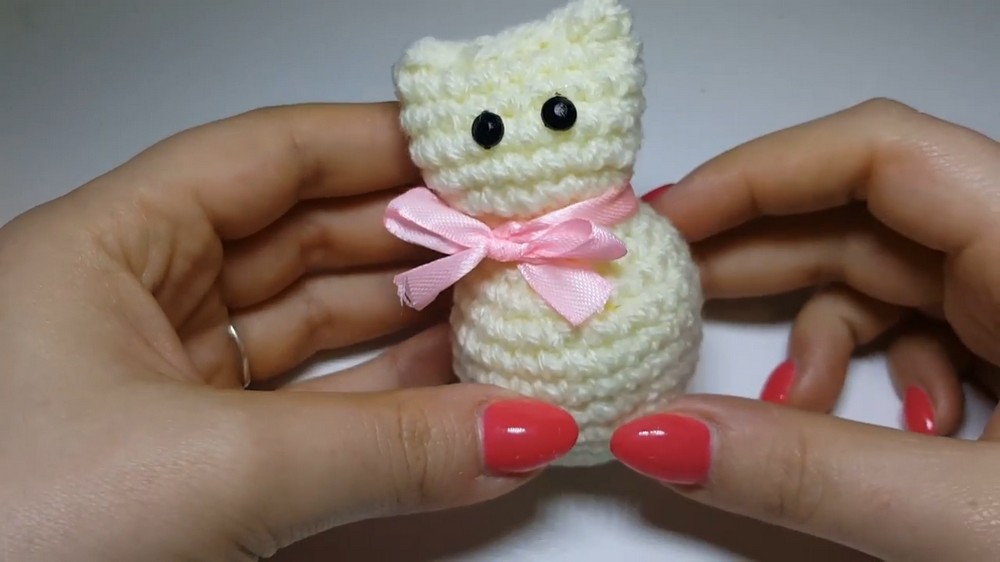
- Tie a ribbon around the neck of the cat and finish with a bow.
- Glue the black pearls or painted eyes onto the face in the desired position.
- With the black yarn, embroider a small nose and mouth for added character.
- Inspect your work carefully and sew securely; hide any loose yarn ends.
Conclusion
Congratulations on finishing your adorable crochet amigurumi cat! This easy and beginner friendly project is perfect to gift or use as a cute decoration. You can customize it with different colors, ribbons, and decorative eyes for a personal touch.