
Free Crochet Painter’s Beret Pattern for Chic Dolls
Skip expensive clothing stores and create your own cozy painter hat using this wonderful free crochet beret pattern designed for every skill level.
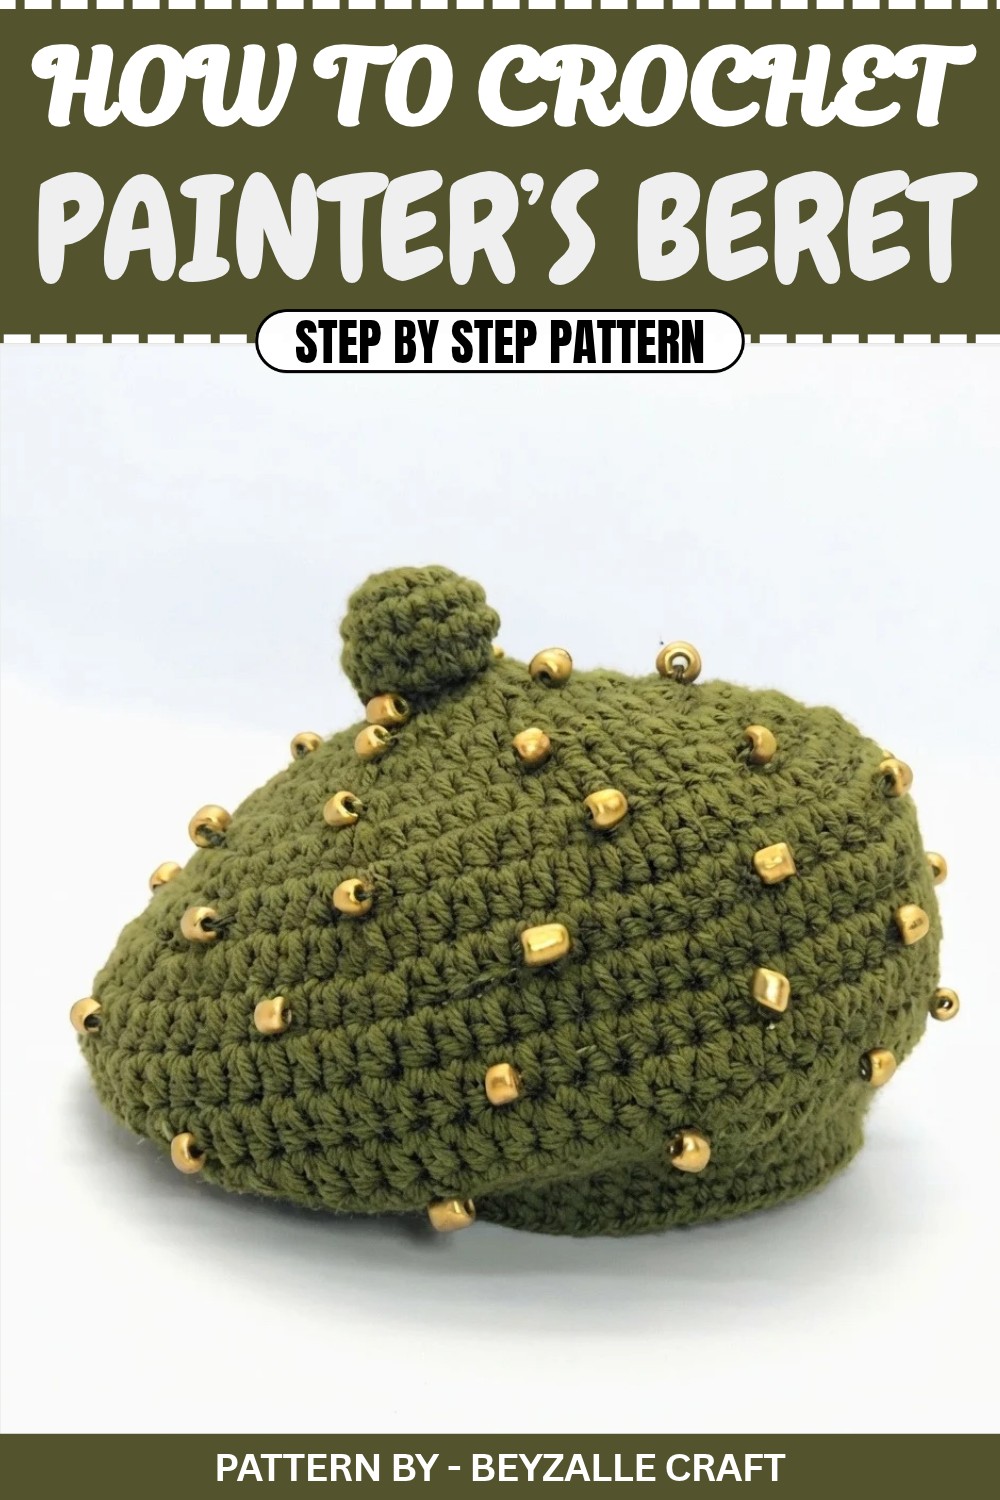
A tiny hat can completely change the look of an amigurumi doll, and this painter style beret is proof of that. Cute, stylish, and surprisingly simple, it adds a sweet artistic touch to any handmade doll. With its soft, rounded top and slightly loose, wide crown, it sits on the doll’s head just like a real painter’s hat, giving it a charming, creative personality.
The Free Crochet Painter’s Beret Pattern is worked mostly in half double crochet, with a few rounds of single crochet to shape and tighten the band. It’s crocheted in the round, starting from a magic ring, then gently increased to get that wide, relaxed top that makes the beret so attractive. The shape is especially beautiful because the top is kept roomy while the bottom is brought in to fit neatly around the head, creating a classic beret silhouette.
The Ultimate Free Crochet Painter’s Beret Pattern Guide
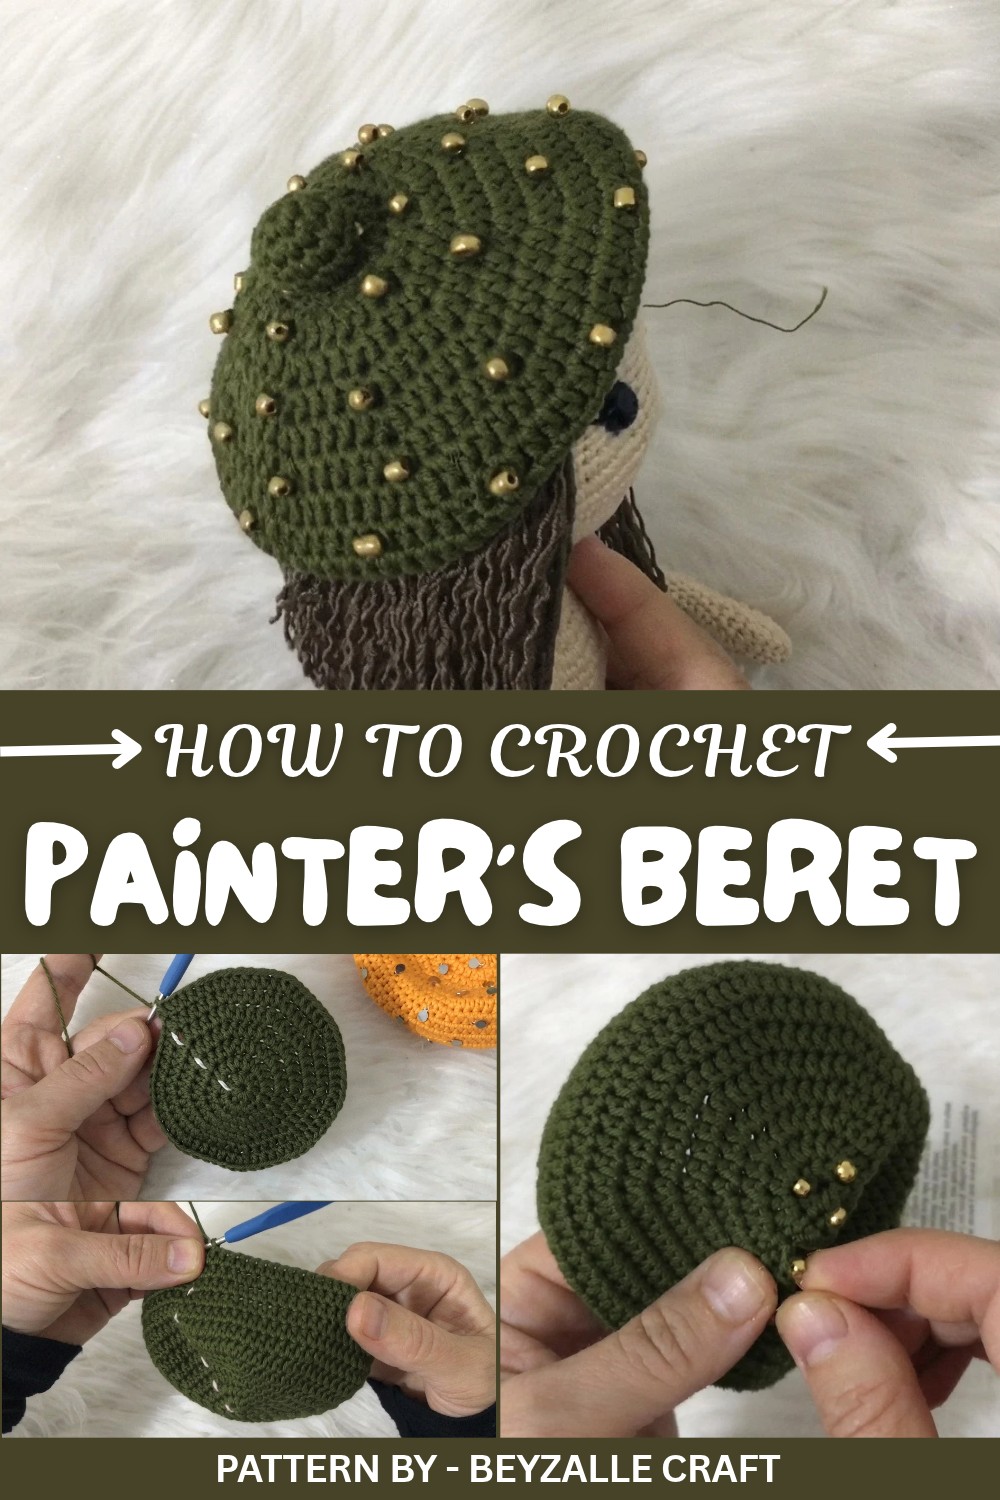
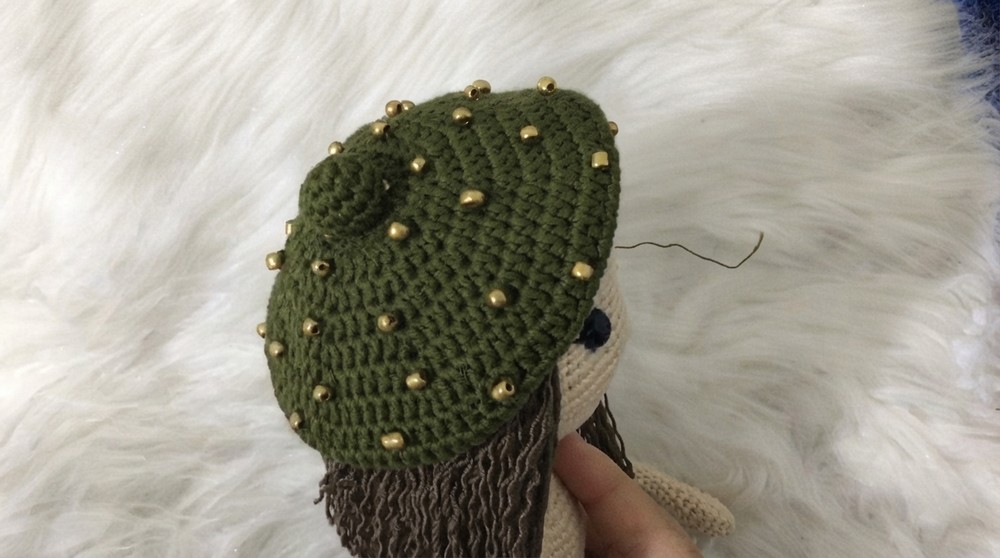
One of the loveliest features is how easily you can decorate it. In the Beyzalle CRAFT channel, the hat is shown with sequins and beads sewn around, but you can use any small accessories you have at home, colorful beads, small pearls, or even leave it plain for a minimalist look. A tiny stuffed crochet “dot” is added on top, finishing the painter’s style perfectly.
The creator explains each step in a very friendly way and shows how to adjust the size for different dolls or even young children. This pattern is not only beautiful and practical, but also easy enough to complete in one sitting, making it ideal for quick gifts, doll outfits, or a fun evening project.
Free Crochet Pattern: Amigurumi Painter’s Beret
This pattern helps you create an adorable Painter’s Beret for your amigurumi dolls. With easy stitches and minimal materials, this accessory brings charm and uniqueness to your handmade creations. It’s customizable to accommodate different doll sizes.
Quick Overview of the Pattern
- Project: Amigurumi artist beret hat
- Difficulty Level: Beginner friendly
- Techniques Used: Magic ring, half double crochet, single crochet, increases, decreases, and slip stitches
- Key Highlights:
- Simple design perfect for little dolls
- Decorative options include pullover, beads, or pom poms
- Fully adjustable size
Notes
- The hat’s wide and loose top ensures that it sits properly as an artist's beret.
- You can easily modify the size by adding or skipping additional increase rows.
- Decorate the hat with beads or other accessories for extra flair.
Skill Level
Beginner – Knowledge of basic crochet stitches such as single crochet (SC), half double crochet (HDC), increases, and working in the round is recommended.
Materials
- Yarn: Cotton yarn (e.g., turuncu or green cotton yarn as mentioned in the video)
- Hook: 1.75 mm crochet hook
- Additional Items:
- Beads or decorative items for embellishment
- Fiberfill for stuffing small pom pom
- Tapestry needle for assembly and sewing
- Scissors
Measurements / Sizing
- Designed for small amigurumi dolls (10–15 cm), but customizable to suit all sizes. Larger dolls may require extra increase rows.
Gauge
Although gauge isn’t critical for this pattern, tight and uniform stitches are recommended to maintain the shape.
Stitch Abbreviations
- MR: Magic Ring
- CH: Chain
- SC: Single crochet
- HDC: Half double crochet
- INC: Increase (two stitches in one stitch)
- DEC: Decrease (combine two stitches into one stitch)
- ST(S): Stitch(es)
- SL ST: Slip Stitch
Special Stitches
- Half Double Crochet (HDC): Yarn over, insert the hook into the stitch, pull through, yarn over again, and pull through all three loops on the hook.
The Crochet Pattern
The Hat Body
1. Magic Ring and First Round
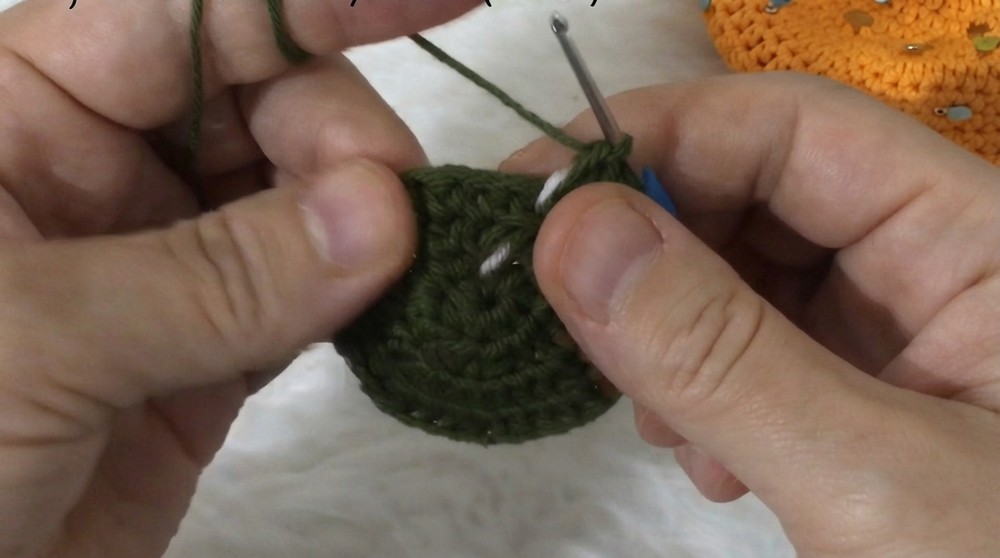
- Begin with a magic ring (MR).
- Work 9 HDC into the MR. Pull the ring tight and join with a SL ST.
2. Round 2
- Starting with 1 INC into each stitch, work two HDCs into every stitch around. Total: 18 HDC.
3. Round 3
- Alternate between 1 HDC and 1 INC. Repeat around (1 HDC, 1 INC). Total: 27 HDC.
4. Round 4
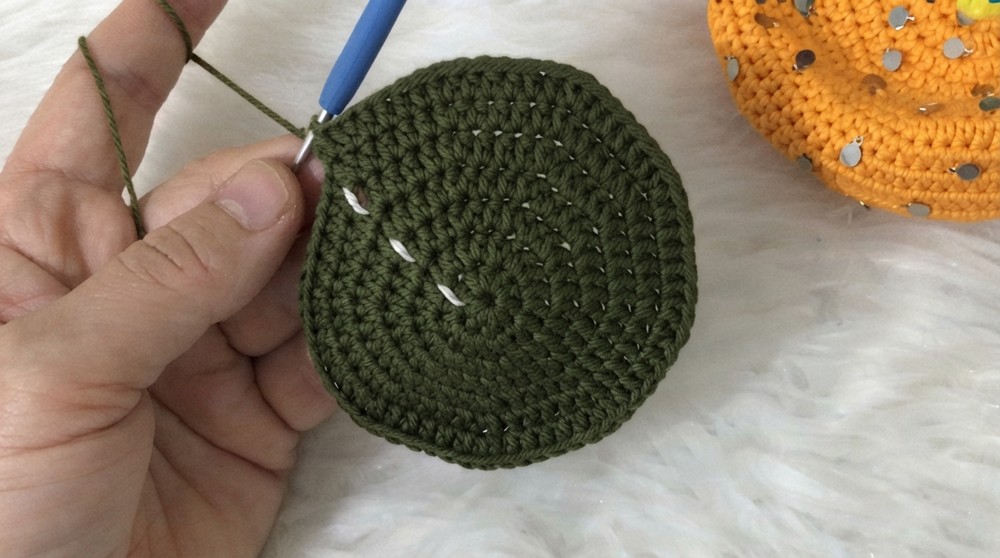
- Work 2 HDC, then 1 INC, nine times. Total: 36 HDC.
5. Round 5
- Work 3 HDC, then 1 INC, nine times. Total: 45 HDC.
6. Round 6
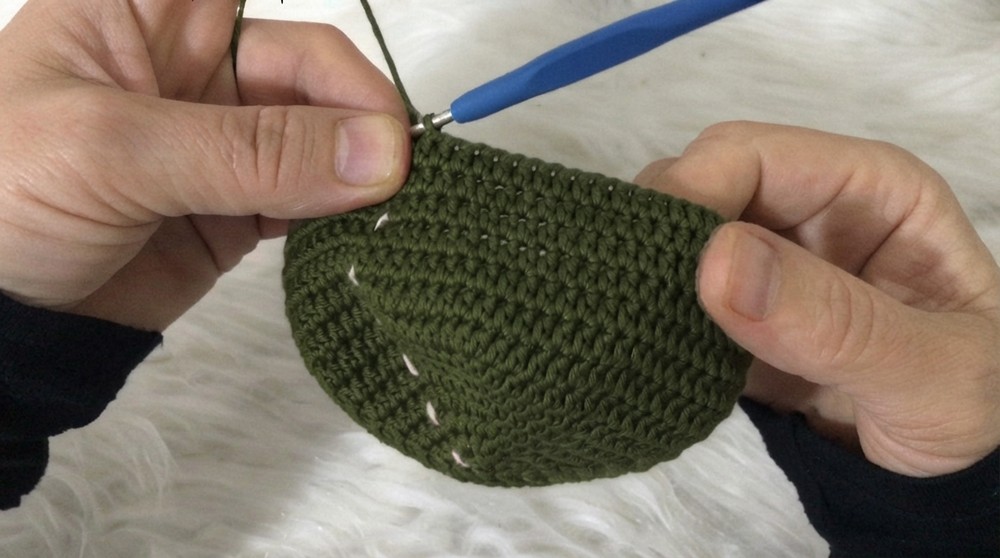
- Work 4 HDC, then 1 INC, nine times. Total: 54 HDC.
7. Round 7
- Work 5 HDC, then 1 INC, nine times. Total: 63 HDC.
8. Round 8
- Work 6 HDC, then 1 INC, nine times. Total: 72 HDC.
No More Increases
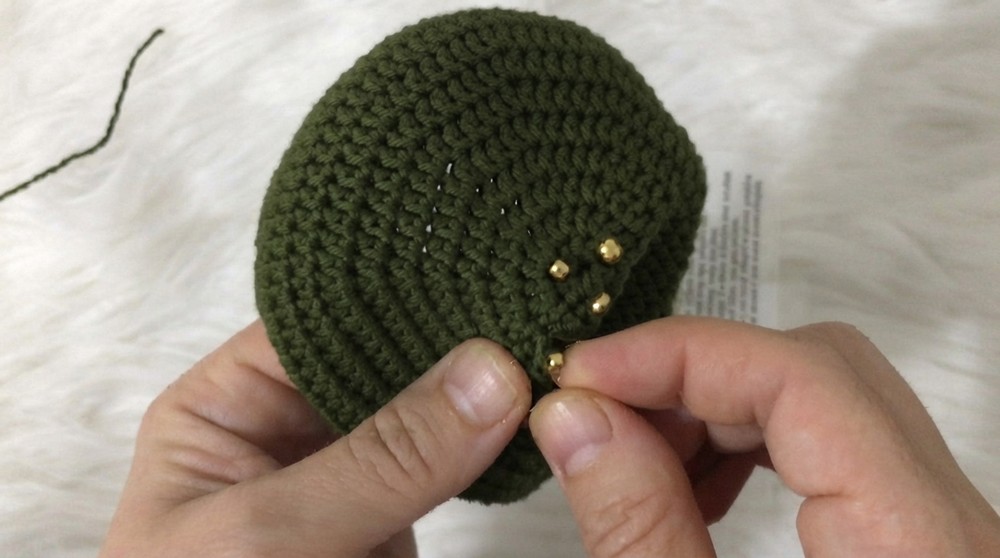
- At this point, check the fit on your doll’s head. If it’s too small, add one or two more increase rows. If it fits well, proceed. Larger dolls with synthetic hair may require up to two more increase rows.
9. Rounds 9–14
- Stop increasing and work 72 HDC in each round for the next 6 rounds to build the height of the hat. For larger dolls, you may work an additional round or two.
The Hat Border
Round 15
- Work 1 SC, then 1 DEC, repeating this combination around (1 SC, 1 DEC). Transition from 72 HDC to 48 SC.
Rounds 16–18
- Work 48 SC evenly for 3 rounds with no increases or decreases.
Final Round
- Finish by working a SL ST into the first SC to complete the round. Fasten off and weave the end into the hat.
Decorative Pom-Pom
1. Magic Ring and Round 1
- Begin with another magic ring (MR). Work 6 SC into the ring and pull tight.
2. Round 2
- Work 1 INC into every stitch. Total: 12 SC.
3. Rounds 3–5
- Work 12 SC evenly for 3 rounds to form the pom pom shape.
Stuffing and Assembly
- Add a tiny amount of fiberfill to the pom pom for structure.
- Close the open end by sewing through the last round using a tapestry needle. Pull tight.
Assembly & Decor
Attaching Pom Pom
- Position the pom pom at the center top of the hat. Use a needle and thread to sew it securely in place.
Decorating the Hat
- Add beads, glitter, flowers, or small decorative accessories to the hat, allowing creative options to add elegance.
Finished Size
- Hat Width: Approximately 7–8 cm in diameter (depending on increases).
- Pom-Pom Diameter: About 2–3 cm.
- Fits dolls sized 10–15 cm but can be adjusted easily.
Conclusion and Final Touches
Your stunning Painter’s Beret is now complete. Whether adorned with beads, pom poms, or left minimal for a chic vibe, this hat makes an effortless yet effective addition to your amigurumi’s wardrobe. It’s customizable, fun, and a perfect quick project for beginners and seasoned crocheters alike.