
Free Crochet Mesh Hairband Pattern to Brighten Your Look
Create a pretty crochet mesh hairband using this free pattern that’s easy to make and great for adding elegance to your everyday hairstyle.
Add a touch of elegance and functionality to your outfits with a beautifully crocheted mesh hairband. This charming accessory is not only practical for keeping hair in place but also stylish enough to elevate any look. Lightweight, airy, and versatile, it’s perfect for everyday wear or to complement special occasions with effortless grace.
Featured By CrochetLilWeaves
Free Crochet Mesh Hairband Pattern for Pretty Hair Days
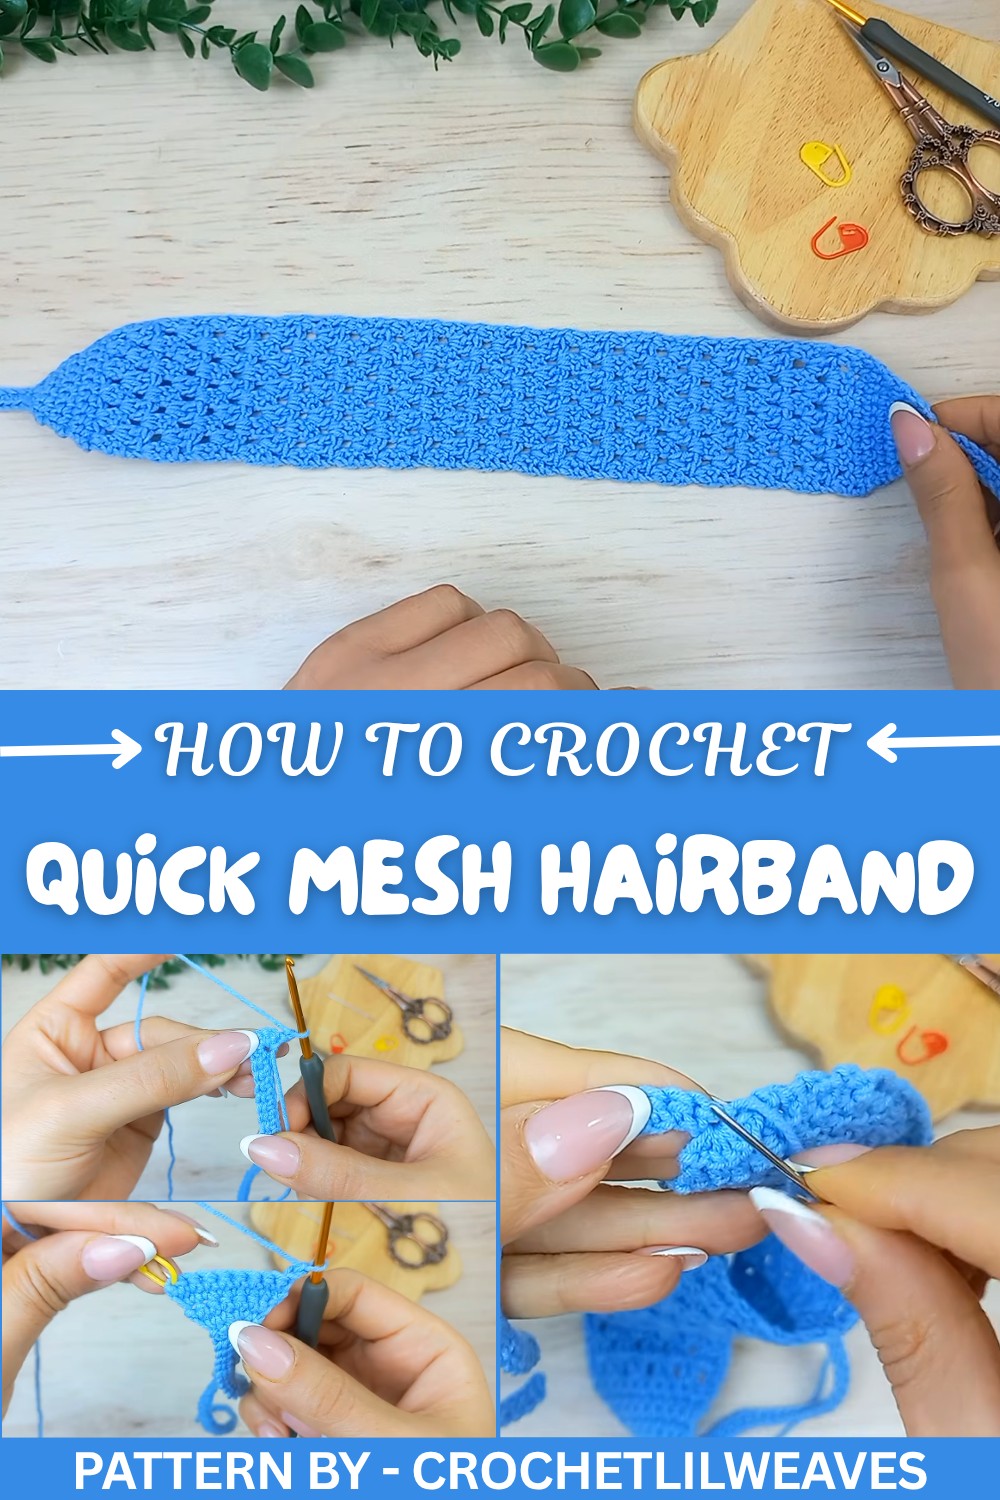
Using simple stitches like single crochet and double crochet, along with some basic increases and decreases, the mesh texture creates a delicate yet durable design. Whether you’re new to crocheting or have some experience, this pattern is easy to follow and offers plenty of room for creativity.
What’s wonderful about this crochet technique is its flexibility. The same mesh design can inspire other projects like headscarves, wraps, shawls, or even unique placemats. It’s a great way to practice foundational stitching while making something practical and beautiful.
This hairband is customizable to fit any size, from children to adults, and you can choose your favorite colors to suit your style. The result? A soft and breathable accessory that’s as comfortable to wear as it is lovely to look at. Whether made as a thoughtful handmade gift or a stylish addition to your own wardrobe, this crochet hairband offers endless possibilities in the world of crochet.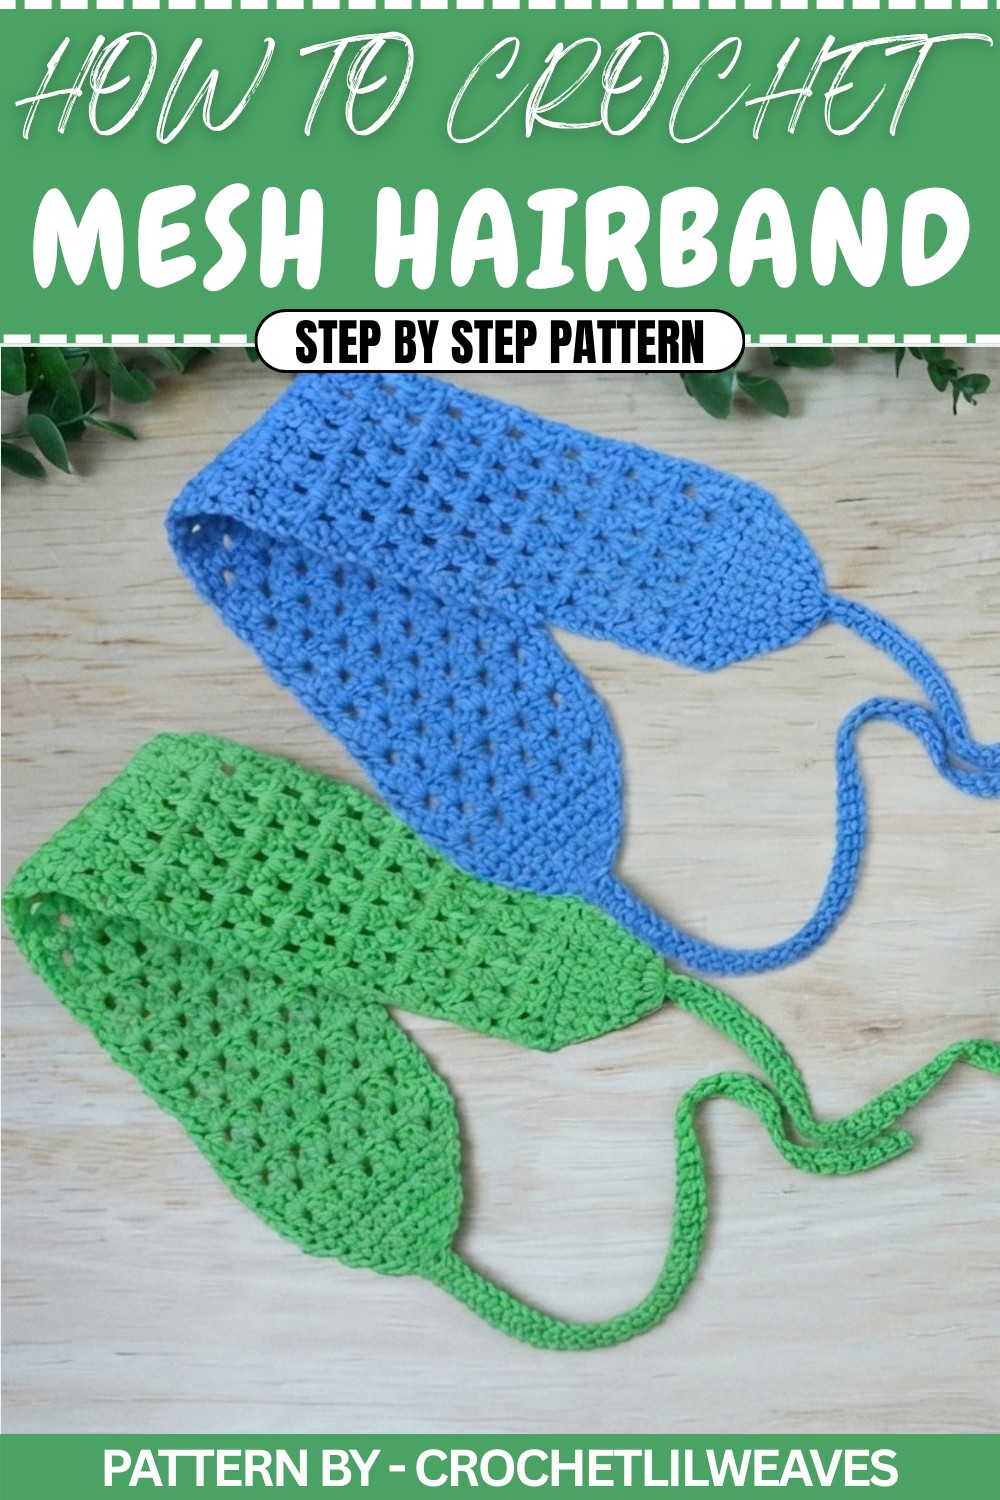
Crochet Mesh Hair Band Pattern
This project is simple, quick, and involves three parts: the first string, the body, and the second string. The body of the hair band measures approximately 32 cm in length and 5.5 cm in width. Before you begin, measure the distance between your ears to customize the fit. Follow the instructions carefully, and let’s create this beautiful crochet hair band together.
Quick Overview of Pattern
- First String: Start with a foundation chain and a row of single crochets.
- Body of the Hair Band: Work in rows, gradually increasing to create the main structure.
- Second String: Finish with a matching string for a clean and beautiful design.
Notes
- Use a stitch marker to mark your first stitch in each row for easier counting.
- Customize the body length based on your measurements for a perfect fit.
- Maintain even tension throughout to ensure a smooth finish.
Skill Level: Beginner
This is a great project for beginners. Familiarity with basic stitches like chains, single crochet (SC), and double crochet (DC) is sufficient.
Materials
- Yarn: Category 2 fine yarn (in the color of your choice).
- Crochet Hook: 2.5 mm.
- Scissors
- Stitch Markers
- Yarn Needle
Measurements / Sizing
- Body Length: 32 cm (or customized to your measurement).
- Body Width: 5.5 cm.
- Strings: Each is made with 50 chains.
Gauge
Gauge is not crucial for this project, but aim for consistent tension so the headband lays flat and even.
Stitch Abbreviations
| Abbreviation | Stitch |
|---|---|
| CH | Chain |
| SC | Single Crochet |
| DC | Double Crochet |
| SL ST | Slip Stitch |
| INC | Increase (2 SC in the same stitch) |
| DEC | Decrease (single crochet decrease) |
Special Stitches
- Slip Knot: Create a loop on your hook by wrapping yarn and pulling through.
- Increase: Work 2 SC in the same stitch to add width to your work.
- Decrease (SC2TOG): Single crochet two stitches together by pulling up a loop in each of two stitches, then yarn over and pull through all 3 loops.
- For working Double Crochets in a Space, always insert the hook into the space between stitch groups.
The Crochet Pattern
Part 1: First String
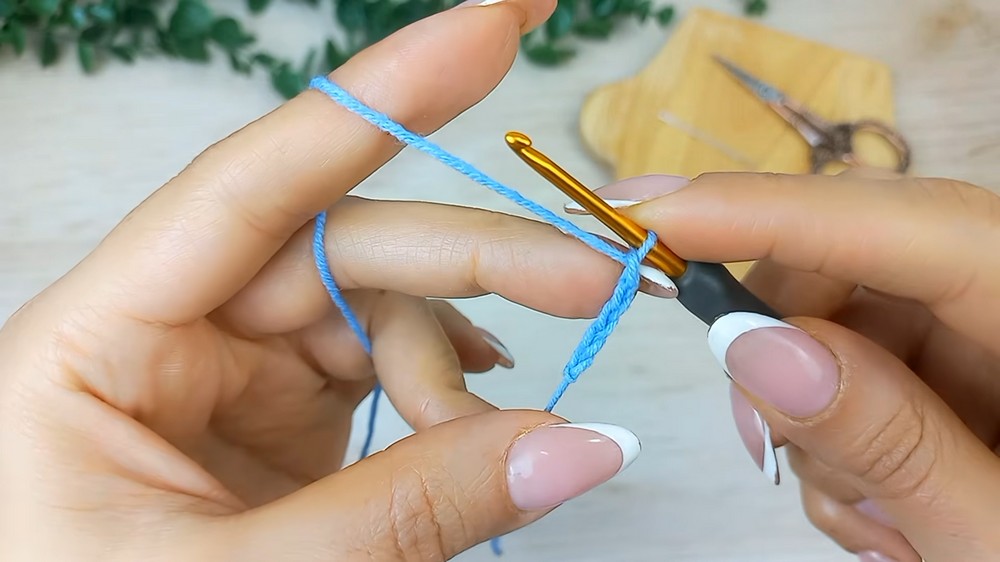
- Make a slip knot: Wrap the yarn around your pinky, loop it over the index finger, and make a knot with your hook.
- CH 50 for the foundation chain.
- To create a chain, yarn over and pull through the loop on the hook. Repeat until you have 50 chains.
- Skip the first chain from the hook.
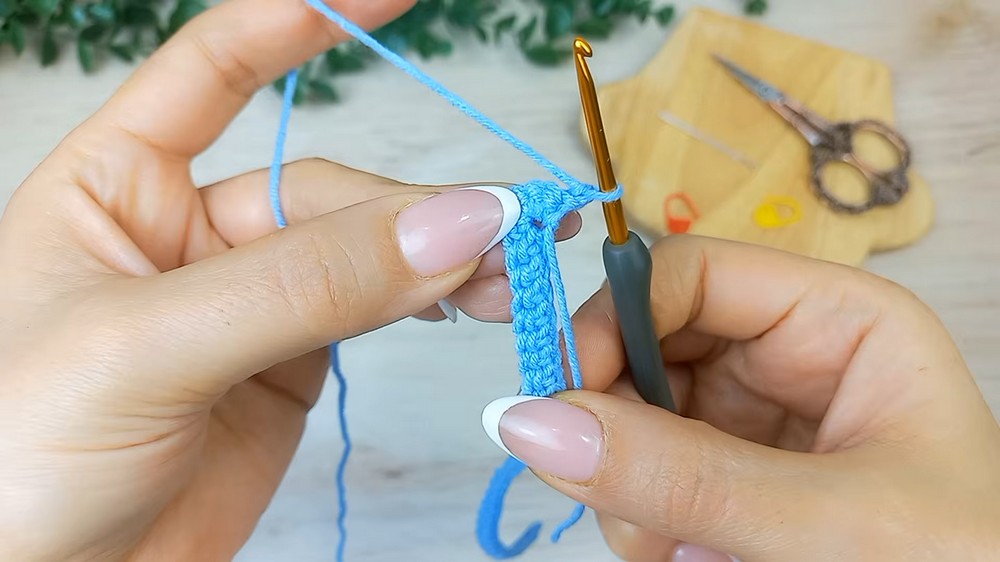
- Into the second chain, begin making 1 SC:
- Insert your hook into the chain, pull up a loop (2 loops on the hook), yarn over, and pull through both loops.
- Repeat 1 SC into each chain until the end (49 SC total).
Part 2: Body of the Hair Band
Row 1:
- CH 1.
- Into the last chain of the first string, work 5 SC into the same chain.
- This creates a rounded shape to start the body.
Row 2:
- CH 1, turn your work to the back side.
- SC into the first stitch, then mark it.
- SC into the next 4 stitches.
- In the last stitch, work an INC (2 SC in the same stitch).
- You now have 6 SC at the end of this row.
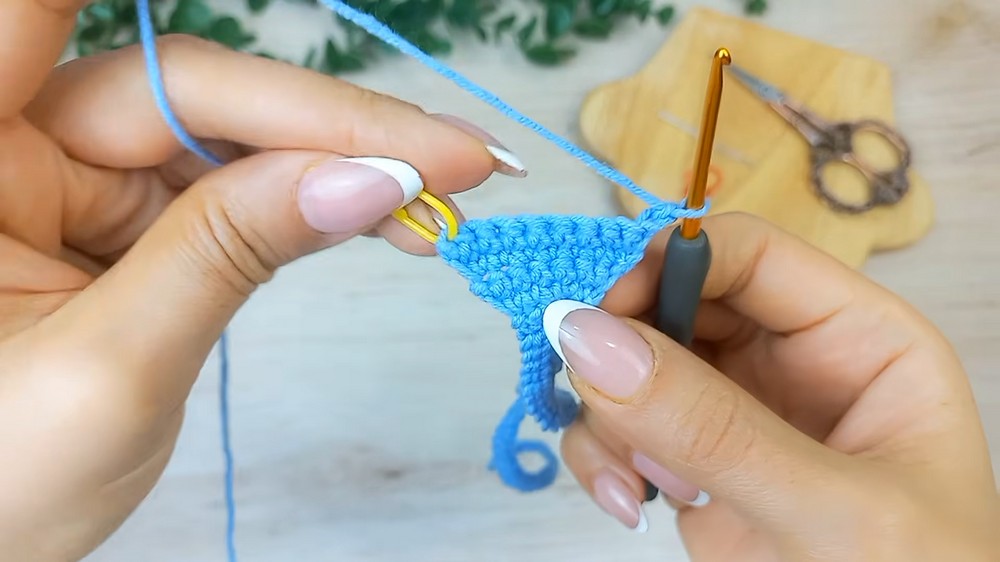
Row 3 – Row 7:
- CH 1, turn the work, and make 1 SC into each stitch, except the last stitch.
- In the last stitch, make an INC.
- Continue this sequence—CH 1, SC into each stitch except the last one, then INC—working to the desired row count.
- At the end of row 7, you should have 11 SC total.
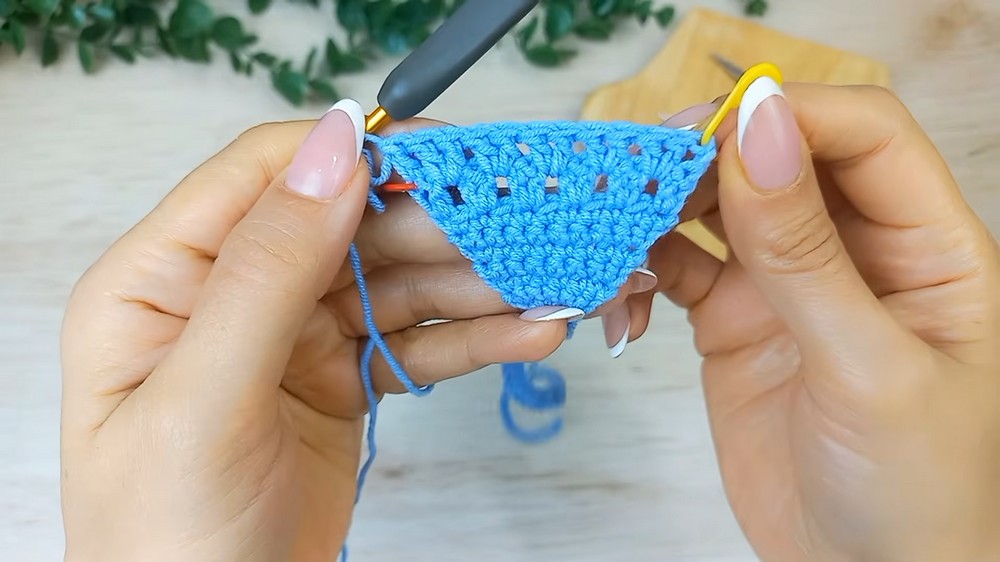
Rows 8 to 24 (Mesh Pattern):
- Row 8: CH 2 (counts as DC), turn the work, make 1 DC into the same stitch, mark the top of the CH 2.
- Skip the next stitch, and work 2 DC in the next stitch.
- Repeat this sequence: Skip 1 stitch, work 2 DC into the next stitch across the row.
- End with 2 DC into the last stitch. (12 DC total).
- Row 9: CH 2, turn your work, and mark the chain.
- Work 2 DC into the spaces between groups of DC from the previous row. Skip the stitches themselves.
- At the end, work 1 DC into the second chain at the start of the previous row.
- Repeat the sequence for a total of 12 DC.
- Repeat Rows 8 and 9 15 times for a total of 30 rows.
- Adjust the number of repetitions to match your desired body length.
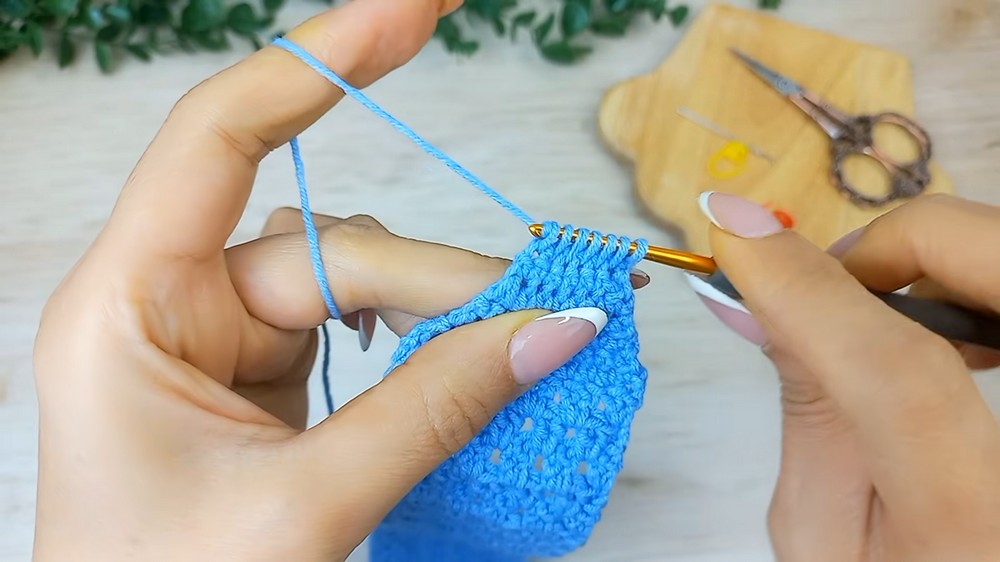
Part 3: Shape the Triangle and Finish the Second String
Creating the Triangle
- Start by decreasing the stitches over the last rows to create the triangle point.
- Row 1: CH 1, turn the work. SC into each stitch except the last two, then work DEC over the last two stitches.
- You should have 11 SC at the end of this row.
- Rows 2 to 7: Repeat the same decrease sequence until you have only 1 stitch left (decrease at the end of each row).
Second String
- Chain 50 for the second string, just like the first.
- Work 1 SC into each chain, skipping the first chain from the hook (49 SC total).
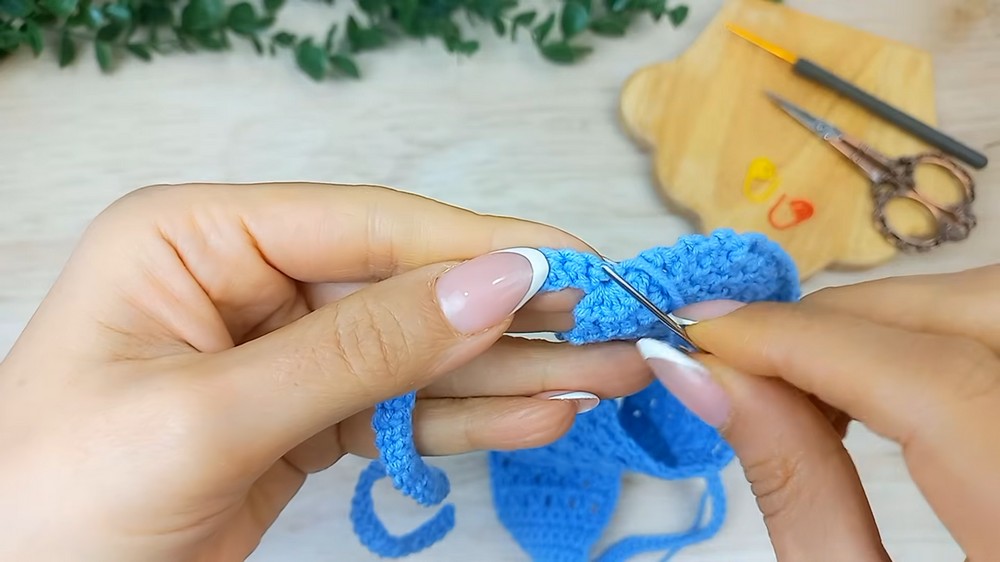
Finish the Project
- Work a SL ST to secure the second string to the triangle's tip.
- Fasten off, cut the yarn, and pull through the end.
- Weave in the loose ends using a yarn needle. Hide the tails along the back of the work for a clean finish.
Assembly & Finished Size
- The finished hair band should measure 32 cm in length (or your custom measurement) and 5.5 cm in width at the widest part of the body.
- Check that both strings are the same length and securely attached.
Conclusion
Congratulations! You’ve made a beautiful crochet mesh hair band with three simple sections. This hair band is not only functional but also stylish. It’s a great beginner project and an excellent gift idea for friends and family. Keep experimenting with different yarn colors and textures to make this design uniquely yours.