
Free Crochet Lollipop Pattern With Leftover Yarn
Turn your extra yarn into a joyful creation with this Free Crochet Lollipop Pattern, an easy and fun project to add a playful vibe to your crochet time.
It’s such a fun, whimsical project that’s perfect for bringing a playful touch to any festive setup. Shaped like a classic swirl lollipop, this handmade decoration has a charming, textured surface created by a carefully coiled cord. With its vibrant color options and simple assembly, it works beautifully as a Christmas ornament, gift topper, or even a cheerful piece of decor for kids’ spaces.
Featured By Learning to Crochet by Anna Sakhno
This pattern suits any skill level, from beginners who want to practice basic stitches to seasoned crocheters looking for a quick project between larger undertakings. The completed crochet lollipop can be customized with different color combinations, embellishments like beads or buttons, and varying cord sizes. Most lollipops measure around 8 to 10 cm in diameter, but you can increase or decrease the size simply by adjusting the cord length or using thicker yarn or cord.
Free Crochet Lollipop Pattern for a Whimsical Touch
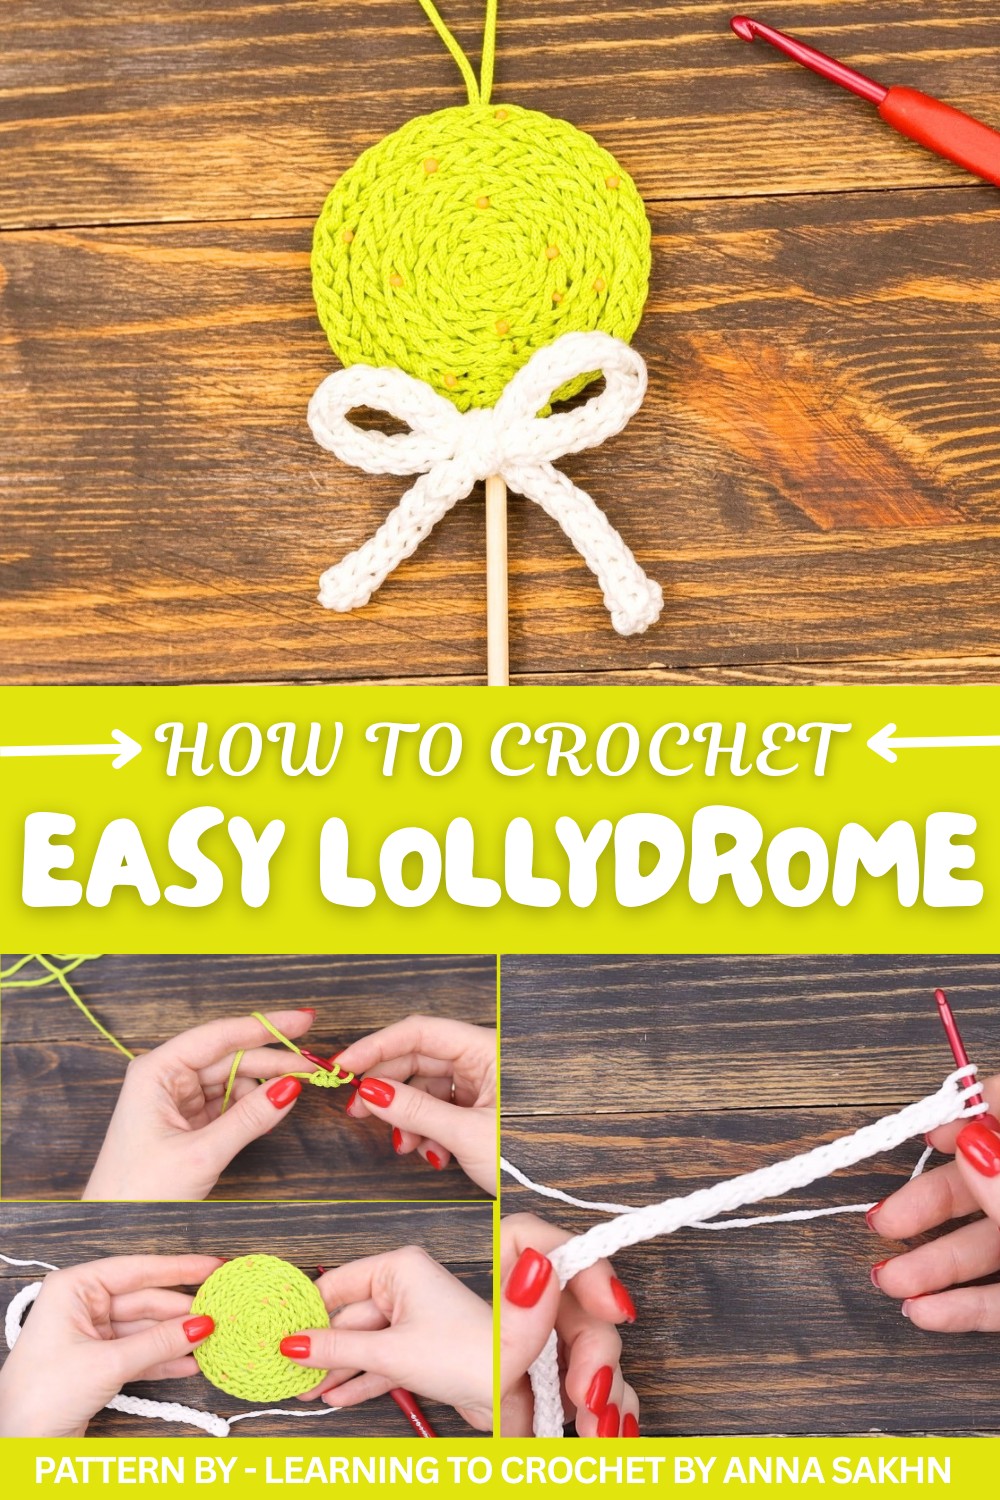
The construction is straightforward: you’ll crochet a simple cord, roll it tightly into a spiral shape, and secure it as you go. A wooden stick, like a chopstick or skewer, forms the lollipop’s handle, giving it a fun and realistic finish. For absolute beginners, I always recommend practicing with a basic chain before jumping into cord making. It’s also helpful to keep a glue gun handy for quick and secure assembly of the swirl.
I love that this project allows for endless creativity. Experiment with pastel shades for spring celebrations, bold colors for holidays, or even metallic threads for extra sparkle. Whether hanging proudly on a tree or tucked into a gift bag, this crochet lollipop will spread smiles wherever it goes.
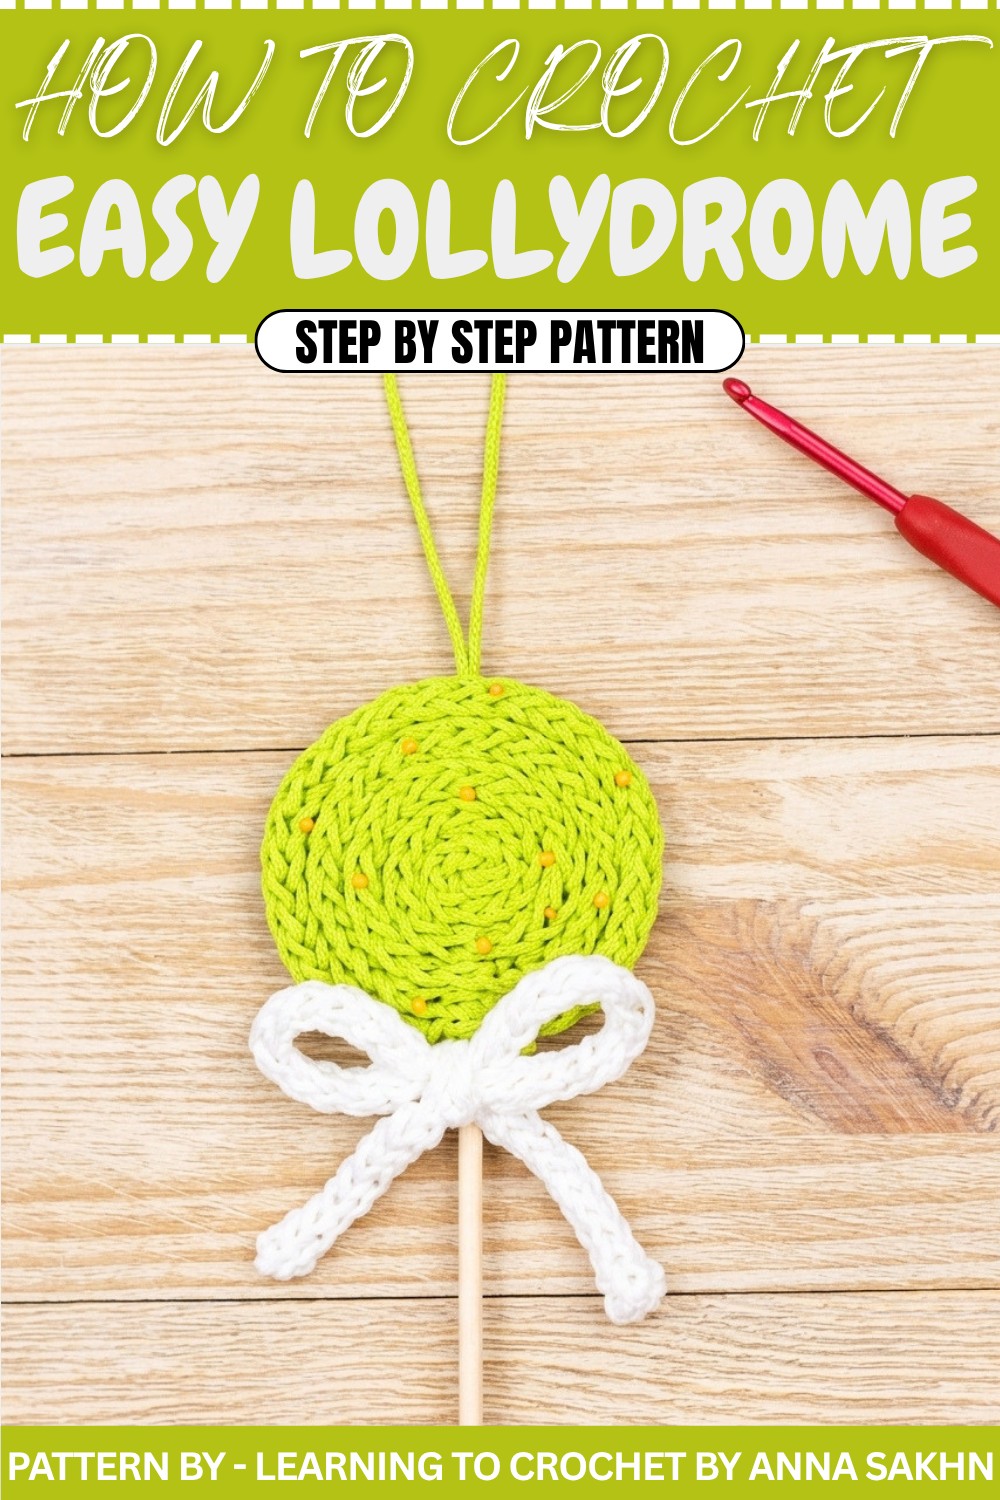
Crochet Decorative Candy Lollipop Pattern
Learn to crochet a festive and beautiful decorative candy lollipop using leftover cords. The project is fun, beginner friendly, and perfect for decorating your Christmas tree or gifting loved ones.
Quick Overview of the Pattern
- What You’ll Make: A candy lollipop ornament with a bow.
- Components: Coiled candy base, decorative bow, stick, and hanging loop.
- Skill Level: Beginner friendly.
Skill Level
Beginner – This pattern uses basic stitches, such as chain and slip stitch.
Materials
- Polyester Cord or Yarn: Two colors (2 to 3 mm thickness)—60 cm for the candy base and 35 cm for the bow.
- Crochet Hook: 2.5 mm or size suitable for your cord.
- Stick: Sushi stick, barbecue skewer, or thin wooden dowel.
- Glue Gun: To attach and secure.
- Scissors: For trimming cords.
- Lighter: To melt polyester cord ends to prevent fraying.
- Beads/Sequins (Optional): For festive embellishments.
Gauge
Gauge is not critical for this pattern. Use cords or yarns that are approximately 2 to 3 mm in thickness for best results.
Finished Measurements
- Candy Lollipop Base: Approximately 8 to 10 cm in diameter.
- Bow Length: Adjusted based on personal preference (~35 cm is suggested).
- Stick: Trimmed to a length proportional to the lollipop size (typically ~10 to 12 cm).
Stitch Abbreviations
| Abbreviation | Meaning |
|---|---|
| ch | Chain |
| sl st | Slip Stitch |
Special Stitches
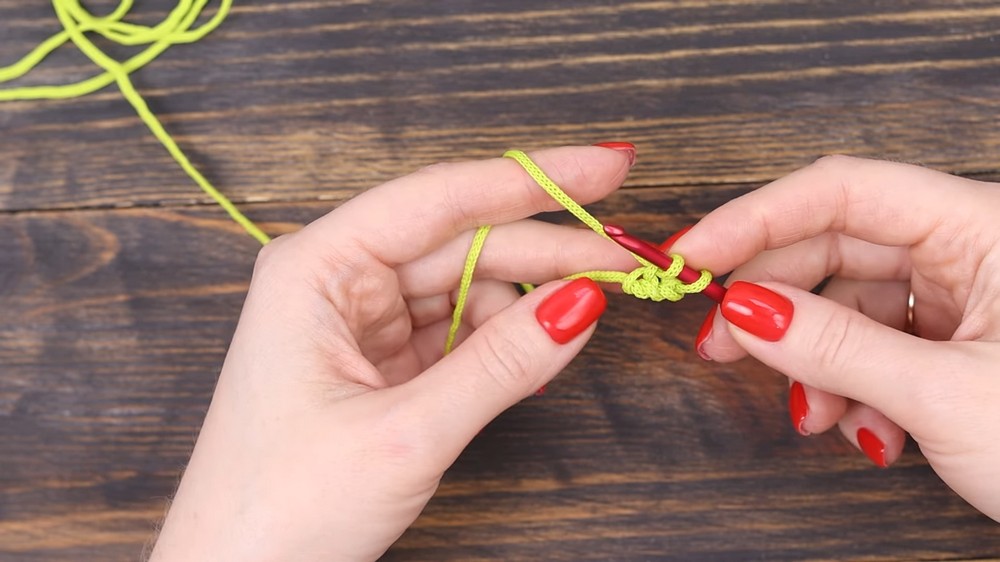
This project uses Simple Slip Stitch Cord Construction:
- Foundation:
- Chain 3.
- Work Into Chains:
- Insert the hook into the 2nd chain from the hook, yarn over, and pull up a loop. You now have 2 loops on the hook.
- Insert the hook into the 3rd chain, yarn over, and pull up another loop. You now have 3 loops on the hook.
- Remove & Reinforce Loops:
- Carefully hold the loops on the hook with your fingers.
- Remove the hook from the first two loops, leaving the last loop on the hook.
- Insert the hook through the first loop, yarn over, and pull through.
- Insert the hook through the middle loop, yarn over, and pull through.
- Finally, insert the hook through the last loop, yarn over, and pull through.
- Repeat Steps for Desired Length:
- Continue this process to form the cord. For the candy base, make a cord approximately 60 cm long.
The Crochet Pattern
Part 1: Candy Lollipop Base
- Start the Cord:
- Create a slip knot and place it on your hook.
- Chain 3.
- Build the Cord:
- Follow the steps of the Simple Slip Stitch Cord Construction until your cord reaches the length of 60 cm.
- Ensure the loops are evenly worked for a consistent look.
- Finish the Cord:
- Once the cord is 60 cm, yarn over and pull the working yarn through the last loop to fasten off.
- Cut the cord, leaving a 1-2 cm tail.
- Seal the ends of the cord with a lighter, if using polyester, to prevent fraying.
Part 2: Create the Bow
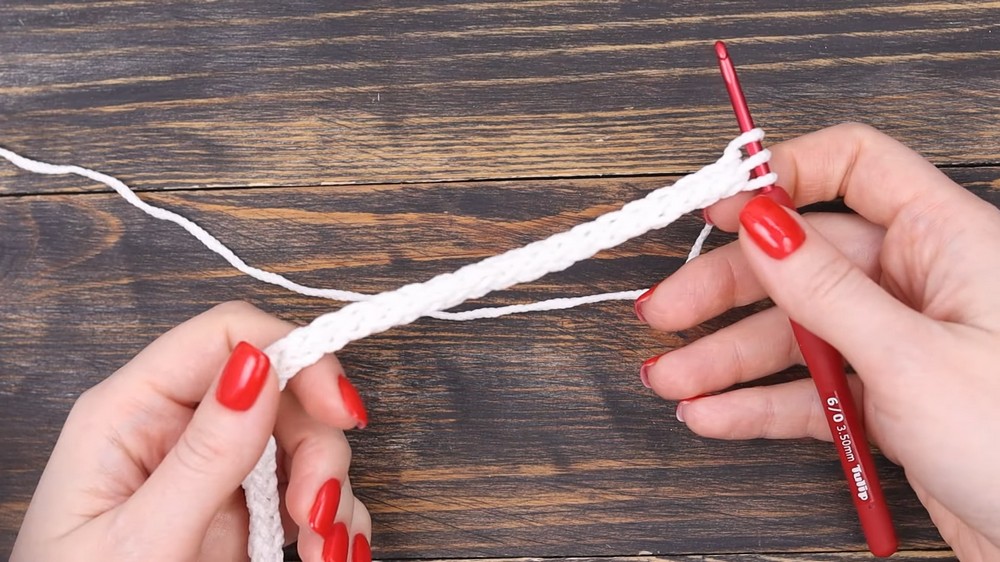
- Repeat the Same Cord Technique:
- Make a second cord, following the same steps as above.
- The cord should measure 35 cm when finished.
- Finish Off the Bow Cord:
- Fasten off at the end, leaving a small tail.
- Seal the cord ends with a lighter to prevent fraying.
Part 3: Assemble the Candy Lollipop
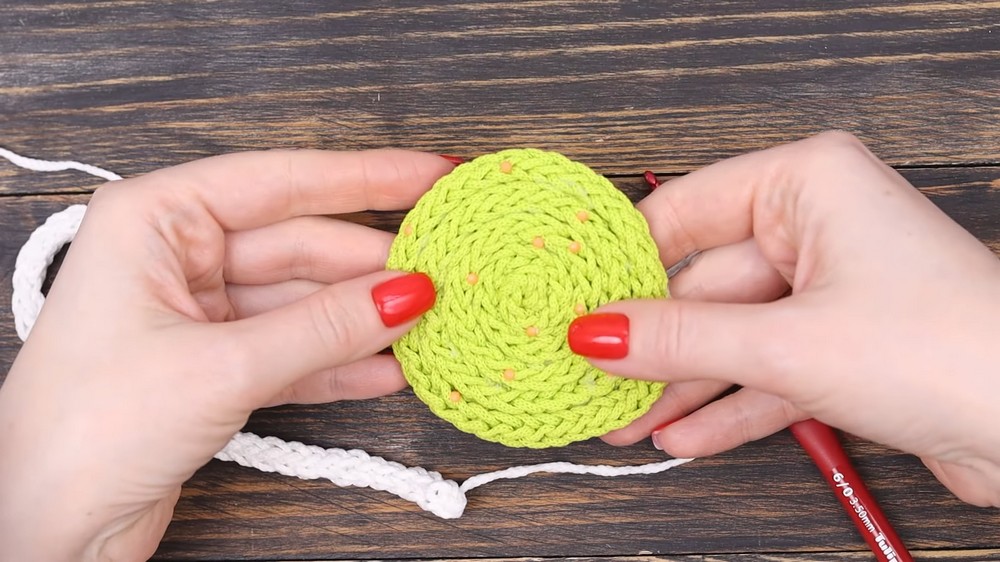
- Form the Candy Base:
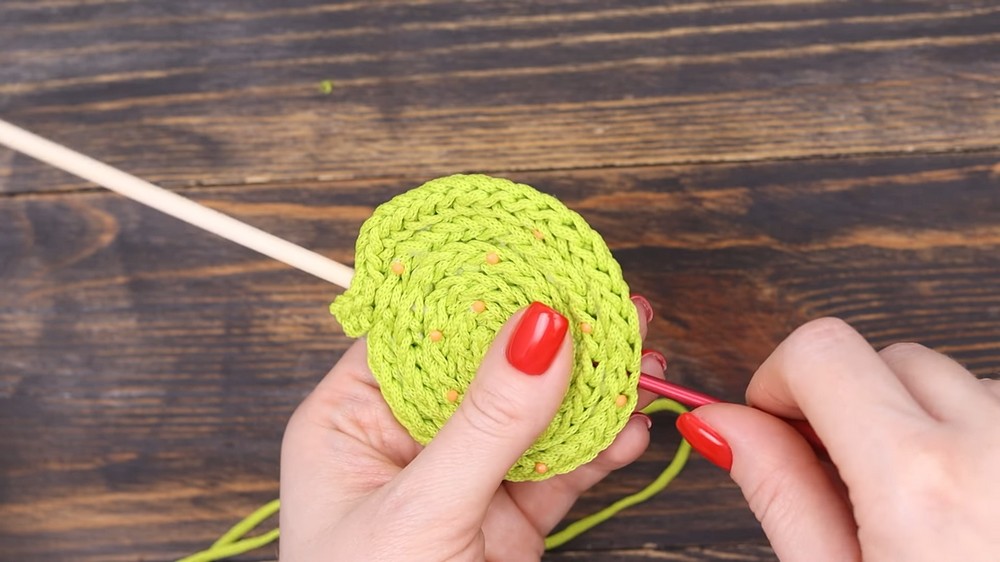
- Begin coiling the 60 cm cord tightly into a spiral shape (like a snail shell).
- Use a glue gun to secure every 1-2 cm of the coil, ensuring the layers stay in place.
- Finalize the Coil:
- Continue gluing and coiling until the entire cord is coiled into a flat lollipop base.
- Insert Stick:
- Take your wooden or bamboo stick and carefully insert it into the center of the back of the lollipop base.
- Use glue to secure the stick in place firmly.
- Attach the Bow:
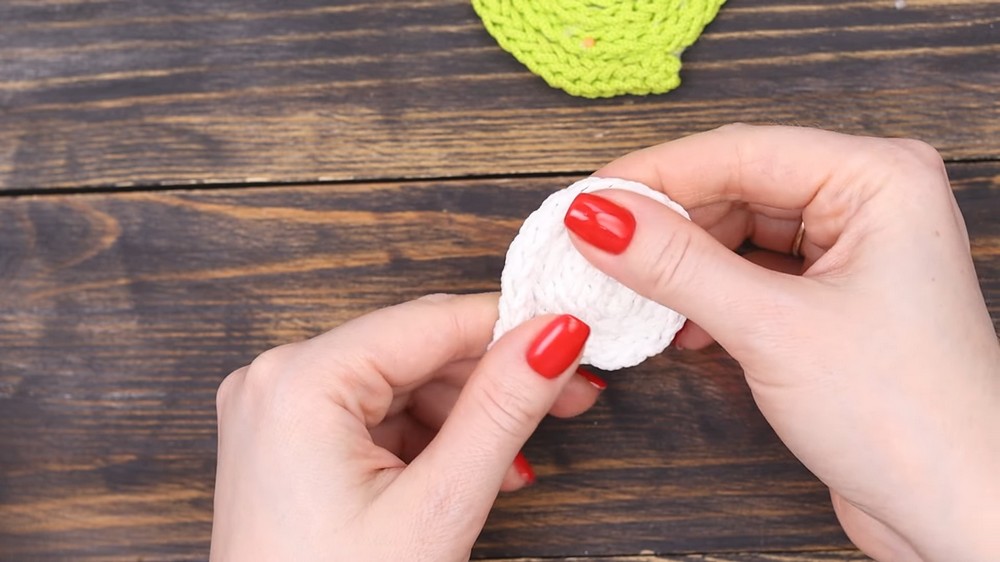
- Tie the shorter cord (35 cm) into a simple bow. Adjust the loops to be symmetrical.
- Use the glue gun to attach the bow where the stick meets the lollipop base.
- This will cover any imperfections or gaps.
- Decorate (Optional):
- Add beads, sequins, or any other embellishments to the lollipop base. Secure them with the glue gun.
Part 4: Add the Hanging Loop
- Create the Loop:
- Cut a small length of cord (~15 cm) to use as the hanging loop.
- Use a tapestry needle to insert the cord through the top center of the lollipop.
- Knot the Loop:
- Tie the ends of the cord into a knot to form a secure loop.
- Optional: Add glue to secure the loop and prevent it from slipping.
Assembly & Final Details
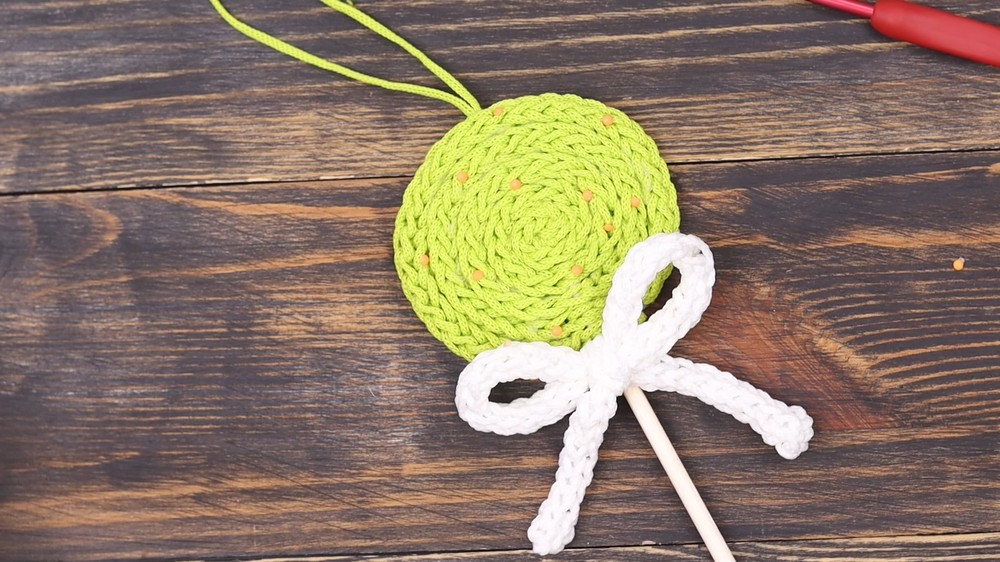
- The coiled candy lollipop should measure approximately 8-10 cm in diameter, with a stick length of around 10 cm.
- Test for stability, ensuring all components (cords, stick, bow, loop, and decorations) are securely attached.
Conclusion
You did it! Your decorative crochet candy lollipop is now complete. Whether you hang it on a Christmas tree, give it as a handmade gift, or add it to decorations at home, this project is sure to bring some extra joy to the holidays. Have fun experimenting with colors, embellishments, and sizes to create truly unique ornaments.