
Crochet Ribbon Christmas Tree Earrings Pattern for Festival Fun
Simply show your holiday spirit with the Free Crochet Ribbon Christmas Tree Earrings Pattern for cute, seasonal accessories.
Little handmade touches during the holiday season can bring so much warmth and joy. These charming Christmas tree earrings use double crochet stitches worked into the two loops of previous stitches, which gives the piece a neat and solid texture without extra chains. This pattern is lightweight and perfect for adding a festive sparkle without feeling heavy on your ears.
Quick Crochet Ribbon Christmas Tree Earrings Pattern for Holiday Glam
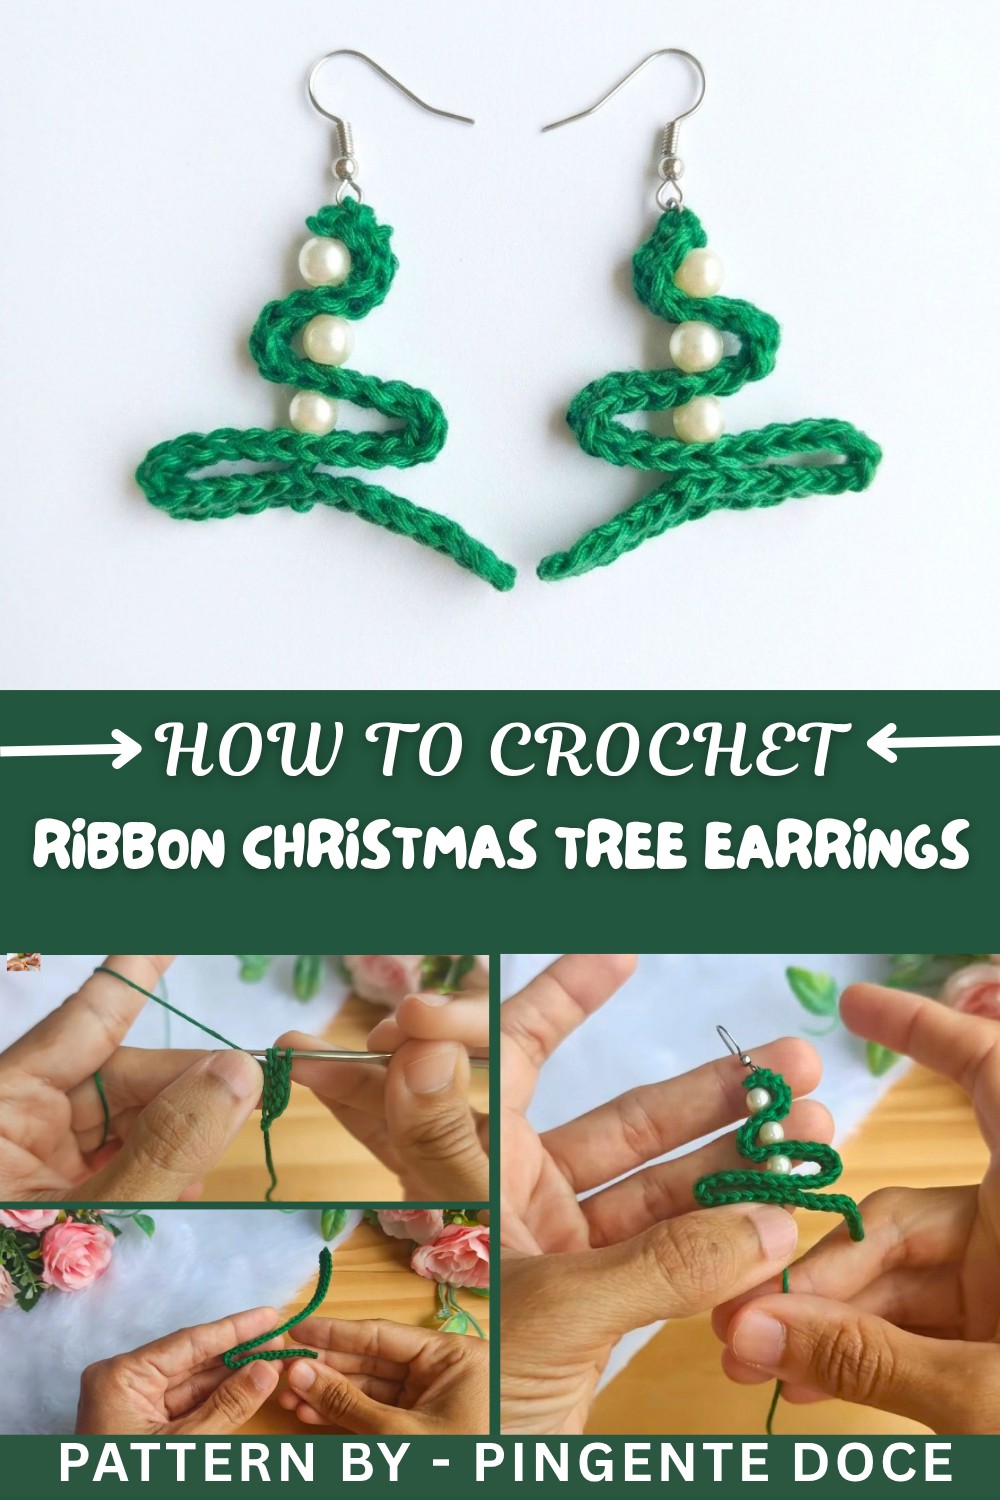
The process begins by making a slip knot, followed by a small base of double crochet stitches worked continuously into the first two loops of each stitch. This technique helps avoid extra chains and keeps the rows uniform and easy to manage, even for beginners. After completing about 40 stitches, you fold the crochet piece in a clever way that mimics the shape of a Christmas tree, folding from largest to smallest layers. The pattern becomes even more delightful when beads are carefully threaded between folds, giving the earrings a subtle shimmer. Finally, sewing needles and hooks are used to assemble the earrings neatly, finishing with fabric glue or careful hiding of yarn ends.
More Fun Projects Inspired by This Pattern
Using this folding and beading technique, you can also make ornaments or festive brooches in the same style. Experiment with different colors or add tiny bells for a jingly touch. Larger folded pieces could become unique holiday decorations for your home or gifts. This pattern not only strengthens your crochet skills but also sparks creativity in making adorable, wearable art that spreads holiday cheer.
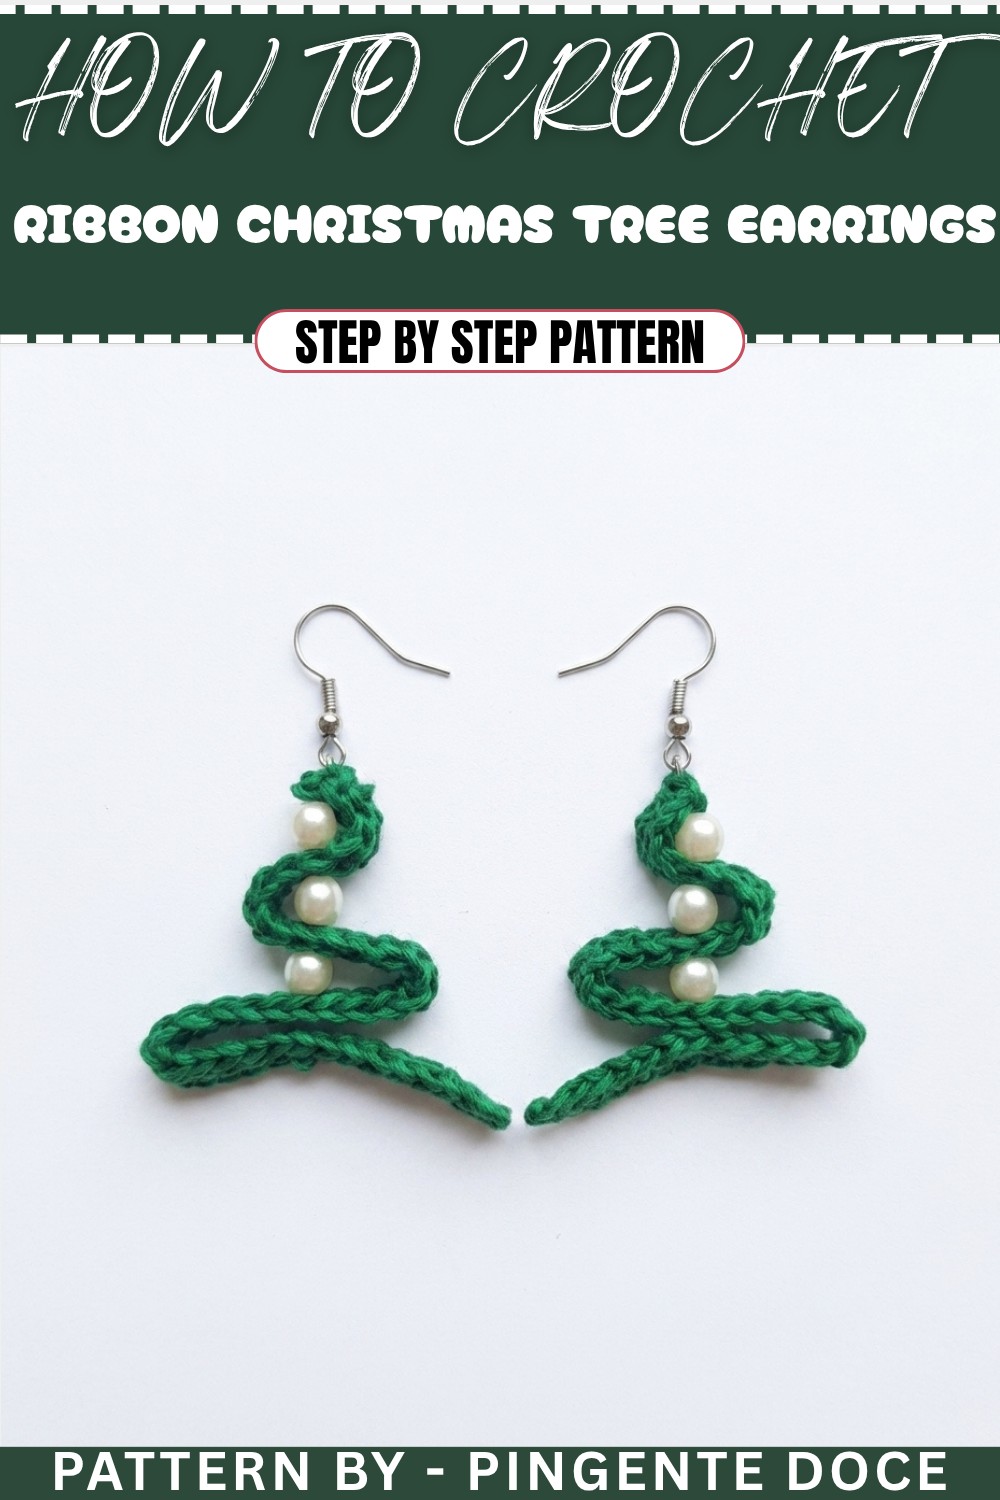
Crochet Pattern: Christmas Tree Earrings
Uses of This Pattern
- Holiday Fashion Accessory: Celebrate the season in style with handmade Christmas tree earrings.
- Gift Idea: A thoughtful and festive gift for friends or family during the holidays.
- Seasonal Crochet Market: Easy to make and sell as Christmas-themed products.
Skill Level & Terminology
- Skill Level: Confident Beginner/Intermediate
- Terminology: US crochet terms are used throughout.
Materials & Tools
- Yarn: Embroidery floss in green (or any desired tree color).
- Crochet Hook: 1.25mm hook.
- Beads: Three small beads, preferably metallic or shiny, for decoration.
- Earring Hooks: 2 pieces (or small hoop earrings).
- Tapestry/Sewing Needle: Make sure the needle fits through the beads for assembly.
- Scissors: To cut excess yarn.
Gauge
Gauge is not important for this project, but keep a consistent tension throughout. Tight stitches provide structure and ensure your tree folds neatly.
Abbreviations
- sl st – Slip Stitch
- ch – Chain
- dc – Double Crochet
- yo – Yarn Over
Special Stitch Instructions
Continuous Foundation Double Crochet:
This technique creates a foundation row without starting with a long chain. It’s versatile and eliminates the need for chaining at the beginning.
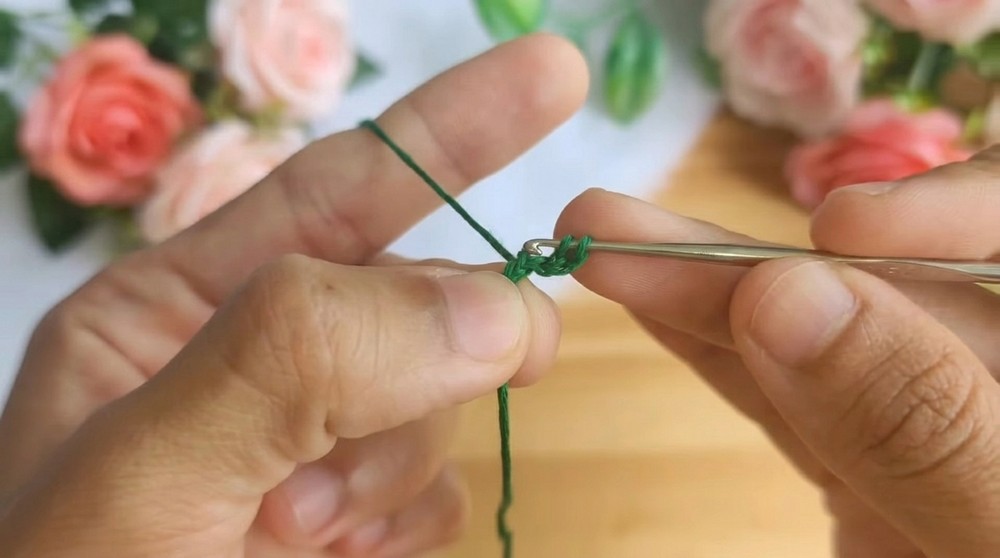
- Make a slip knot and ch 3.
- yo, insert your hook into the first chain, pull up a loop (3 loops on the hook).
- yo, pull through two loops (2 loops remain).
- yo, pull through the last two loops to complete the stitch.
- For the next stitch, yo, insert the hook into the two front loops of the previous stitch, and repeat the above steps.
Finished Size
Each earring measures approximately 1.5 inches tall (not including the earring hook).
What You’ll Learn From This Pattern
- How to create a continuous foundation double crochet ribbon.
- Techniques for folding crochet pieces into three-dimensional shapes.
- How to incorporate beads into crochet designs.
- Attaching earring findings and hardware to turn your creations into wearable art.
- How to stiffen crochet pieces for durability and shape retention.
The Pattern
Step 1: Working the Foundation Ribbon
- Begin:
- Make a slip knot on your hook.
- ch 3.
- Foundation Double Crochet Ribbon:
- Using the continuous double crochet technique, create a sequence of 40 dc stitches.
- Alternatively, you can create a chain of 44 ch, skip the first three chains, and work 1 dc into each chain, resulting in 40 dc.
- Finishing the Ribbon:
- Once all 40 stitches are done, ch 1 and cut the yarn, leaving a tail for finishing.
This ribbon will serve as the foundation for folding your Christmas tree shape later! Beginners can use the chain and double crochet method if the foundation double crochet technique feels challenging.

Step 2: Folding the Ribbon into a Christmas Tree
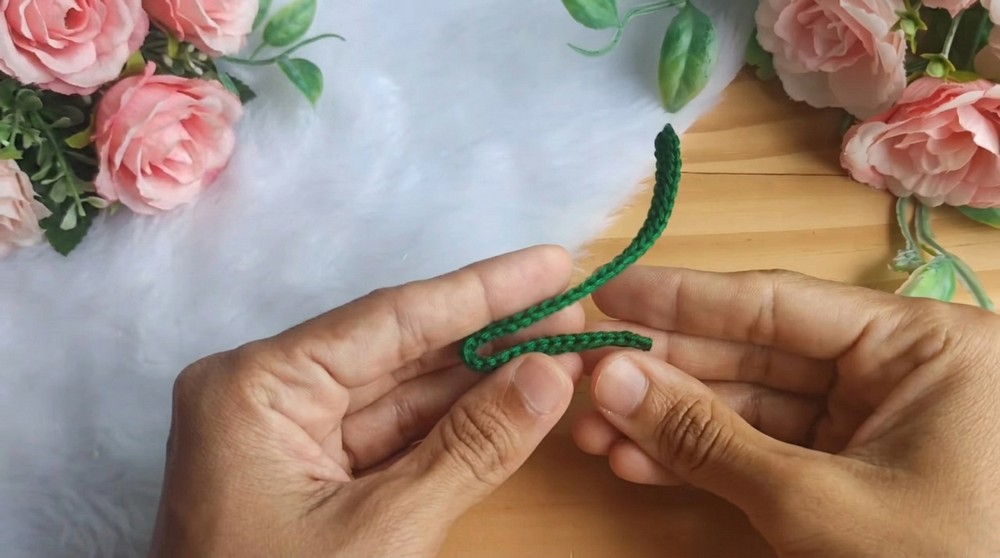
- Prepare the Tree Shape:
- Lay the ribbon flat. Start folding it into a “zigzag” shape to resemble tiers of a Christmas tree.
- Begin with the largest fold at the bottom and gradually fold upward, reducing the size of each tier until reaching the smallest fold at the top.
- Secure the Shape:
- Ensure the folds align centrally to create a balanced “tree.”
This step shapes the ribbon into the iconic Christmas tree design. Adjust the folds if necessary before moving on.
Step 3: Adding Beads and Hook
- Prepare the Needle and Yarn:
- Cut about 20 cm of the embroidery floss.
- Thread a tapestry or sewing needle that’s small enough to pass through the beads.
- Inserting Beads:
- Start at the bottom fold of the tree.
- Skip the bottom-most fold, then thread a bead through the next fold. Continue threading beads through successive folds until reaching the top tier of the tree.
- Secure the Beads:
- At the top fold, pass the needle through the bead and yarn multiple times to secure it—and to attach the thread to the folds of the tree.
- Leave some yarn at the top to attach the earring hook or hoop.
- Earring Hook Placement:
- Use a jump ring to connect the earring hook to the bead and top loop. Alternatively, attach the hook directly.
- Secure tightly with pliers if using jump rings.
Adding beads emphasizes the decorative aspect of the tree while securing the folds. The earring hooks bring this festive design to wearable form.

Step 4: Final Touches
- Finishing:
- With the tapestry needle, weave all loose ends neatly into the back of the piece. Trim excess yarn.
- Final Adjustments:
- Check the folds and bead placement to confirm that the tree is symmetrical.
- Optional Stiffening:
- If desired, apply fabric glue or crochet resin to the back of the tree using a paintbrush.
- Avoid getting glue on the front of the piece as this could dull the appearance. Allow to dry entirely before wearing.
Stiffening ensures that your earrings retain their shape during wear and look polished.
Assembly & Finishing
- Once the piece is dry, give it one final check for loose threads or uneven folds.
- If needed, trim any stray yarn ends carefully for a clean finish.
- Your Christmas tree earring is now ready!

Difficulties & Solutions
Difficulty: Foundation Double Crochet
Working continuous foundation double crochets may feel challenging for beginners.
- Solution: Use the chain method instead of foundation double crochets. Start with 44 chains and work double crochets from the fourth chain onward to simplify.
Difficulty: Creating Even Folds
Folding the ribbon into a uniform zigzag can be tricky at first.
- Solution: Work slowly and adjust the folds until they form a balanced tiered tree shape. You can pin the folds in place temporarily before sewing.
Difficulty: Threading Beads
Beads with narrow holes might be difficult to thread onto the yarn.
- Solution: Use beads with larger openings, or consider using thin jewelry thread instead of yarn for this part.
Why You’ll Love This Pattern
This Christmas tree earring pattern combines simplicity and elegance, making it suitable for beginners who want to create something festive and unique. You will enjoy learning the continuous foundation double crochet technique, folding designs, and how to incorporate beads into your creations. What makes this pattern special is how versatile it is—with just embroidery floss, a few beads, and basic tools, you can make beautiful earrings in little time. Whether you wear them to a holiday party or gift them to someone special, they’re guaranteed to spread seasonal joy!