
Free Crochet Heart Cardigan Pattern You'll Want to Wear
Use this free crochet pattern to create a gorgeous heart cardigan that will wrap you in warmth and fill your day with joy.
At some point, It’s the simplest ideas that carry the most heart. The crochet heart cardigan is one such example, where warmth meets style in every detail. This thoughtful design, shared by Emilka on her YouTube channel, transforms a wardrobe staple into something personal and meaningful. Her approach fosters confidence and creativity, even for those who might still be finding their way in the world of crochet.
Free Crochet Heart Cardigan Pattern With Heartfelt Charm
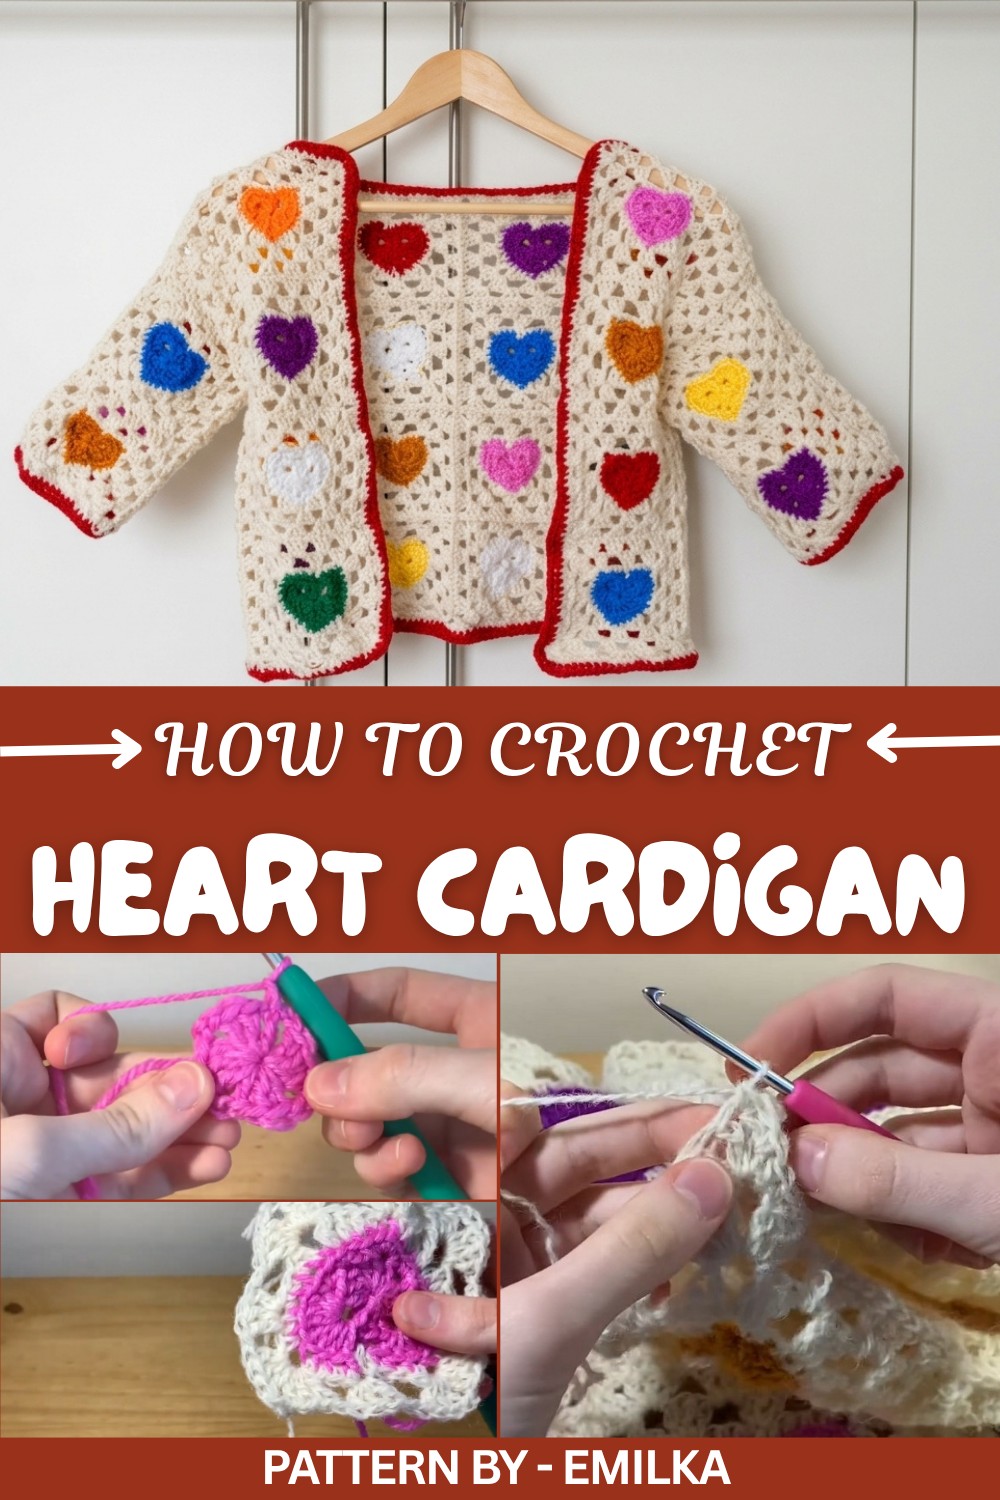
The cardigan comes to life through beautifully crocheted heart motifs, each nestled within a classic granny square. These squares are assembled to form the back, front panels, and sleeves, resulting in a cohesive and inviting look. Emilka’s choice of stitches, such as single crochet, double crochet, and even basic chain loops, ensures accessibility while maintaining an effortlessly neat finish. Using this design, you can balance functionality with charm, offering a unique take on a practical garment.
By combining soft textures and bold visual elements, the cardigan suits a range of styles. The heart patterns provide a playful, eye catching centerpiece, while the customizable colors mean this design works equally well as a statement piece or a more subdued layering option. It’s the kind of garment that offers not just physical warmth but also a sense of personalization and joy in its wear.
Crochet Heart Cardigan Pattern
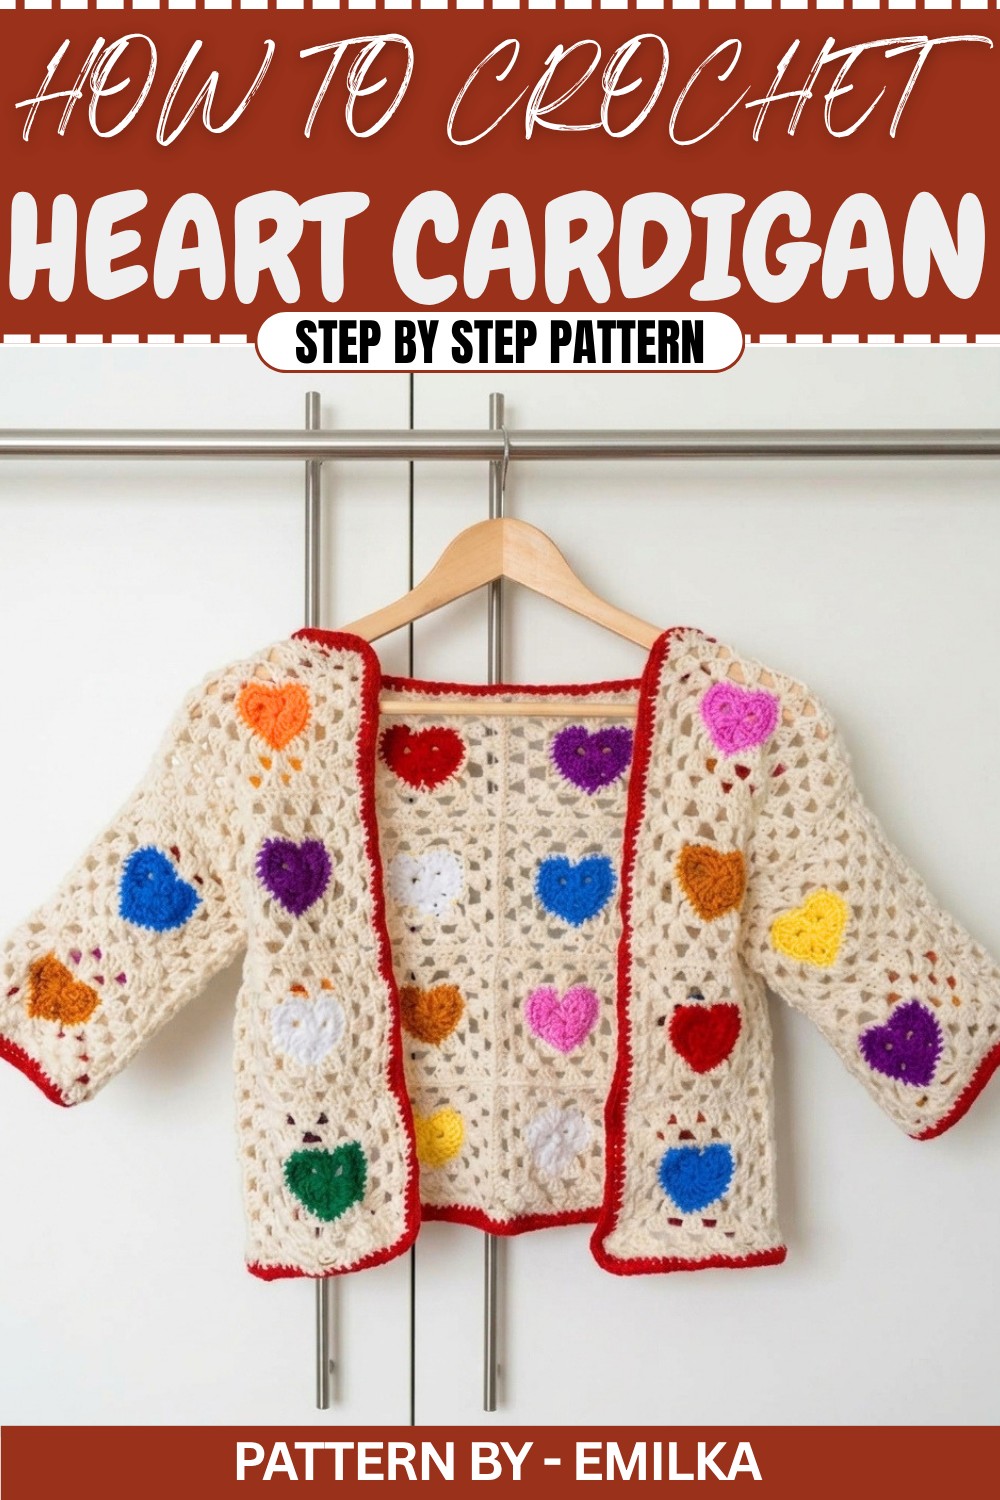
The heart cardigan is beautifully crocheted using granny squares with heart motifs as the centerpiece. Each square is carefully crocheted and assembled into panels for the back, front, and sleeves. This step by step guide with clear instructions for easy construction.
Quick Overview of Pattern
- Crochet heart motifs using a magic circle.
- Build granny squares around the heart motifs.
- Assemble squares into panels for the back, front, and sleeves.
- Attach all panels and complete the cardigan with trim around the edges.
Notes
- Use stitch markers to align squares during assembly.
- Adjust size by increasing or reducing the number of squares.
- Optionally, switch to smaller hooks for tighter stitches in certain sections.
Skill Level
Intermediate – Includes basic and advanced crochet techniques such as magic circle, granny squares, and single crochet panel assembly.
Materials
- Yarn: Soft acrylic or cotton yarn (primary color for hearts, secondary color for background and trim).
- Crochet hooks: 4.5mm, 3.5mm, and 3mm (optional).
- Stitch markers.
- Scissors.
Stitch Abbreviations
- Ch: Chain
- DC: Double Crochet
- SC: Single Crochet
- HDC: Half Double Crochet
- Sl St: Slip Stitch
- Tr: Treble Crochet
Special Stitches
- Magic Circle: Wrap yarn around fingers to create an "X." Insert your hook under the first loop, twist, and grab the second loop to pull through and form a circle to work into.
- Slip Stitch (Sl St): Insert hook into the target stitch, yarn over, and pull through all loops on the hook.
- Treble Crochet (Tr): Yarn over twice, insert hook into the target stitch, yarn over, pull through, yarn over, pull through two loops three times to complete.
The Crochet Pattern
Step 1: Heart Motif
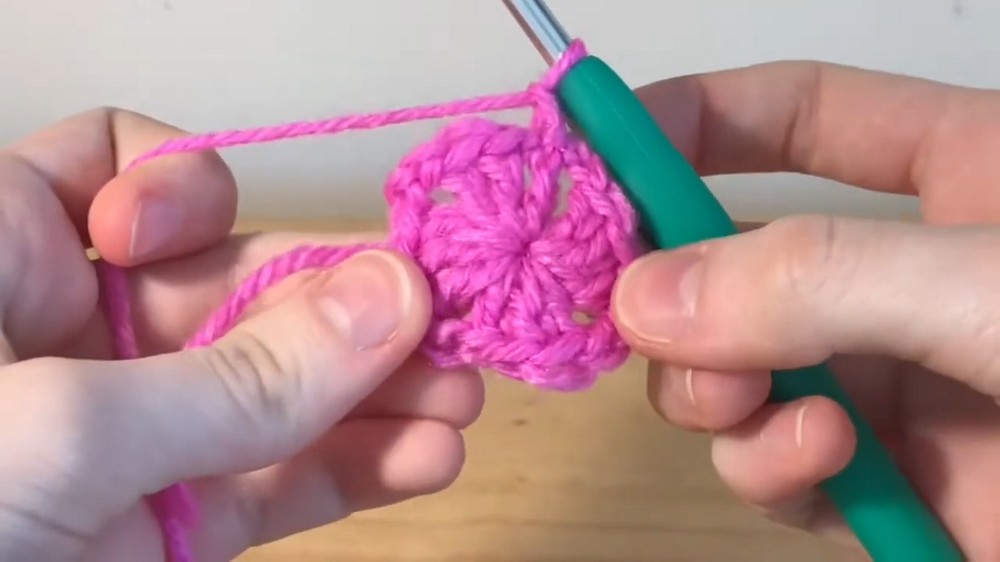
- Create a magic circle: Wrap the yarn around two fingers to form an "X." Insert hook under the first loop, twist, and grab the second loop. Pull it through to form 1 loop on your hook.
- Ch 3 (counts as the first DC).
- Work 2 DC in the magic circle.
- Ch 2, then work 3 DC into the magic circle.
- Repeat [3 DC, Ch 2] 2 more times to create a total of 4 clusters (3 DC in each).
- Pull the loose string to cinch the circle tightly closed.
- Sl St into the 3rd chain of the initial chain 3 to close the circle.
Round 2: Heart Shape
- Ch 1.
- Work 8 DC into the first Ch 2 space.
- Ch 1, then work 1 SC into the next Ch 2 space.
- Ch 1, work [2 SC + Ch 1 + 2 SC] into the top of the middle DC stitch (forms the point of the heart).
- Ch 1, work 1 SC into the next Ch 2 space.
- Ch 1, work 8 DC into the last Ch 2 space.
- Sl St to join and complete the heart motif.
Step 2: Granny Square Around the Heart
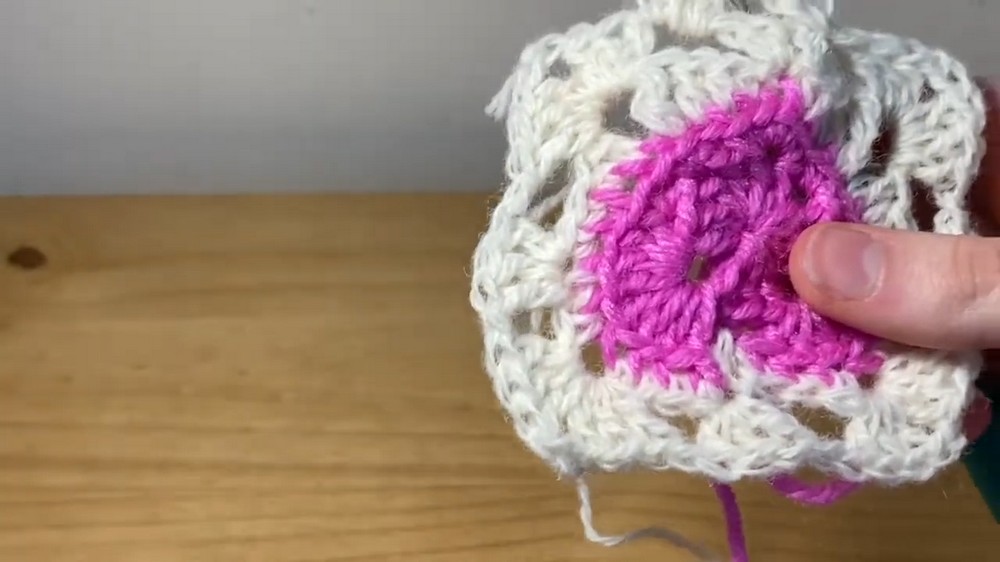
- Attach yarn to the first Ch 2 space of the heart motif: Make a slip knot and secure with a Sl St, then Ch 3 (counts as 1 DC).
- In back loops only for the first round:
- Work [3 DC, Ch 1] clusters into each gap.
- At corners, work [3 DC + Ch 2 + 3 DC] into the same gap.
- Switch to full stitches for subsequent rounds:
- Continue working [3 DC, Ch 1] clusters into each gap.
- At corners, work [3 DC, Ch 2, 3 DC] into each corner gap to maintain the square shape.
- Stop once the square reaches your desired size (approximately 7 inches).
Step 3: Panel Construction
Back Panel:
- Layout 14 squares in a grid (4 rows).
- Join squares row by row using single crochet along their edges.
- Seam vertical edges between rows using single crochet, ensuring that all corners align evenly.
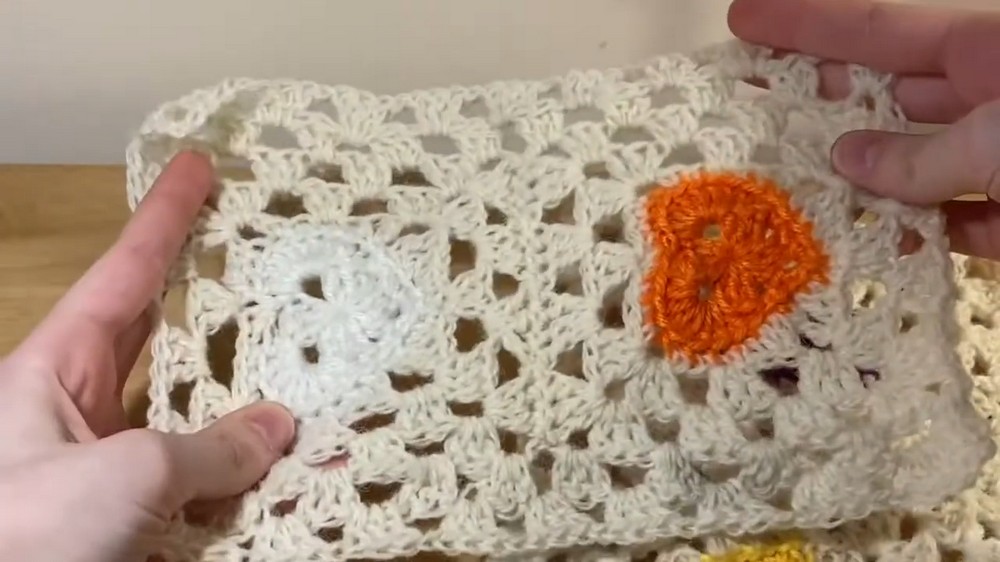
Front Panels:
- Start with 1 square for the base of each panel.
- Add 4 rows of double crochet clusters to extend the panel:
- Work [3 DC, Ch 1] into each gap.
- At corners, work [3 DC, Ch 2, 3 DC] into the gap.
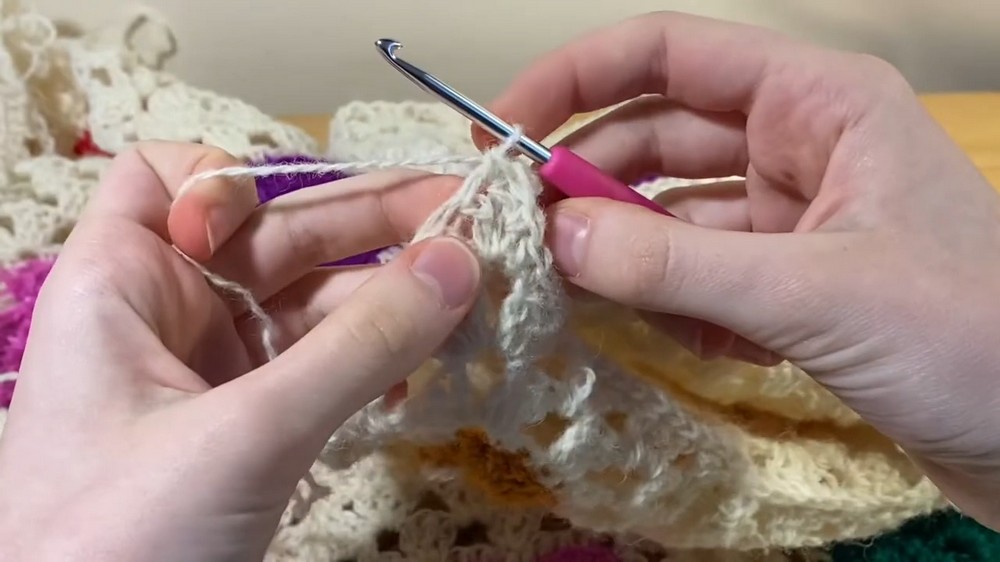
Sleeves:
- For each sleeve, join 4 squares together:
- Place 2 squares in one row and 2 squares in a second row.
- Join edges using single crochet.
- At each wide edge of the sleeve, work 2 rows of double crochet clusters to extend the length:
- Work [3 DC, Ch 1] per gap, with Ch 2 at corners.
Step 4: Final Assembly
Attach Panels and Sleeves
- Align front panels and back panel with right sides facing each other.
- Using a 3.5mm hook, single crochet the shoulder seams together for 4.5 inches on each side.
- Position the sleeves at the armholes. Insert the sleeves into the armholes with seams aligned, and sandwich them between the panels.
- Single crochet around the edges of the sleeve to secure.
Trim
- Attach yarn to the edge of the cardigan using your 3.5mm hook.
- Work double crochet stitches evenly around all edges (front opening, neckline, and sleeve cuffs).
- Maintain consistent spacing for a polished finish.
Assembly and Finished Size
- Back Panel: 14 squares joined into 4 rows.
- Front Panels: Add 1 base square and 4 rows of DC clusters.
- Sleeves: 4 squares each plus 2 rows of DC clusters on the edges.
- Finished size depends on adjustments made to the design (e.g., adding rows or squares).
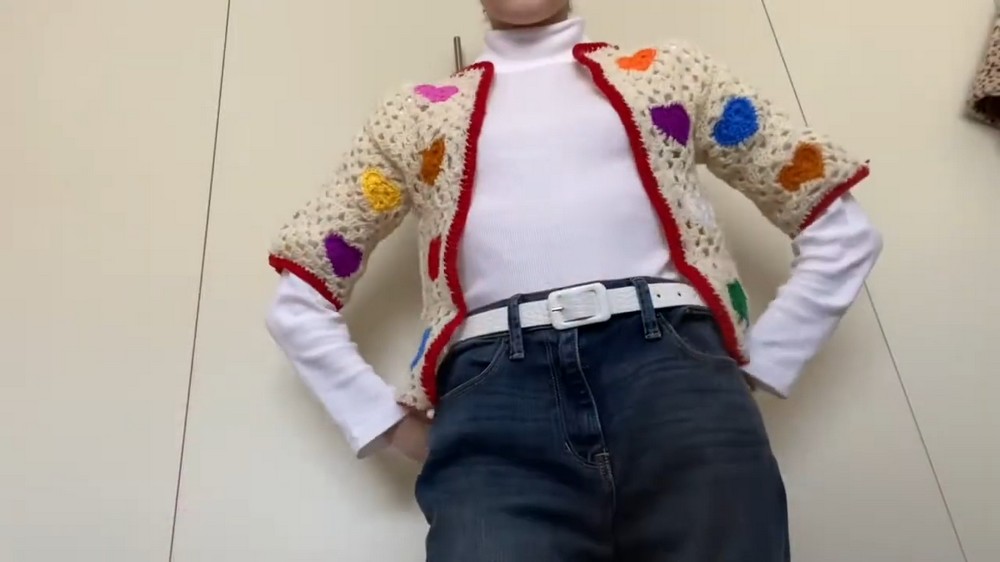
Conclusion
Congratulations on completing your heart cardigan. You've just crocheted a unique and cozy design perfect for showing off your creativity and skills. Make adjustments to suit your style or gift it to someone special.