
Free Crochet Handmade Ribbon Pattern Everyone Will Love
Instantly upgrade gift wrapping or decor with the Free Crochet Handmade Ribbon Pattern for stylish, sustainable embellishments.
Sometimes the simplest handmade details can brighten up a gift or an outfit in the sweetest way. This crochet ribbon pattern is a delightful way to add a personal touch to your creations. Its soft texture, gentle curves, and neat finish make it a charming accessory that’s both practical and pretty. What makes this ribbon especially inviting to crafters is its use of a basic technique: the slip knot and loop pull stitches, which create a lovely bumpy texture with just a little practice. Even if you’re new to crochet, this project is friendly and fun to make.
Free Crochet Ribbon Pattern That Anyone Can Make and Adore
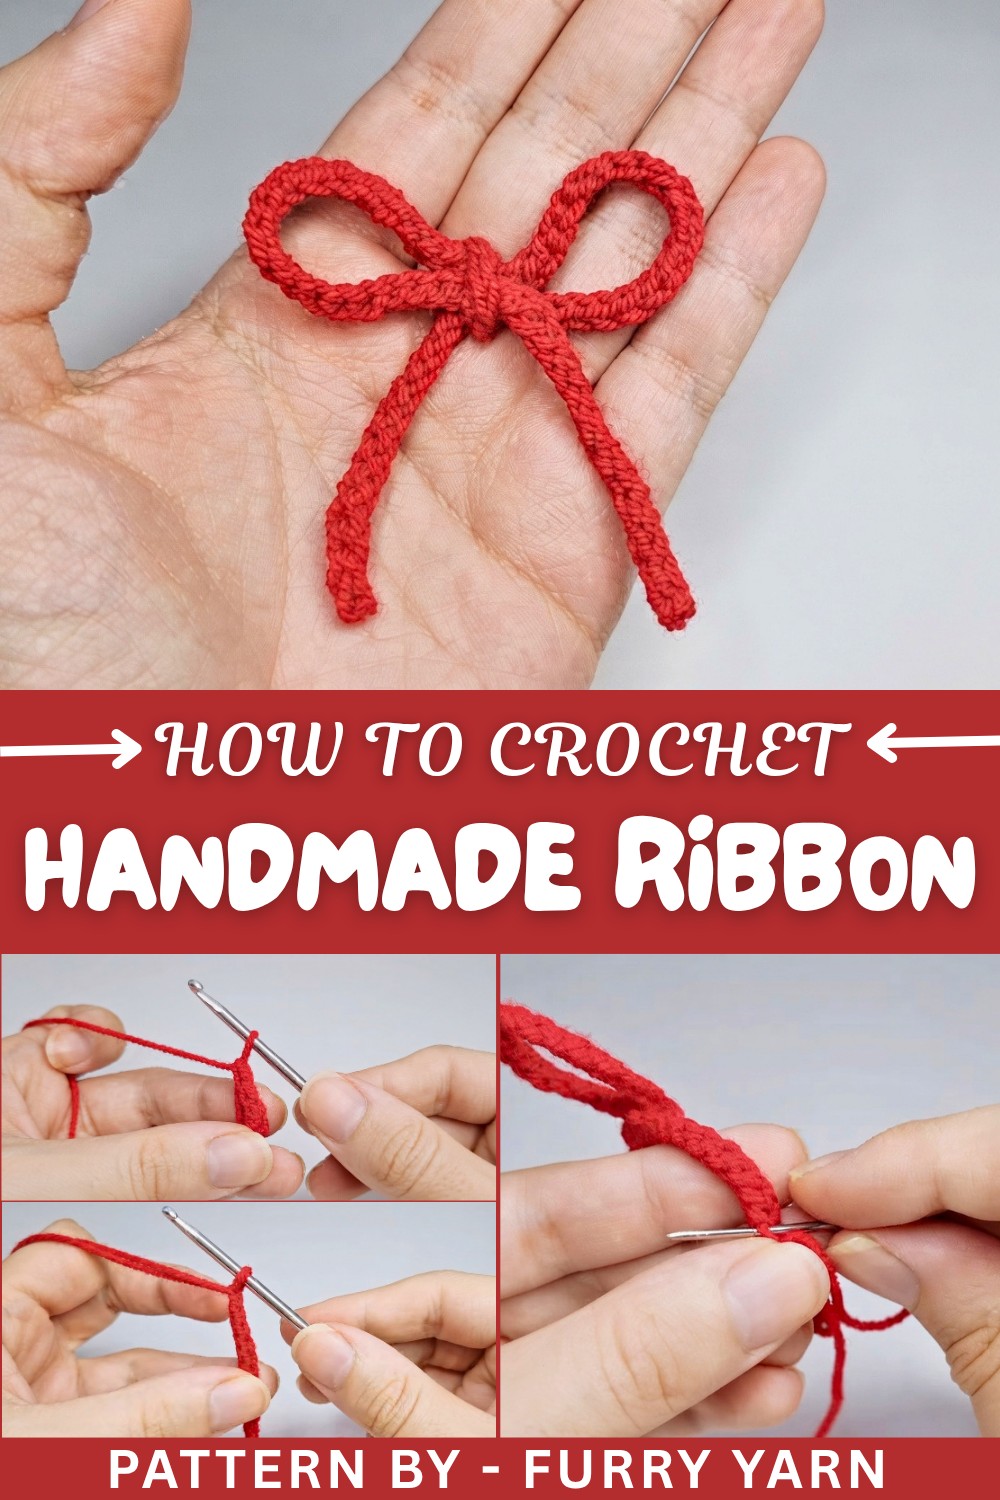
To create the ribbon, you start by pulling yarn loops repeatedly around your fingers, then pulling these loops through with a hook, building up a soft and stretchy band that forms the body of the bow. Once you have enough loops, you tighten the center and shape the ribbon by pulling and folding it with your hands. The finishing touch is done with a needle to fasten off securely, making sure your ribbon keeps its shape. The beauty of this pattern is how quick it is to crochet and how easily you can tailor the size by adding more or fewer loops.
More Ways to Use This Pattern
This ribbon technique can be applied to make cute hair accessories, decorative trims for hats or bags, or even charming tiebacks for curtains. Experimenting with different yarn colors and thicknesses opens up more creative possibilities. Its simplicity lets you embellish many items with a handmade flair, helping you practice your crochet skills while creating something both beautiful and useful.
Crochet Pattern: Simple Bow
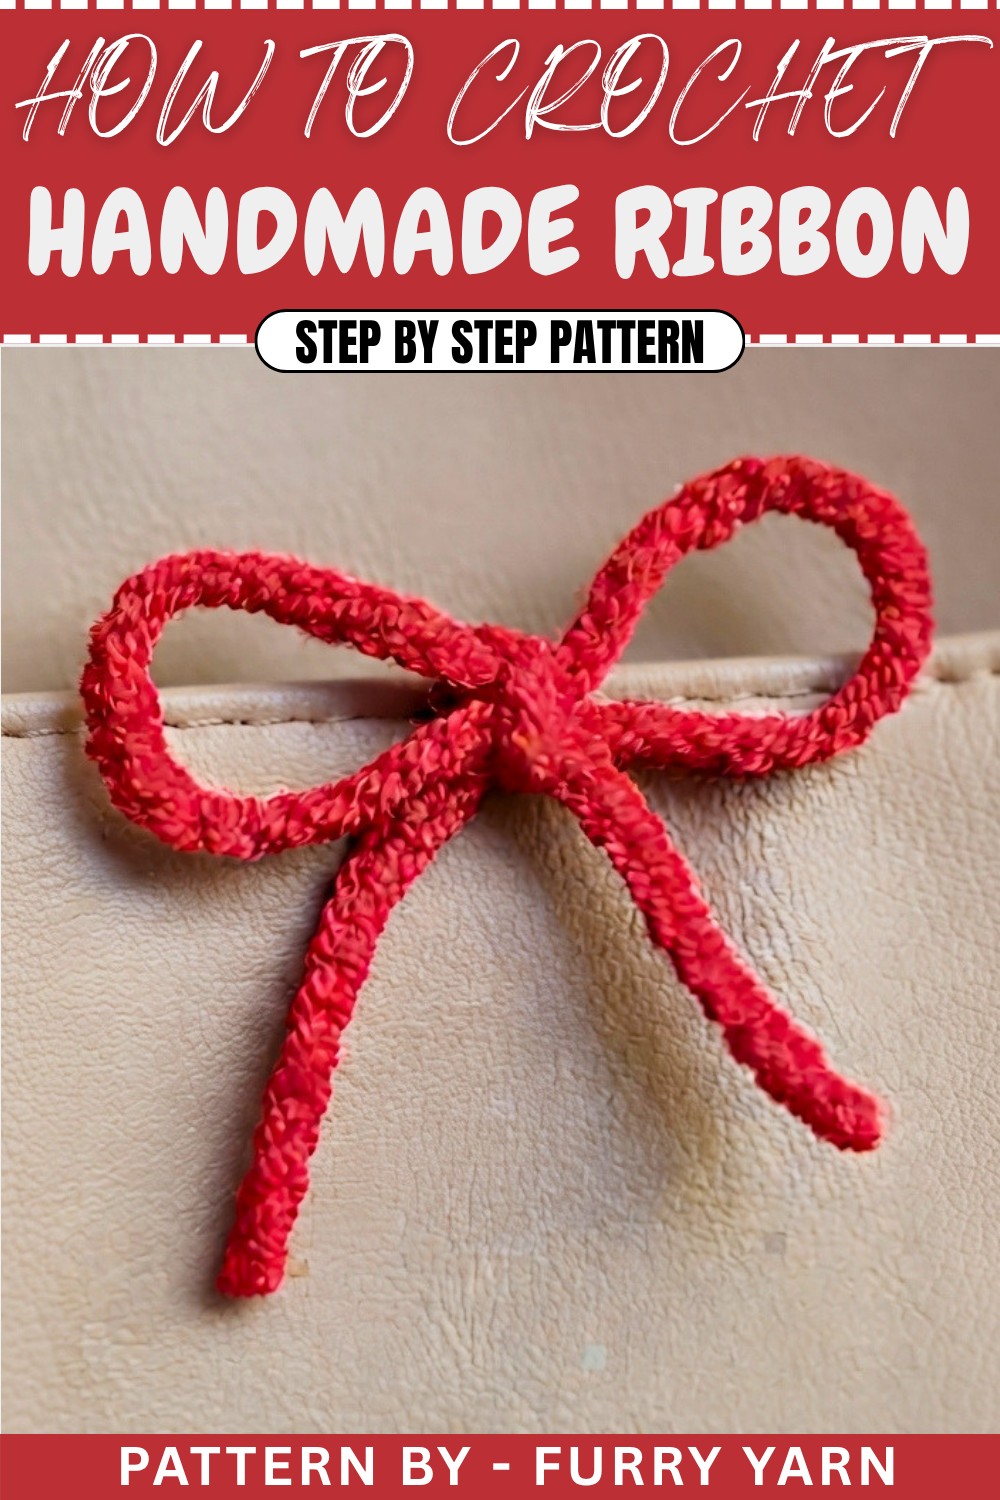
This crochet bow pattern is quick, simple, and perfect for various uses—decorate hair accessories, add embellishments to gifts, or use them for handmade projects. The pattern is designed for beginners and uses fundamental crochet techniques like the slip knot, chain stitch, and basic fastening. With an elegant result that can be customized in size, color, and yarn type, you can create bows for every occasion!
Skill Level & Terminology
- Skill Level: Beginner
- Terminology: Pattern uses US crochet terms.
Materials & Tools
- Yarn:
- Any yarn weight or fiber of your choice. Acrylic yarn works best for structure.
- Crochet Hook: 3.00 mm crochet hook or appropriate size for your yarn.
- Tapestry Needle: For securing and shaping the bow.
- Scissors
Gauge
Gauge isn’t necessary for this project since the bow size depends on the number of chains you create and the desired appearance. A tighter tension produces a compact bow, while slightly looser tension offers a softer appearance.
Abbreviations
Here’s a helpful list of abbreviations used in this pattern:
- sl st: Slip Stitch
- ch: Chain
- yo: Yarn Over
- sts: Stitches
Special Stitch Instructions
Slip Knot
- Create a small loop with the yarn and place it over the hook.
- Yarn over the hook and pull it through the loop to secure the knot.
Slip Stitch (sl st)
- Insert your hook into the stitch as instructed.
- Yarn over and pull through both loops on the hook.
Finished Size
The bow size depends on the number of chains you make. A bow using 80 chains will approximately measure 3–4 inches in width, but can be easily resized by increasing or decreasing the number of chains.
The Pattern
Step 1: Create the Base Chain
- Create a slip knot in the middle of a long yarn tail, leaving about 6 inches for securing the bow later.
- Ch 80 stitches (or adjust the number of chains to achieve your desired bow width).
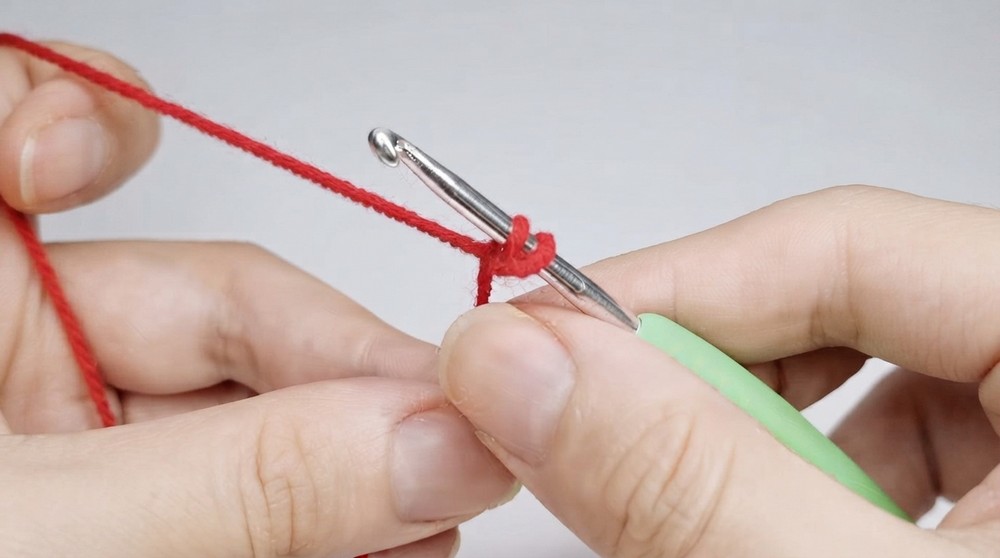
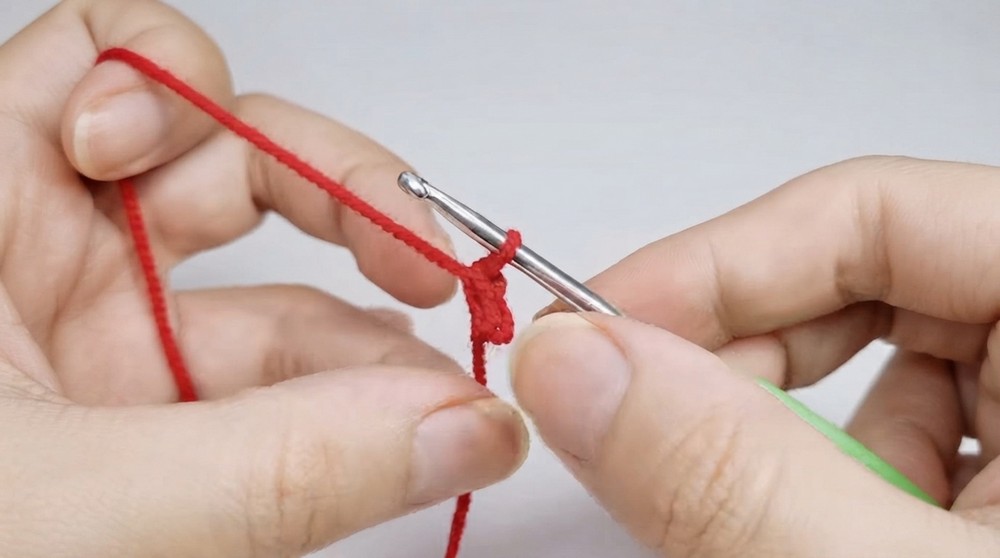
For Beginners: The chain length is what determines the overall size of your bow. If you’re new to crochet, start with 60-80 chains and adjust as you practice.
Step 2: Shape the Bow Band
- Take the working yarn and the yarn tail from the slip knot side. Hold them together to form two strands.
- Yarn over both strands and pull through the loop on your hook.
- Repeat this process to make the next stitch. Continue for about 80 stitches or until you finish working with the entire chain.
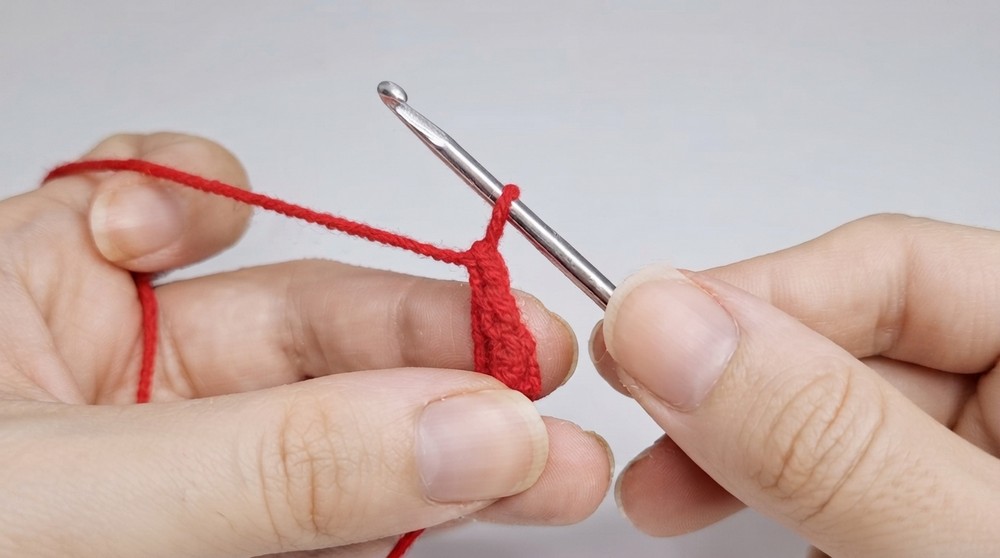
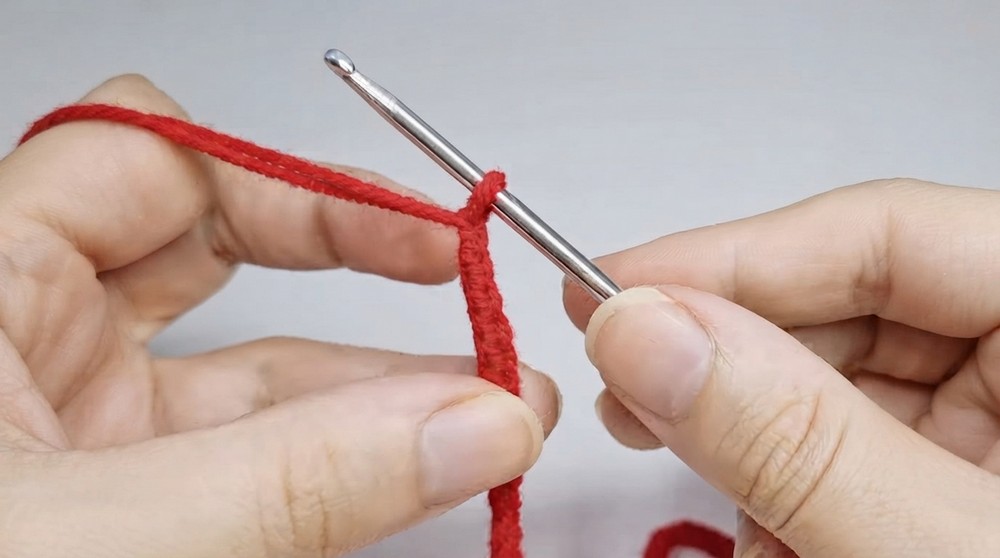
For Beginners: You’re creating the texture and depth of the bow by forming double stitches in this process. Hold the two yarn tails tightly for consistent loops.
Step 3: Fasten Off the Bow Band
- Once your band is complete, cut the yarn, leaving a long tail for wrapping and shaping the bow.
- Tighten the last loop by pulling it snugly to secure.
For Beginners: This step finalizes the crochet part of the bow. Be careful not to pull the yarn too tightly to avoid distorting the band’s shape.
Step 4: Tie the Bow
- Lay the crochet band flat. Fold it into an oval-shaped bow by bringing the ends together and pinching the middle tightly.
- Wrap the yarn tail tightly around the center of the bow several times to create a knot-like center and define the bow’s shape.
For Beginners: You can adjust the wrapping as needed to achieve your desired center size. Carefully mold your bow by hand to ensure symmetry.
Step 5: Secure the Bow
- Using a tapestry needle, insert the yarn through the wrapped yarn band at the bow’s center.
- Fasten the yarn securely by tying a few tight knots and weaving the ends into the center wrap.
- Trim the excess yarn to ensure the bow remains neat.
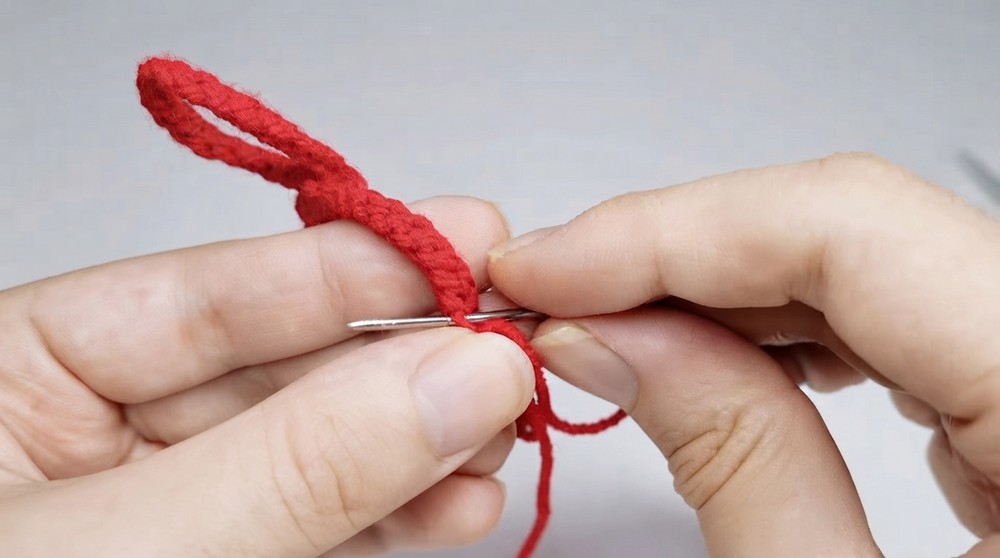
If your bow looks uneven, use your hands to reshape it gently before fastening. A few extra wraps around the center can help accentuate the knot while holding the bow in place.
Assembly & Finishing
- Adjust the Bow Shape:
- Manually fluff the two ends of the bow to create the desired size and shape. Smooth out any uneven stitches.
- Optional Add-Ons:
- Attach to a hair tie, hairclip, or elastic band for wearable use.
- Sew the bow onto garments, bags, or other projects using the yarn tails or tapestry needle.
Troubleshooting & Solutions
Problem 1: Uneven Shape
Solution: Adjust the number of chains slightly on your next attempt to create symmetry. You can also manually shape the bow by folding the band evenly before wrapping it.
Problem 2: Unraveling Wraps Around the Center
Solution: Ensure your center yarn wraps are tight and secure. Use multiple knots to prevent unraveling.
Problem 3: Inconsistent Tension
Solution: Practice maintaining an even tension while chaining. A tight or loose chain will affect the bow’s shape. Adjust your grip on the yarn as needed.
What You’ll Learn
- How to Create a Slip Knot and Chain Stitch: These foundational crochet techniques are at the core of this pattern.
- Shaping and Fastening: Learn how to transform a simple band into a beautifully shaped bow.
- Customizing Sizes: This project allows you to experiment with different yarn weights, chain lengths, and tension to create unique designs.
Why You’ll Love This Pattern:
Not only is this pattern easy to make, but it can also be used in countless creative ways! Personalize it with colors, embellishments, or textured yarns to suit your needs. Whether you’re crocheting for practical use, accessorizing your outfits, or creating gifts, this timeless pattern will serve you well.
Final Notes
This crochet bow pattern is an excellent project for beginners and a go-to for those who enjoy quick, customizable designs. With just a few rows of simple stitches, the result is both elegant and functional. Practice the pattern a few times to perfect your technique, and you’ll have a collection of bows ready in no time!