
Free Crochet Granny Triangle Bandana Pattern with a Boho Look
Make a simple crochet granny triangle bandana with this free and easy pattern, featuring clear steps to guide beginners through this stylish project.
Crocheting is a wonderful way to create something beautiful while exploring your creative side. A triangle bandana is both practical and stylish—a perfect project for beginners and seasoned crocheters alike. With its delicate stitch work and versatile design, it’s a charming accessory for casual outings, keeping hair in place, or simply elevating your look with some handmade flair. This accessory is lightweight, comfortable, and can be customized with different colors and sizes to suit your taste and needs.
Free Crochet Granny Triangle Bandana Pattern for Casual Looks
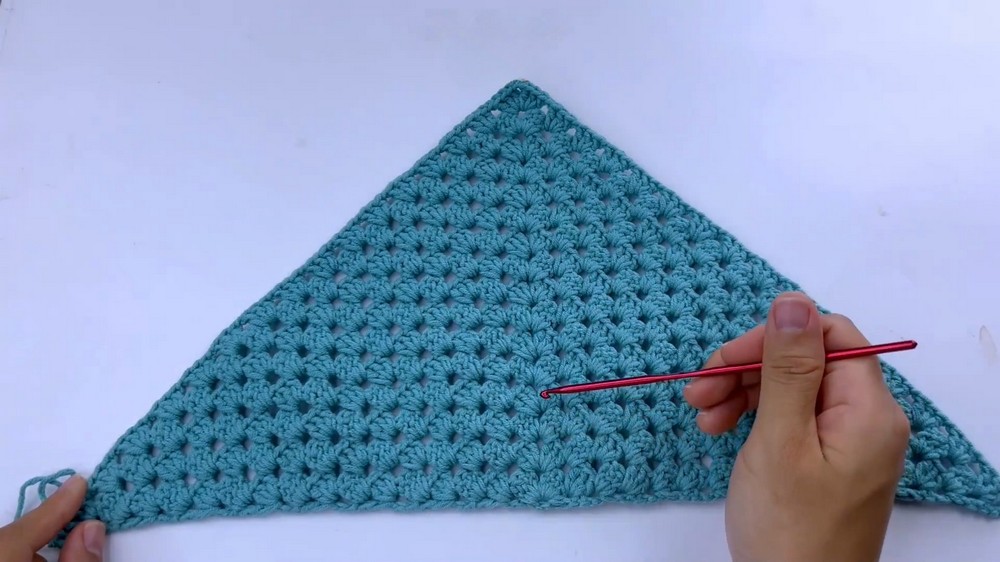
The bandana’s triangular shape is created using a classic granny stitch, made up of clusters of double crochet stitches that create a timeless pattern. The design is enhanced with a contrasting border, which gives it a neat and polished finish. Long, crocheted straps on each side make it easy to tie and adjust, perfect for all ages and occasions. Thoughtfully designed, this bandana is as functional as it is beautiful.
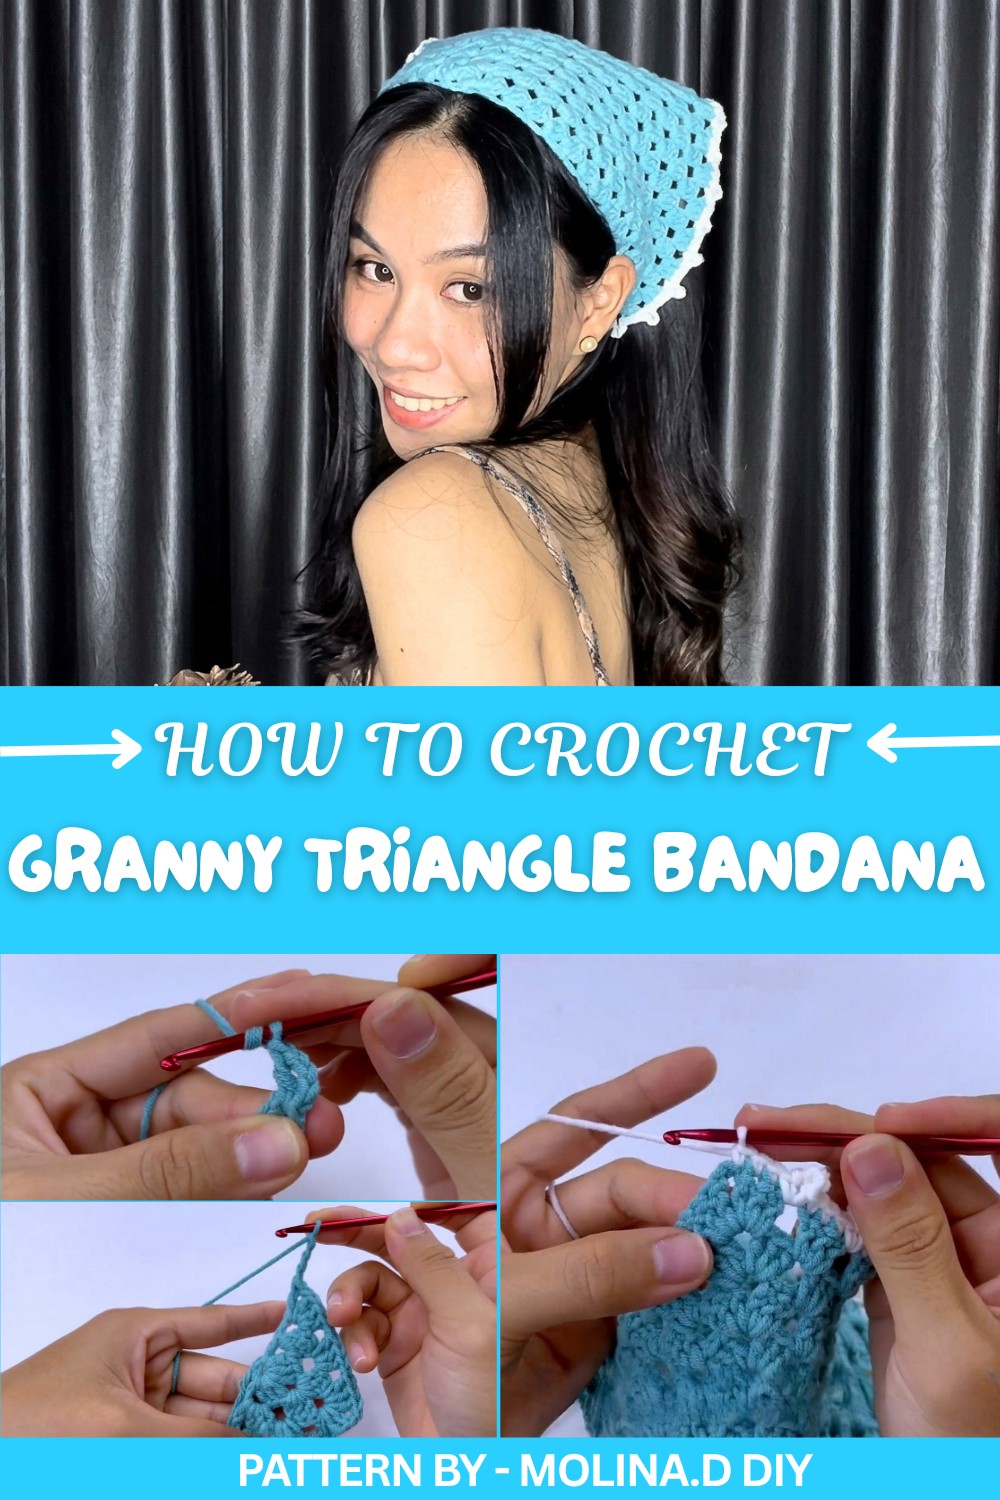
For a step by step guide to making this piece, the YouTube channel Molina.D DIY provides clear and beginner friendly instructions in their tutorial. The video walks viewers through each stage, from creating a foundation circle and working the rows, to adding the straps and the delicate border. Following this tutorial, you can make your own lovely Granny Triangle Bandana without any guesswork.
This crochet bandana is a delightful project for anyone interested in handmade accessories, and its simple design makes it ideal as a gift or a personal addition to your wardrobe. Enjoy the satisfaction of creating something that’s both fashionable and meaningful with this fun and creative pattern.
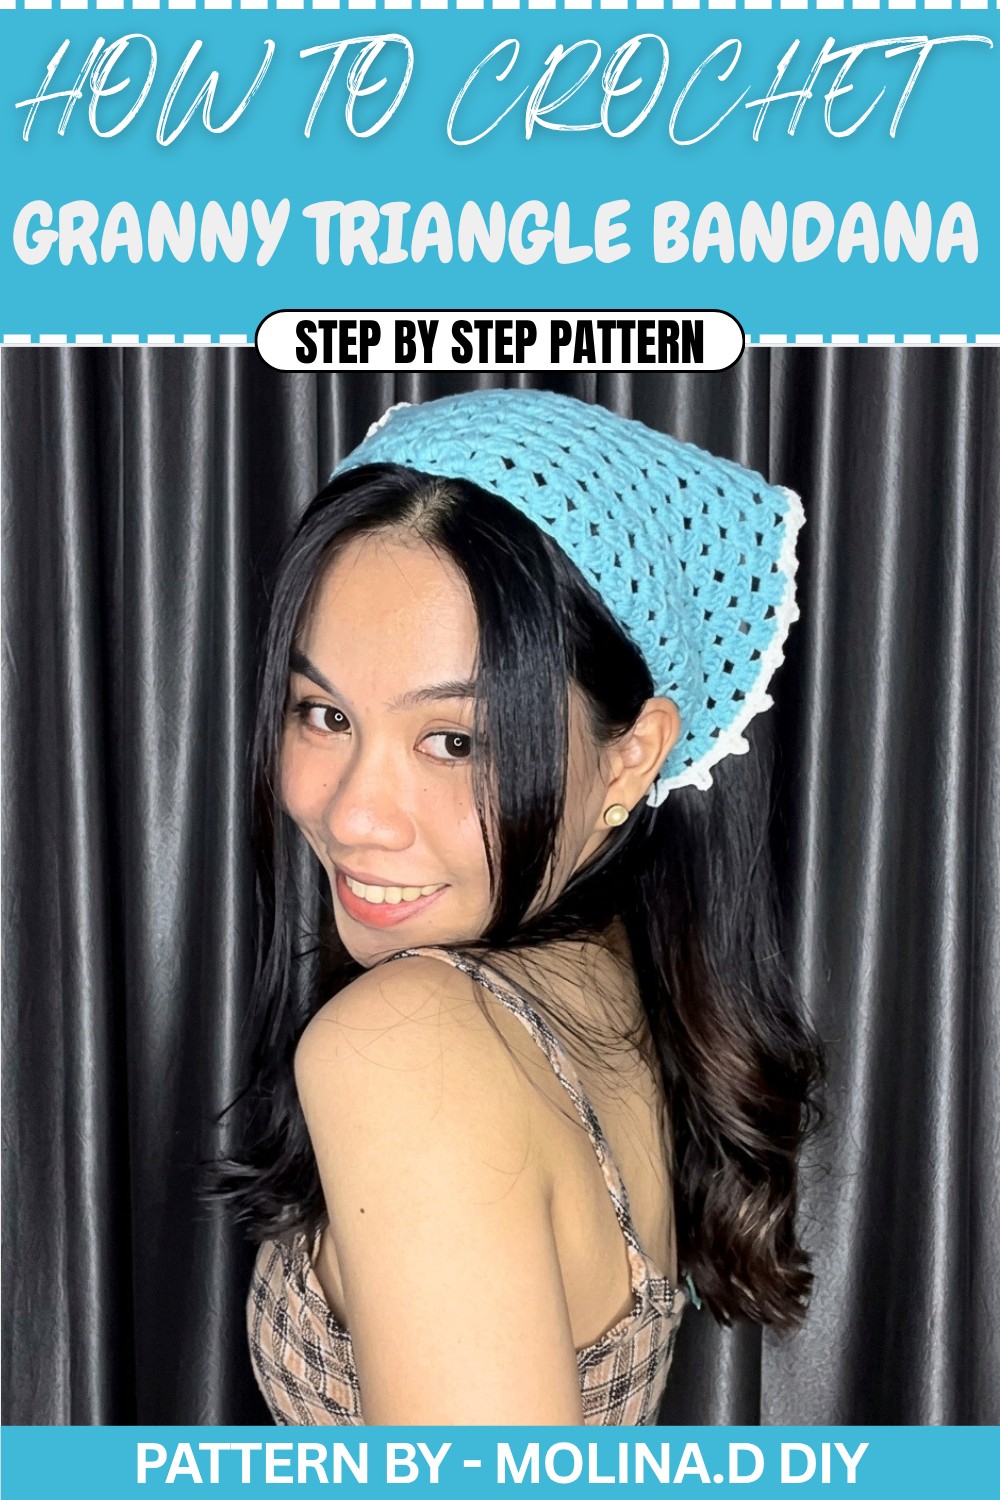
Free Crochet Pattern: Granny Triangle Bandana
This project is easy, beginner friendly, and fun to make. Created using classic granny stitch techniques, this is the perfect accessory to elevate your style or gift to someone special.
Quick Overview of the Pattern
- Project Type: Granny Triangle Bandana
- Skill Level: Beginner friendly
- Construction:
- Worked in rows to create a triangular shape
- Granny stitch technique with straps for tying
- Final edge highlighted with single crochet and chain loops
- Customization: Adjustable size by adding or reducing rows
Notes
- The bandana is made using the granny stitch technique, which features groups of double crochets separated by chains.
- The triangular shape is created by increasing at the corners of the triangle on every row with a "chain 2 space."
- The white edging adds a clean finish to the piece.
- The straps on both sides allow the bandana to be tied comfortably.
- This pattern includes 17 rows for the main triangle, but you may add or subtract rows depending on the desired size.
Skill Level
✔ Beginner Friendly—simple stitches like chain, slip stitch, single crochet, and double crochet are used.
Materials
- Yarn: Medium weight yarn (5 ply, approximately 125g)
- Any type of yarn can be used; adjust hook size accordingly.
- Hook Size: 3.5 mm—suits most medium weight yarns.
- Alternatively: 3 mm or 4 mm hook may also work well.
- Scissors: For trimming yarn ends.
Measurements / Sizing
- Triangular Bandana Size as per Pattern: Approximately 17 rows create a bandana suitable for most adults. Adjust by adding rows for larger sizes or fewer rows for smaller sizes.
- Straps: Each strap is made with 50 chains on both sides.
Gauge
Gauge is not crucial for this project, as the bandana size is adjustable. However, to ensure consistent stitches:
- Granny stitch clusters should appear evenly spaced with your chosen hook and yarn.
Stitch Abbreviations
- ch – Chain
- sl st – Slip Stitch
- sc – Single Crochet
- dc – Double Crochet
- st – Stitch
Special Stitches
Granny Stitch Cluster
A basic granny stitch cluster consists of 3 double crochets worked in the same space.
Steps:
- Yarn over, insert hook into designated space (e.g., chain space or loop).
- Yarn over, pull through (3 loops on hook).
- Yarn over, pull through 2 loops (2 loops remain).
- Yarn over, pull through remaining 2 loops → 1 dc completed.
- Repeat steps 1–4 two more times in the same space → 3 dc completed (1 cluster).
The Crochet Pattern
Step A: Granny Triangle Base
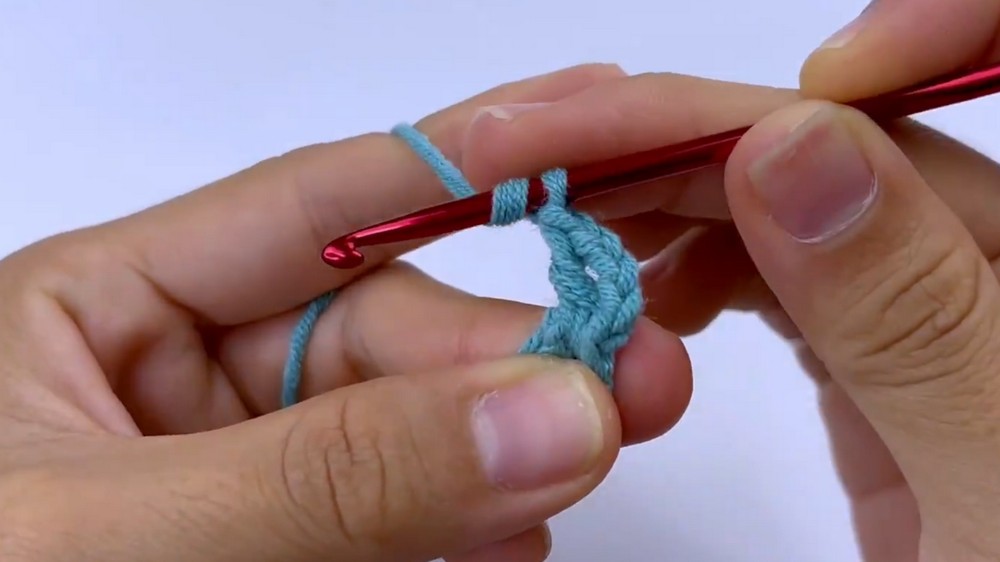
Row 1: Foundation Circle
- Make a slip knot and place it on your hook.
- Ch 4, then join with a sl st into the first chain to form a circle.
Row 2: Begin Granny Stitch
- Ch 4 (counts as 1 dc + 1 ch).
- Work 3 dc, ch 2 (corner space), 3 dc, ch 1, and 1 dc—all inside the circle.
- Your triangle base should now have:
- Corners: Defined by 2 chains separating clusters.
- Top and sides: Formed with 1 dc + chains.
Step B: Building the Triangle
Row 3: Increasing the Triangle Size
- Ch 4 and turn your work.
- Work 3 dc in the next ch 1 space, ch 1, and 3 dc into the ch 2 corner space.
- Ch 2 (corner space), then work 3 dc again in the same ch 2 space.
- Ch 1, make 1 dc in the next ch 1 space, ch 1, and make another 1 dc in the same ch 1 space.
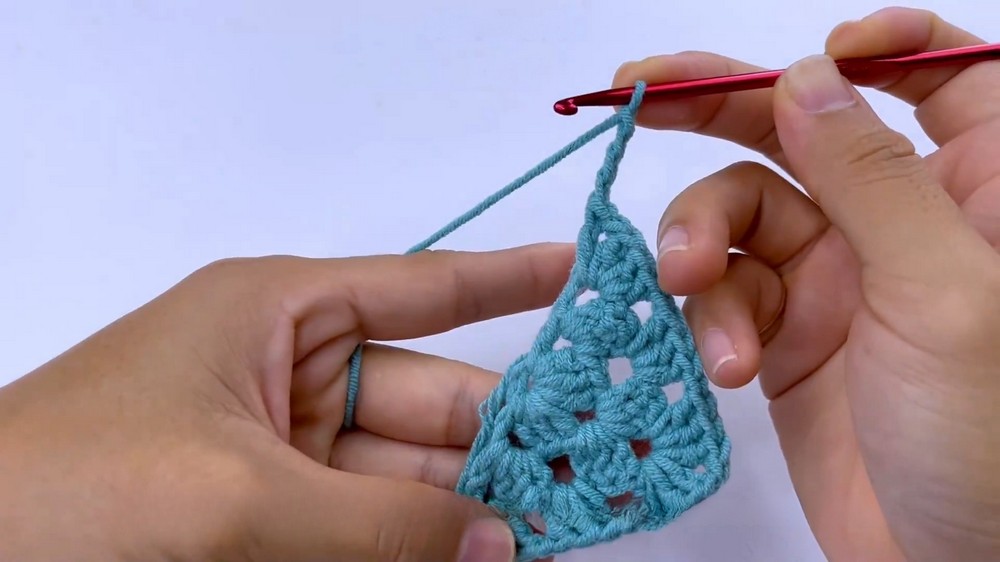
At the end of Row 3, your triangle will have increased on all sides.
Row 4 and Beyond: Repeating Pattern
- For every row, increase the triangle size by following this format:
- Ch 4, turn your work.
- Work 3 dc in each ch 1 space along the sides, followed by ch 1.
- At every corner (ch 2 space), work: 3 dc, ch 2, 3 dc.
- Repeat this across the top and sides.
- Repeat this process until you reach Row 17, or your desired size. Each subsequent row will add more granny stitch clusters evenly across the triangle shape.
Step C: Adding Straps
- To begin the straps:
- Attach yarn to one corner of the triangle.
- Ch 50 to create one strap.
- Fasten off, and repeat this process on the other corner to create the second strap.
Step D: Adding White Edge
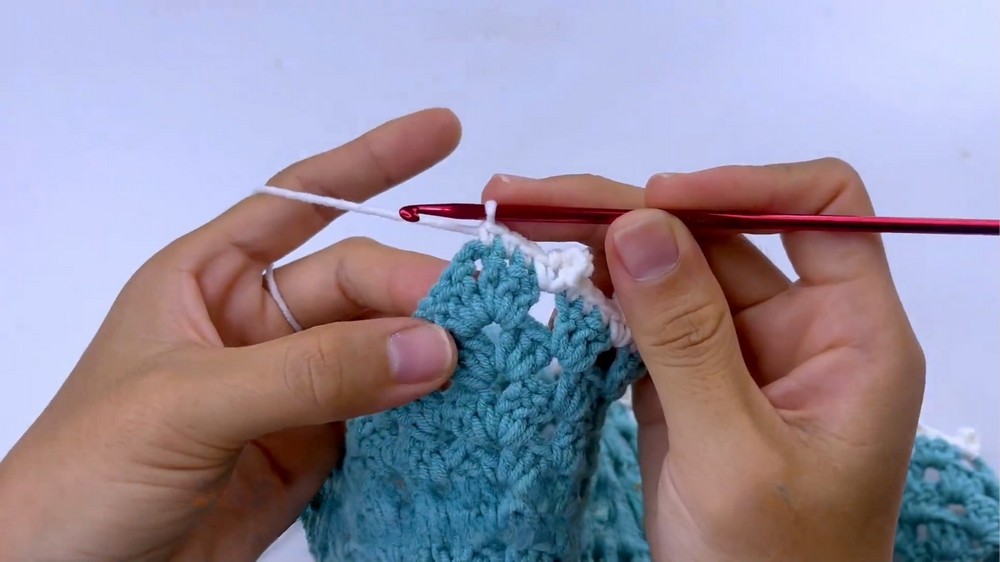
- Attach white yarn (or any color of choice) at one corner of the triangle.
- Work edge stitches following this format:
- 1 sc, ch 5, then 1 sc in the next ch 1 space.
- Continue working sc with chain loops (ch 5) all the way around the triangle edge.
- At corners, add extra loops if desired for a seamless finish.
Assembly & Finished Size
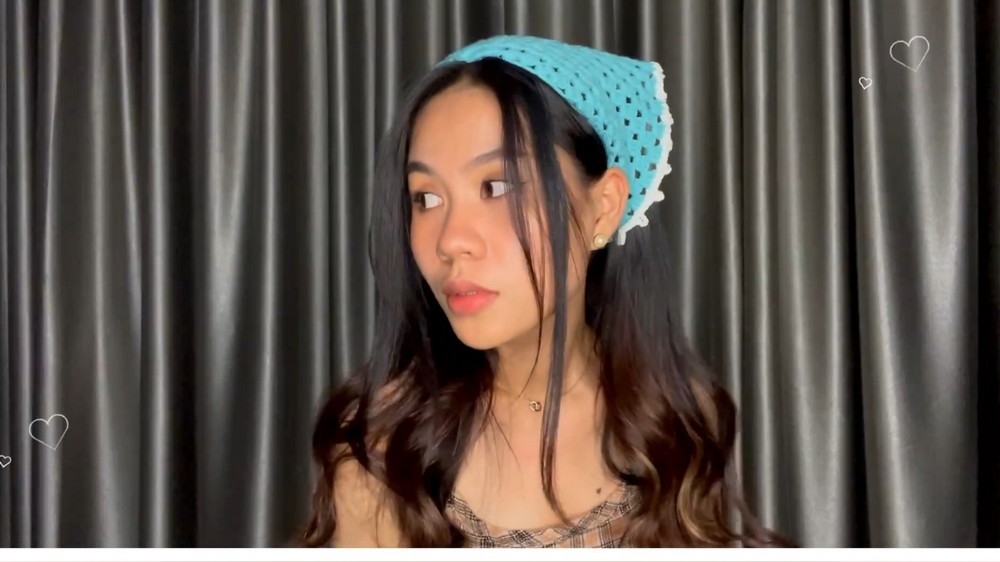
- After completing all components, your granny triangle bandana will look stylish and finished.
- Approximate dimensions:
- Triangular body in granny stitch, with straps measuring about 50 chains each.
- White edge adds extra flair and professionalism to the look.
Conclusion and Ending Words
Your Granny Triangle Bandana is now complete. This fun, beginner friendly project can be customized to suit your style, whether with different yarn types, colors, or size adjustments. It’s perfect for casual outfits, beach vacations, gifting, or just a cute accessory.