
Free Crochet Corn Pattern Will Make You Smile
Pack a picnic with Crochet Corn Amigurumi Pattern and let kids plan a tiny feast of their favorite pretend foods for dolls.
Bright, cheerful, and full of playful charm, the crochet corn pattern is a delightful project that brings a touch of nature inspired creativity to your crocheting world. Perfect for adding a decorative flair to your kitchen, playroom, or even as a cute party centerpiece, this mini corn design is bound to make you smile. Its realistic textures and fun details make it a standout piece whether displayed on its own or as part of a larger harvest themed collection.
Whimsy Free Crochet Corn Pattern to Add Fun to Your Creations
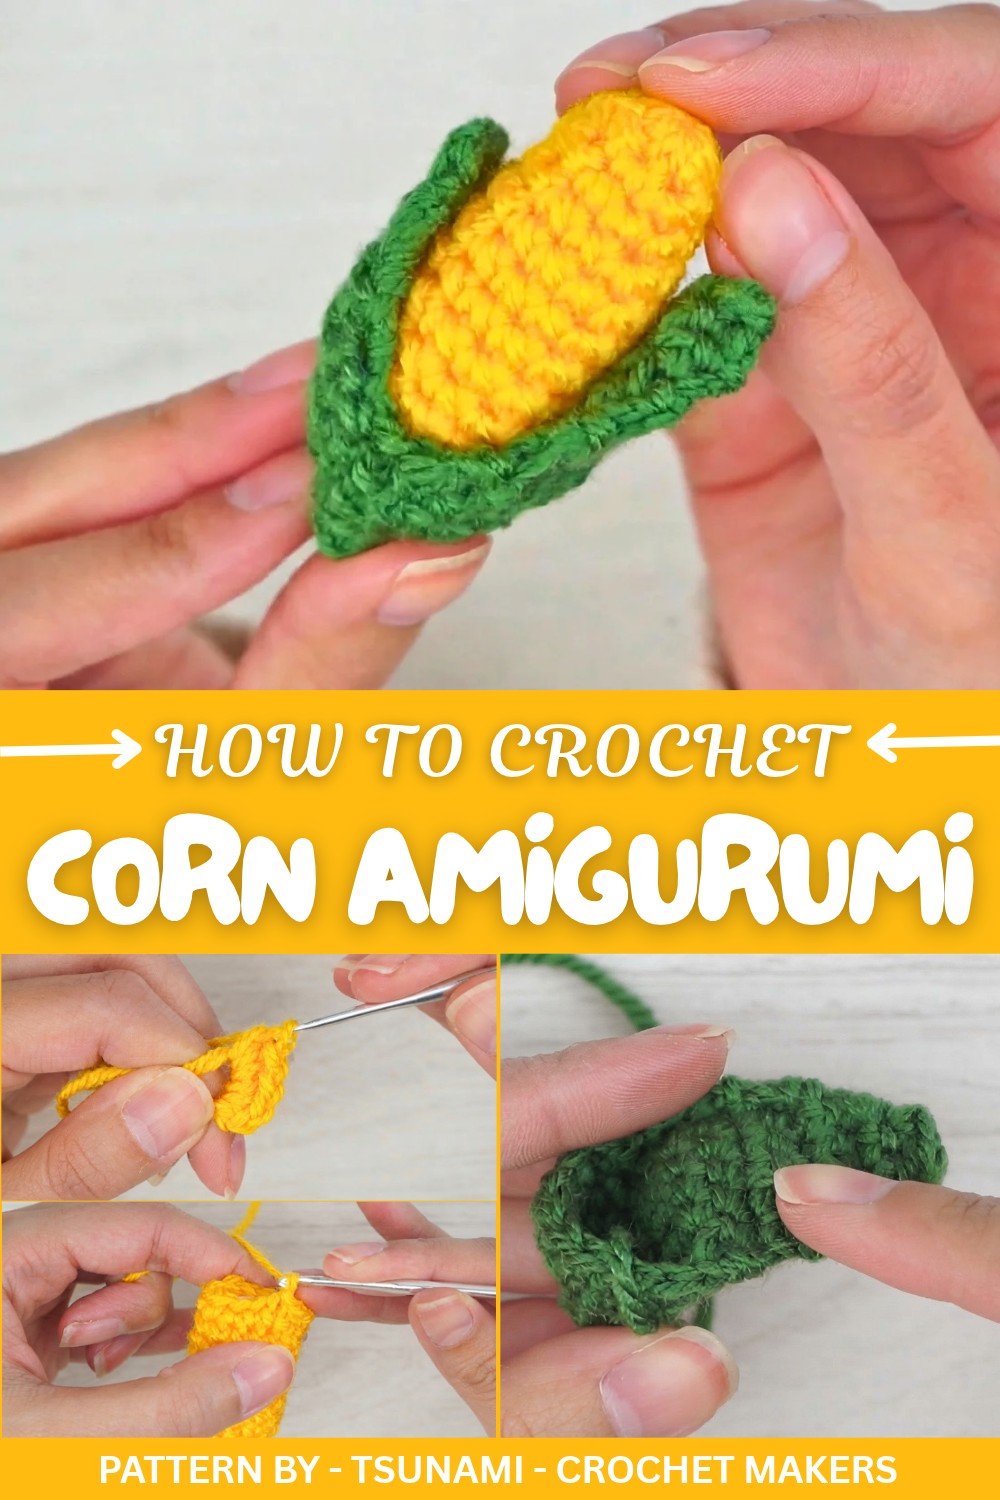
The most eye catching aspect of this design is the way the individual kernels are crocheted to give the corn a lifelike and dimensional look. Its rounded oval shape replicates the classic form of an ear of corn, while the husk wrapping around adds just the right level of detail. The clever use of colors, whether you choose traditional yellows and greens or opt for quirky hues, makes this project easily customizable and unique to your personal style.
TSUNAMI - Crochet Makers have created a thoughtful and beginner friendly pattern in their video tutorial, offering step by step instructions in an easy to follow format. The project works up quickly and uses simple stitches, making it suitable for crocheters of all levels. Whether you're looking to enhance your crochet skills or create a fun gift for friends and family, this corn pattern is sure to impress.
From adding to kitchen décor to creating cozy autumn vibes, this whimsical corn piece fits beautifully into seasonal settings and playful displays.
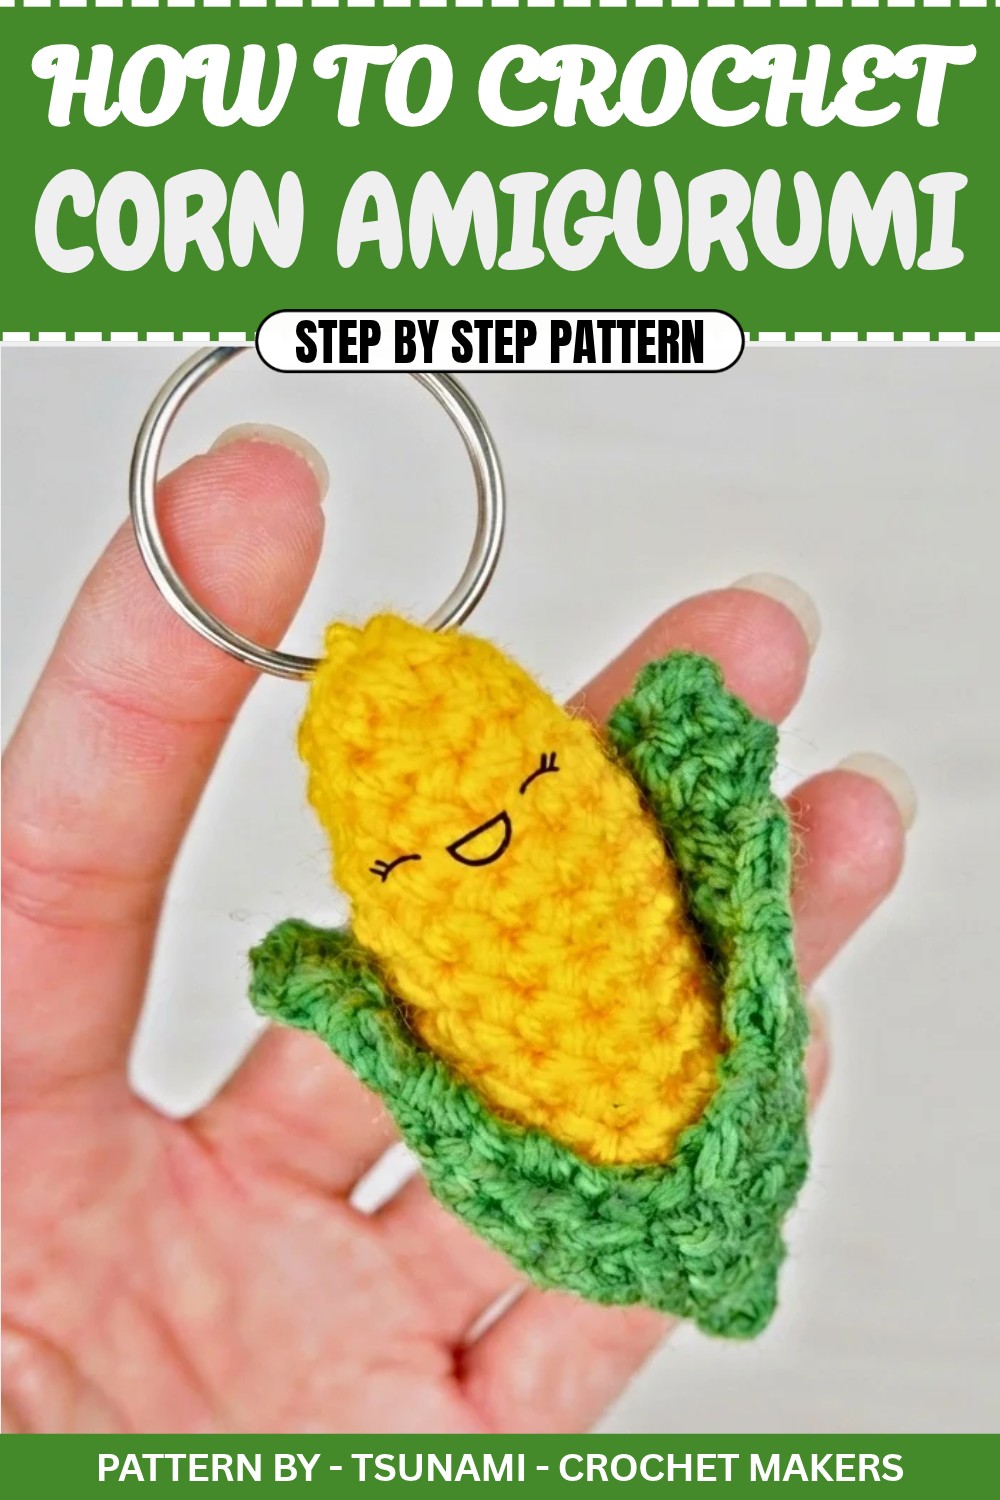
Amigurumi Corn on the Cob (Pannocchia) Crochet Pattern
Here’s a complete crochet pattern for an adorable Amigurumi Corn (Pannocchia). This is a fun, beginner friendly project to create as a keychain, decoration, or gift. Follow these detailed instructions to achieve stunning results.
Materials
- Yellow Yarn: For the cob (medium weight yarn recommended).
- Green Yarn: For the leaves.
- Crochet Hook: 2.5 mm.
- Tapestry Needle: For sewing and weaving in ends.
- Stuffing: Fiberfill, cotton balls, or any suitable stuffing material.
- Scissors: For cutting yarn.
- Hot Glue Gun (Optional): To attach pieces securely.
Skill Level
Intermediate Beginner: This project is suitable for those familiar with single crochet (SC), basic increases, decreases, and working in rounds.
Measurements
- The finished corn measures approximately 6–7 cm tall, depending on the yarn and hook used.
Stitch Abbreviations
- MR = Magic Ring
- ch = Chain
- sc = Single Crochet
- inc = Increase (2 sc in the same stitch)
- dec = Decrease (combine 2 stitches into 1)
- sl st = Slip Stitch
The Crochet Pattern
Part 1: The Cob (Yellow Yarn)
Round 1:
- Start with a magic ring (MR) and work 6 sc into the ring. Pull the loop tightly to close the ring.
Round 2:
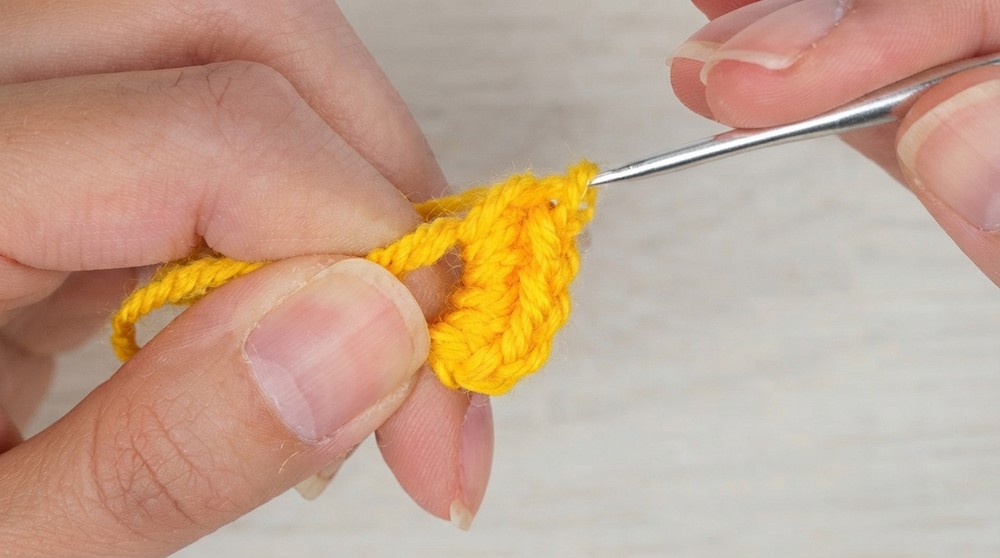
- Work 1 sc in the first stitch, 1 inc in the next stitch. Repeat around (alternating sc and inc). You’ll have 9 stitches by the end of this round.
Round 3:
- Crochet 1 sc in each stitch around. Keep the stitch count steady.
Round 4:
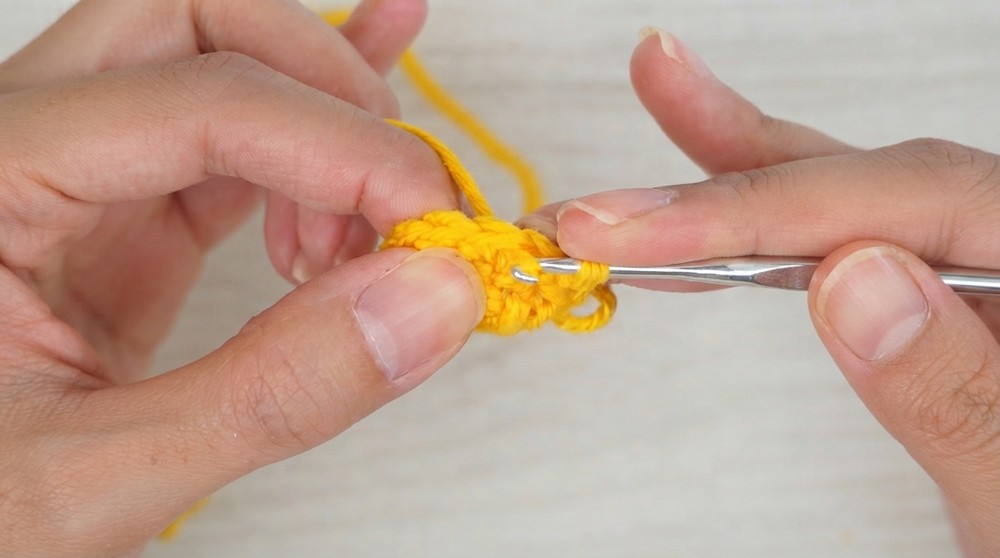
- Alternate between 1 sc in the next 2 stitches, 1 inc in the next stitch.
- Repeat these steps around. At the end of this round, your stitch count will increase.
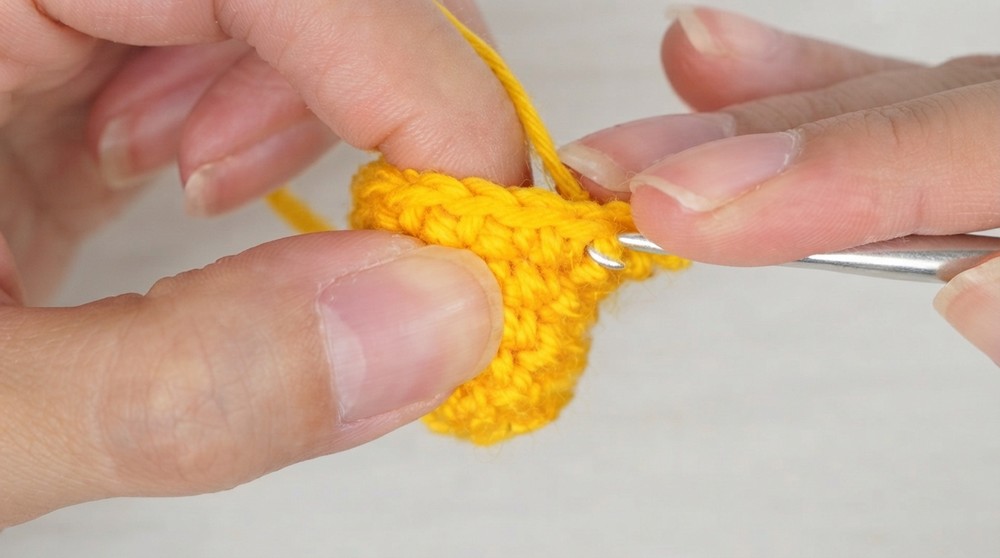
Rounds 5–11:
- Work 1 sc in each stitch. Repeat this step for 7 more rounds to create the structure of the cob, ensuring the piece is about 5 cm in height.
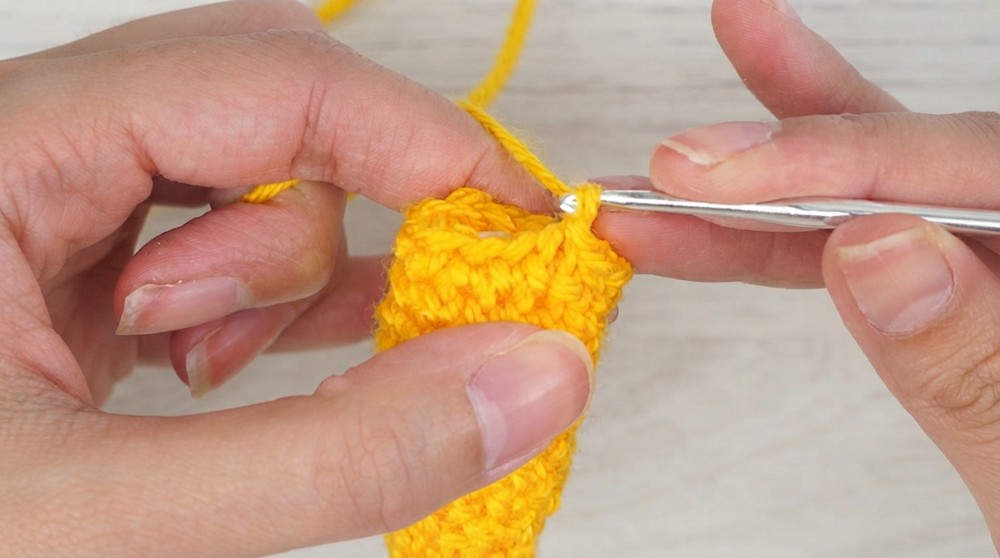
Stuffing:
- Firmly stuff the cob with fiberfill, cotton balls, or any stuffing material of your choice. Make sure the stuffing is evenly distributed and securely packed.
Round 12:
- Begin decreasing: Crochet 6 decreases around to bring the stitch count back to 6 sc total. This will close the top of the cob.
Finishing:
- Seal the top with a sl st in the next stitch, cut the yarn, and weave the thread into the fabric using a tapestry needle. This helps prevent unraveling.
Part 2: The Leaves (Green Yarn)
Round 1:
- Start with a magic ring (MR) and work 6 sc into it. Pull the ring tightly to close the opening.
Round 2:
- Crochet 1 sc in each stitch around. You’ll still have 6 stitches total at the end of this round.
Round 3:
- Work an increase in every stitch by crocheting 2 sc in each stitch around.
- At the end, your stitch count will increase to 12.
Round 4:
- Alternate 1 sc, 1 inc across the round. You’ll add stitches evenly to create a wider base for the leaves.
Round 5:
- Crochet 1 sc in each stitch around for this round to maintain the size and shape.
Part 3: The Leaf Petals
Row 1:
- Beginning from the center of the leaf piece, work 1 dec, 5 sc, 1 dec. This creates the long, tapered shape for the leaves. Turn your work.
Row 2:
- Crochet 1 sc in each stitch across, ensuring the shape remains structured.
- Turn your work again.
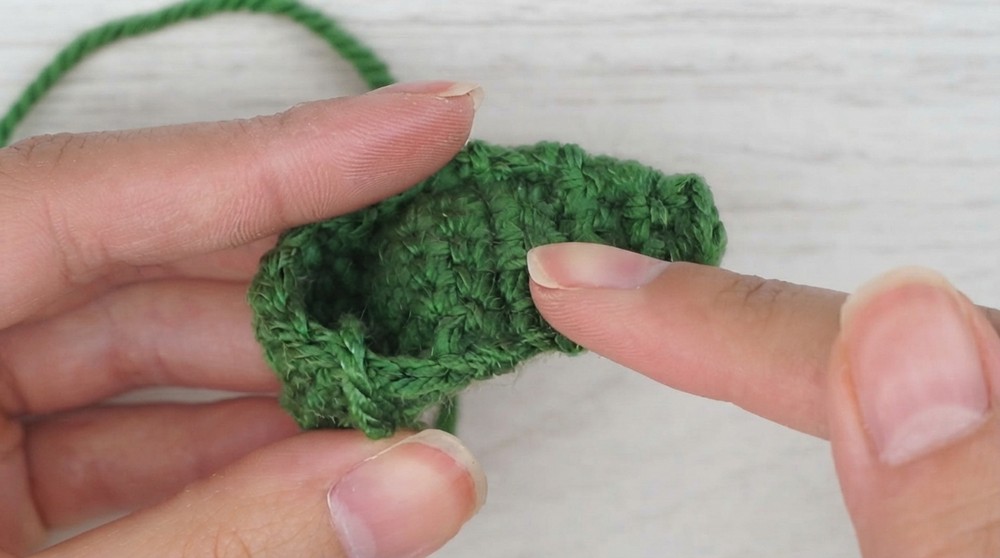
Row 3:
- Work 1 dec, 3 sc, 1 dec this time to continue tapering the leaf. Turn your work.
Row 4:
- Crochet 1 sc in each stitch across. Turn your work.
Row 5:
- Work 1 dec, 1 sc, 1 dec to reduce the width even more. Turn your work.
Row 6:
- Work 1 dec, 1 sc to finish the taper. This creates the pointed tip of the leaf.
Finishing the Leaf:
- Create a security chain, cut the yarn, and hide the thread by weaving it into the work with a tapestry needle.
Repeat Leaf Steps:
- Follow the exact instructions to create the second leaf on the other side.
Assembly
- Attach the Leaves: Use a hot glue gun (or sew carefully by hand) to attach the yellow cob inside the green leaves. Position the leaves so they wrap naturally around the cob.
- Optional Embellishments: Add a keychain ring to the top, or small details like tiny embroidered eyes or a happy face, to give your corn some personality.
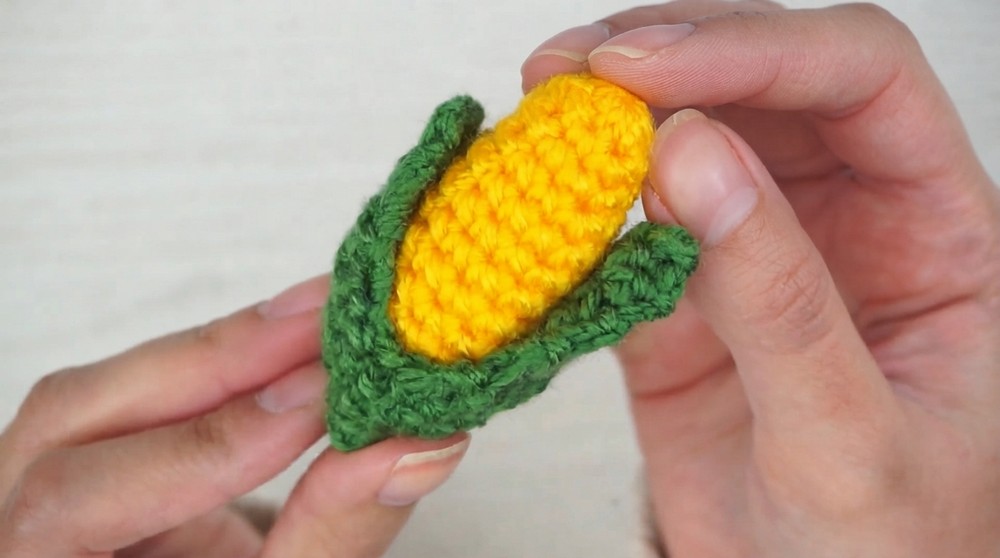
Conclusion
Congratulations, You’ve now created a beautiful Amigurumi Corn on the Cob. Whether you use it as a keychain, a decoration, or a small handmade gift, it’s sure to spread smiles. Experiment with colors, yarn types, and decorative touches to create your unique cob.