
Free Crochet Strawberry Coaster Pattern to Style Kitchens
Bring fruity charm to picnic tables with the Free Crochet Strawberry Coaster Pattern for cheerful cup mats that give outdoor lunches a fun splash of color.
Sunny mornings and cozy afternoons deserve a splash of whimsy, don’t they? That’s where this cheerful strawberry coaster comes in. Shaped like the fruit we all love, this piece is a delight for the eyes and practical for protecting your surfaces. The textured stitches mimic the soft ridges of a ripe strawberry, and the embroidered seeds add a playful, lifelike detail. With its bright red body and leafy green top, it feels fresh and fun—like a slice of summer all year long.
Pattern By CrochetLilWeaves
The construction is simple but satisfying, starting with a tightly closed center formed by a magic ring. From there, the body grows outward in rounded layers, with increases shaping the strawberry’s curves. The leafy embellishments and stem provide just the right contrast, lending dimension to the coaster while keeping its lightweight feel. Pairing the right yarn is key here; soft cotton works perfectly because it holds its shape and stays absorbent, making this coaster functional as well as lovely.
Free Crochet Strawberry Coaster Pattern with Garden Tea Fun
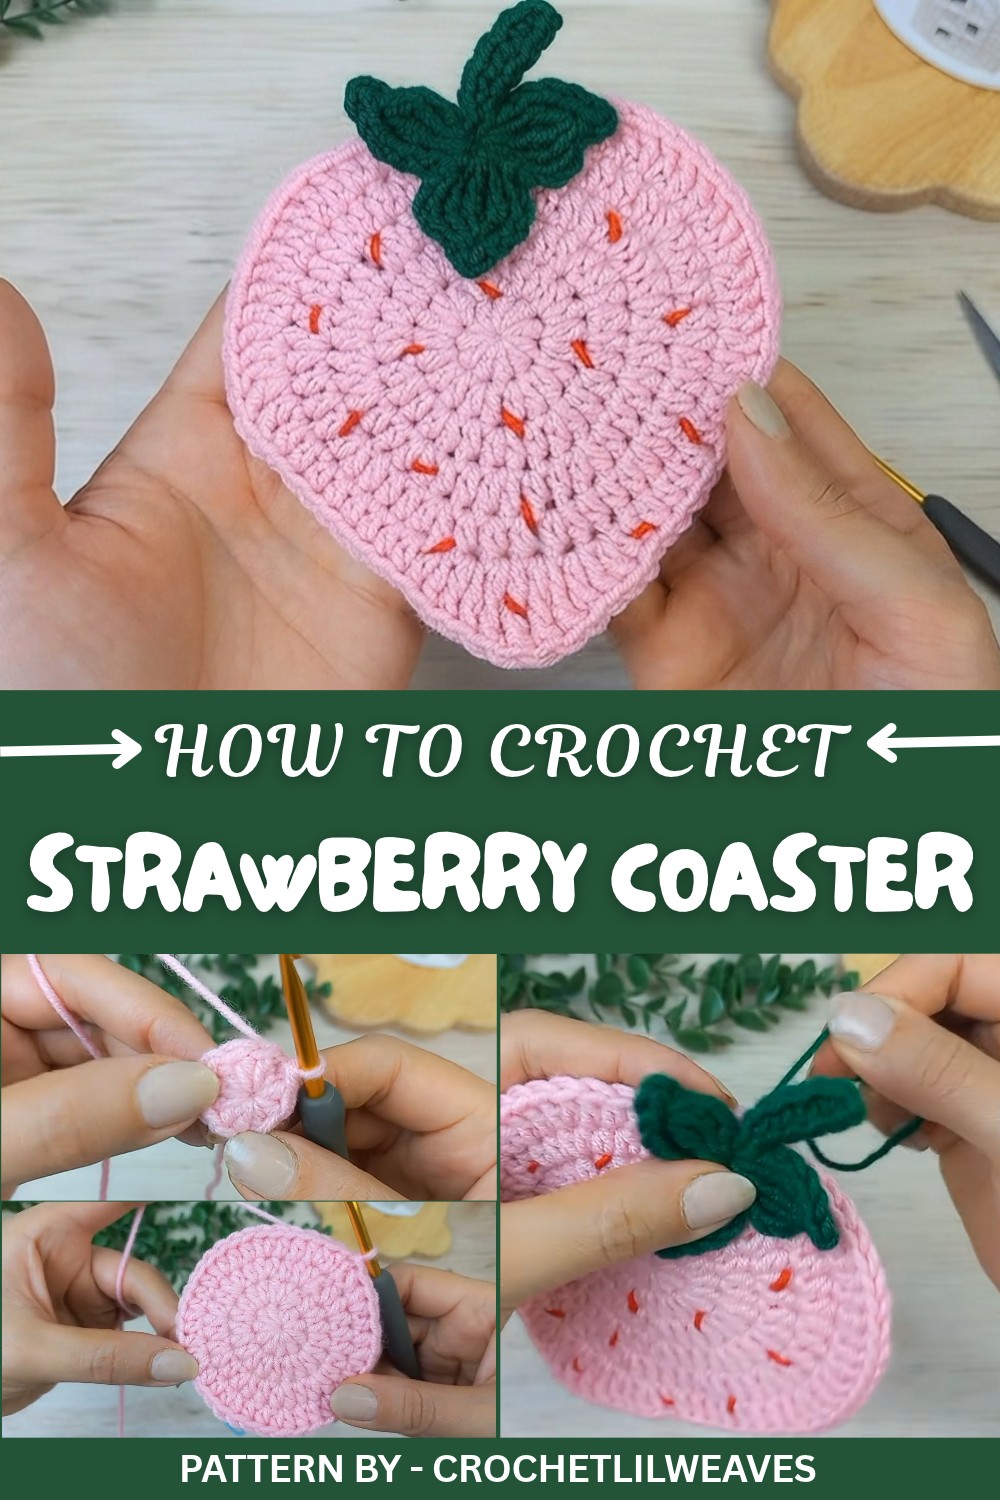
Inspired by everyday moments that call for a touch of joy, this project fits effortlessly into kitchens, coffee tables, or outdoor picnics. The added detail of hand stitched seeds brings texture and personality, while the sturdy stitches ensure it’s durable for daily use. Keeping your stitches consistent and using a stitch marker can make the process smoother, especially in the intricate rounds.
Whether you’re brightening your own table or surprising a friend with a thoughtful gift, this strawberry coaster brings charm to any setting. Bright, sweet, and just a bit nostalgic, it’s a small but meaningful way to add flavor to your space.
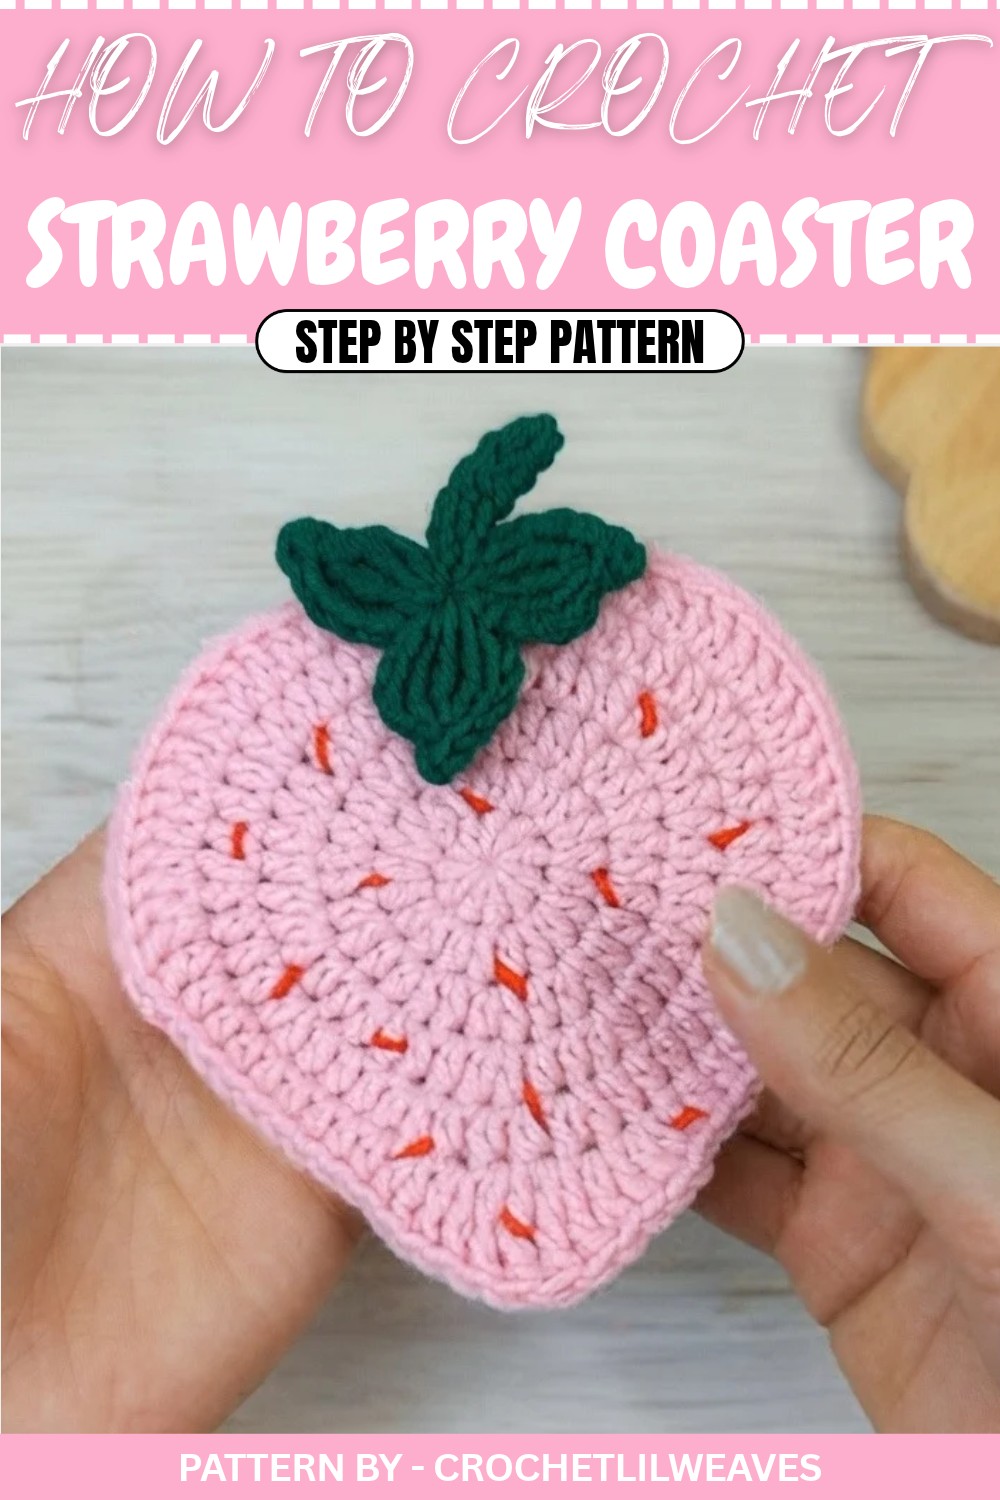
Crochet Pattern: Adorable Strawberry Coaster
This guide will teach you how to crochet a beautiful and functional strawberry coaster. Follow along to create an eye catching piece perfect for decorating your table.
Quick Overview of Pattern
- Create a magic ring as the foundation.
- Work concentric rounds with half double crochets to form the strawberry’s body.
- Add texture and shape to the strawberry with strategic increases and tall stitches.
- Make leaves and a stem with green yarn using treble crochets and picot stitches for detail.
- Attach the leaves and embroider seeds to complete the strawberry look.
Notes
- Yarn Substitutes: Use any category 4 yarn in red, green, and white shades. Ensure all colors are of similar thickness for consistency.
- Stitch Markers: These are essential to track the beginning of each round for accurate counting.
- Magic Ring: Pull the ring tight in the early rounds to avoid leaving gaps at the center of the strawberry.
Skill Level
- Level: Beginner to Intermediate.
- Requires knowledge of chain (Ch), half double crochet (HDC), slip stitch (Sl St), single crochet (SC), double crochet (DC), and treble crochet (Tr).
Materials
- Yarn:
- Red (for the strawberry body).
- Green (for the leaves and stem).
- Yellow/white (optional, for seed embroidery).
- Crochet Hook: Size 4.0 mm.
- Additional Tools:
- Scissors.
- Yarn needle.
- Stitch marker.
Measurements / Sizing
The completed strawberry coaster is approximately 12 cm (5 inches) in diameter.
Gauge
Gauge is not critical in this project, but maintaining consistent tension will ensure uniform sizing and detail.
Stitch Abbreviations
| Abbreviation | Meaning |
|---|---|
| Ch | Chain |
| Sl St | Slip Stitch |
| SC | Single Crochet |
| HDC | Half Double Crochet |
| DC | Double Crochet |
| Tr | Treble Crochet |
| Inc | Increase (two stitches in the same stitch) |
Special Stitches
- Picot Stitch: Provides decorative points for the leaf edges.
- Incomplete Treble: Used to shape leaves with multiple treble crochets looped together and finished as one.
The Crochet Pattern
Part 1: Strawberry Body (Red Yarn)
Round 1: Magic Ring
- Form a magic ring:
- Wrap the yarn around your two fingers to form an "X". Insert the hook under the first loop of the “X” and pull up the second loop.
- Twist your hook and Ch 1.
- Remove your fingers and tighten the ring slightly.
- Work 10 HDC into the magic ring.
- Pull the yarn tail tightly to close the circle.
- Sl St into the top of the first HDC to close the round. (10 stitches total)
Round 2: Expanding the Circle
- Ch 1.
- Work an increase (2 HDC) into each stitch around.
- Mark the first stitch with a stitch marker.
- At the end of the round, Sl St to the first HDC. (20 stitches total)
Round 3: Increasing Further
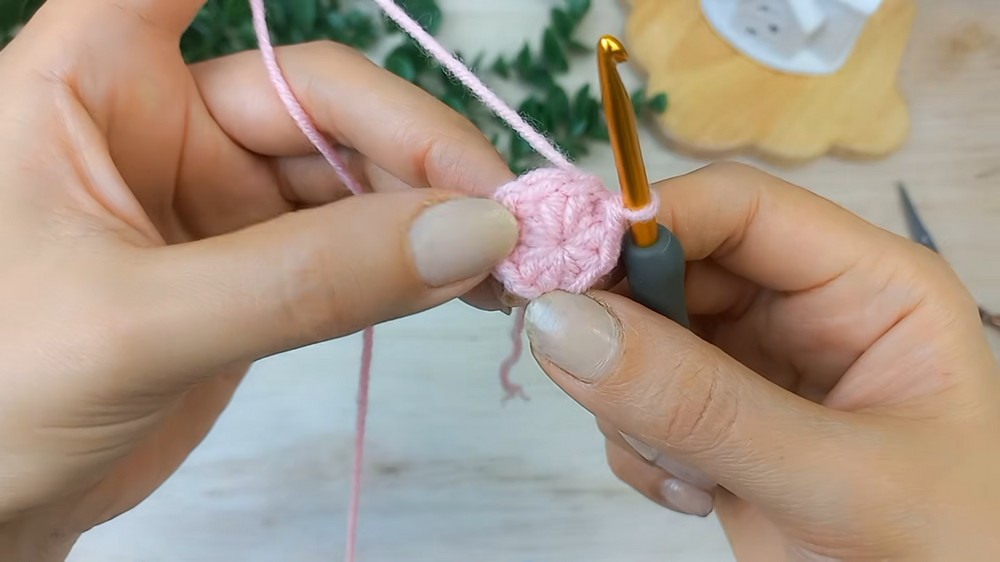
- Ch 1.
- Work 1 HDC Increase (2 HDC in one stitch) in the first stitch.
- Work 1 HDC in the next stitch.
- Repeat the pattern of 1 HDC Increase, 1 HDC around.
- Sl St to the first stitch to finish. (30 stitches total)
Round 4: Adding More Shape
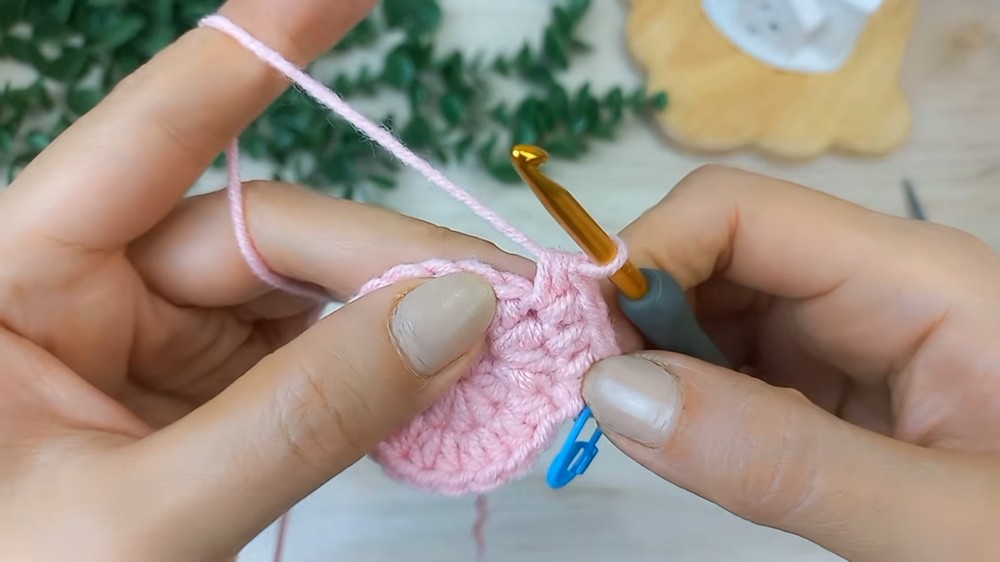
- Ch 1.
- Work 1 HDC Increase in the first stitch.
- Work 1 HDC in the next 2 stitches.
- Repeat the pattern of 1 HDC Increase, 2 HDC around.
- Sl St to the first stitch. (40 stitches total)
Round 5: Final Round of Expansion
- Ch 1.
- Work 1 HDC Increase in the first stitch.
- Work 1 HDC in the next 3 stitches.
- Repeat the pattern 1 HDC Increase, 3 HDC around.
- Sl St to the first stitch. (50 stitches total)
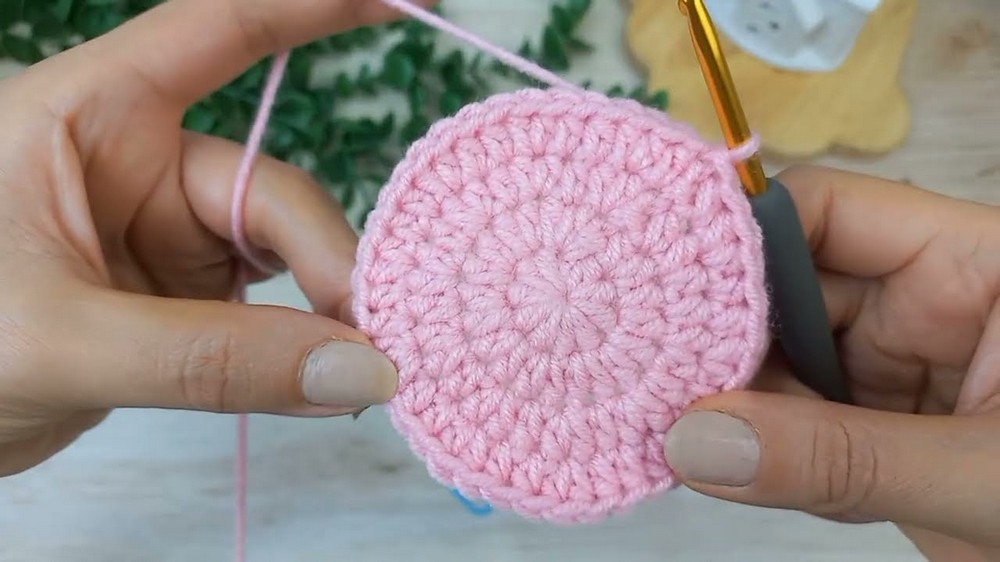
Round 6: Shaping the Strawberry
- Ch 1.
- Work the following sequence:
- 3 SC.
- 2 HDC.
- 3 DC, alternating with 1 DC Increase after every other DC.
- 8 HDC.
- Finish with 3 SC.
- Sl St into the first stitch of the round. Fasten off red yarn.
Part 2: Strawberry Leaves (Green Yarn)
Leaf Section
- Create a magic ring and Ch 4.
- Work 3 incomplete Tr into the magic ring:
- Yarn over twice, insert hook into the ring, yarn over and pull through two loops, repeat.
- Repeat this process for a total of 3 incomplete Tr, leaving 4 loops on the hook.
- Yarn over and pull through all 4 loops.
- Ch 2 and Sl St into the top of the treble cluster to form a picot.
- Ch 4 and Sl St into the magic ring to complete one leaf.
- Repeat this process two more times to create three leaves.
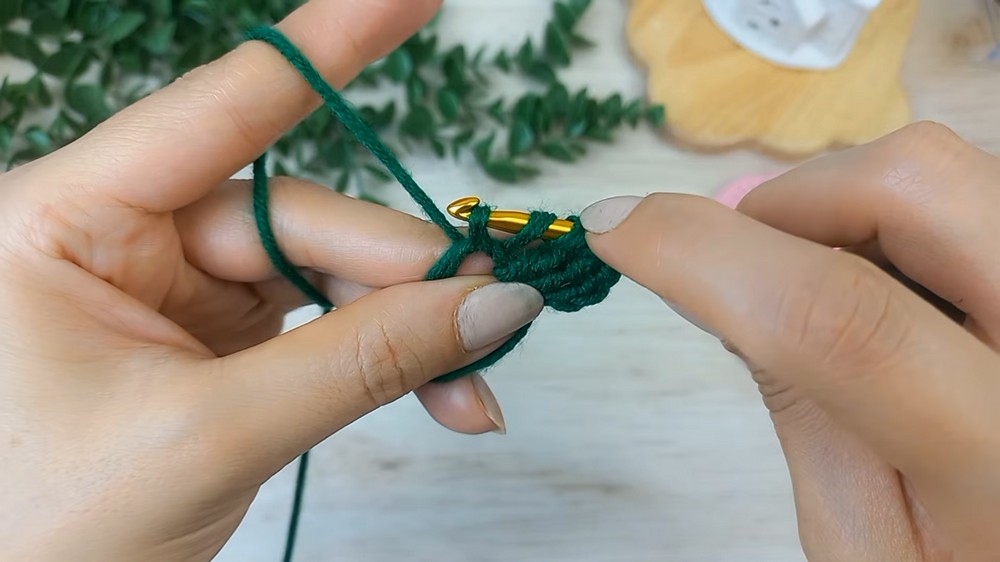
Part 3: Strawberry Stem (Green Yarn)
- Ch 6.
- Skip the first chain and work 1 SC into the back loop of each of the remaining 5 chains.
- Sl St into the magic ring and fasten off. Leave a long tail for sewing.
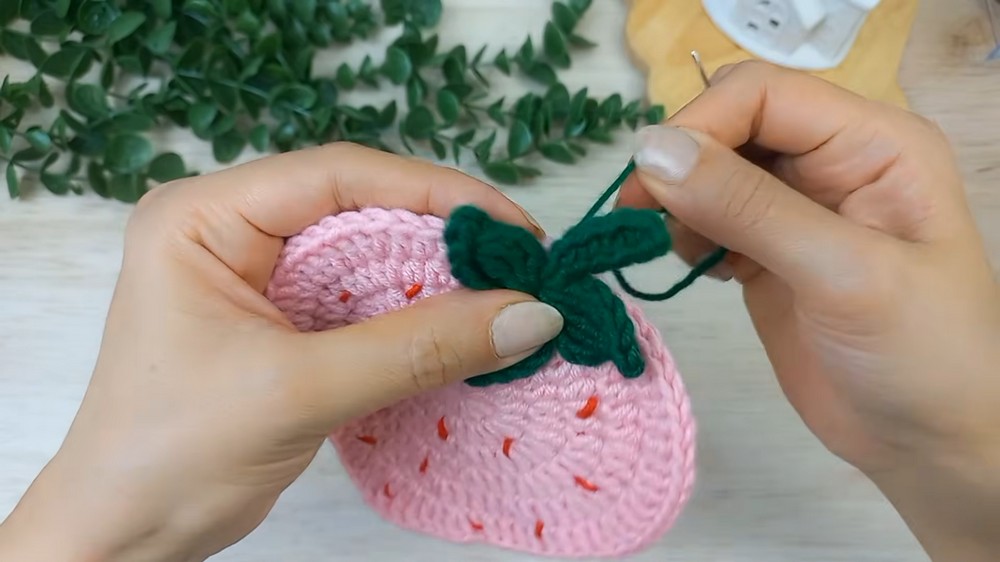
Assembly & Finished Size
- Attach Leaves and Stem:
- Use the yarn needle to sew the leaves and stem onto the top of the strawberry. Ensure they are evenly spaced.
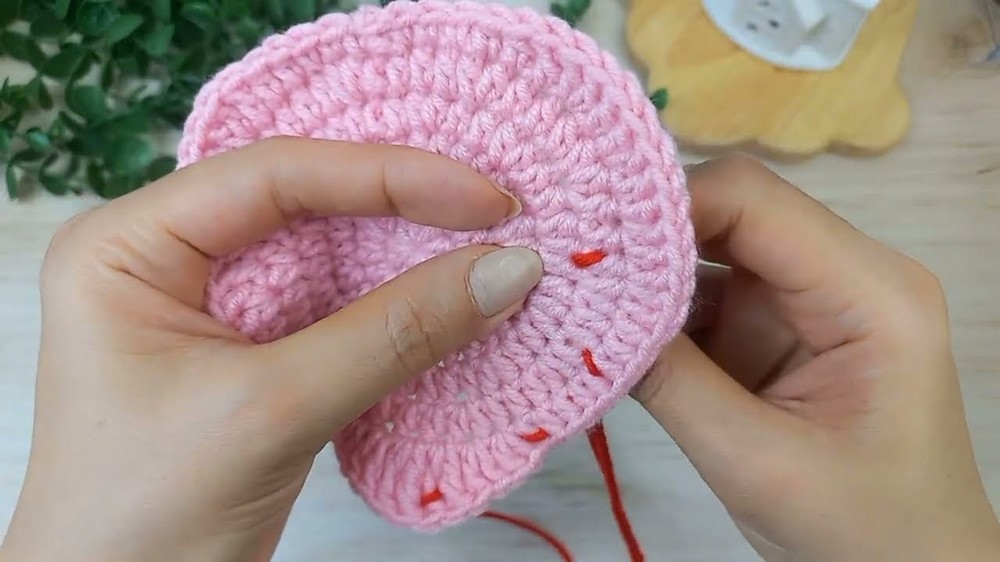
- Embroider Seeds:
- Take white or yellow yarn to embroider small seed like stitches across the strawberry.
- Weave in all the excess yarn tails and trim them.
The finished strawberry coaster measures approximately 12 cm (5 inches) in diameter.
Conclusion
Congratulations! Your strawberry coaster is now complete. This whimsical and colorful design is perfect for summer table settings or a thoughtful handmade gift. Experiment with different yarn colors to make strawberries in pink, purple, or other fun shades.