
Free Crochet Converse Shoes Pattern that Looks Super Real
Capture unforgettable newborn moments by stitching adorable sporty footwear with this free crochet Converse shoes pattern guide for perfect baby photoshoots.
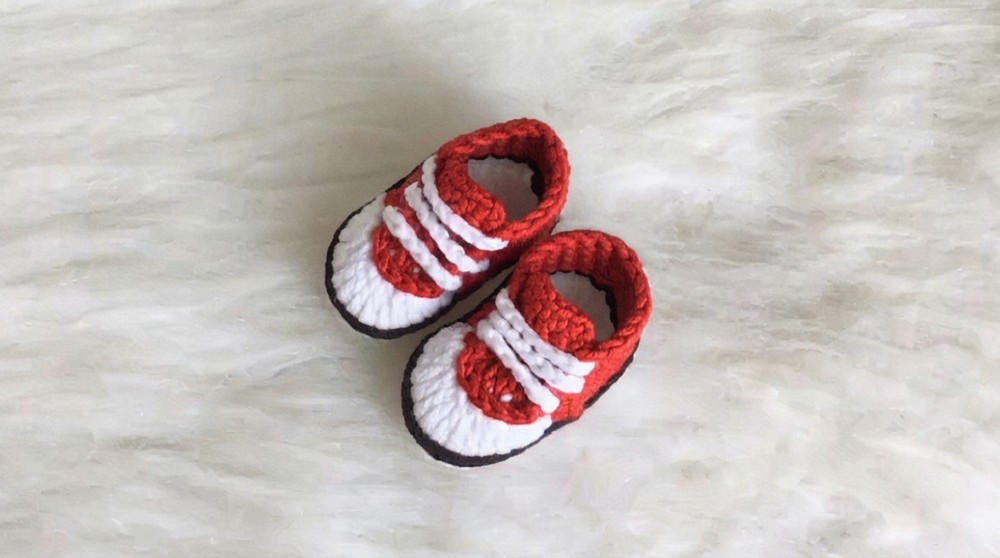
When I first tried making tiny shoes for my amigurumi dolls, I wanted them to look like real sneakers, not just simple slippers. That’s how this fun little project was born: a mini, doll sized version of classic Converse shoes. They have a sporty look, a neat rounded toe, and that recognizable side and tongue shape that makes them feel like tiny real shoes. You can work them in bold, bright colors or soft pastel shades, and they look amazing on any handmade doll or plush toy.
This Free Crochet Converse Shoes Pattern is especially friendly for beginners. It mostly uses the single crochet stitch, which is one of the easiest crochet stitches to learn. You’ll also use slip stitch and some simple decreases to shape the toe and sides. With these same stitches, you’ll be able to make other basics too, like baby booties, doll slippers, or little sock style shoes. Everything is explained in a clear way so even a young learner can follow along with patience and a bit of practice.
Free Crochet Converse Shoes Pattern for Indoor Lounging
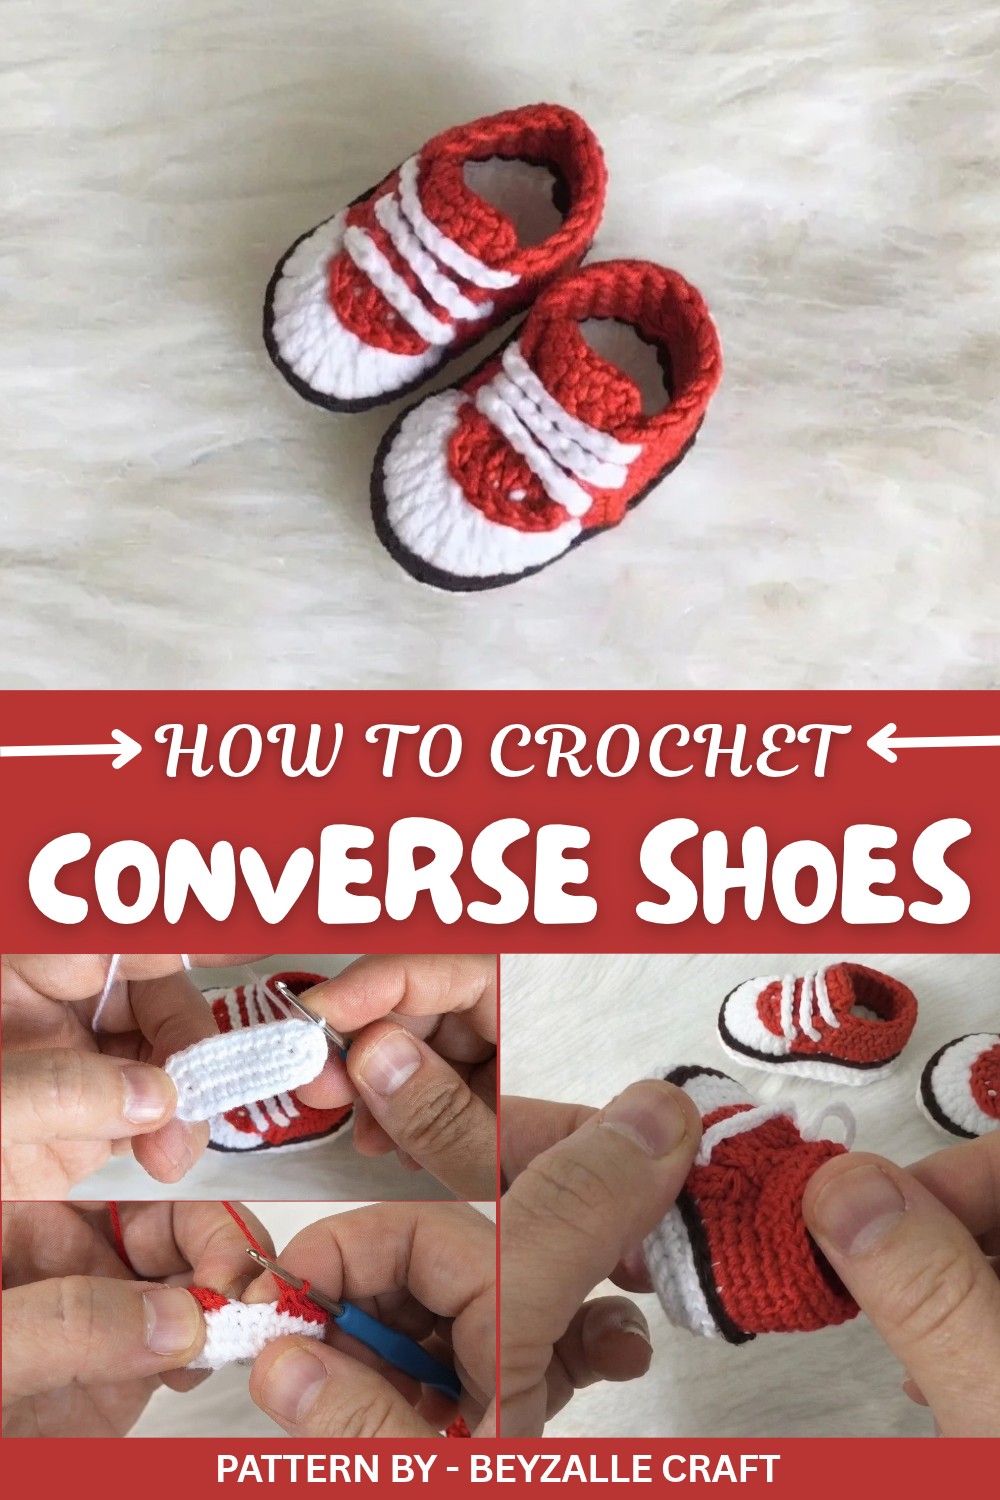
Featured By Beyzalle CRAFT
From this pattern, you will learn how to crochet a tiny shoe sole, build up the sides of the shoe, and shape the front so it curves over the doll’s foot like a real sneaker. You’ll see how color changes work for details like the sole stripe and tongue, and how to add chains to make laces. You’ll also understand how simple increases and decreases can change the shape from flat to three dimensional.
Once you understand this pattern, you can use the same idea to crochet other things. You can turn it into baby shoes by using soft cotton yarn and a slightly bigger hook. You can adapt the shape into boots, high top sneakers, or even slip on shoes. By changing colors and small details, you’ll have a whole collection of tiny footwear for dolls, toys, or decorative keychains.
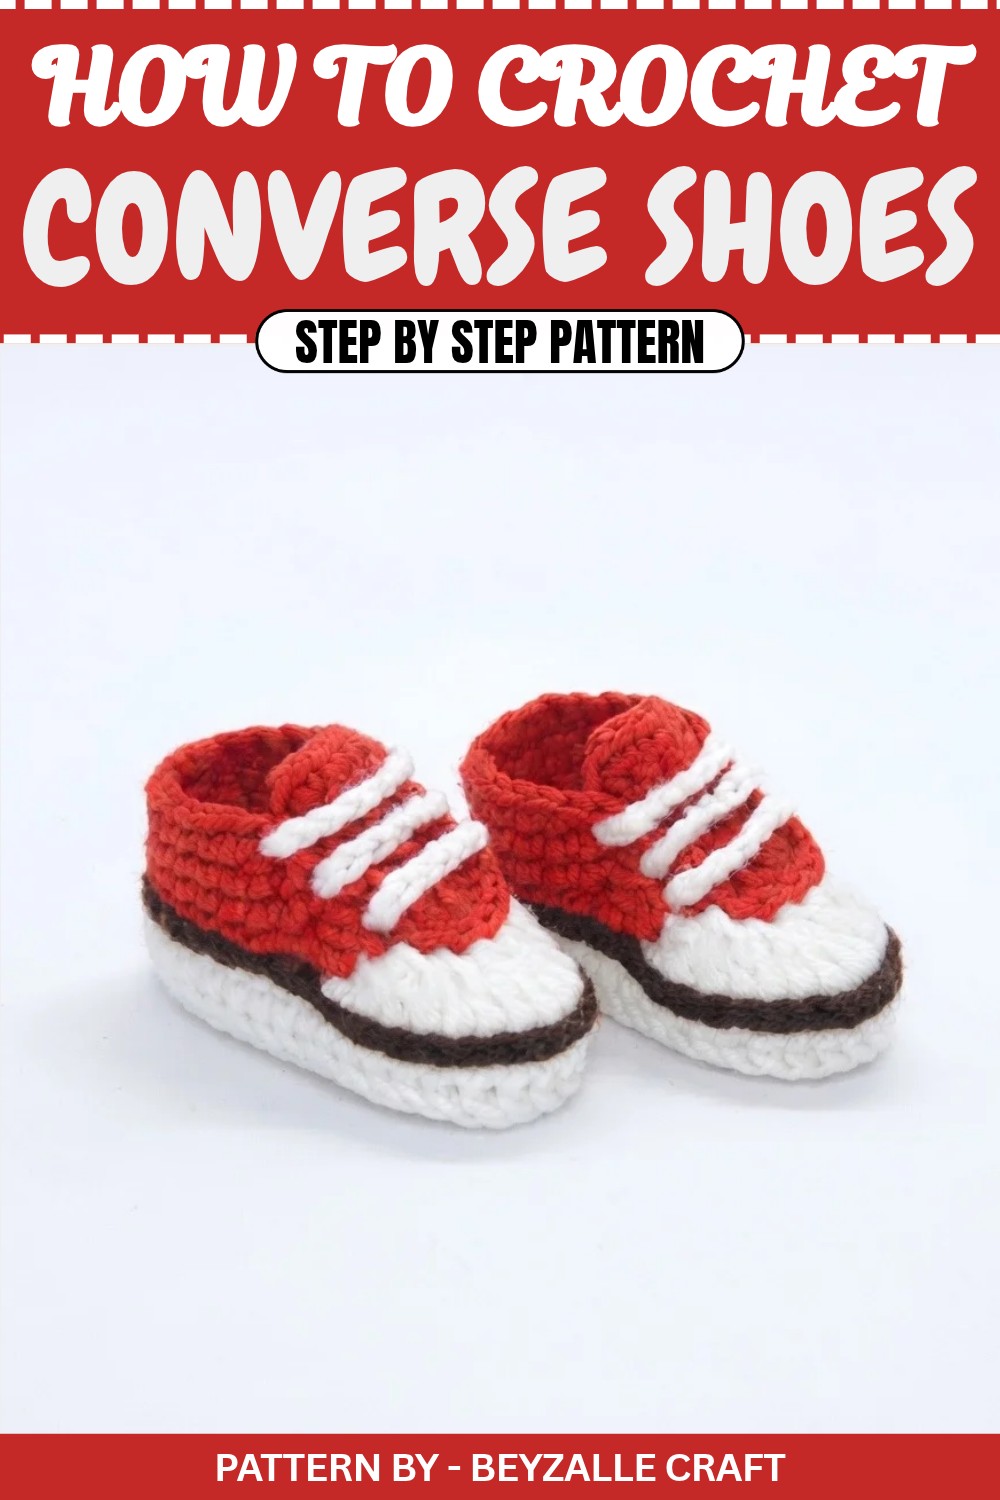
Converse Style Amigurumi Baby Shoe Crochet Pattern
Quick Overview of the Pattern
- Style: Converse style crochet baby shoes.
- Construction: Worked seamlessly from start to finish without cutting the yarn (except for color changes).
- Customizable: The shoe size can easily be adjusted for larger or smaller baby dolls by resizing the sole.
- Key Details: Rounded toe, classic shape, and shoelace customization.
Notes
- The pattern is designed for a 5 cm sole, but adjustments can be made by increasing rows in the sole portion to suit different doll sizes.
- For the best finish, use contrasting colors for the sole, upper portion, and shoelaces.
- Recommended for crocheters familiar with basic stitches and simple shaping techniques.
Skill Level
Beginner to Intermediate – Perfect for those comfortable with basic stitches such as single crochet (sc), slip stitch (sl st), and working increases/decreases.
Materials
- Yarn:
- White cotton yarn for the sole.
- Red yarn for the shoe body.
- Black or dark brown yarn (or contrasting color) for detailing.
- White yarn for shoelaces.
- Hook: 2.0 mm crochet hook.
- Scissors: For cutting yarn.
- Tapestry Needle: For weaving ends and assembling the shoelaces.
- Measuring Tape: To ensure the sole size is accurate.
Measurements / Sizing
- Sole Length: Designed for 5 cm but can be adjusted.
- Overall Shoe Size: Suitable for small baby dolls and amigurumi creations.
Gauge
- 10 sc stitches = 4 cm.
- 10 rows of sc = 4 cm.
Stitch Abbreviations
- ch: Chain
- sl st: Slip Stitch
- sc: Single Crochet
- inc: Increase (2 stitches worked into the same stitch)
- dec: Decrease (combine two stitches into one)
Special Stitches
- Invisible Decrease: Insert hook into the front loops of the next two stitches and complete as one stitch for a cleaner decrease.
- Working Into the Back Loop: Used in certain steps to create depth and definition.
The Crochet Pattern
Sole of the Shoe
- Foundation Chain:
- Start with white yarn.
- Ch 10.
- Row 1:
- Work 8 sc starting from the 2nd chain from the hook.
- In the last chain, work 4 sc. This creates a rounded toe.
- Continue working along the opposite side of the foundation chain with 7 sc.
- In the last chain, work 2 sc to complete the sole shape.
- Total stitches for Round 1: 21 stitches.
- Row 2:
- Ch 1, work 1 inc in the first stitch.
- Follow with 7 sc.
- In the next 4 stitches (the toe section), work 4 increases (2 sc in each stitch).
- Continue around by working 7 sc.
- To finish, work 2 increases in the last two stitches.
- Total stitches for Round 2: 28 stitches.
- Row 3:
- Ch 1, begin with 1 sc, then 1 inc.
- Work 8 sc along the side.
- In the toe section, alternate between 1 sc and 1 inc four times.
- On the opposite side, work 8 sc, followed by alternating 1 sc and 1 inc twice.
- Total stitches for Round 3: 35 stitches.
Shaping the Upper Part
- Row 4:
- Ch 1, work 35 sc into the back loops for better definition.
- Join with a sl st.
- Row 5:
- Ch 1, work a regular round of 35 sc.
Toe Section
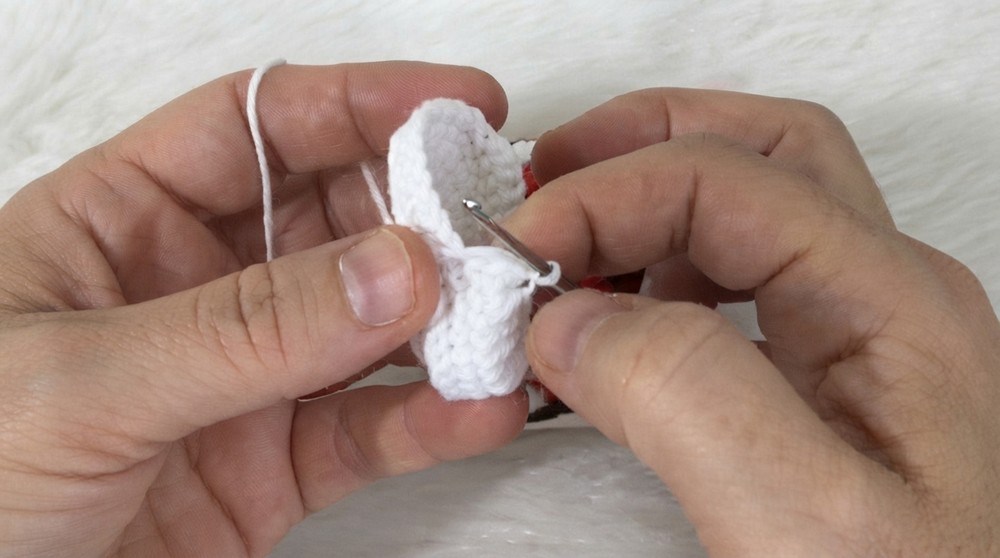
- Row 6 (Toe Reduction):
- Ch 1, work 18 sc.
- Begin decreases for the toe:
- Work 3 decreases using DC dec (double crochet decrease) across the next 6 stitches.
- Work 4 sc decreases, further shaping the toe area.
- Work 10 sc to complete the round.
- Finish the round by joining with sl st, reducing the count to 26 stitches.
Color Change
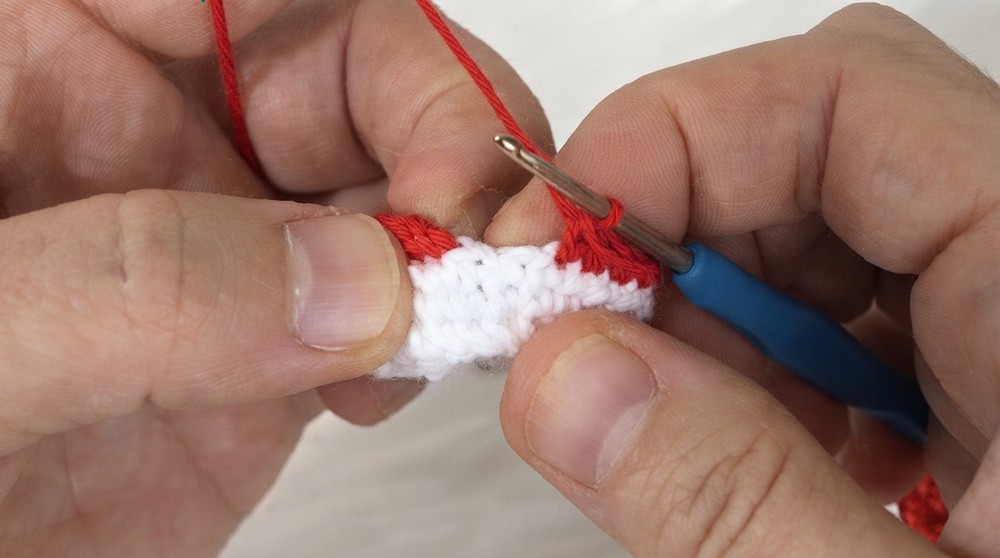
- Row 7:
- Change yarn color to red.
- Ch 1, work 6 sc, carrying the yarn strands along the inside.
- Perform 4 more decreases, shaping the top.
- Work in red for 10 sc, decrease the last stitches, and sl st to join.
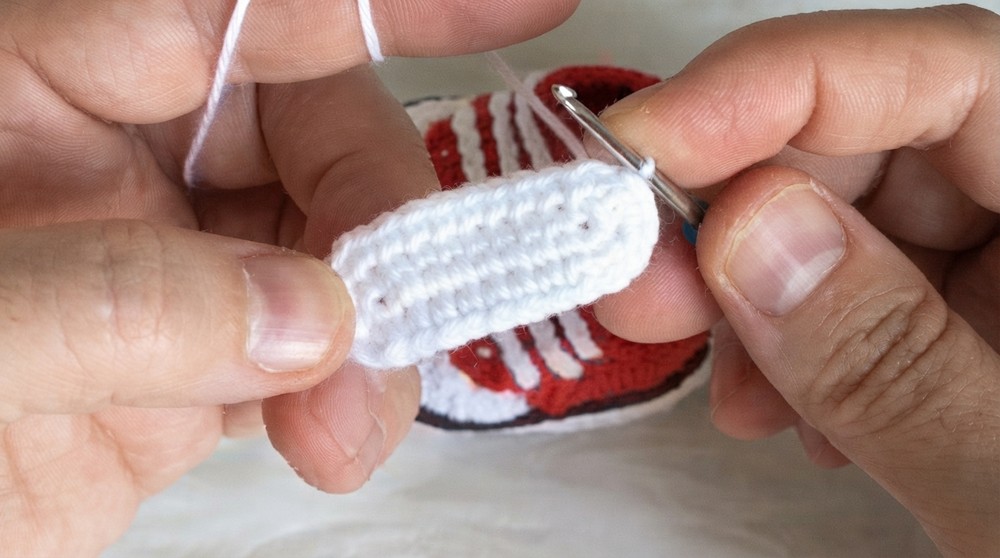
Tongue of the Shoe
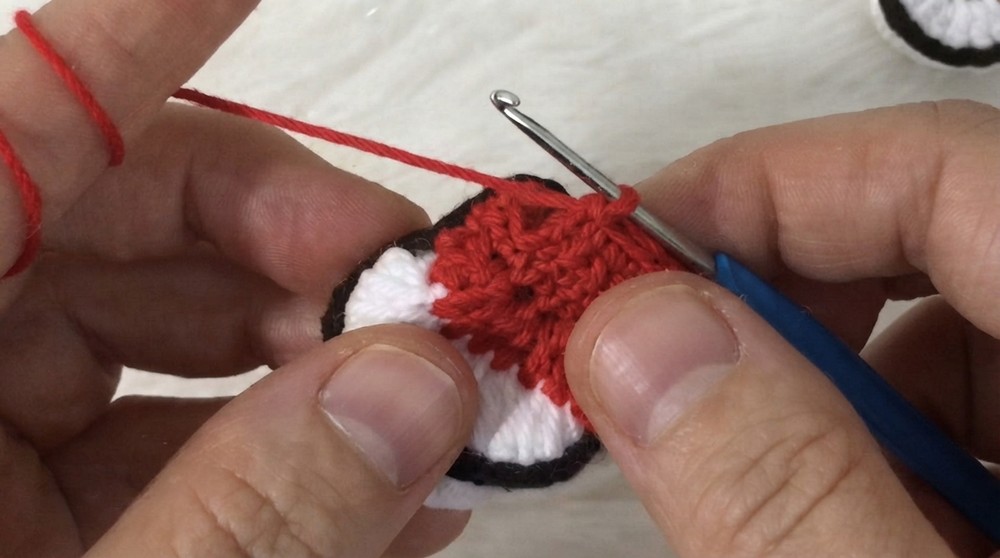
- Row 8:
- Attach red yarn.
- Ch 1, work 11 sc across the front.
- Alternate between forward rows of sc and backward rows of dec, forming the tongue over 4 rows.
- Secure the yarn and weave the tail inside.
Detailing the Inner Upper Section
- Row 9:
- Attach black/dark yarn.
- Work rounds of sl st around the edge of the shoe, ensuring a neat transition between the sole and the body.
Final Decorative Details
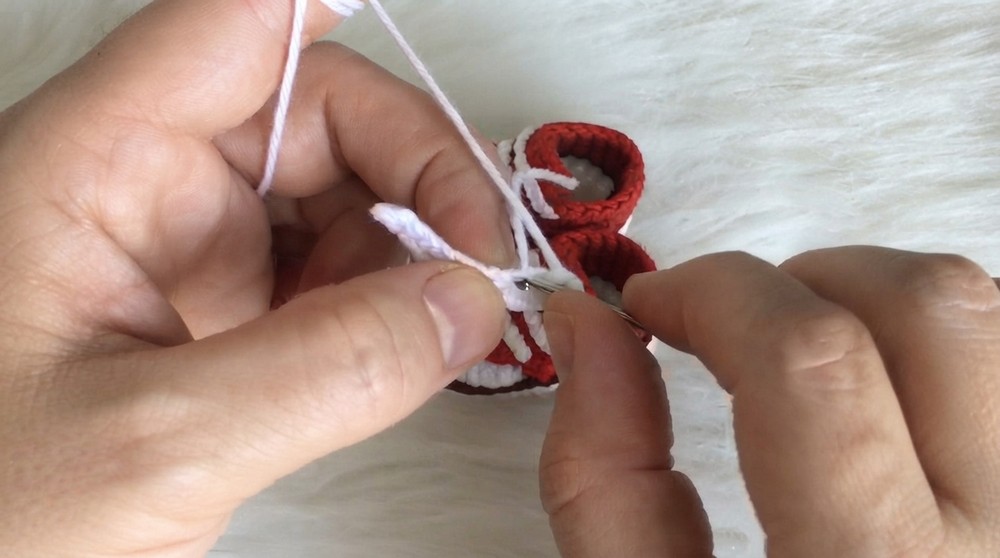
- Shoelace:
- With white yarn, work a foundation chain of 55 chains for the shoelace.
- Cut and secure the ends with a knot.
- Threading the Shoelace:
- Start at the toe section and thread the lace diagonally through the holes created around the edge of the shoe.
- Continue threading symmetrically through each row until the desired look is achieved.
- Tie the lace securely in a bow at the top.
Assembly & Finished Size
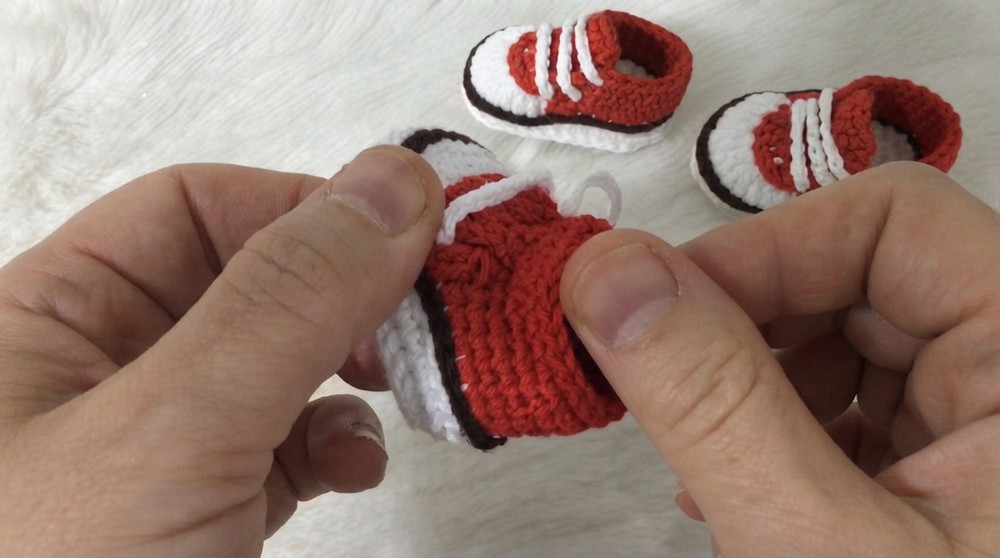
- Weave in all loose ends with the tapestry needle for a clean finish.
- Flatten the sole for proper foot placement, ensuring symmetry.
- Adjust shoelaces for tighter or looser fits.
Conclusion
Congratulations! You’ve completed the Converse-style amigurumi baby shoe. This fun and easy pattern creates a versatile piece that can be customized for different sizes and colors. Whether for a playful amigurumi doll outfit or baby accessory, this seamless design provides the perfect balance of form and function.