
Free Crochet Bow Headband Pattern for Trendy Hair Styling
Build a cute crochet bow headband with this free and simple pattern, perfect for amigurumi dolls, kids, or even yourself with adjustable sizes.
Whether made for amigurumi dolls or scaled to fit children or adults, this design combines simplicity with a touch of sophistication. Its versatility makes it perfect as a gift or a playful addition to a wardrobe.
This project begins with crocheting a delicate bow. The bow is tightly stitched yet easy to make, ensuring both durability and finesse. Wrapping the center of the bow gives it a clean and polished look, while the band that accompanies it is adjustable to a range of sizes. What stands out most is how straightforward the pattern is, the stitches, primarily single crochet and slip stitches, allow even beginners to create a beautiful result with ease. Additionally, the thickness created by double layers of single crochet adds strength and comfort, making the headband secure and stretchy without losing its shape.
Free Crochet Bow Headband Pattern to Match Any Outfit

The tutorial comes from Beyzalle CRAFT, a YouTube channel known for clear guidance on crochet projects. The creator's attention to detail simplifies the process, offering tips on adjusting the size of the bow and band for different users. She emphasizes the importance of loose chains for flexibility, ensuring the accessory sits comfortably without tightness.
The headband’s highlight is its gorgeous bow and its sleek design, which works great for dolls and humans alike. By following these creative instructions, you can make a timeless piece that combines beauty with practicality. If you enjoy quick and satisfying projects, this bow headband pattern is a fantastic choice.
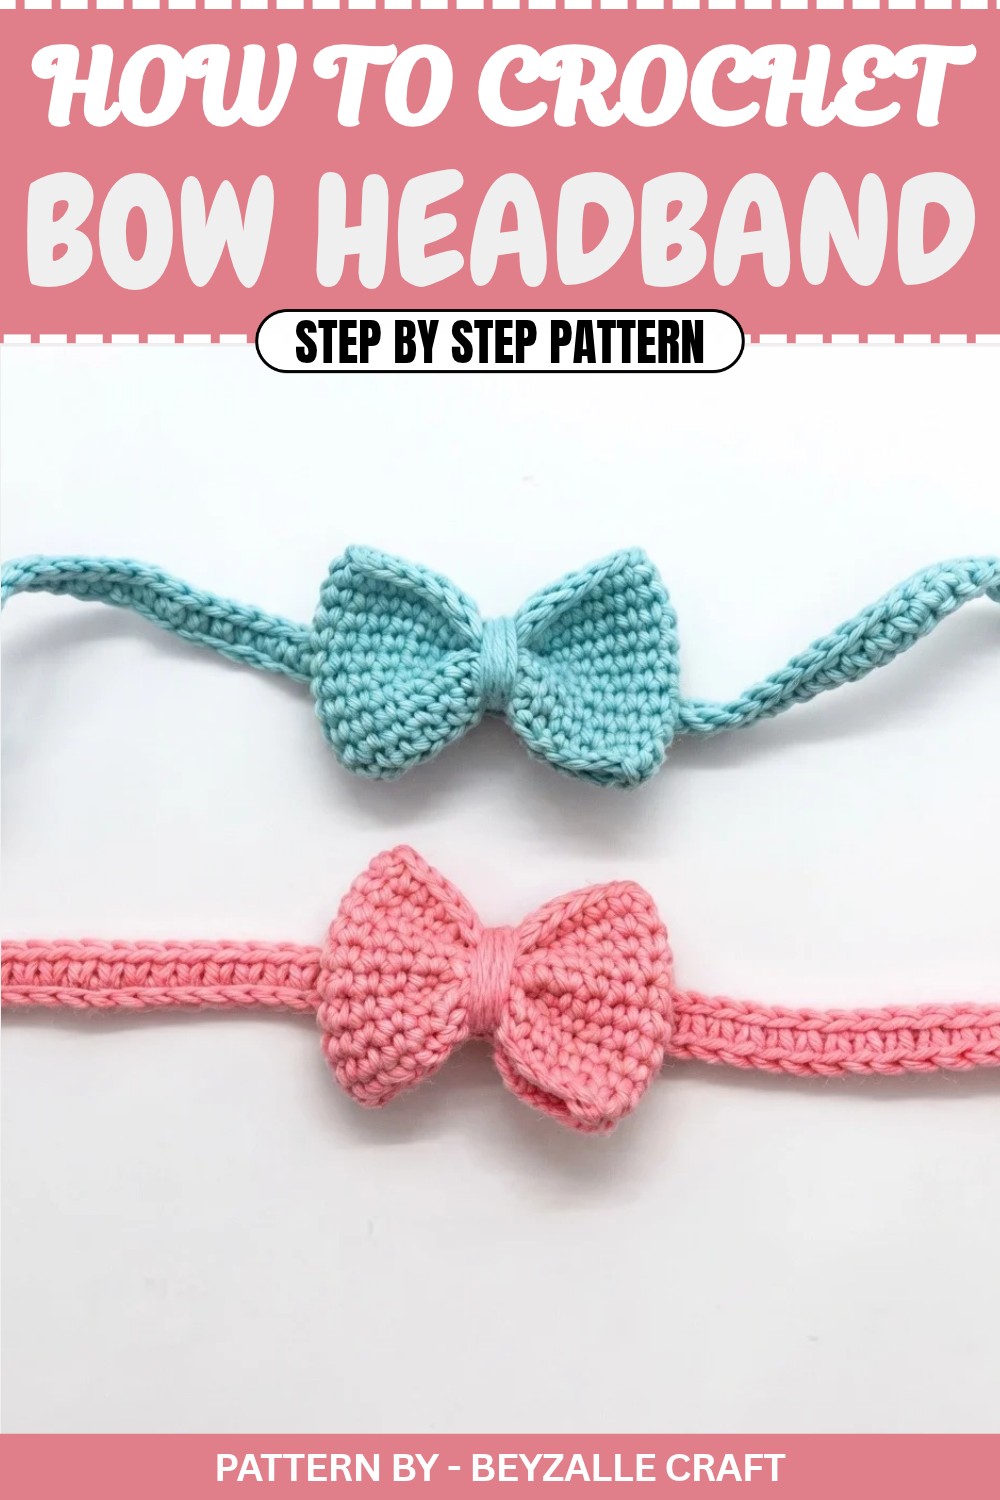
Crochet Bow Headband Pattern
Bring charm and effortless style to your amigurumi dolls or even for everyday use. This free crochet bandana pattern is versatile, and with just a few adjustments, you can create this accessory to fit larger sizes, such as your young ones at home. The pattern is beginner friendly yet detailed enough for perfection, helping you craft a fashionable bandana with a lovely bow accent.
Quick Overview of the Pattern
- Use a foundation chain to start the bow, followed by single crochet rows for structure.
- Wrap the finished bow center tightly to maintain its shape.
- Create the bandana strap with chains and single crochets.
- Add reinforcement with slip stitches and double layers for durability.
- Stitch the components together to create a firm, high quality bandana.
Notes
- Adaptable Size: The bandana can be made smaller or larger by adjusting the number of chains during setup.
- Neat Tension: Be mindful of tension while creating the chains—neither too tight nor too loose.
- Purpose: This bandana is perfect both for amigurumi dolls and real world use with sizing modifications.
Skill Level
Beginner to Intermediate. Basic skills such as chaining, single crochet, slip stitch, and sewing are required.
Materials
- Yarn: Medium weight yarn (choose color based on preference).
- Hook Size: Suitable for the yarn, typically 2.5 to 3.5mm for detailed work.
- Scissors: For clean yarn cutting.
- Tapestry Needle: To weave in ends and secure details.
Measurements / Sizing
- The bow foundation starts with 28 chains, which creates the ideal size for amigurumi dolls.
- If making for a child or larger size, increase the chain count and adjust the row repeats accordingly.
Gauge (Optional)
Gauge isn’t strictly necessary but ensures consistent sizing. Test with 10 single crochets and measure for neat tension.
Stitch Abbreviations
- ch = Chain
- sc = Single Crochet
- sl st = Slip Stitch
Special Stitches
- Slip Stitch (sl st): Insert the hook, yarn over, and pull through both loops on the hook.
- Single Crochet (sc): Insert the hook, yarn over, pull through, yarn over again, and pull through both loops on the hook.
The Crochet Pattern
Step 1: Create the Bow
- Begin by chaining 28.
- Make sure to pull your chains loosely—but not excessively loose—to avoid tension issues.
- If you want a larger bow, increase the chain count.
- For a smaller bow, reduce it.
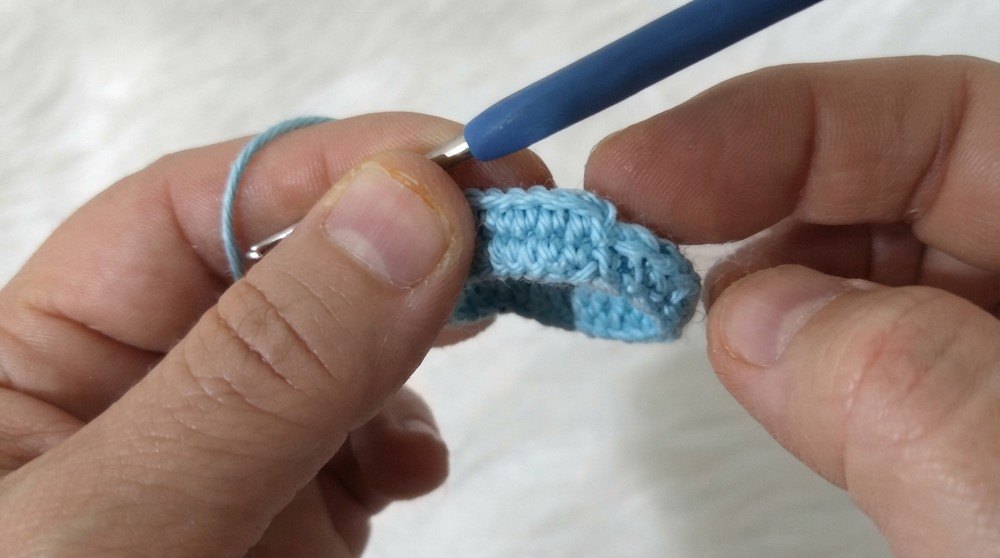
- Row 1:
- Join the foundation chain into a circle by slip stitching (sl st) into the first chain.
- Chain 1, then work 1 sc into the same st where you made the sl st.
- Continue working 1 sc into each chain until you return to the starting point.
- Count your stitches to match the chain count (28 sc).
- Join with a slip stitch into the top of the first sc.
- Rows 2–10:
- Chain 1, work 1 sc into the same stitch, and repeat 1 sc across.
- You’ll work a total of 10 rows (including the initial row). Adjust the row count if you wish for a larger or smaller bow.
- Once complete, join the last row with a sl st. Fasten off, ensuring the loop won’t unravel.

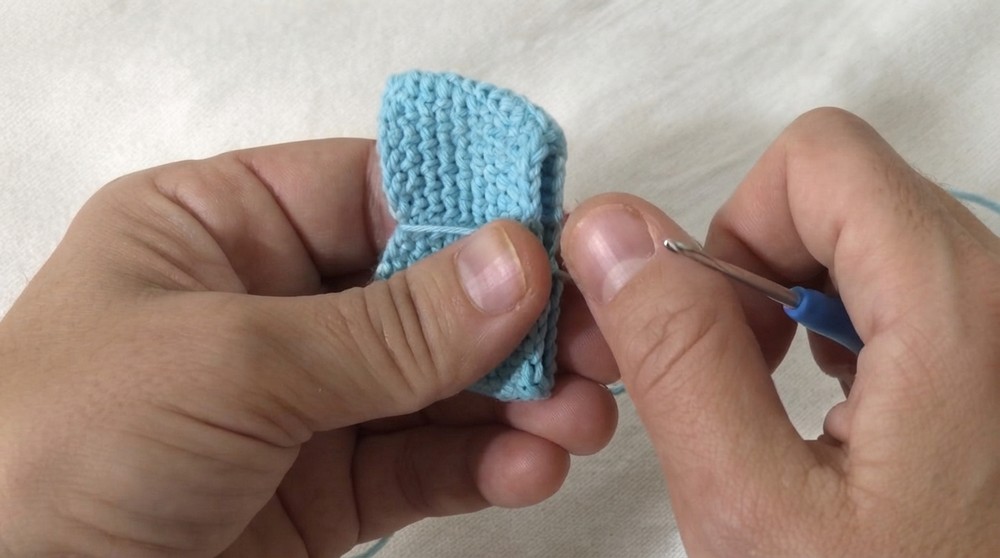
Step 2: Shape the Bow
- Fold the fabric to locate the center point.
- Twist yarn tightly around the middle of the bow to cinch it and create a classic bow shape.
- Wrap the yarn around the center a few times to secure the shape.

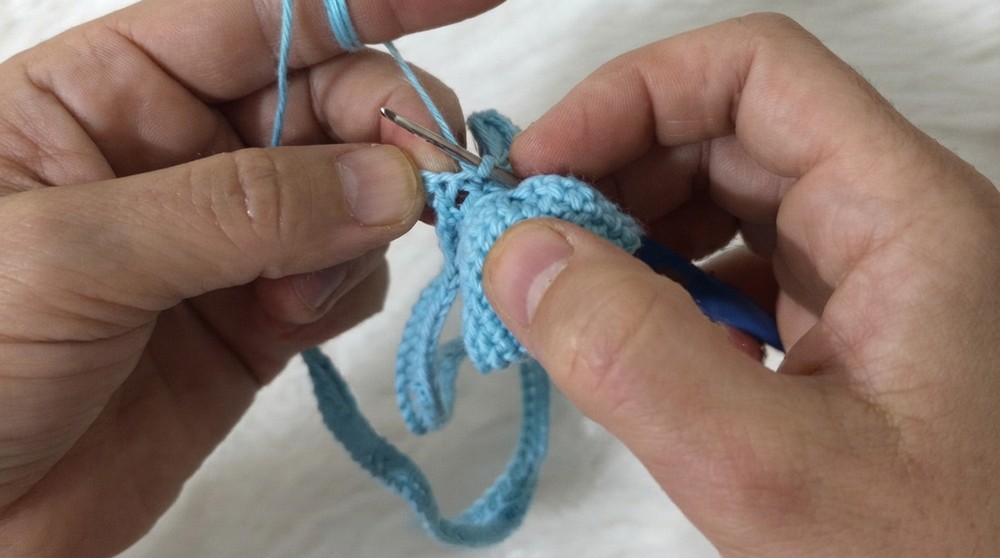
Step 3: Create the Bandana Strap
- Foundation:
- Attach yarn at the center point of the bow using a sl st.
- Chain 54 (for amigurumi dolls); adjust the number of chains as needed for larger sizes.
- Row 1:
- Starting in the 2nd chain from the hook, work 1 sc into each chain until the starting point.
- Once complete, work 1 sc into the base of the bow to secure it.
- Create the second strap:
- On the opposite side of the bow, repeat steps to chain 54.
- Work 1 sc into the 2nd chain from the hook and proceed back toward the bow.
- Join with a sl st to the base of the bow.
Step 4: Reinforce the Bandana
- First Side Reinforcement:
- Chain 1, then work sl st onto the strap and sc stitches.
- Reinforce the strap to prevent excessive stretching and add durability.
- Second Row:
- Chain 1, and work another row of sc across the strap, ensuring tight and sturdy rows.
- Repeat this method for both straps.
Step 5: Assembly
- Once the straps are reinforced, tie the ends securely in a bow or knot when placing it on a doll or person.
- For added sturdiness, use a tapestry needle to stitch the bow and bandana pieces together with a few neat stitches.
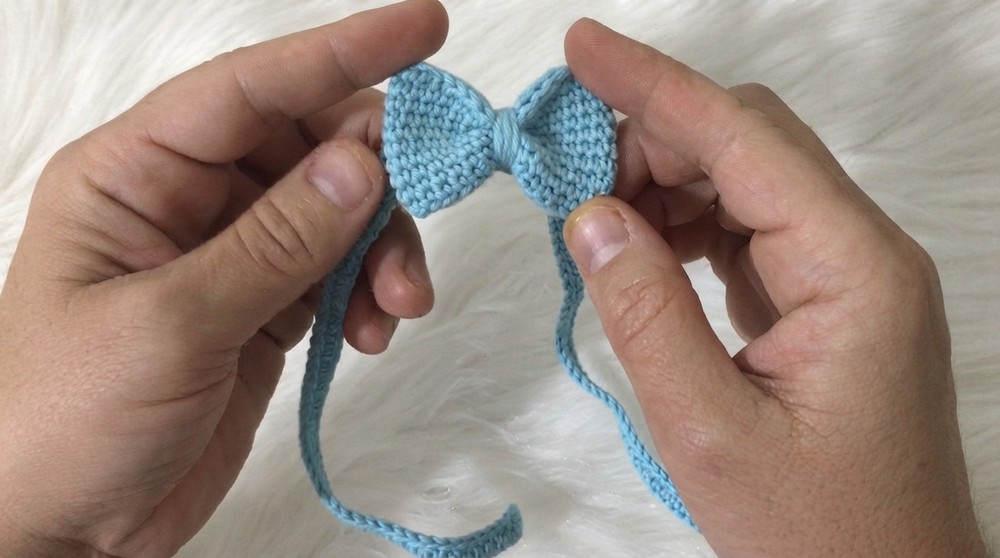
Finished Size
The project is tailored to suit amigurumi sized dolls but is easily scalable for human sizes by adjusting the foundation chain and strap lengths. The finished bandana features a stylish bow centerpiece with delicate straps perfect for tying around the head.
Conclusion
Congratulations on completing a beautiful crochet bandana! Whether you’re crafting for an adorable amigurumi doll or a little one at home, the versatility of this pattern makes it a must have accessory in your repertoire. Experiment with different yarn colors and textures to create a variety of looks.