
Free Crochet Book Cover Pattern for Pretty Book Gifts
Make a colorful and practical crochet book cover with this free pattern, perfect for adding a creative touch to your favorite reads.
A handmade book cover adds charm and function to your everyday essentials. This crochet project is perfect for protecting your books, Kindle, or journal while showcasing your personal style. Featuring clean checkerboard sections in alternating colors, the textured surface catches the eye and feels smooth to the touch. Its rectangular shape hugs your items comfortably, offering both protection and elegance in one thoughtful piece.
FETURED BY: Emma Warrender
Free Crochet Book Cover Pattern for Quick Crochet Fun
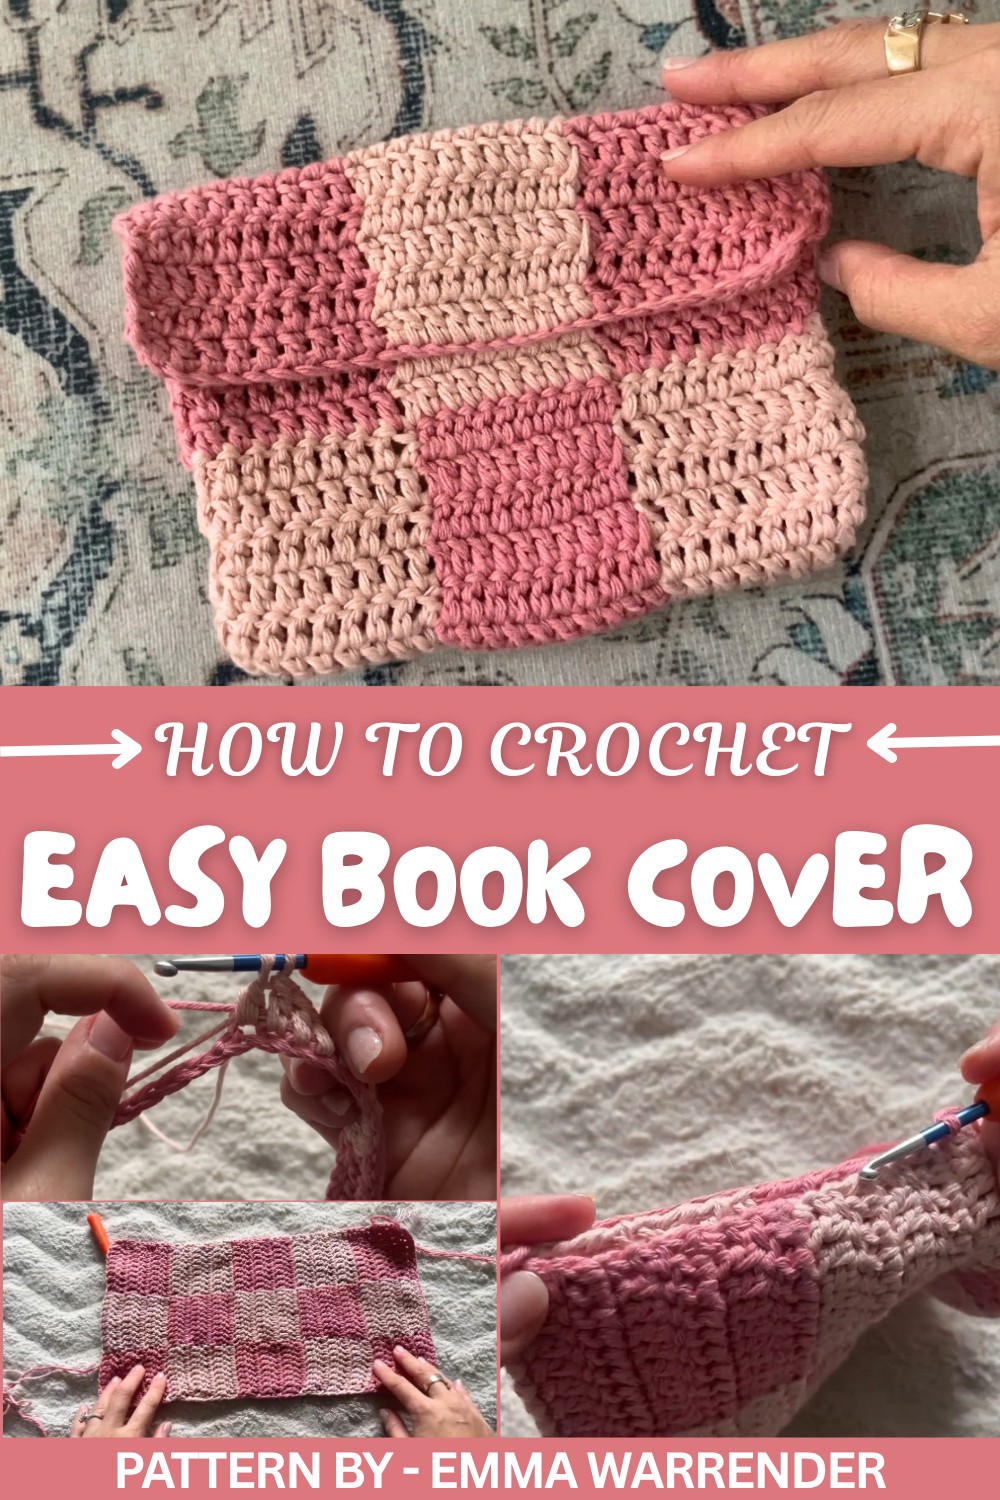
This pattern focuses on simple stitches like double crochet and introduces easy color changes to achieve its striking checker design. Soft cotton yarn pairs well with this project, ensuring crisp stitch edges and providing durability for frequent use. Lightweight yarn creates a smooth finish, while chunkier options add warmth and boldness to its appearance, both are great choices depending on your preference.
This cozy crochet book cover makes an excellent gift for bookworms, students, or anyone who loves thoughtful handmade items. Soft colors bring a gentle elegance, while bold shades add excitement—it’s entirely up to you. It’s not just a protective cover but a chance to add personality to something you use every day. Whether for holidays, birthdays, or just because, it’s the perfect way to combine practicality with creativity.
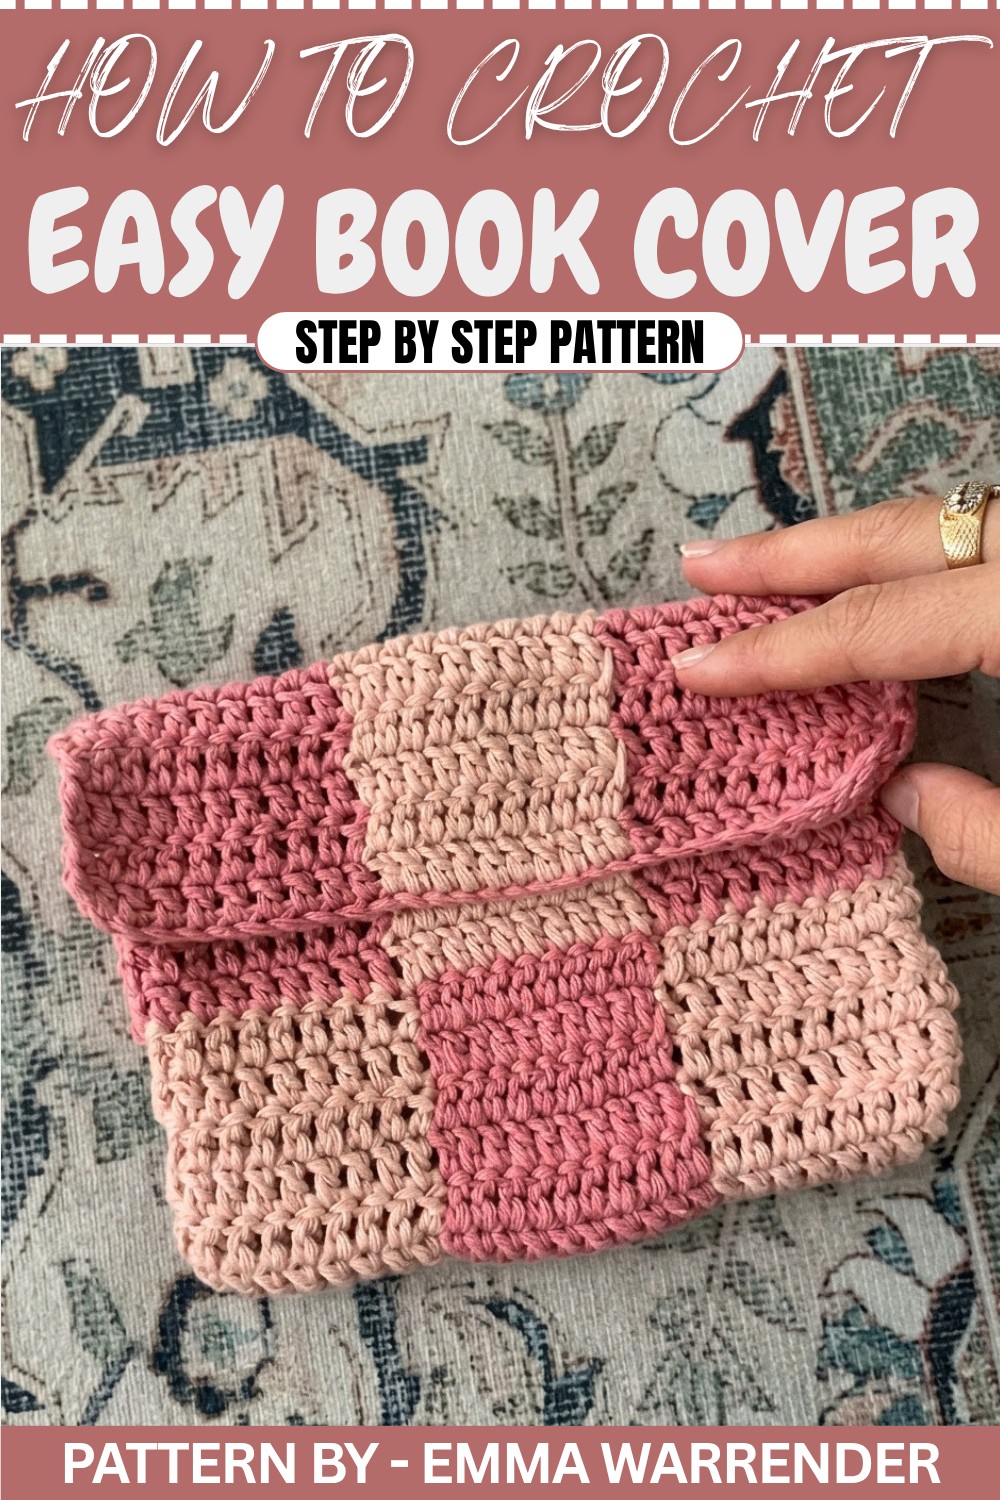
The idea for this book cover came from the need for a mix of practicality and a fun creative outlet, offering a solution that is as stylish as it is functional. Fully customizable sizes allow adjustments for larger items like tablets or smaller objects like pocketbooks. Adding details such as buttons, appliqués, or fringe elevates the design and gives it character.
Checker Print Book Cover Crochet Pattern
Quick Overview of the Pattern
- Project: Crochet Checker Print Book Cover
- Purpose: To protect books, laptops, or electronic devices like Kindles.
- Features: Adjustable size, checkerboard design, snug fit for protection.
Notes
- Each checkered square measures approximately 7 cm x 7 cm (10 stitches wide and 6 rows tall).
- Colors alternate every 6 rows, creating a checkerboard pattern.
- Always carry the unused yarn over as you crochet to avoid needing to sew in extra ends later.
- Keep the device nearby for measuring as you work to ensure a perfect fit.
Skill Level
Easy – Great for crocheters who are comfortable with double crochet, color changes, and slip stitches.
Materials
- Yarn: Two colors of medium weight yarn (e.g., pink shades for a feminine look, or any two contrasting colors).
- Hook: 4 mm crochet hook.
- Scissors: To trim yarn ends.
- Measuring Tape: To ensure the correct panel size.
Measurements / Sizing
- Width: Adjust the chain length to match the width of your device. Ensure that the chain count is divisible by 10.
- Length: The final panel should be twice the height of your device, with an additional flap if desired.
Gauge
10 stitches x 6 rows of double crochet = 7 cm x 7 cm square.
Stitch Abbreviations
- ch: Chain
- dc: Double Crochet
- sl st: Slip Stitch
- yo: Yarn Over
Special Stitches
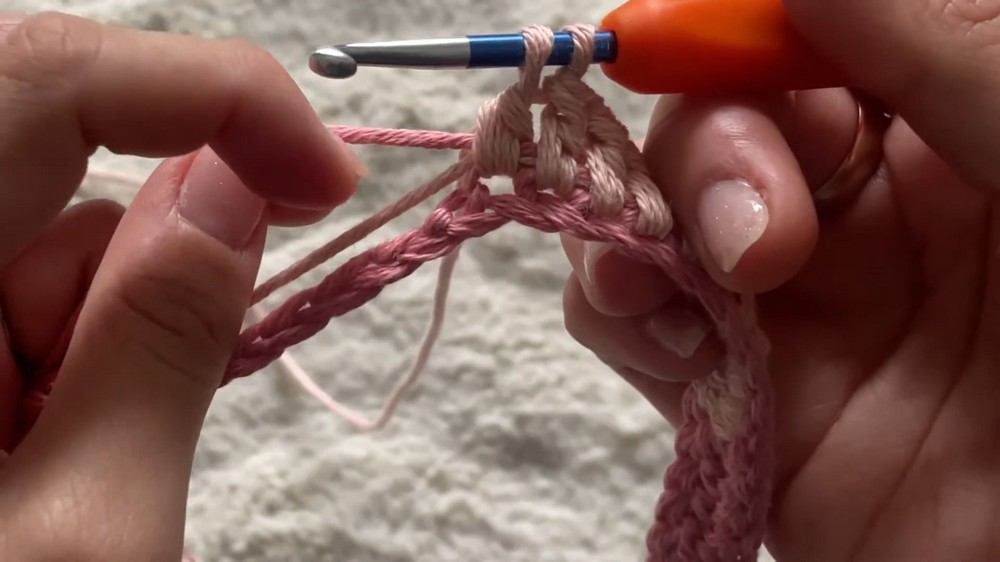
- Color Change in Double Crochet: Do not complete the last pull through of your final double crochet. Instead, drop the current yarn, yarn over with the new color, and pull through the remaining loops to complete the stitch with the new color.
The Crochet Pattern
Foundation Chain
- Create a slip knot on your hook.
- Chain 30 (or any number divisible by 10) to match the width of your chosen device.
- Add 2 additional chains for the turning chain.
Row 1: First Checker Row (Base Color)
- Starting Double Crochet:
- Yarn over, insert your hook into the third chain from the hook.
- Pull through, yo, pull through the first two loops, yo again, pull through the last two loops. (This is your first double crochet).
- Continue in Base Color:
- Work a total of 10 dc in the base color (e.g., dark pink).
- Color Change:
- On the 10th double crochet, yo and pull through only the first two loops.
- Drop the base color, yo with your second color (e.g., light pink), and pull through the last two loops to complete the stitch.
- Second Checker Block (Second Color):
- Work 10 dc in the second color.
- Repeat:
- Alternate between 10 stitches in the first color and 10 stitches in the second color until you complete the row.
- Turn Your Work:
- At the end of the row, chain 2, then turn your work to begin the next row.
Rows 2 to 6: Matching Checker Rows
- Work 10 dc in the first color (match the checker block from the row below).
- Switch to the second color after every 10 stitches using the color change method described above.
- Repeat this alternating color pattern for a total of 6 rows, maintaining the checkerboard alignment with rows below.
- At the end of Row 6, you will have one row of squares complete.
Row 7: Shift Checkerboard Pattern
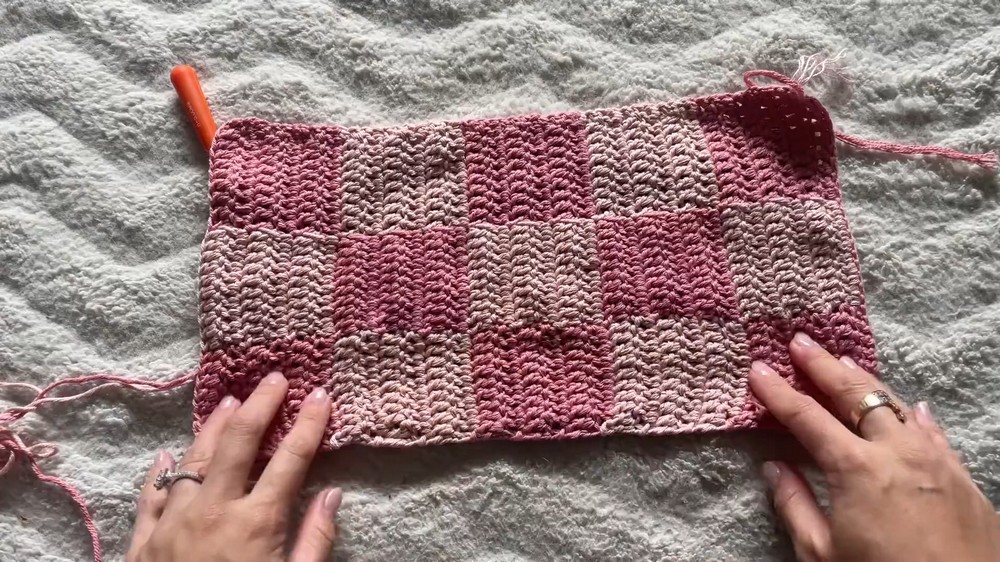
- On Row 7, bring both yarns to the current end of the row to prep for a new pattern shift.
- Continue the alternating colors, but now begin the row in the second color (light pink), followed by the first color (dark pink) for the next 10 stitches.
- This creates the pattern shift so that checkers alternate vertically and horizontally.
Rows 7 to 12: Second Checker Row
- Work 6 rows in this new color alignment (starting the row in the second color).
- Repeat the same process: alternate every 10 stitches, changing colors as described above.
Continue the Pattern
- Repeat the process of alternating colors every 6 rows until your panel reaches double the height of your device.
- Optional Extension: Add an extra row of squares beyond the required height to create a fold over flap for better closure.
Assembly
Step 1: Fold and Align
- Lay your completed panel flat.
- Fold the panel in half with the checkerboard pattern matching up on both sides.
- If creating a flap, leave an appropriate portion of the panel unfolded to act as the fold over cover.
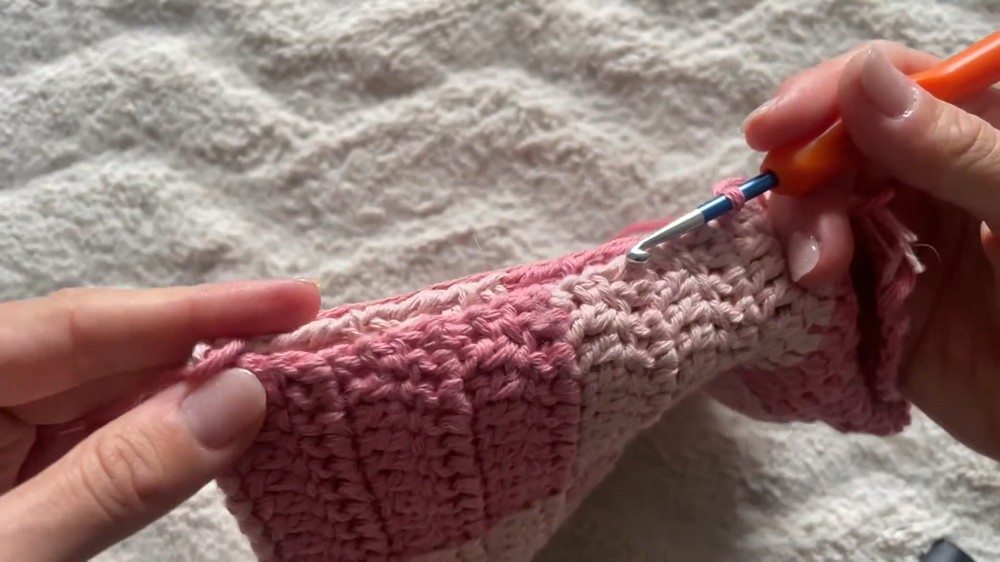
Step 2: Slip Stitch to Join Sides
- Attach Yarn:
- Start at the bottom corner of the folded panel. Attach yarn to the corner.
- Slip Stitch Along the Edges:
- Insert your hook into the first stitch of the front and back layers.
- Yarn over, pull through both layers, and pull through the loop on the hook (slip stitch).
- Continue slip stitching evenly along the side, matching the squares on both layers.
- Finish the Edge:
- Once you reach the top of the seam, chain 1, cut the yarn, pull through, and tighten to secure the connection.
- Repeat for the Other Side:
- Attach your yarn to the second bottom corner and repeat the slip stitch procedure to seam the second side.
Final Steps
Step 3: Weave in Loose Ends
- Use a yarn needle to weave in all remaining yarn tails securely along the seams or back of the work. Trim any excess yarn.
Step 4: Turn Right Side Out
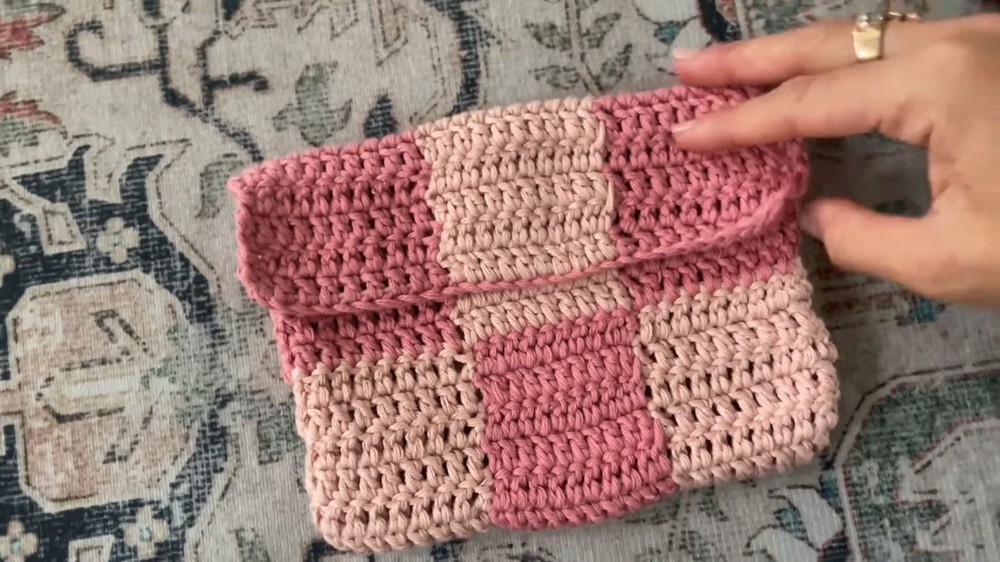
- Turn the stitched cover right side out to hide the seams.
Finished Size
The completed cover will snugly fit your device. For this example, a Kindle cover with 5 squares x 3 squares (plus a flap) was created to fit a 20 cm x 17 cm Kindle.
Conclusion
Congratulations on completing your checker print book cover. This handmade gadget protector is as stylish as it is practical. Whether you’re using it as a Kindle cover, laptop sleeve, or book protector, this pattern is perfect for showing off your creativity.