
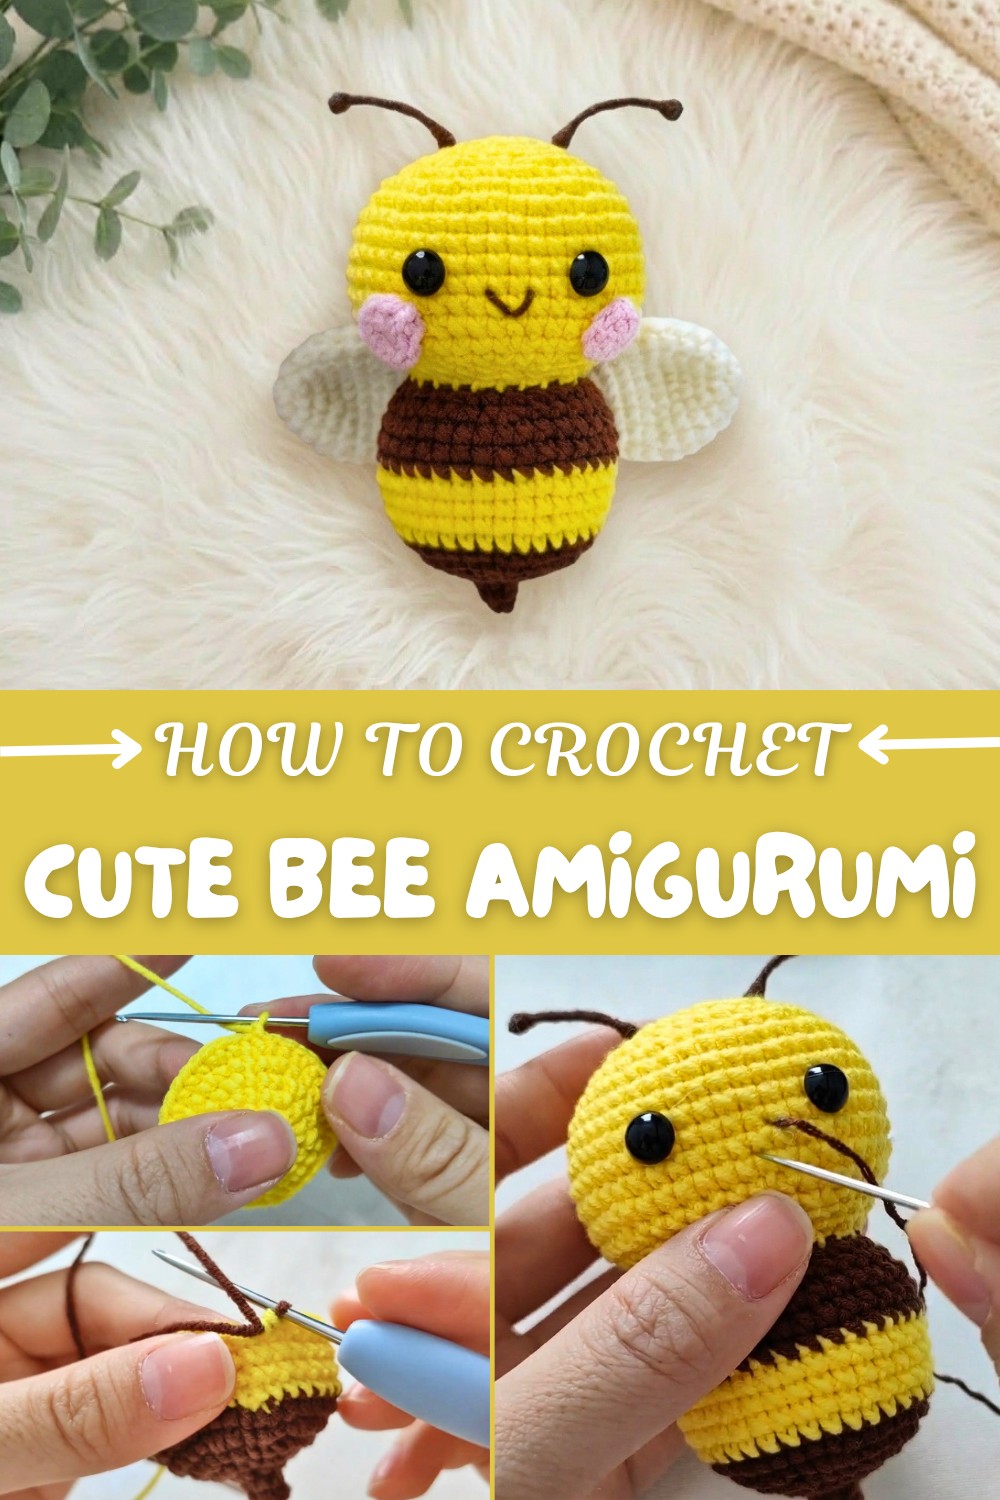
Free Crochet Bee Amigurumi Pattern with Color Changes
Follow this free crochet bee amigurumi pattern with simple steps to make a cute and fun bee design that's perfect for decorating or gifting.
This small bee is friendly and bright, with soft stripes of yellow and brown that look very cheerful. Its round shape and tidy rows stand out right away, giving it a classic and sweet look. The little face has cute cheeks, a gentle smile, and two short antennae, which add a lot of personality. The wings on each side are soft and light, completing its playful style, and the squishy body feels pleasant to hold thanks to the even, tight stitches.
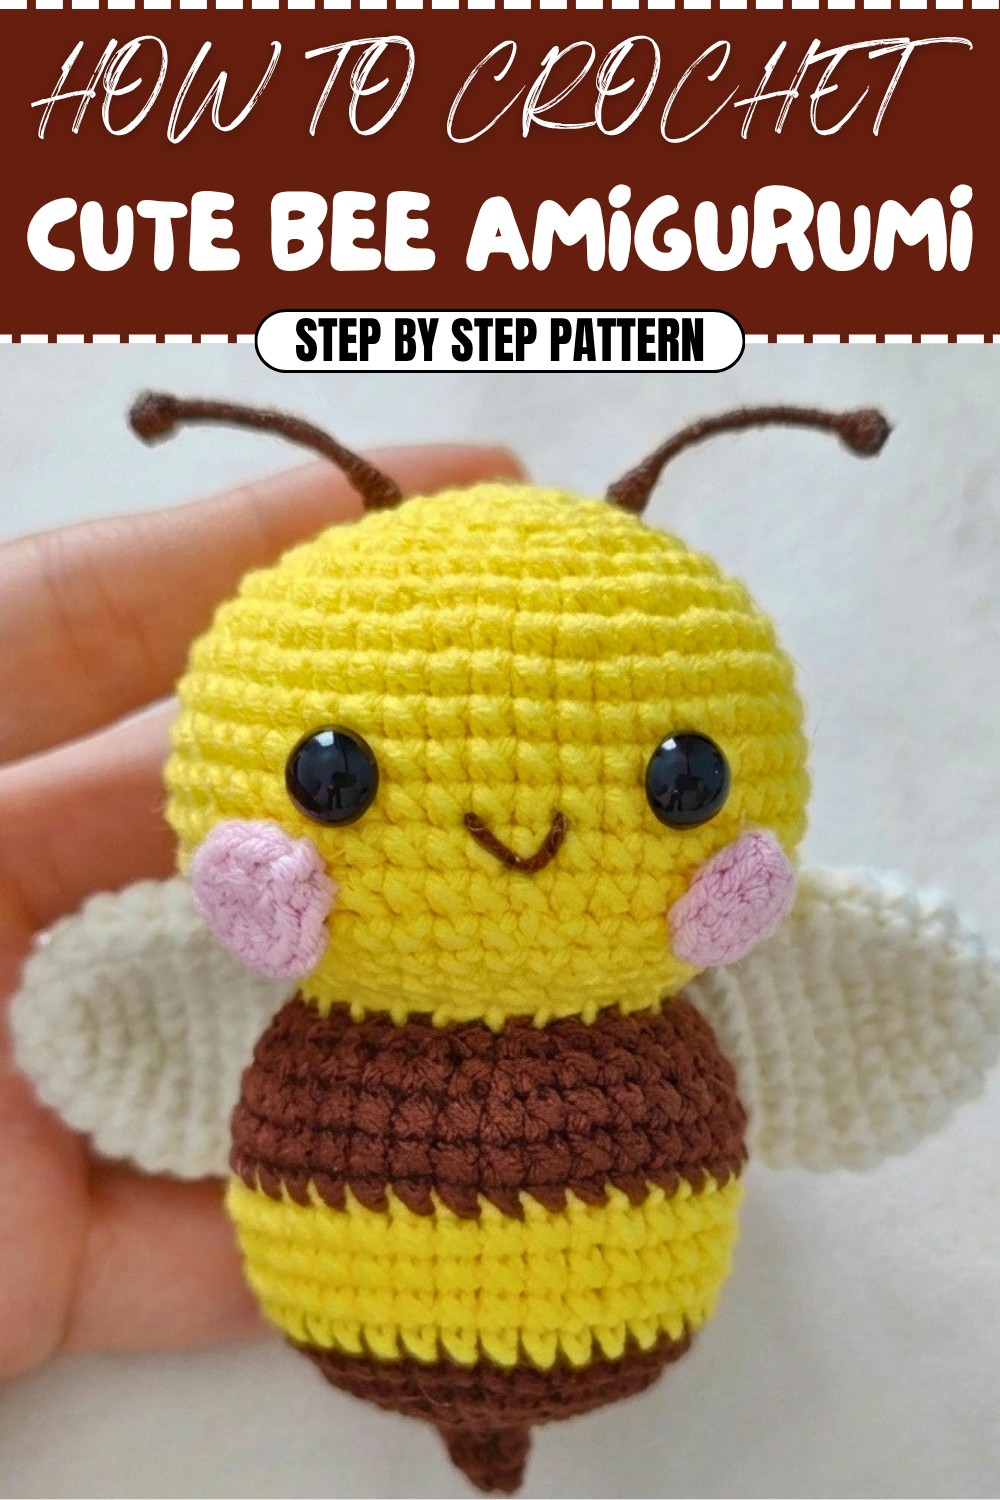
Free Crochet Bee Amigurumi Pattern for Gift Ideas
Crocheters find this bee easy to put together, with simple steps that help each piece fit into place, body, cheeks, wings, and antennae. The pieces go together in neat stages, so it feels satisfying as the bee comes together. By changing the yarn color or size, more little bee friends appear for a matching set or a fun group.
This soft toy fits nicely as a small decoration around the home, on a desk, shelf, or table. Attach a small loop, and it becomes a cute keychain or bag charm. It works well as a small handmade gift for loved ones, and kids will like it for playtime or as a comfort toy. This sunny bee, with its bright stripes and happy face, spreads smiles wherever it goes, and gives a boost of color to any space.
Little Crochet Bee Amigurumi – Step-by-Step Pattern
This pattern will guide you step-by-step through crocheting each part: head, body, wings, cheeks, and then assembling your adorable bee. The design is aimed at confident beginners and intermediate crocheters. The bee is perfect as a cute toy, decoration, or gift, and uses simple rounds, increases, decreases, and color changes. Each step includes an easy explanation for those who prefer instructions over formal crochet language. Let’s get started!
Skill Level & Terminology
Skill Level: Confident Beginner
Terminology: US Crochet Terms
If you know how to make a magic ring, single crochet, slip stitch, increase/decrease and basic color changes, you can make this bee!
Materials & Tools
- Yarn: DK/Light worsted yarn in yellow, brown, white, pink (for blush), and black (for eyes & mouth)
- Crochet Hook: 3 mm or 3.5 mm
- Stuffing: Polyester fiber fill
- Scissors
- Tapestry/yarn needle
- Stitch markers
- Fabric glue (to attach small parts or blush, optional)
- Optional: Black felt or safety eyes for the eyes
Gauge
Gauge is not crucial for toys, but small stitches make a tight fabric.
- Finished bee size: ~7–10 cm (3–4") tall (depending on yarn & hook)
- Make sure stitches are firm so stuffing doesn’t show.
Abbreviations List
| Abbreviation | Meaning |
|---|---|
| MR | Magic ring |
| ch | Chain |
| sc | Single crochet |
| sl st | Slip stitch |
| inc | Increase (work 2 sc in next st) |
| dec | Decrease (sc 2 together) |
| st(s) | Stitch(es) |
| BLO | Back loop only |
| FO | Fasten Off |
Special Stitch Instructions
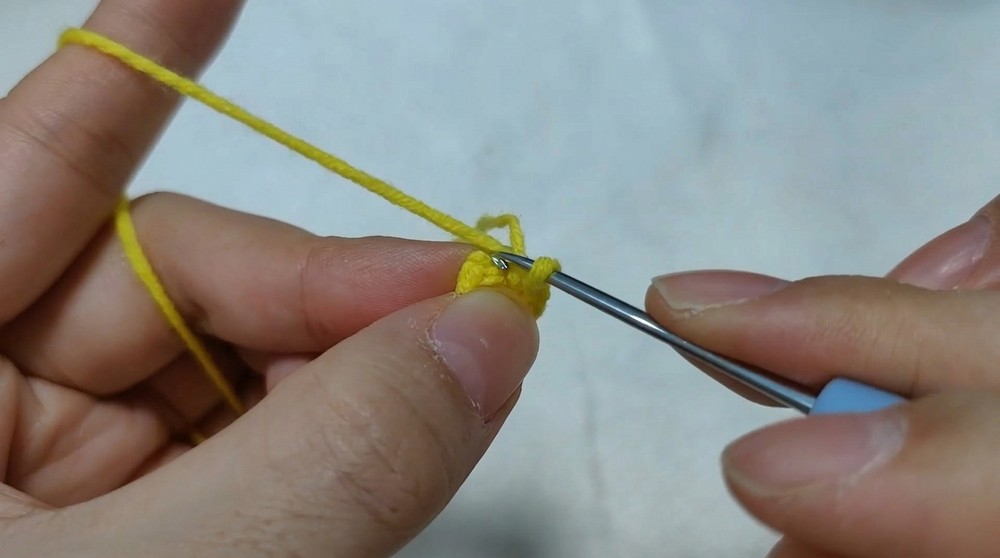
- Magic Ring (MR): Wrap yarn around fingers, insert hook, pull up a loop, ch 1, then work stitches into ring.
- Increase (inc): Two sc in same stitch.
- Decrease (dec): Work two stitches together.
- Change Color: Complete the final YO of preceding st with new color.
Finished Size
- Height: 7–10 cm (3–4"), width 4–6 cm
- Easily adjustable by using different yarn or hook sizes.
Pattern Start & Stitches Used
You will begin by making the head, then work seamlessly into the body with necessary color changes. Wings and cheeks are added separately, and details (face, blush) are sewn or glued at the end. The pattern uses single crochet (sc) in rounds, slip stitch (sl st) to join, increases (inc), and decreases (dec).
The Pattern Itself
A. HEAD
Round 1:
- Make a magic ring (MR), ch 1 (does not count as stitch).
- Work 6 sc into ring.
- Join with sl st to first sc.
Round 2:
- Ch 1 (do not count as stitch), inc in each st around (12 sc).
- Join with sl st.
Round 3:
- Ch 1, [sc, inc] in each group around (18 sc).
- Join with sl st.
Round 4:
- Ch 1, [sc in 2, inc] around (24 sc).
- Join with sl st.
Round 5:
- Ch 1, [sc in 3, inc] around (30 sc).
- Join with sl st.
Round 6–8:
- Ch 1, sc in each st around (30 sc per round), joining each round with sl st.
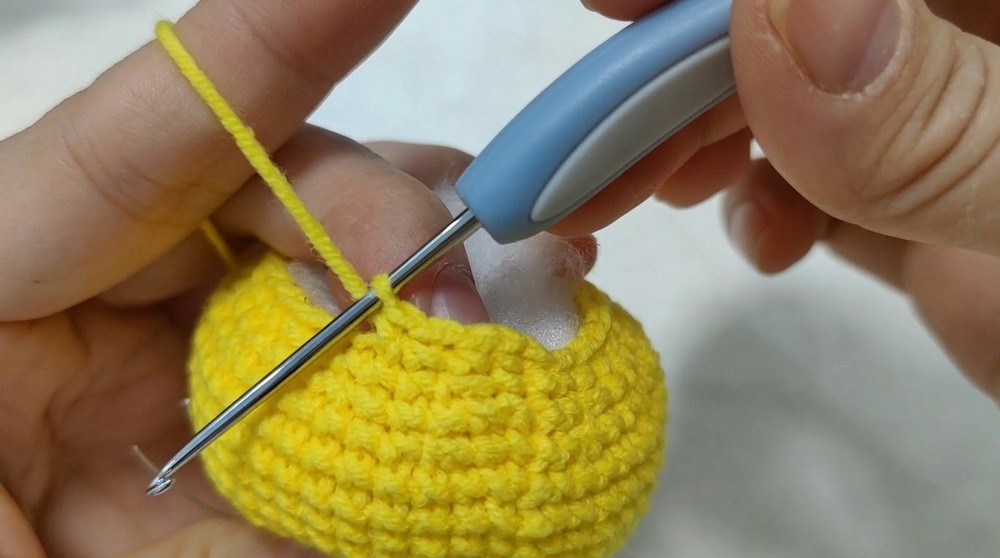
Round 9 (Begin Body):
- Change to brown yarn before the last stitch (work final YO with brown).
- Ch 1, sc in each st around.
The bee’s head is worked in rounds with increases for shaping; color change marks the beginning of the body.
If you don’t read patterns:
Start by making a magic ring, work singles crochets in it, then keep increasing as described until it’s a round ball. Change to brown yarn before the body section begins.
B. BODY
Round 10–11:
- With brown, sc in each st around (30 sc).
Round 12:
- Change to yellow yarn at last stitch.
- sc in each st around (30 sc).
Round 13:
- Change to brown; sc in each st around (30 sc).
Round 14:
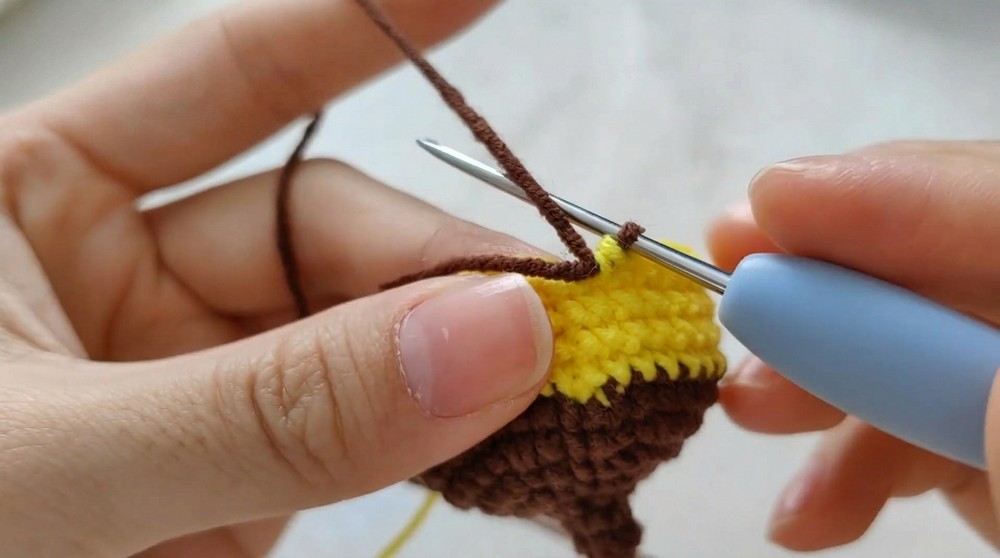
- Change to yellow; sc in each st around (30 sc).
Alternate yellow and brown rounds for bee stripes.
Round 15–19:
- Continue alternating yellow and brown every round until you have 6 stripes (total body rounds ~10, or to desired bee length).
Round 20:
- Begin decreases: [sc in 3, dec] around (24 sc).
Round 21:
- [sc in 2, dec] around (18 sc).
Round 22:
- [sc, dec] around (12 sc).
Round 23:
- Dec around (6 sc).
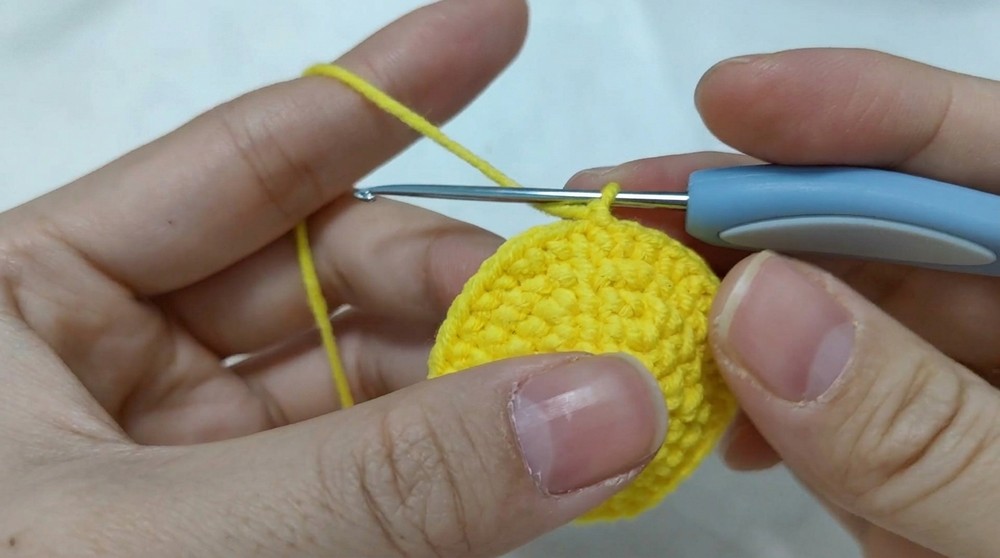
- FO, leave long tail for sewing.
Before closing the bee, stuff firmly with polyester filling. Don’t overstuff. Shape roundly.
Quick recap for non-pattern readers:
After head is done, alternate brown and yellow rounds for bee stripes. Near end, make it smaller each round by combining stitches. Stuff the body before closing.
C. WINGS (Make 2)
Round 1:
- With white, MR, ch 1, 6 sc in ring, join with sl st.
Round 2:
- Ch 1, [sc, inc] around (9 sc), join.
Round 3:
- Ch 1, sc in each st around (9 sc), join.
Round 4:
- Ch 1, [sc in 2, inc] around (12 sc), join.
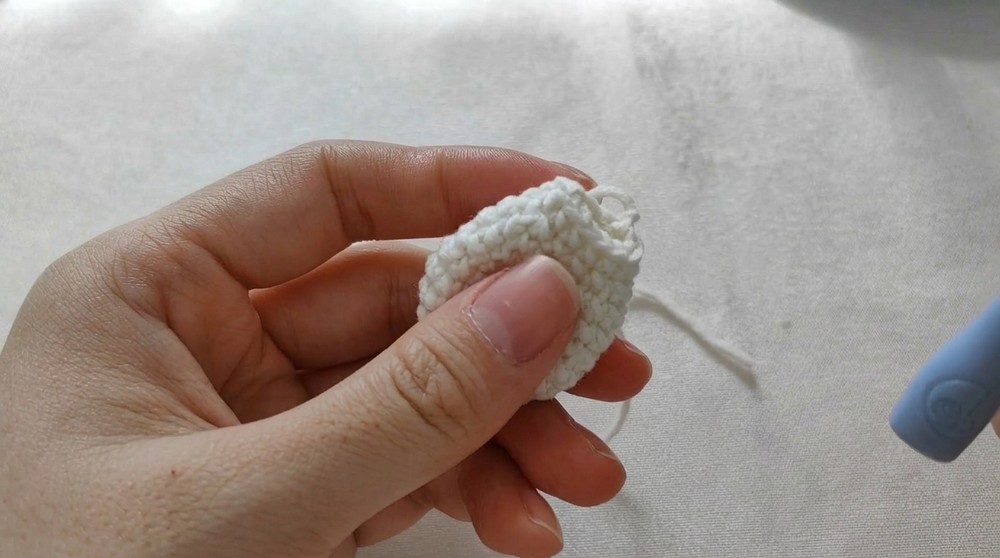
Round 5:
- Ch 1, sc in each st around (12 sc), join.
- FO, leave tail for sewing.
Wings are small ovals made in rounds, slightly larger as desired.
For non-pattern readers:
Start with a magic ring, add a few single crochets, increase gradually, then work around to make an oval. Make two.
D. CHEEKS (Make 2)
Round 1:
- With pink, MR, 6 sc in ring, sl st to join.
- FO, leave tail for sewing.
For blush, make two small circles, using pink yarn.
E. FACE DETAILS
- Eyes: Sew on small black buttons/felt or embroider with thread.
- Mouth: Embroider a small smile with black yarn or thread.
- Apply blush or sew pink cheeks at desired places.
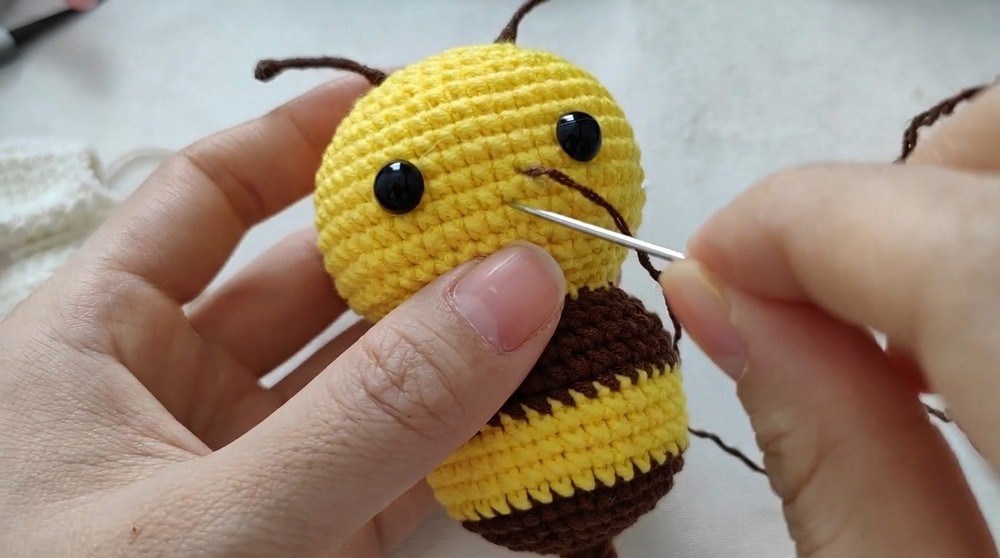
Add cute facial details for bee personality. If unsure about placement, try out several positions before sewing or use glue.
F. ASSEMBLY & FINISHING
1. Stuffing & Closing:
- Before finishing, stuff the body and head tightly.
- Sew shut the hole at base securely; hide tail inside.
2. Attaching Wings:
- Sew or glue wings to bee's upper body, centered for balance.
3. Attaching Cheeks:
- Sew or glue cheeks below eyes for a smiling look.
4. Tentacles (Optional):
- Attach small strands for tentacles/antennae using black or brown yarn at bee's top.
5. Final Touches:
- Sew, glue, or embroider any leftover details.
- Check for loose threads and trim.
When joining, always use a yarn needle and sew firmly but gently. Place wings symmetrically, cheeks centered below eyes, and antennae spaced evenly.
Conclusion
Your adorable crochet bee amigurumi is now complete! This pattern walks through every step: magic ring, rounds, increases, color changes, and assembling parts. Always stuff gently, and take your time sewing pieces for the perfect look. Customize colors as you wish for unique bees..