
Free Crochet Baby Pacifier Pattern for Strollers
Float a Free Crochet Baby Pacifier Pattern into your projects to stitch a cute gentle prop that adds handmade charm to newborn picture sessions.
The idea of crocheting a mini baby pacifier through crochet is something that brings both joy and creativity to life. This handmade crochet design stands out for its cuteness and thoughtful details that mimic a real pacifier, making it a charming make ideal for baby showers, newborn gifts, christenings, and even adorable accessories. Its small and compact size adds a delicate touch, and it can be turned into keychains, pendants, or decorative favors tailored to your specific needs.
This crochet project is truly versatile, allowing you to play with colors. Pink and blue are the most common choices, but you can explore neutral shades like beige or white for a more elegant and modern look. The design combines three parts: the ring handle, the flat base, and the rounded top that resembles the bulbous part of a pacifier. What truly makes this pattern special is how the pieces fit so well together, creating a neat and polished result.
Crochet Baby Pacifier for Birthdays & Showers Free Pattern
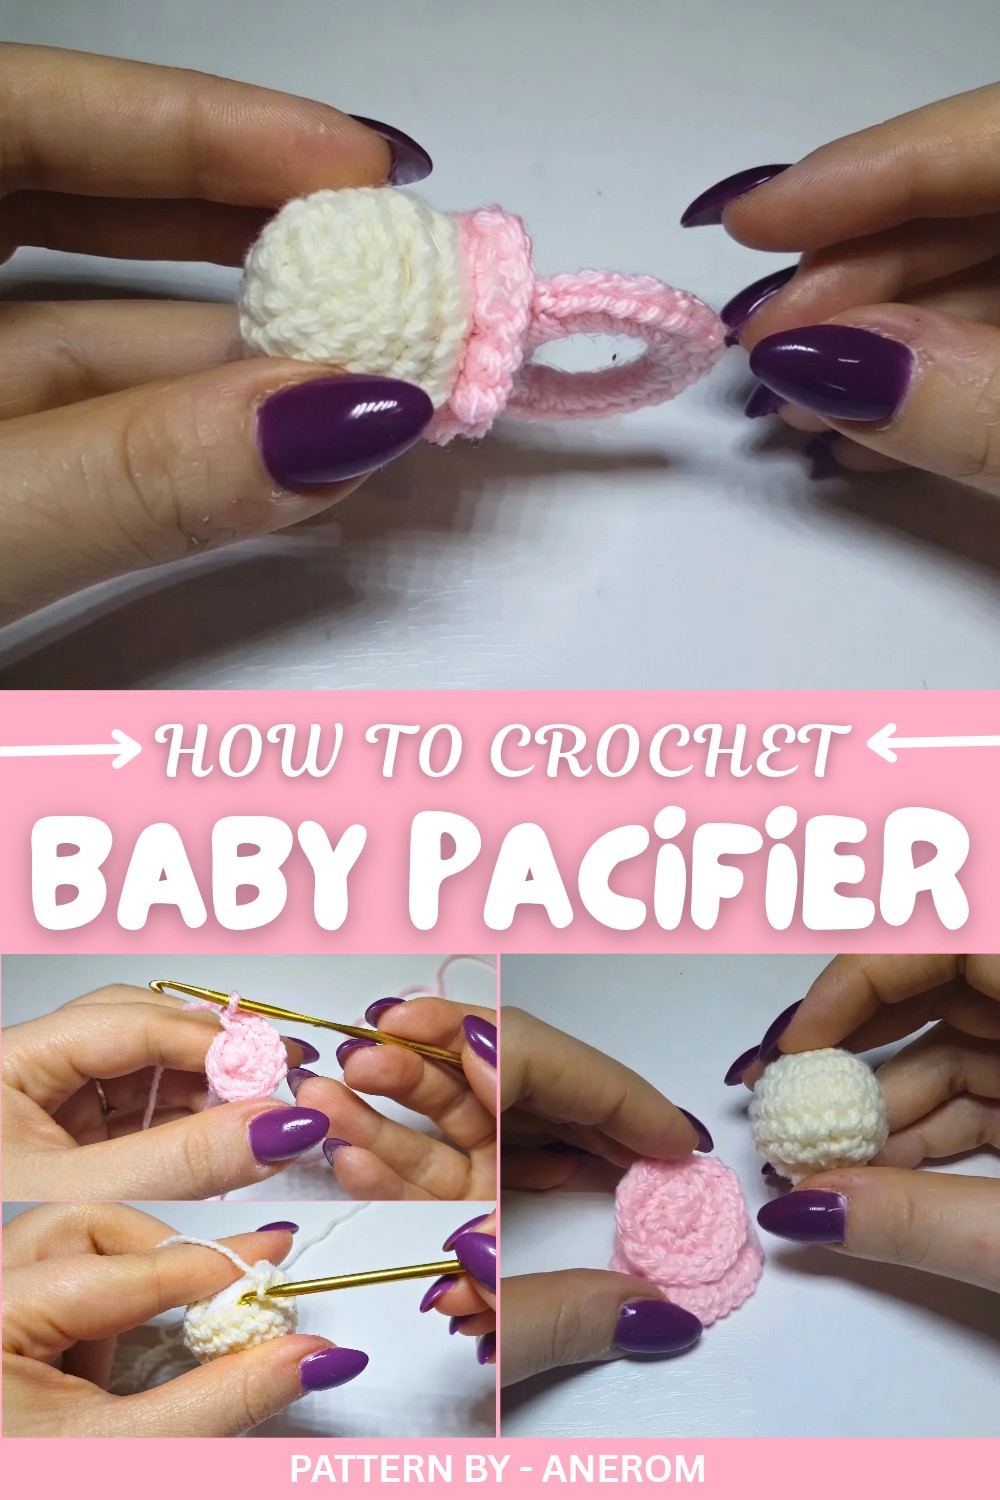
The steps are straightforward and the stitch work is simple; even beginners can manage the pattern with ease. Each part of the design is crocheted separately, starting with the ring handle, followed by the base, and finally the tip. The creator behind the channel Anerom has done a fantastic job in demonstrating the process step by step, making it easy to follow along and replicate. The video tutorial provides not only instructions but also helpful tips, such as using hot glue for assembly to speed up the process.
Whether you’re new to crochet or a seasoned expert, this project lets you create something meaningful and beautiful in a short time. With yarn, a hook, some stuffing, and a little creativity, you’ll have a precious little treasure that’s a delight for any baby centric occasion
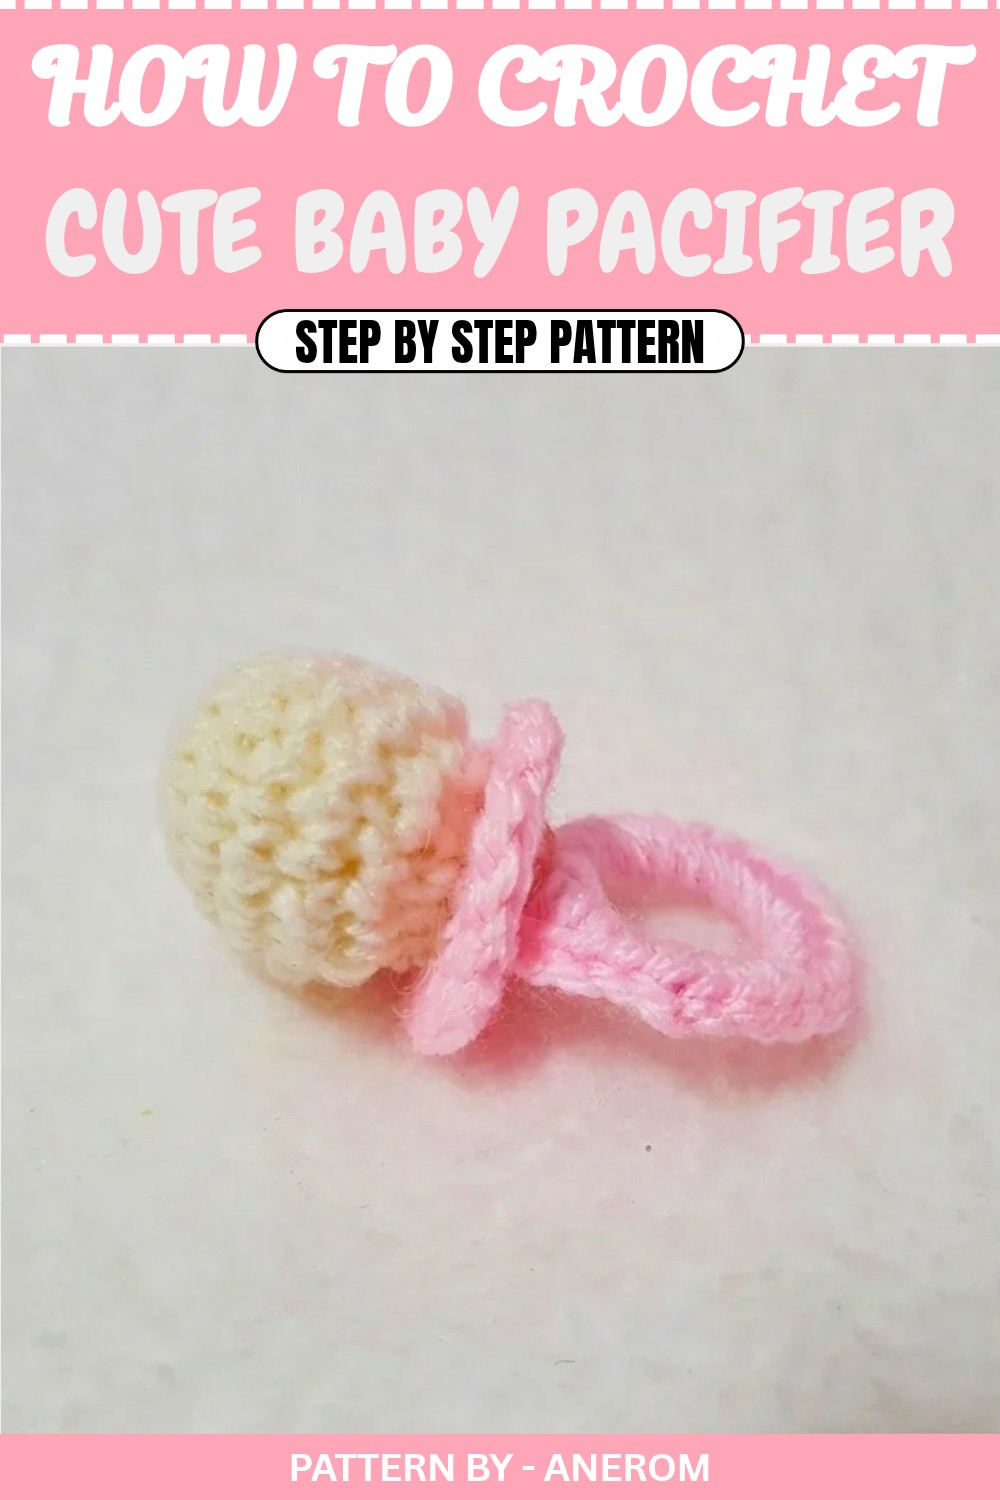
Small Crochet Baby Pacifier Pattern
This tutorial guides you through creating a sweet and versatile crochet baby pacifier, perfect for use as a gift, keychain, party favor, or decorative piece. This project can be customized whether you're making it for a baby girl in soft pinks, a baby boy in soothing blues, or a neutral color scheme. The pacifier’s simplicity makes it ideal for beginners, and its adaptability makes it suitable for various uses, from baby shower decorations to necklace charms.
Quick Overview of Pattern
- Type: Cute Crochet Baby Pacifier
- Purpose: Keychain, necklace charm, or baby shower favor
- Difficulty: Beginner friendly
- Customizable: Adjust colors based on preference or theme
Notes
- For a smaller, more delicate finish, use cotton yarn instead of acrylic.
- Acrylic yarn creates a slightly larger and softer pacifier compared to cotton.
- A hot glue gun is recommended for quick assembly, but pieces can also be sewn together for a more seamless look.
Skill Level
Beginner
Only basic crochet stitches are required, including single crochet (sc), magic ring, increases (inc), and decreases (dec).
Materials
- Hook: Suitable for the yarn size (3mm hook is recommended for #3 acrylic yarn)
- Yarn:
- Colored acrylic yarn for the handle (e.g., pink or blue)
- White acrylic yarn for the upper part of the pacifier
- Accessories:
- A small metal keyring (or equivalent sized ring)
- Polyester fiberfill or cotton stuffing
- Stitch marker
- Wool needle
- Small scissors
- Hot glue gun
Measurements / Sizing
This pacifier measures approximately 5–7 cm (2–2.8 inches) in height based on yarn size and tension.
Gauge
Gauge is not crucial for this project. However, ensure your stitches are tight enough to prevent stuffing from showing through the work.
Stitch Abbreviations
- ch: Chain
- sc: Single Crochet
- sl st: Slip Stitch
- inc: Increase (2 sc in the same stitch)
- dec: Invisible decrease (crochet two stitches together into one stitch)
Special Stitches
Magic Ring
- Start your piece with a circular foundation by crocheting directly into an adjustable loop, which is pulled tight after completing the first round.
The Crochet Pattern
The pacifier comprises three individual parts: the handle, base, and upper dome. Each part is crocheted separately and assembled at the end.
1. Pacifier Handle
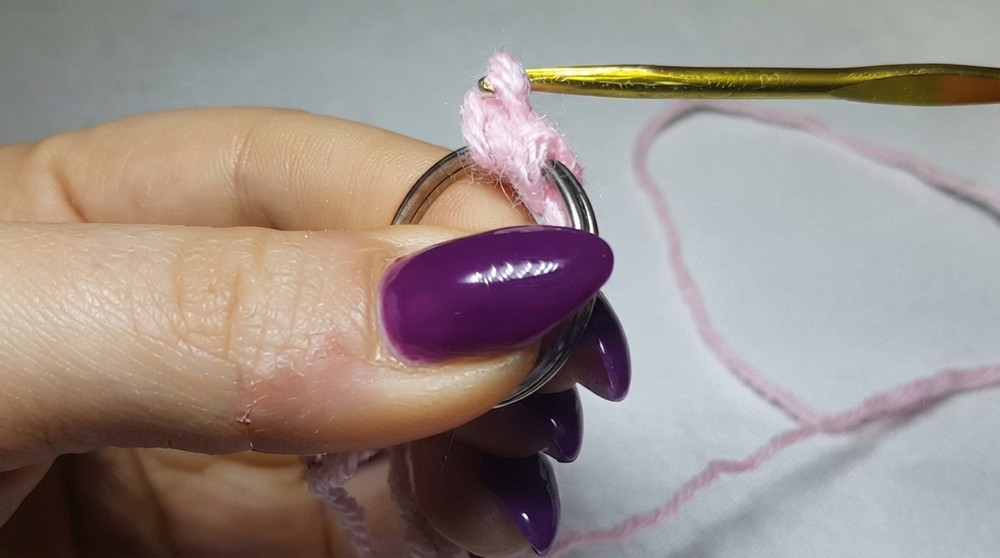
- Start by making a simple loop with the colored yarn to attach it to the small metal keyring.
- Slide the keyring into the loop. Hold it steady with the working yarn and crochet around the metal ring like a magic ring.
- Attach the yarn to the ring by pulling it under the ring and making the first single crochet (sc).
- Continue adding sc stitches around the ring until the entire ring is wrapped with yarn, and no metal is visible.
- Pro Tip: Take your time for the first few stitches; it becomes easier as you go!
- Once the ring is completely covered:
- Slip stitch (sl st) into the first sc, fasten off, and cut the yarn.
- Weave in the tail using a wool needle to secure it.
2. Pacifier Base
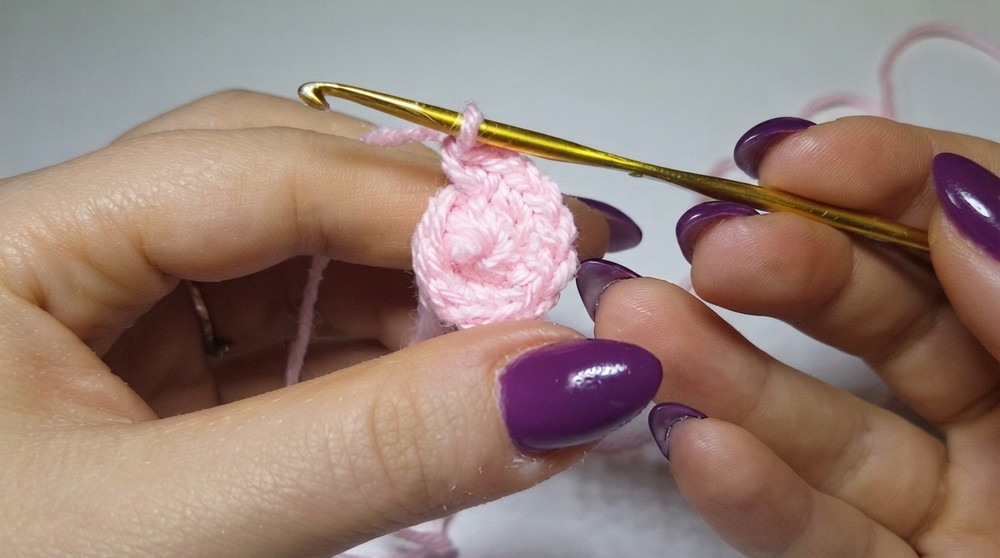
- Begin with a magic ring and work 6 sc into the ring. Pull the tail to close the loop securely.
- Round 1: Work 1 increase in each stitch around (2 sc in each stitch). You will have 12 stitches by the end of this round.
- Round 2: Alternate between 1 sc and 1 increase in each stitch for a total of 18 stitches.
- Round 3: Alternate between 2 sc and 1 increase in each stitch for a total of 24 stitches.
- Round 4: Work 3 sc and 1 increase alternately around for a total of 30 stitches.
- Complete the base by slip stitching into the next stitch. Fasten off, leave a short tail, and weave in the end.
3. Pacifier Upper Dome
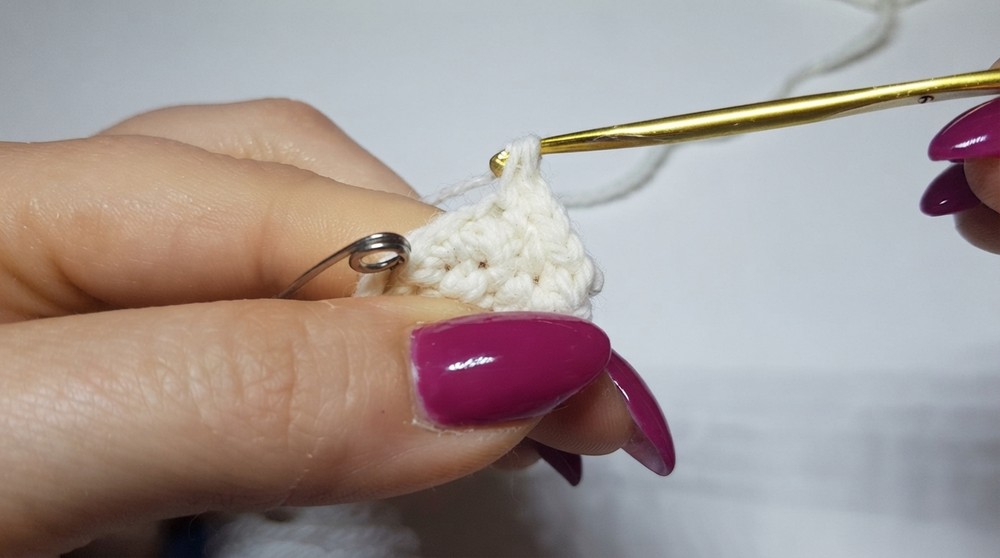
- Work with white yarn. Start with a magic ring, working 6 sc into the ring.
- Round 1: Work 1 increase in each stitch around. This will result in 12 stitches.
- Round 2: Alternate between 1 sc and 1 increase. You will have 18 stitches at the end of this round.
- Round 3: Alternate between 2 sc and 1 increase. This will result in 24 stitches.
- Rounds 4–6: Work 3 full rounds of single crochet without any increases.
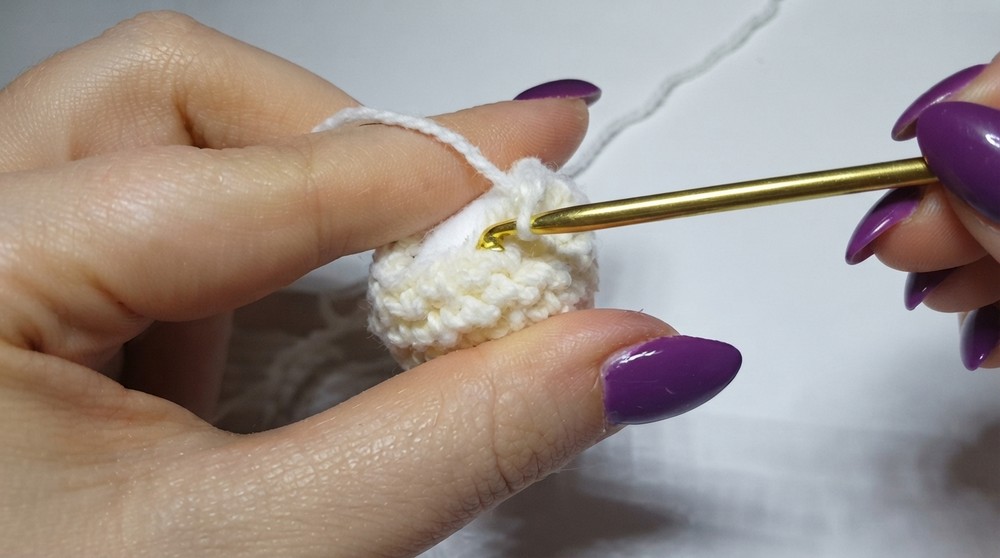
- Round 7: Begin decreases: Alternate between 1 sc and 1 decrease. You will have 18 stitches.
- Stuffing: Stop here to stuff the dome with polyester fiberfill or cotton for a firm shape.
- Round 8: Continue decreases by working 6 consecutive decreases to close the opening. Slip stitch, fasten off, and weave in the end securely.
Assembly
Step 1: Attach Handle to Base
- Apply a small amount of hot glue to the center of the base.
- Attach the handle securely, ensuring it remains upright as it dries.
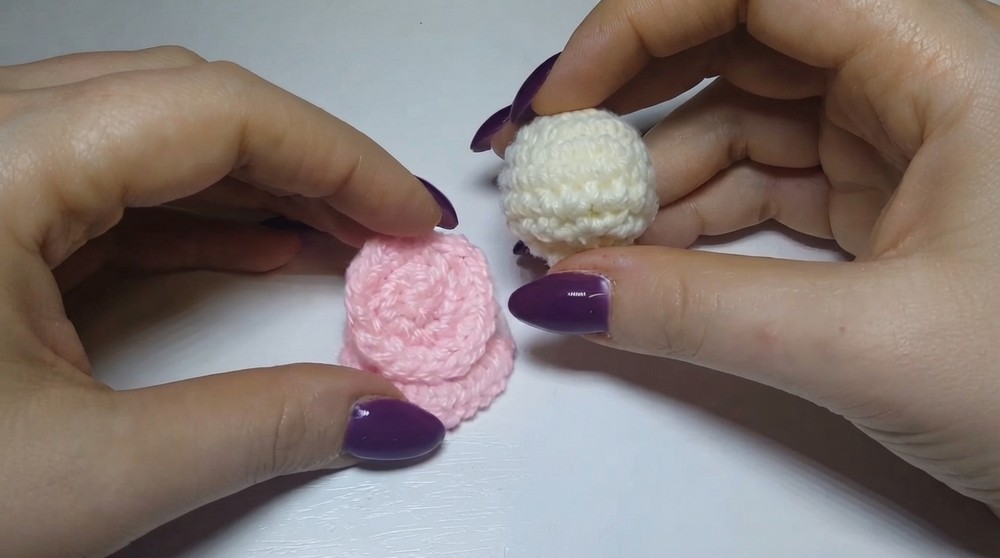
Step 2: Attach Dome to Base
- Apply a ring of hot glue around the center of the base.
- Press the white dome onto the glue and hold it firmly until it dries.
Alternative (Sewing Option):
- Instead of gluing, use leftover yarn to sew each piece together for a sturdier attachment.
Final Adjustments
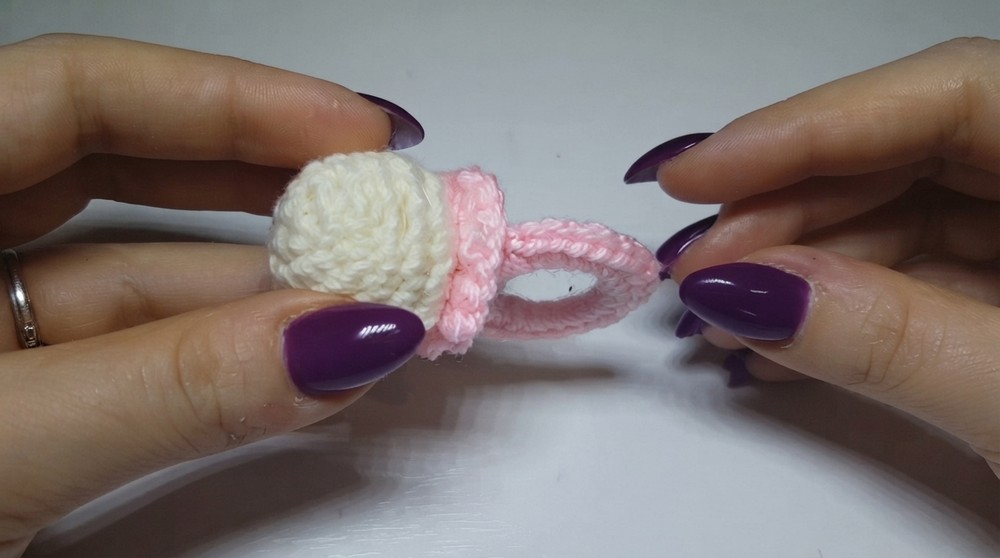
- Trim any leftover threads or errant glue.
- Shape the pacifier carefully to ensure it stands firm and symmetrical.
Conclusion
This Crochet Baby Pacifier Pattern is a charming and functional project suitable for baby gifts, party favors, or themed decorations. With its beginner friendly steps and versatile customizations, this project allows crocheters to practice key stitches while creating a keepsake sure to delight.
Try this pattern with different color combinations or materials, and share the joy of your handmade creation with loved ones. Whether for a baby shower, baptism, or playful accessory, this crochet pacifier is a thoughtful and timeless choice.