
Free Crochet Baby Carriage Pattern That Is Too Cute to Handle
Create a cute handmade gift with this free crochet baby carriage pattern that’s fun to make and perfect for baby-themed events or decor.
Delicate crochet baby carriages are a lovely way to celebrate new life and special moments. These tiny prams have a charming, vintage look that makes them perfect for decorating baby showers, baptisms, nurseries, or for using as keepsake favors. Their rounded body and small wheels create a sweet and recognizable shape that instantly says “new baby” in the softest, most elegant way.
A Free Crochet Baby Carriage Pattern usually focuses on simple stitches, so even beginners can try it. The structure is often made with basic rounds and rows, then shaped into a half circle or pram form. The little canopy, curved top, and two neat wheels give the carriage its most attractive design. The beauty is in the details: a small bow, a contrast color for the wheels, or a soft pastel yarn can completely change the look and make each piece unique.
Free Pattern for an Easy Crochet Baby Carriage Keepsake
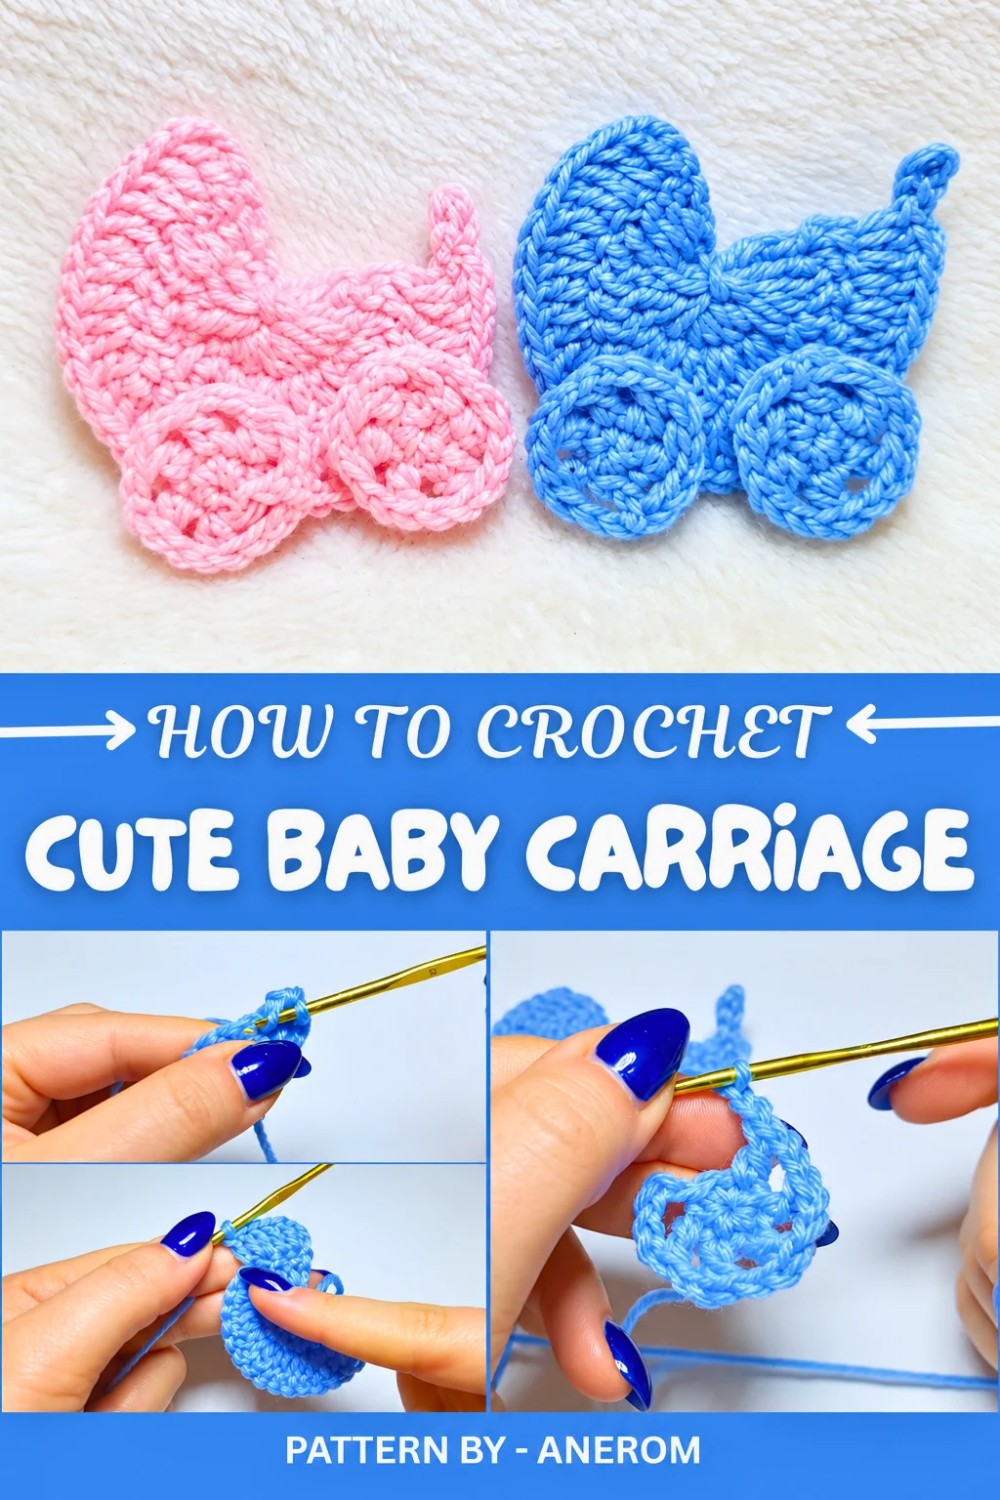
The YouTube channel Anerom explains this project in a very clear and friendly way. She uses light acrylic yarn and a small hook to create a delicate but defined shape. One special touch she adds is stiffening the carriage with a mix of white glue and water, so it holds its form perfectly. This makes the finished piece look professional and ready to use as a decoration or favor.
You can work the pattern in pink, blue, white, or neutral shades depending on the occasion. Whether you’re making just one carriage as a gift topper or many for party favors, this pattern is practical, meaningful, and full of charm, an ideal small project to show love through handmade details.
Simple Crochet Baby Carriage Pattern
Quick Overview of Pattern
- Type of Project: Crochet baby carriage with wheels and decorative bow.
- Skill Level: Beginner friendly.
- Purpose: Ideal for gifts, keepsakes, or bombonieres for events like births and baptisms.
- Construction: Body is crocheted in rounds and finished with wheels and decorations.
Notes
- The carriage can be stiffened using a simple mixture of white glue and water after completion; this provides structure to the final product.
- Use different yarn colors to suit the occasion: pink for baby girls, blue for baby boys, or neutral tones like ivory or gray.
- For the best results, work with consistent tension, particularly for the wheels and decorative components.
Skill Level
Beginner–Intermediate. Basic crochet skills like making a magic ring, working in rounds, and increasing are all you need!
Materials
- Yarn: Acrylic yarn, size #3. Recommended colors: Blue, pink, or your desired choice.
- Crochet Hook: Size 3 mm.
- Tools: Scissors, tapestry needle, glue, paintbrush, and a ribbon for decoration.
- Optional Stiffener: White glue (e.g., Vinavil) mixed with a little water.
Measurements / Sizing
- The baby carriage measures approximately 8-10 cm in length when completed, depending on yarn type and hook size.
Gauge
The gauge is not critical for this project. Work with even tension throughout for a polished look.
Stitch Abbreviations
- CH: Chain.
- SC: Single Crochet.
- HDC: Half Double Crochet.
- DC: Double Crochet.
- SL ST: Slip Stitch.
- INC (Increase): Work two stitches into the same stitch.
Special Stitches
- Magic Ring: Create a loop, pull yarn through, and crochet stitches into the ring.
The Crochet Pattern
Step 1: Creating the Carriage Body
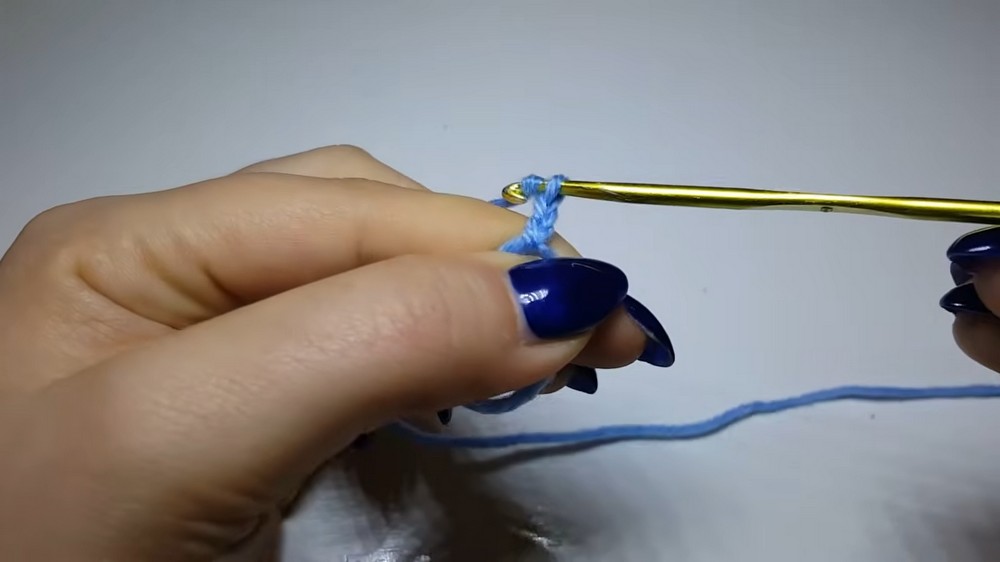
- Begin with a Magic Ring.
- CH 2 (counts as first DC).
- Work 10 DC into the ring. Including the chain, you will have 11 stitches total.
- Tighten the magic ring by pulling the short end of the yarn. Do NOT join into a round; leave the work open.
Step 2: First Round of Increases
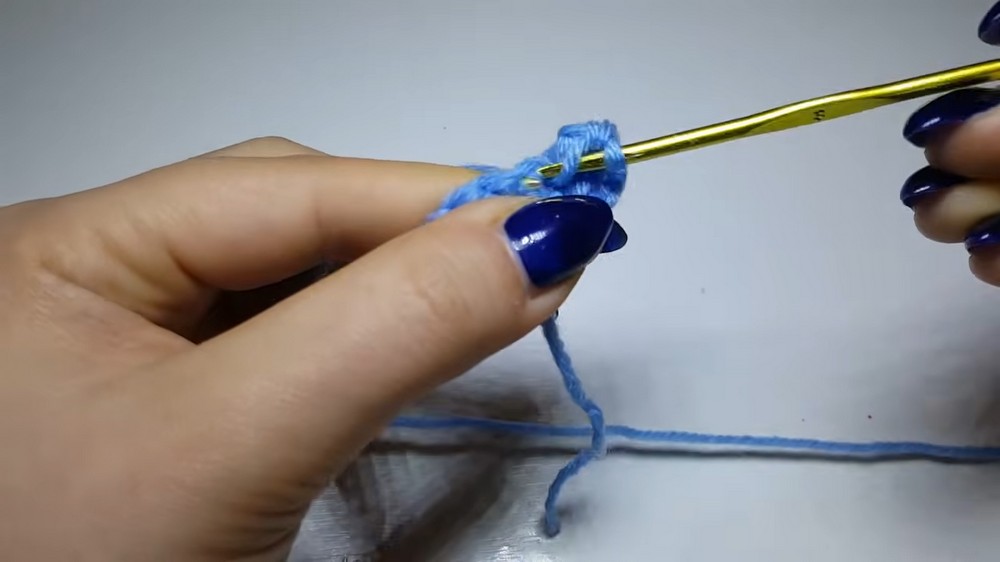
- CH 3, turn your work. The chain counts as your first DC.
- In the same stitch where the CH 3 is made, work 1 DC (this is an increase).
- Continue working 2 DC in each stitch for the rest of the row. This creates an increase in every stitch.
- You should now have 22 stitches total.
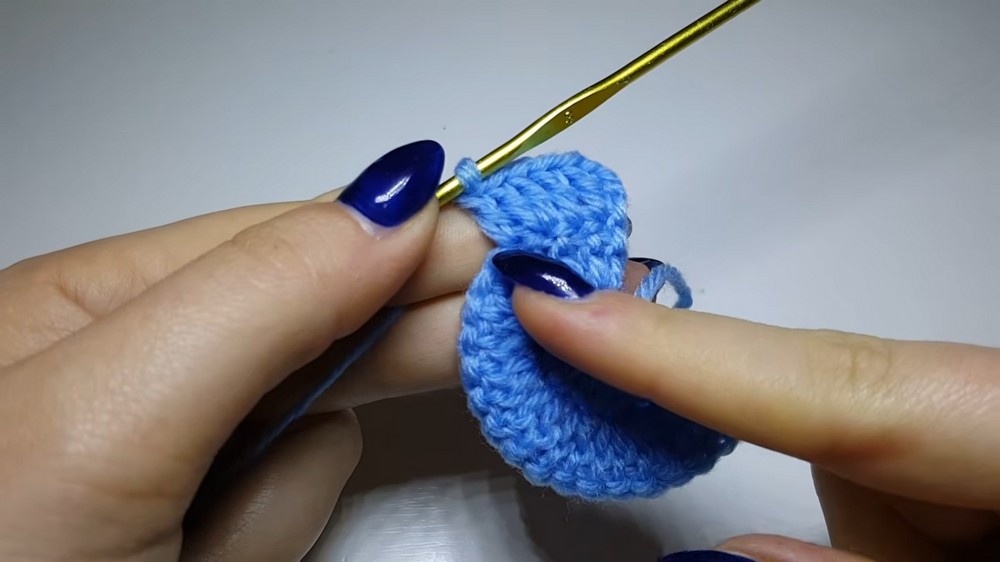
Step 3: Second Round of Increases
- CH 3, turn your work.
- Work 1 DC in the same stitch as the chain (first increase).
- In the next stitch, work 1 DC only.
- Alternate 1 DC and 2 DC (increase) across the row: 1 DC, then 2 DC in the next stitch.
- Continue until the end of the row. This alternating pattern creates a gently rounded shape.
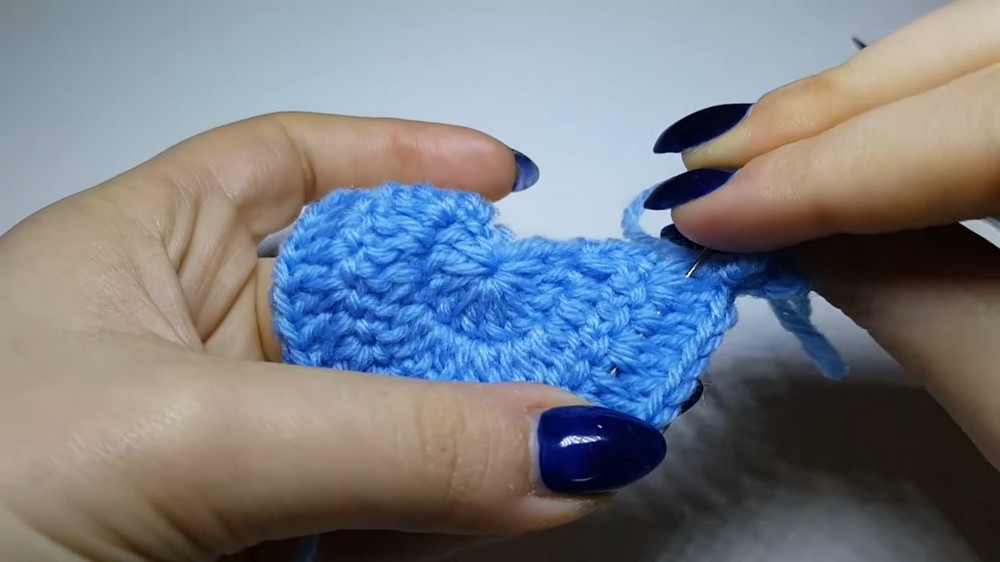
Step 4: Edging
- CH 3, but this time, instead of turning, work along the curved edge.
- In the next stitch, work a SL ST. Continue with slip stitches along the edge of the carriage for a neat and polished finish.
- Once finished, fasten off the yarn and leave a long tail for weaving.
Step 5: Creating the Wheels
Wheel Foundation:
- Begin with a Magic Ring.
- Into the ring, work 6 SC. Pull the ring tight and join the first stitch with a SL ST.
Decorative Wheel Edging:
- CH 3, then add 2 CH (this will be the gap between the stitches).
- In the next stitch, work 1 DC, followed by 2 CH.
- Alternate DC and 2 CH around the wheel.
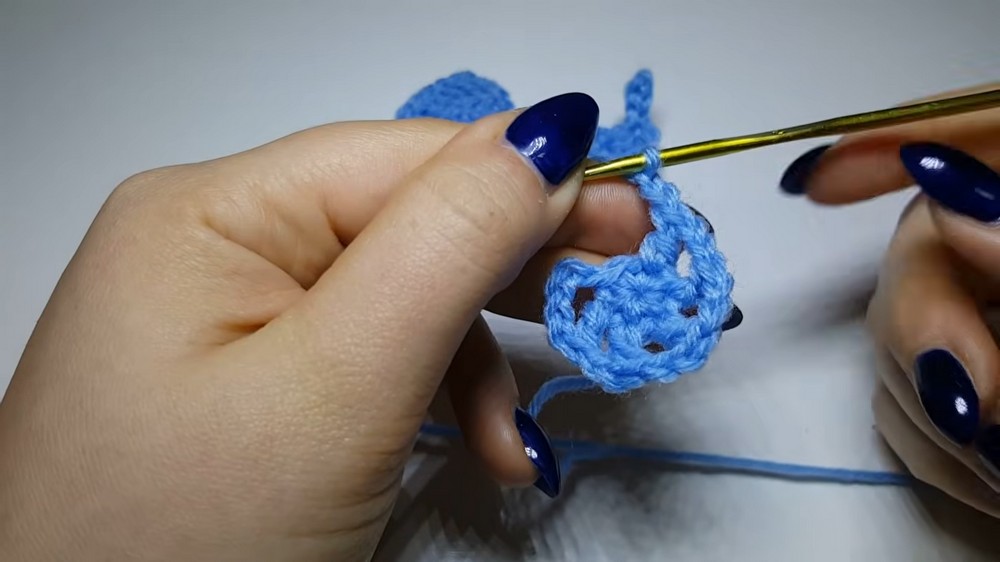
Completing the Wheels:
- Close the round by joining into the third chain of the initial CH 3 with a SL ST.
- Fasten off the yarn, hide the ends, and repeat the steps to create a second wheel.
Step 6: Adding Decorative Ribbon
- Cut a short piece of ribbon, preferably matching or complementing your yarn.
- Tie the ribbon into a small bow and set it aside for final assembly.
Assembly & Finished Size
Stiffening the Carriage:
- Mix white glue (e.g., Vinavil) with a small amount of water in a cup or bowl.
- Using a paintbrush, gently coat the entire carriage body with the mixture.
- Shape the carriage as desired (arched back, flat bottom). Allow it to dry completely before proceeding.
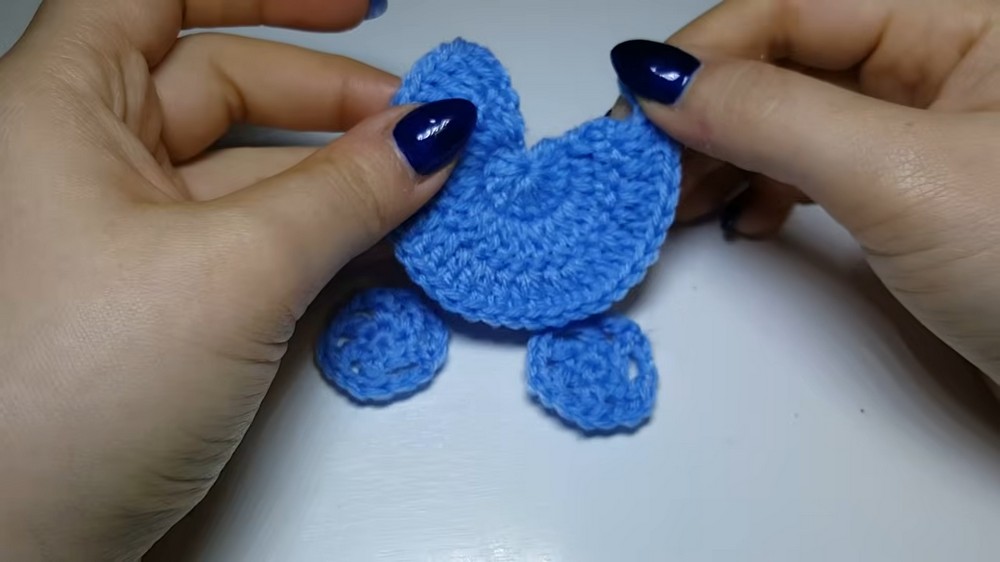
Attaching the Wheels:
- Use glue (or sew, if preferred) to attach the two wheels to the sides of the carriage. Position them symmetrically for balance.
Adding the Bow:
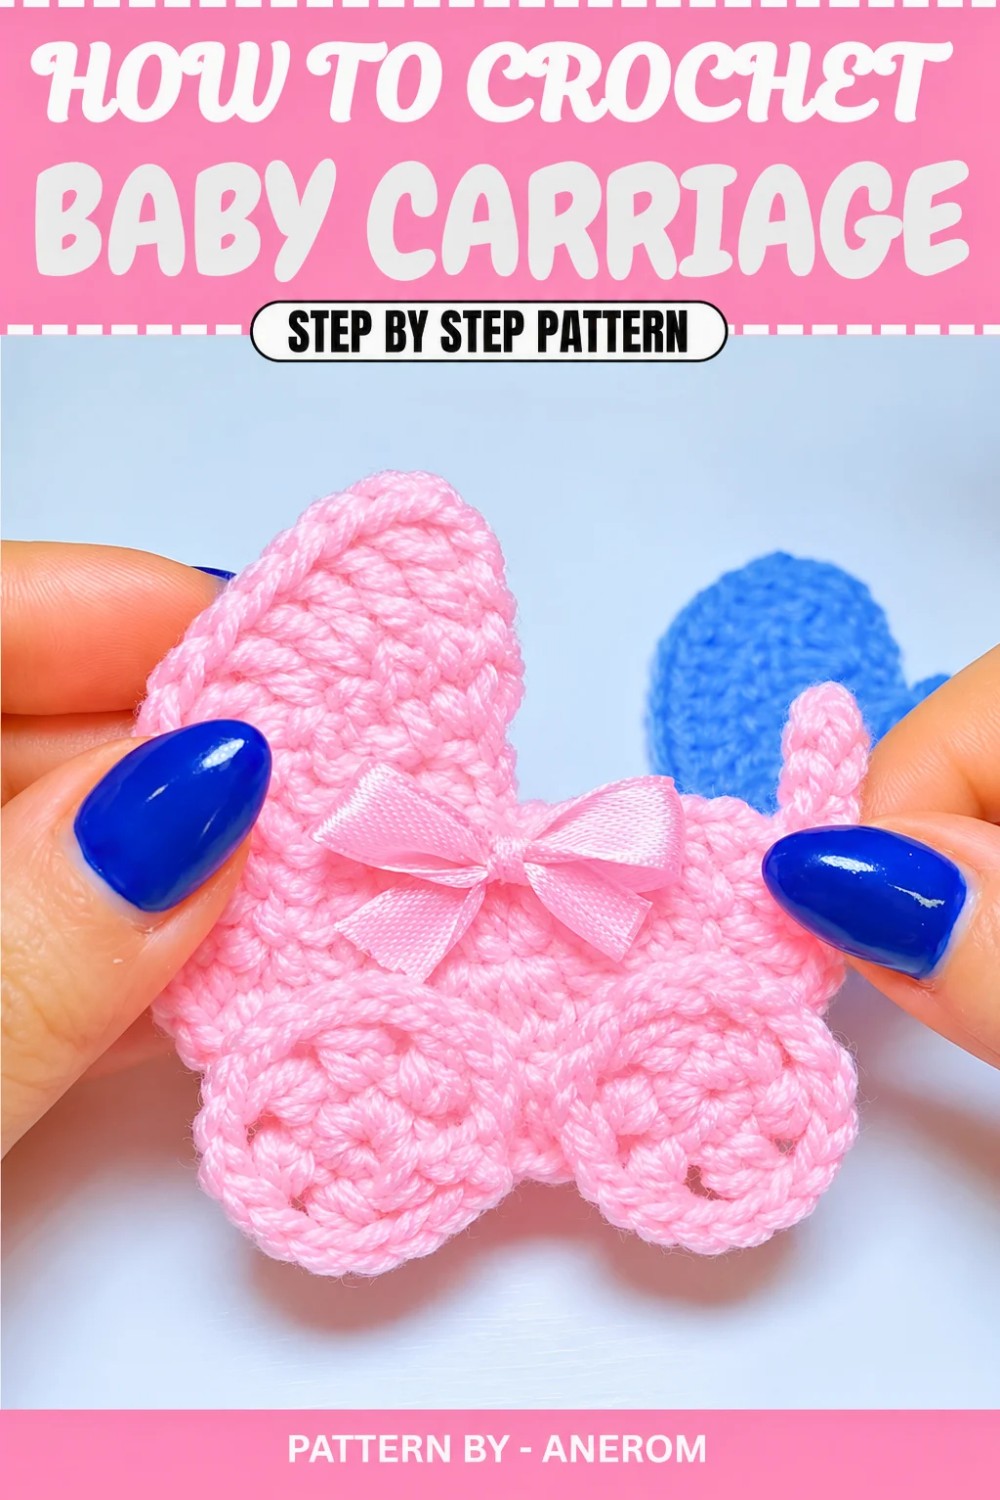
- Attach the bow to the "handle" or top part of the carriage using glue. Press gently and let it dry.
Final Look:
Your baby carriage should now be complete with one sturdy "body," two decorative wheels, and an elegant bow. The finished dimensions should be approximately 8 cm x 10 cm depending on the materials used.
Conclusion
Congratulations! You’ve completed your adorable crochet baby carriage. This lovely piece is ideal for gifts, keepsakes, or even as event decor for births and baptisms. If you enjoyed this pattern, consider experimenting with different colors, adding pearls or flowers, or gifting it as a treasured handmade item.