
Free Crochet Bustier Crop Top Pattern | Step-by-Step Tutorial
Turn heads this season with our free Crochet Bustier Crop Top pattern perfect for bold stylish summer looks you can make yourself.
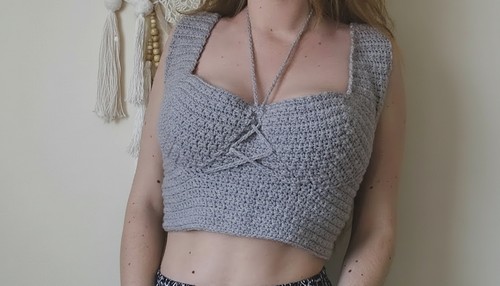
On bright summer days or festive evenings, having an outfit that’s both stylish and comfortable makes all the difference. This crochet bustier crop top embodies elegance and versatility, making it perfect for any occasion. The top is constructed with adjustable features, like the corset-style back, which ensures a flawless fit for every body type. Its thick straps add extra support, allowing you to wear it with ease. The thoughtfully shaped cups, curving at just the right points, provide a balance between coverage and a flattering look.
Free Crochet Bustier Crop Top Tutorial | Stylish and Simple
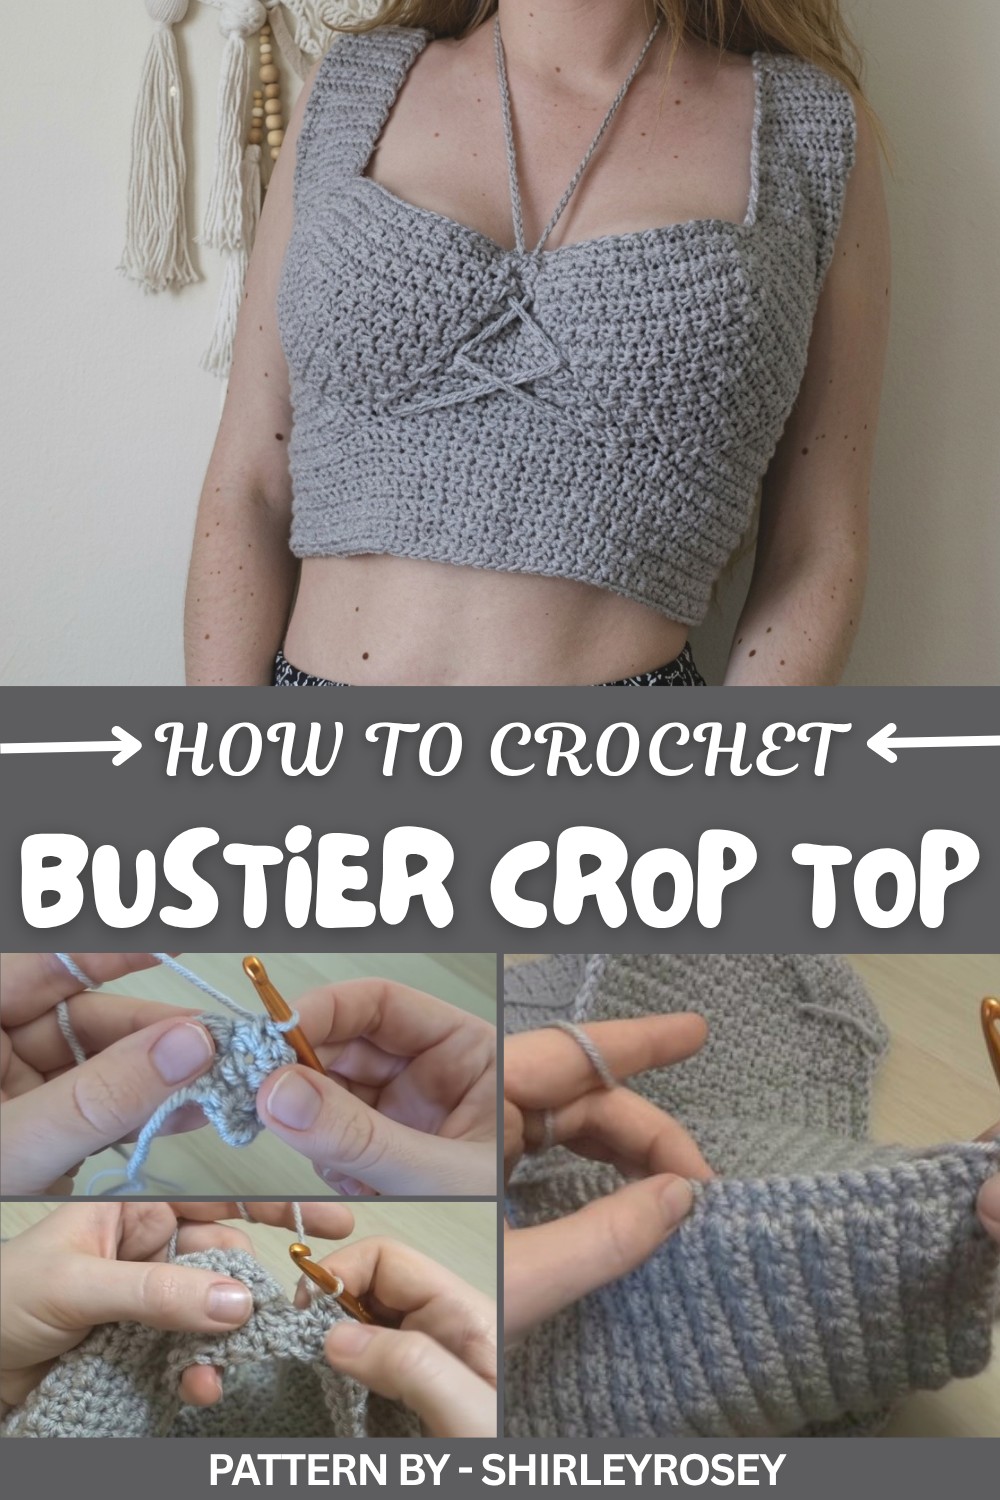
The textured pattern stands out as one of the top's most attractive features. It combines simple crochet stitches, creating a unique finish that’s both eye-catching and easy to work on. The design is lightweight yet sturdy, making it ideal for pairing with jeans, skirts, or shorts for a casual day out or a stylish evening gathering. It’s not just a crop top, it’s a statement piece.
This design comes to life with the guidance of Shirleyrosey, whose tutorial is beginner-friendly and accessible. She breaks down each step with care, ensuring every detail is easy to follow. Whether you’re looking to create something fashionable for yourself or crafting a thoughtful gift, this pattern balances visual charm with functional wear.
Corset Back Crochet Top Pattern
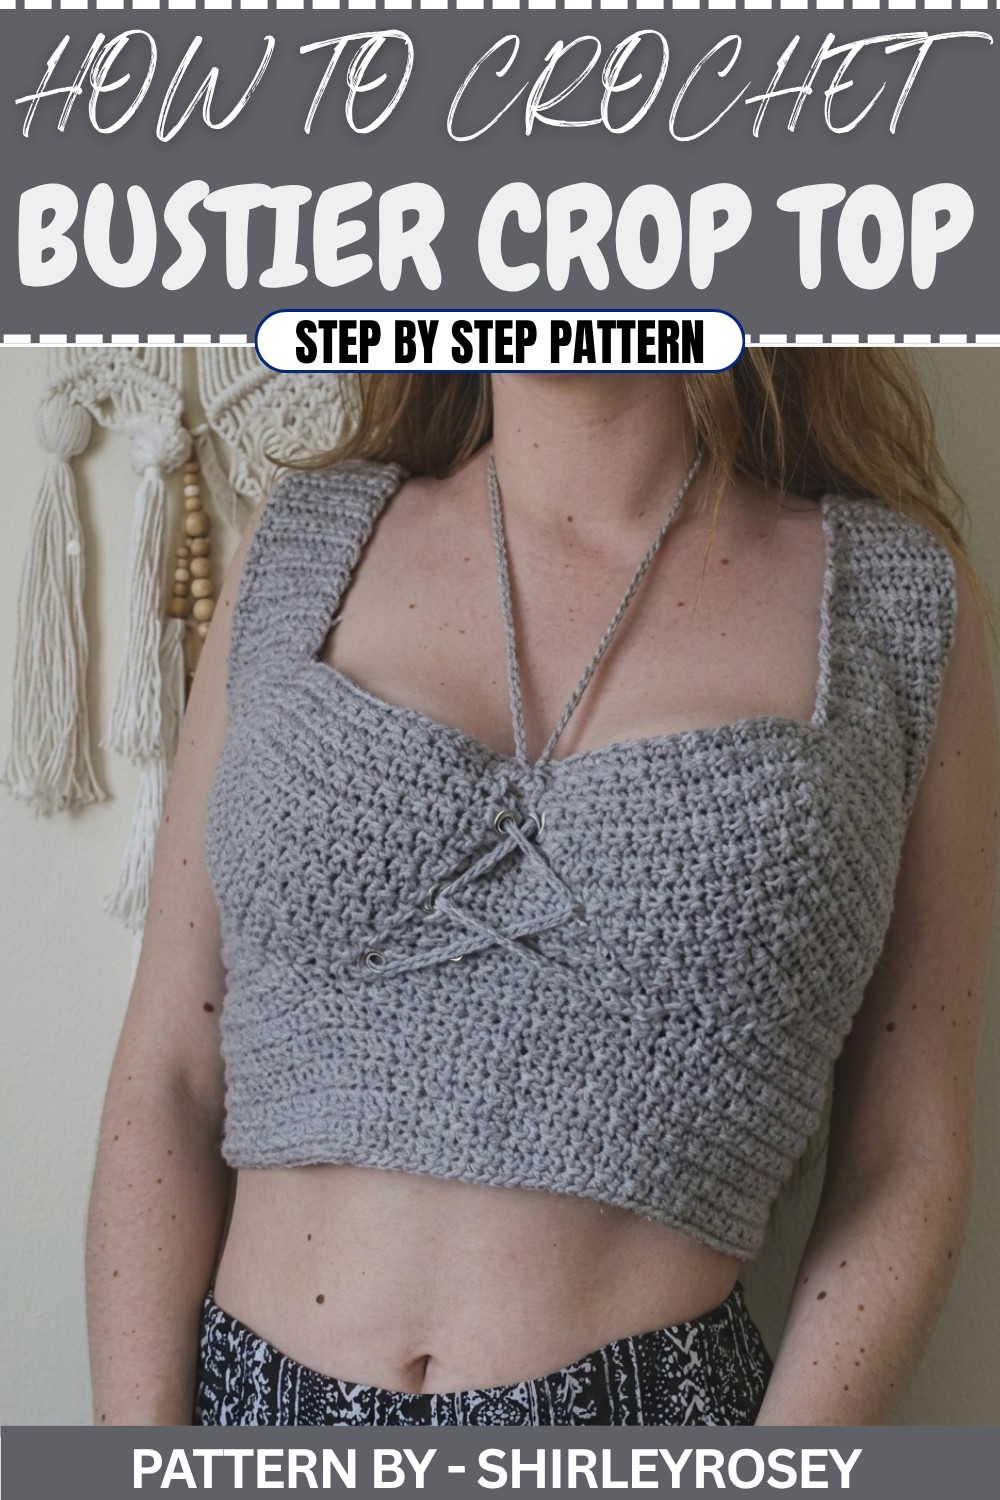
This crochet top features a stylish corset back design with thick straps and supportive cups, making it functional, fashionable, and easy to wear. The pattern uses simple stitches for a structured yet elegant look and includes options for customization. Perfect for summer wear or layering, this design is versatile and adjustable for different sizes.
Skill Level
Intermediate – The pattern uses chain stitches, single crochet (SC), half double crochet (HDC), increasing, and decreasing to create structured cups, straps, and a corset tie. It assumes experience with shaping and seaming techniques.
Materials
- Yarn: Medium-weight yarn (adjustable based on preference).
- Hook: 3.5mm crochet hook (or size suitable for your yarn).
- Stitch Markers: Essential for marking center stitches and strap attachment points.
- Tapestry Needle: For weaving ends and adding ties/corset edges.
- Scissors: For clean cuts and finishing touches.
Special Stitches
Half Double Crochet (HDC):
- Yarn over, insert the hook into the stitch, yarn over, and pull up a loop (3 loops on hook).
- Yarn over again and pull through all three loops on the hook.
Single Crochet Two Together (SC2Tog):
Used for decreasing.
- Insert the hook into the first stitch, yarn over, pull up loop.
- Insert the hook into the next stitch, yarn over, pull up loop (3 loops on hook).
- Yarn over and pull through all 3 loops.
Stitch Abbreviations
- CH = Chain
- SC = Single Crochet
- HDC = Half Double Crochet
- SC2Tog = Single Crochet Two Together
- SL ST = Slip Stitch
Useful Tips
- Customize Cup Size: Adjust the number of rows for your cup size to ensure it provides adequate coverage and support.
- Check Strap Placement: Mark ideal strap placement based on your personal measurements before attaching.
- Tail Length for Seaming: Leave long yarn tails when finishing sections to avoid additional joins during assembly.
- Symmetry: Keep track of stitch counts for both cups to maintain symmetry.
- Corset Tie Widths: Match strap width with the spaces created in the back corset section for a balanced look.
Detailed Crochet Pattern
Step 1: Cups
Foundation Row:
- Create a Slip Knot and chain 4.
- In the second chain from the hook, work 1 HDC.
- In the next chain, work 1 SC, 1 HDC, then 1 SC (total of 3 stitches in the chain).
- In the final chain, work 1 HDC.
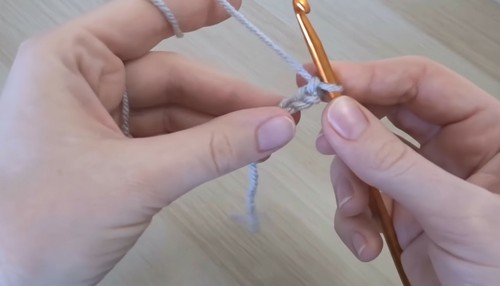
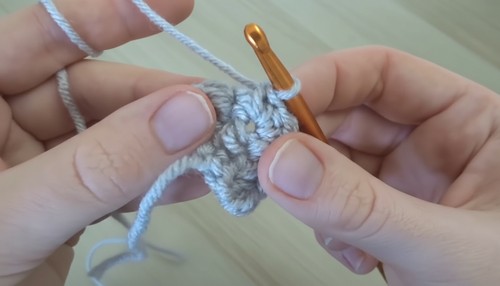
- You should now have 5 stitches in total.
Increasing Rows:
- Row 1 (Increase Row):
- Chain 1, turn.
- Work 1 HDC in the first stitch.
- Increase by working into the same stitch again: 1 SC.
- Continue alternating HDC and SC stitches across. In the center stitch of the row, work an increase by adding: 1 SC, 1 HDC, 1 SC into the middle stitch.
- Continue alternating HDC and SC stitches symmetrically for the remaining stitches.
- Row 2 (Non-Increase Row):
- Chain 1, turn.
- Alternate stitches (HDC, SC, HDC, SC) across rows without increasing.
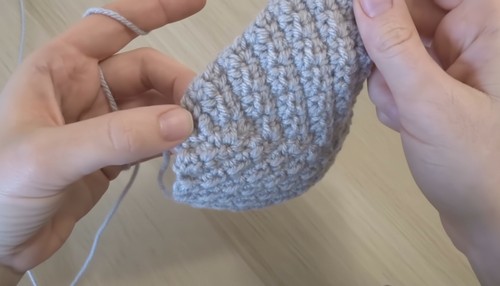
Continuing the Cup:
- Repeat Rows 1 and 2 until the cup reaches the desired width and height. Increase only in the center stitch during even-numbered rows.
- For small-to-medium sizes, this is approximately 13 rows, but adjust as needed for fit.
Upper Curved Section:
- Chain 1, turn, and work alternating HDC and SC stitches across the row. Do not work any increases.
- Repeat this for 4 rows to create the upper curve.
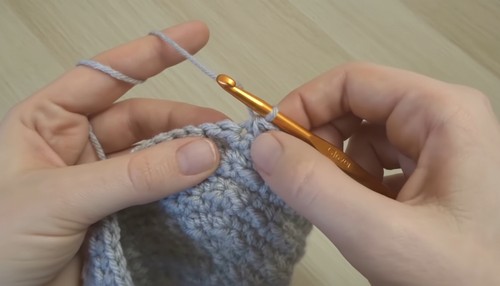
Optional Decrease Rows:
- To tighten and shape the top of the cups, do 1 or 2 decrease rows: Chain 1, turn. Decrease in the center stitch using SC2Tog, alternating HDC and SC stitches.
- Adjust based on your body type.
Step 2: Straps
Starting the Straps:
- Begin at the top-center of the cup, chain 1, turn, and work alternating HDC and SC stitches across half the width of the cup (start with 19 stitches for medium size).
- Continue in the same stitch pattern, working decreases at the neckline edge every other row. Work straight on the armhole edge for symmetry.
Strap Length:
- Repeat these rows for 22 rows, decreasing only on the neckline edge.
- Once the strap narrows to 8 stitches, stop decreasing and continue working straight rows until the strap length reaches the desired measurement (typically 10–15 rows). Leave yarn attached for later adjustments during assembly.
Step 3: Joining the Cups
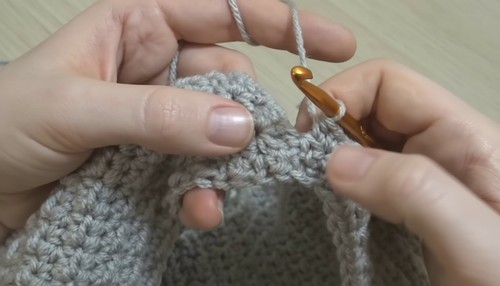
- Place cups side by side, and insert the hook into the last stitch of the first cup.
- Attach new yarn and work a SL ST to join this stitch to the last stitch of the second cup.
- Continue alternating SL ST and SC stitches in the rows along the sides of the cups to create a joined panel in the center.
Step 4: Sides
Creating the Side Panels:
- Measure your back width from the edge of the cups on one side to the other, then subtract 2–3 inches to account for the corset effect.
- Divide this measurement by 2 to get the length for each side panel (chain this length).
Attaching the Side Panels:
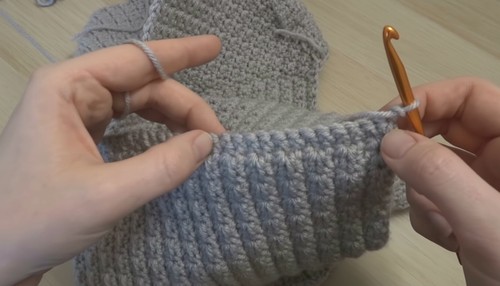
- Attach yarn to the side of the cup. Chain the measurement.
- Work alternating HDC and SC rows along the chain to complete the side panel.
- Add optional decreases at the beginning and end of rows to curve the edge snugly toward your back measurement.
Step 5: Corset Loops and Back Ties
- At the back edge of the side panel, begin working single crochets along the edge of the side rows (one crochet per row). Ensure the correct edge faces outward for a neat finish.
- Chain 4 between single crochets to create spaces for the corset ties.
- Work a second row of SC to reinforce these chains with 4 SC stitches in each chain space.
Ties:
- For the back ties, chain 180–200 to make long straps, or adjust according to your preferred corset style.
- Add a tapered point using decreases and secure the strap.
Step 6: Neck Tie
- Create a long chain of approximately 220 stitches.
- Weave this chain through the front center panel between the two cups, creating a crisscross pattern.
- Adjust placement and tie securely.
Assembly and Sizing
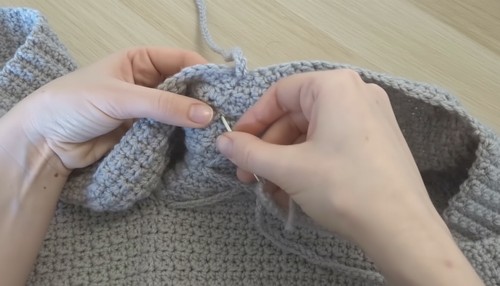
- Attaching the Straps:
- Use a blanket stitch or a secure sewing method to attach each strap to the back panels, ensuring the straps align evenly with your body measurements.
- Back Ties:
- Weave the long chain ties through the corset loops on the side panels, creating a crisscross look.
- Finish by tying at the base, securing with a bow.
Conclusion
This corset crochet top offers both comfort and style, with customizable sizing options using simple stitches and structured shaping. Adjust the strap lengths, add additional rows for the cups or body, and experiment with colors and textures to create a unique and personal garment. The corset back design provides flexible fitting while making the top visually striking and flattering.