
Elegant Crochet Wire Flower Earrings Pattern for Fashion Lovers
Spark up your look using the Free Crochet Wire Flower Earrings Pattern for elegant, standout wirework earrings.
If you've ever admired jewelry that feels both delicate and stands out with a modern twist, this crochet pattern is sure to inspire you. Crocheted with a special embroidery yarn that contains a bit of wire, the earring holds its shape beautifully while remaining lightweight and comfortable. Using magic rings and diamond stitches, this pattern creates a lovely flower shape that's stylish yet simple to make—even if you're new to crochet. The wire inside the yarn adds extra firmness, giving the finished piece a crisp and elegant look. Plus, the addition of a pearl sewn right in the center adds a touch of charm and sophistication.
More Ideas Using This Pattern
The gorgeous flower motif in this pattern isn't limited to earrings. You can use the same stitches to crochet brooches, pendants, or even decorative accents for clothing and bags. If you experiment with different colors and bead embellishments, you can create unique pieces tailored to any occasion. This versatile pattern is a wonderful way to explore crochet with wire yarn and create beautiful accessories that reflect your personal style.
Easy Crochet Wire Flower Earrings Pattern for Unique Outfits
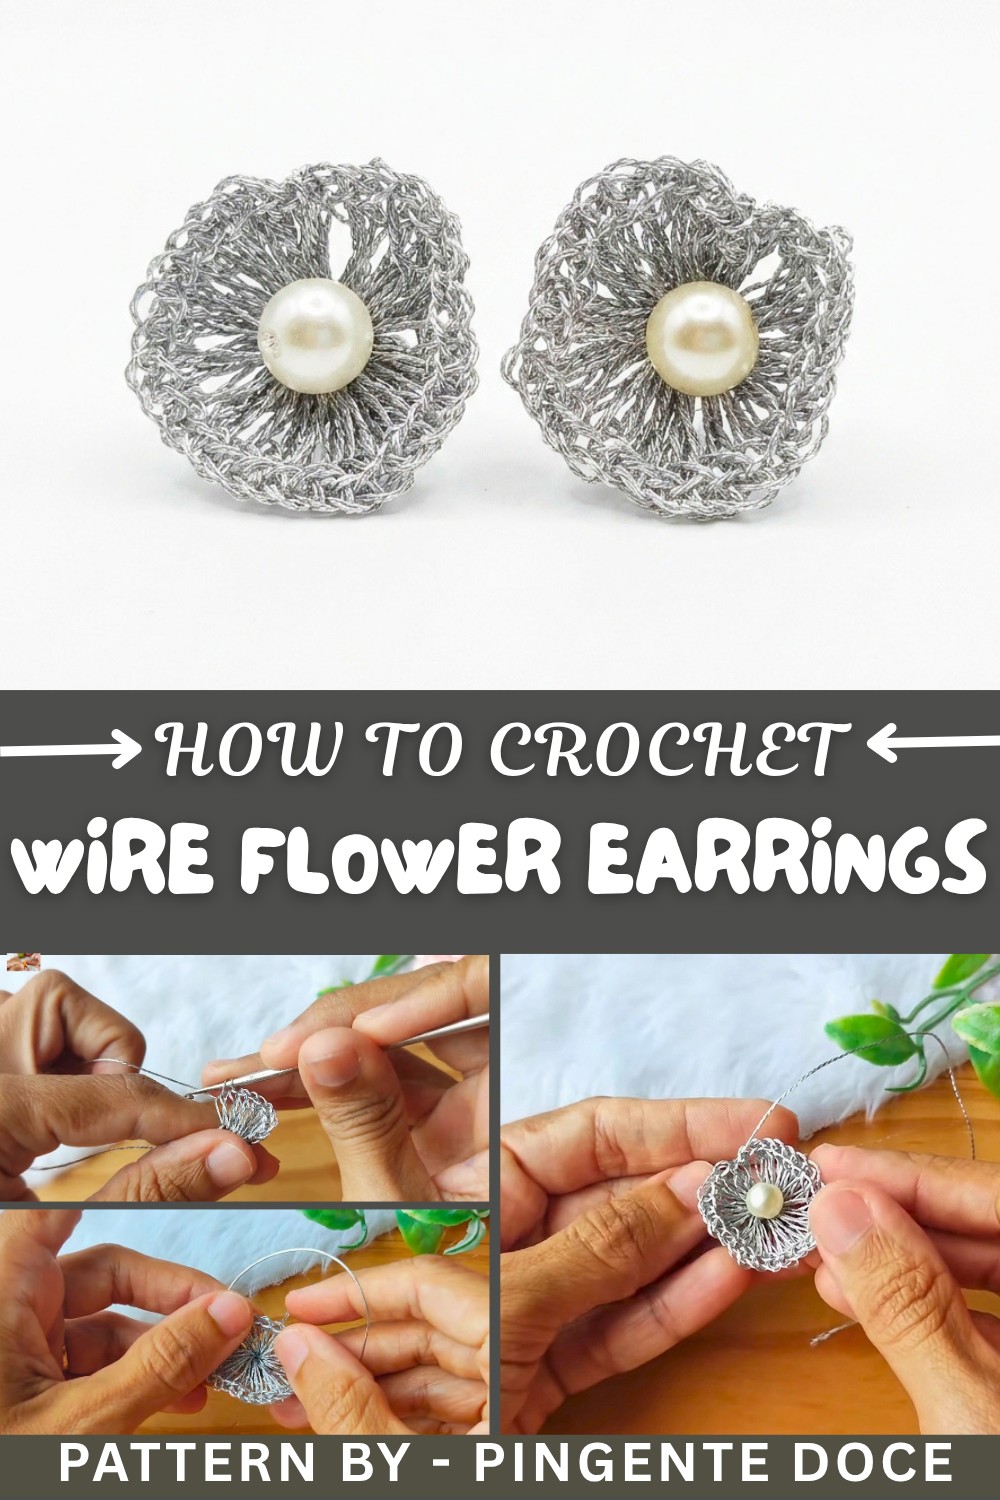
Starting with a magic ring, you crochet a series of diamond stitches by pulling loops carefully to create the petals of the flower. The project is quick and easy, perfect for those moments when you want to make something handmade but don’t have a lot of time. Each stitch builds on the last to form the beautiful floral shape, and finishing with a slip stitch secures everything neatly. Adding the pearl gives it a sparkle that really makes this earring special. To keep the piece durable, you can use a mix of glue and water or your favorite adhesive to attach the earring base perfectly, ensuring it’s ready to wear and enjoy.
Crochet Modern Earring Pattern
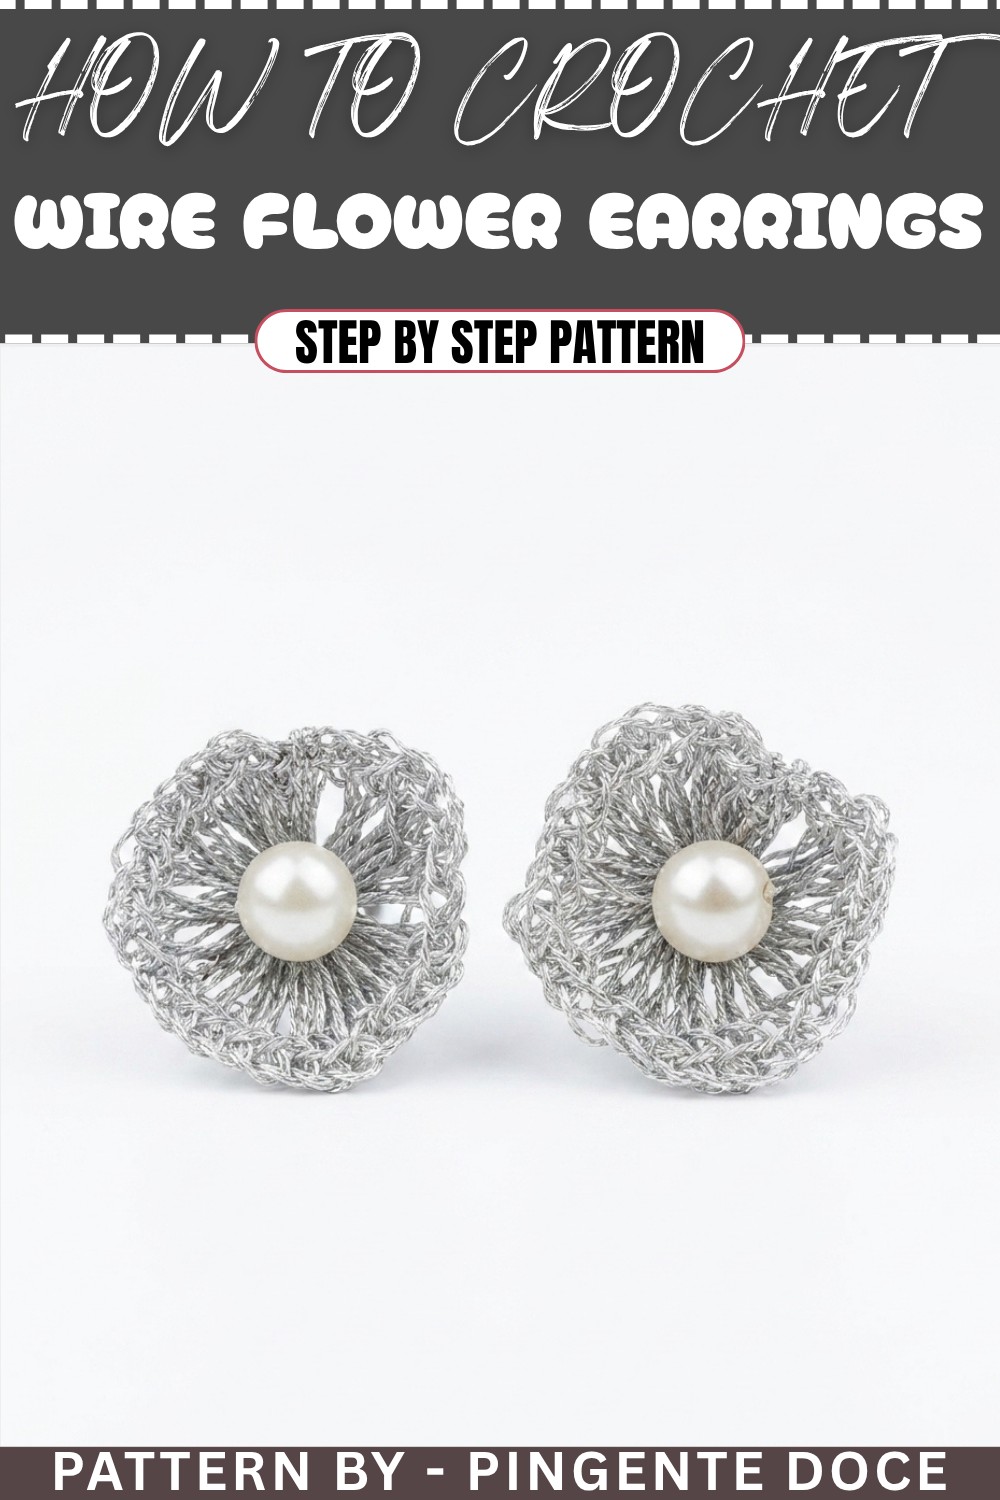
This crochet modern earring pattern is quick and easy, making it perfect for beginners or intermediate crocheters looking for a fashionable accessory project. The earring features dynamic diamond-like stitches that create a sculptural and elegant look. It’s also highly customizable in terms of colors, materials, and embellishments, like pearls. The project uses embroidery yarn (which provides firmness) and finishes beautifully with glue and a sewn pearl for a more refined appearance.
Skill Level & Terminology
- Skill Level: Beginner-Intermediate. This project uses simple crochet stitches and adds a decorative bead for embellishment. The most challenging part involves mastering the tension for diamond stitches and sewing on the pearl.
- Terminology: US crochet terms are used throughout this pattern:
- Chain (Ch)
- Slip Stitch (Sl st)
- Diamond Stitch (unique stitch explained below)
Materials & Tools
- Yarn: Embroidery yarn (skein thread). Choose colors of your choice, preferably with firmness for a sculpted look.
- Hook: 1mm crochet hook.
- Scissors: To trim excess yarn.
- Sewing Needle: To secure threads and sew beads.
- Bead: A pearl or decorative bead for center embellishment.
- Glue: Instant glue or fabric glue to secure the earring base.
- Earring Base: Flat earring backs or any hook style preferred.
Gauge
Gauge is not critical for this project, but ensure your stitches are uniform and consistent. The finished earring measures approximately 2–3 inches in diameter, depending on yarn tension and the size of the pearl.
Abbreviations List
- Ch – Chain.
- Sl st – Slip Stitch.
- Yarn over – Wrap the yarn over the hook.
- Diamond Stitch – A unique stitch explained below.
Special Stitch Instructions
- Diamond Stitch:
- Yarn over, insert the hook into the magic ring, pull up a long loop to match the desired height (this determines the length of the stitch).
- Yarn over, pull through two loops.
- Yarn over again, pull through the remaining two loops.
This creates a long, elegant stitch, perfect for building height and textured shapes.
What You'll Learn & Why You'll Love This Pattern
- What You'll Learn:
- Creating textured stitches (diamond stitch) and managing yarn tension to achieve sculptural shapes.
- Adding embellishments such as pearls to crochet designs.
- Professional finishing techniques for jewelry assembly.
- Why You'll Love It:
This project is quick and gives a professional, polished look. It’s versatile—use different yarn types, beads, or wire-based threads to create unique variations. Plus, it’s an excellent way to familiarize yourself with decorative stitches and jewelry-making concepts!
Finished Size
Approximately 2–3 inches in diameter, including the pearl embellishment.
The Pattern
Foundation Round: Magic Ring and Diamond Stitches
- Create a Magic Ring:
- Wrap the yarn around your finger to form a loop, then insert the hook and pull up a loop. Secure the loop with Ch 1.
- Work 3 Loose Chains:
- Make 3 Ch, ensuring they are loose enough to match the height of the upcoming stitches.
- First Diamond Stitch:
- Yarn over, insert your hook into the magic ring, pull up a long loop to match the height of the chains.
- Yarn over, pull through two loops, then yarn over again and pull through the final two loops.
- Repeat for 16 Diamond Stitches:
- Continue working diamond stitches into the magic ring, pulling the loops to the same height to maintain uniformity.
- At the end of the round, you should have 16 stitches.
- Close the Round:
- Insert your hook into the third chain from the start and secure with a Sl st.
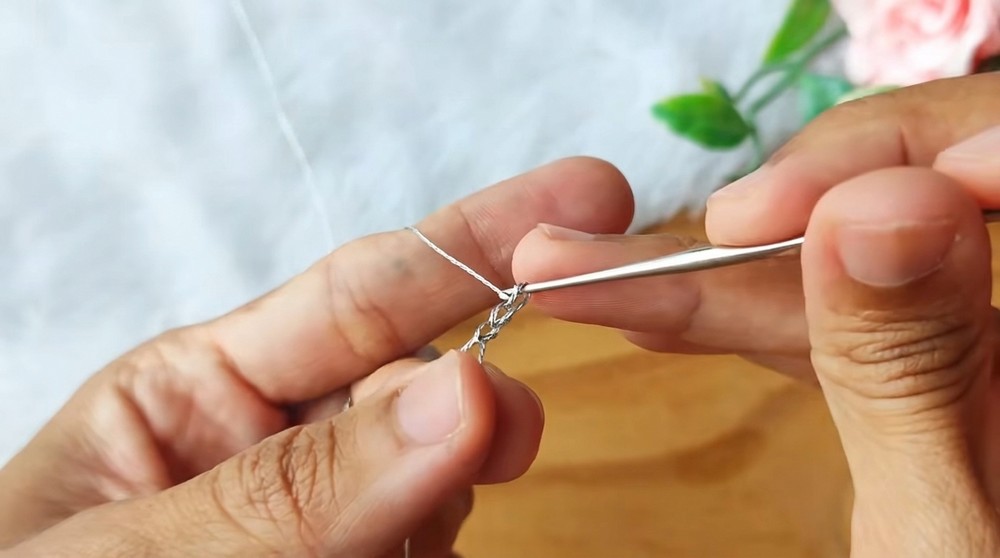
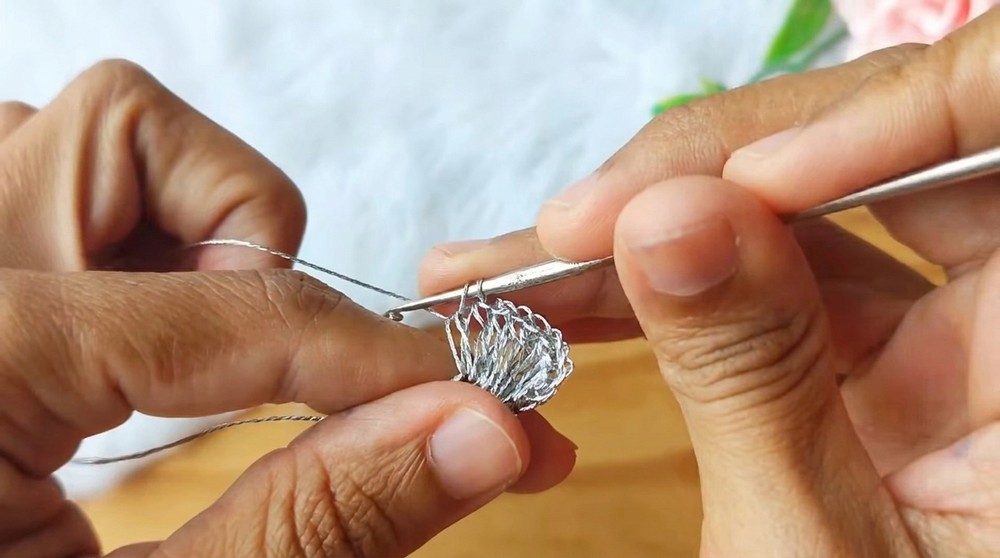
Beginner’s Tip: Pulling the loops evenly for diamond stitches is key to achieving symmetry in the piece. Practice controlling thread tension to create consistent stitch heights.
Round 2: Finishing the Base
- Chain 1: Add height for the final round.
- Slip Stitch Finish:
- Insert the hook into the first stitch and finish off with a Sl st.
- Cut the Yarn: Leave a tail long enough for sewing the pearl embellishment.
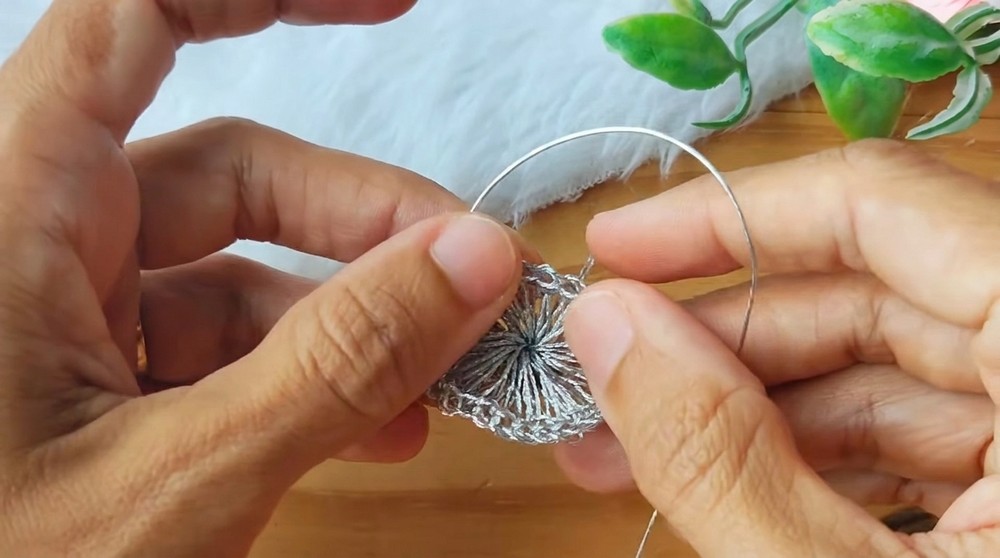
For Beginners: This simple finishing round ensures your diamond stitch framework is neat, tidy, and ready for decorating. Focus on smooth transitions when working slip stitches.
Adding the Embellishment: Pearl
- Prepare the Yarn Tail: Use the thread tail left from the magic ring to sew on the pearl.
- Using a sewing needle, guide the thread from the back of the piece to the center through the top of a nearby stitch.
- Add the Pearl:
- Pass the pearl onto the thread, centering it above the magic ring.
- Secure the Pearl:
- Guide the needle back through another nearby stitch to the back of the piece.
- Knot the thread securely, ensuring the pearl is firmly attached.
- Hide the Excess Thread:
- Thread the tail through the back stitches to neatly hide any leftover thread.
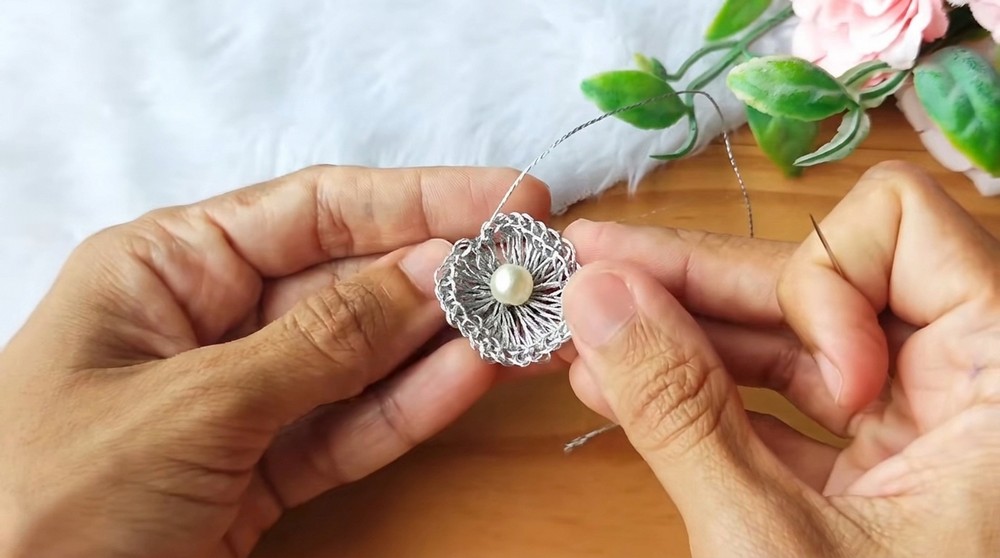
Helpful Hint: Beads add elegance and depth to your crochet pieces. If you don’t have pearls, you can substitute with smaller decorative beads or buttons.
Attaching the Earring Base
- Prepare the Base: Apply instant glue to the flat portion of the earring base.
- Attach the Crochet Piece:
- Center the crochet piece on the base, ensuring the knot from the pearl is embedded in the glue for extra security.
- Let Dry: Allow the glue to dry fully.
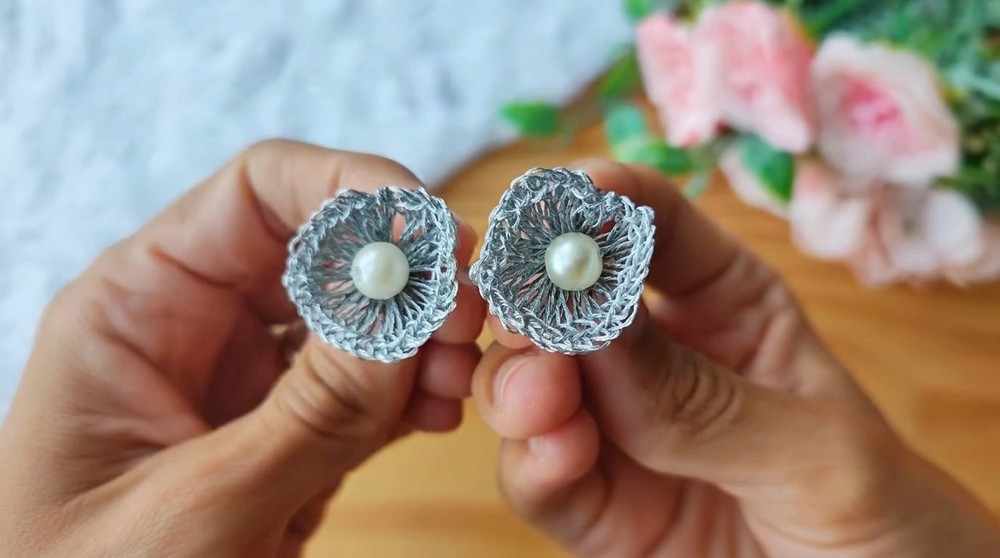
Optional Additions: Add yarn stiffeners (e.g., watered-down fabric glue) to the crochet’s back for extra firmness.
Difficulties & Solutions
Issue: Uneven stitch heights in the diamond stitches.
- Solution: Use a consistent point of measurement (e.g., match the stitch to the height of the chains) when pulling up loops for diamond stitches.
Issue: Pearl feels loose after sewing.
- Solution: Use a strong sewing needle and thread, passing through multiple stitches to secure the pearl tightly. Knotting the thread near the center and embedding it in glue will also ensure stability.
Final Thoughts
This crochet Wire Flower Earrings project is bold yet simple, giving you a stylish accessory with a quick execution time. Combining diamond stitches, a sewn bead, and professional finishing touches creates a polished look that can be completed in under an hour. This pattern is perfect for customizing designs with different embellishments and colors. By completing this fun and creative project, you’ll enhance your crochet skill set while enjoying the satisfaction of wearable handmade art.