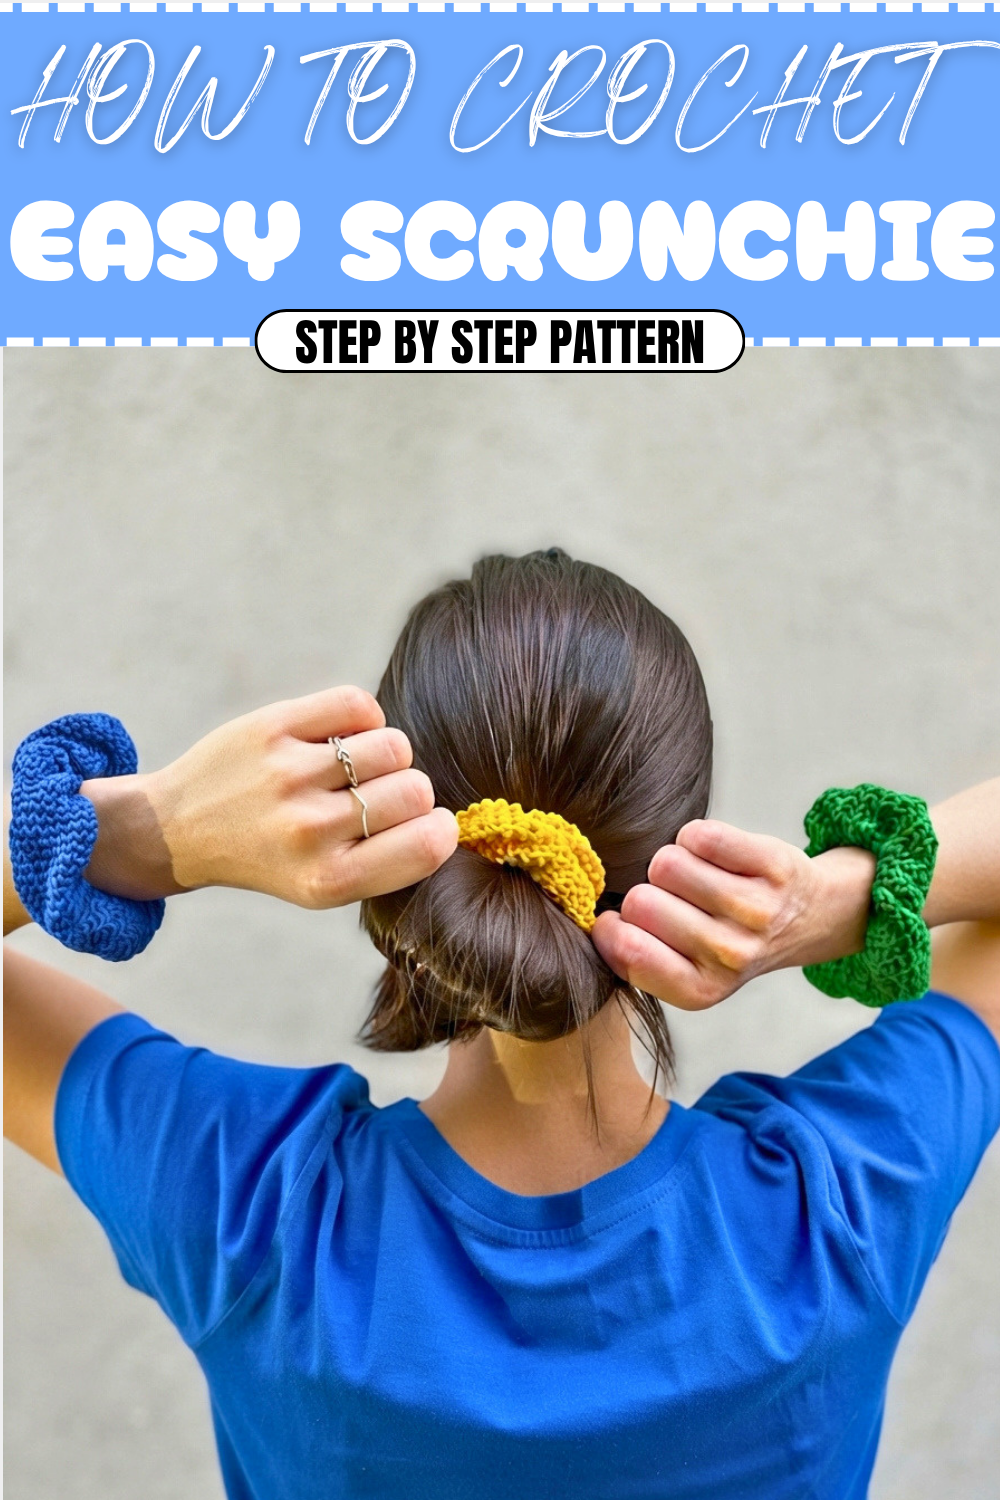
Eco-Friendly Crochet Scrunchie Pattern for Fabulous Hairstyles
Find A Quick Crochet Scrunchie Pattern to Glam Up Your Hair
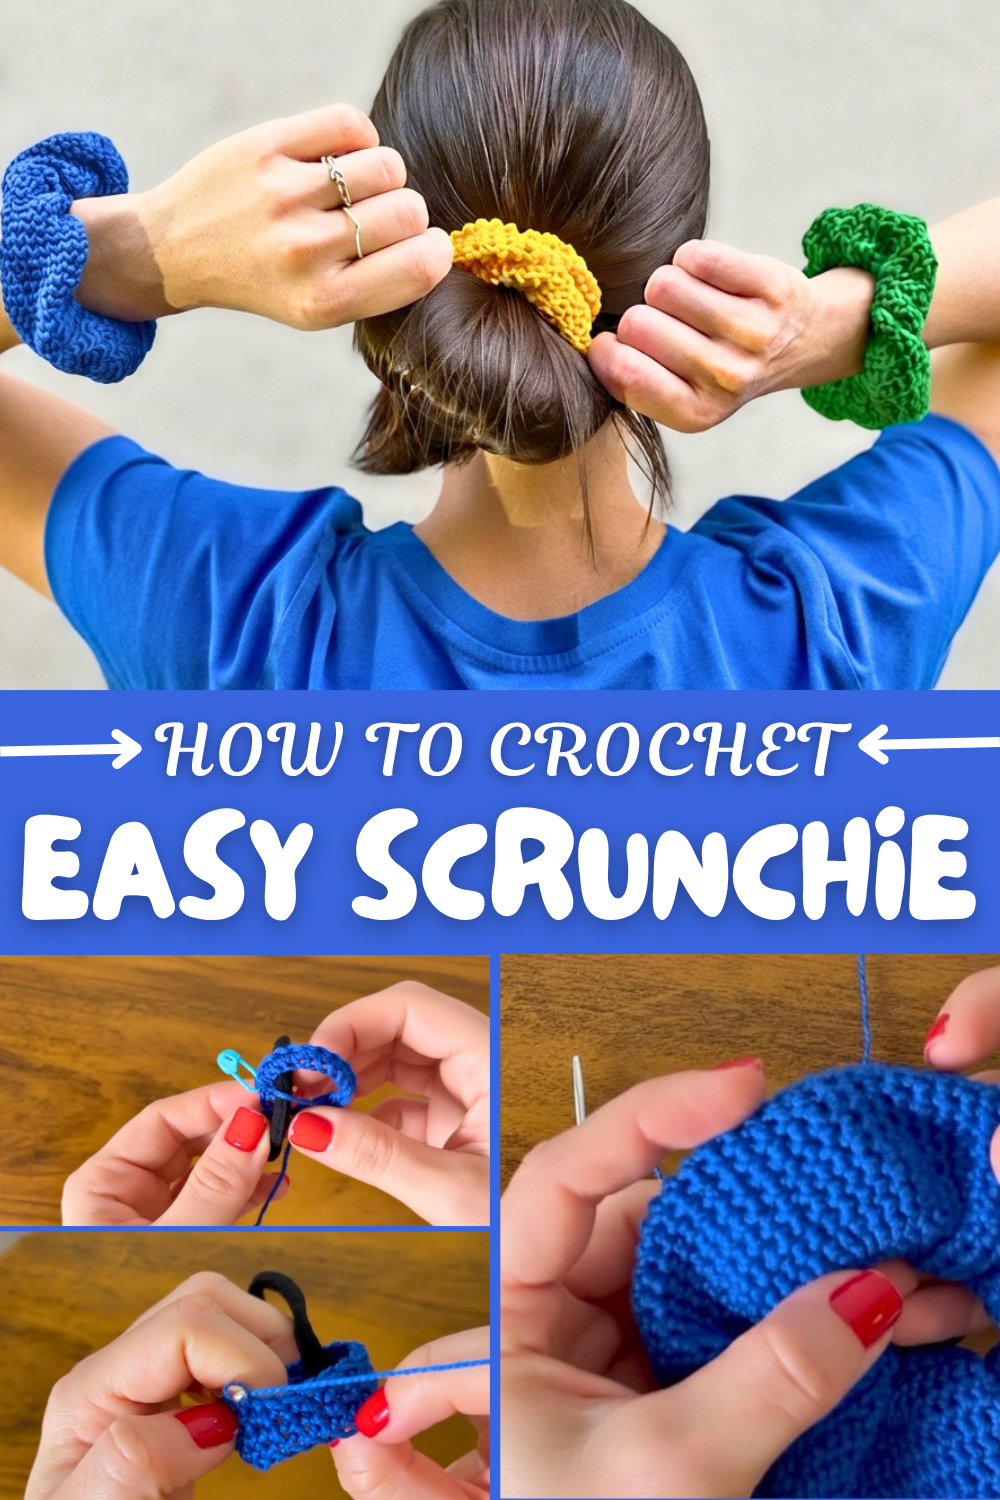
Starting with a series of chain stitches wrapped around the elastic band, you join the ends together to form a ring. From there, working single crochet stitches in rounds builds up the body of the scrunchie. The stitches should be snug but not too tight, allowing the scrunchie to stretch and bounce back easily. You continue crocheting in the round until the fabric looks nice and full, then finish by sewing the ends securely. Because this pattern works in continuous loops without the need to count complex stitch patterns, it’s easy to follow and impossible to get lost in.
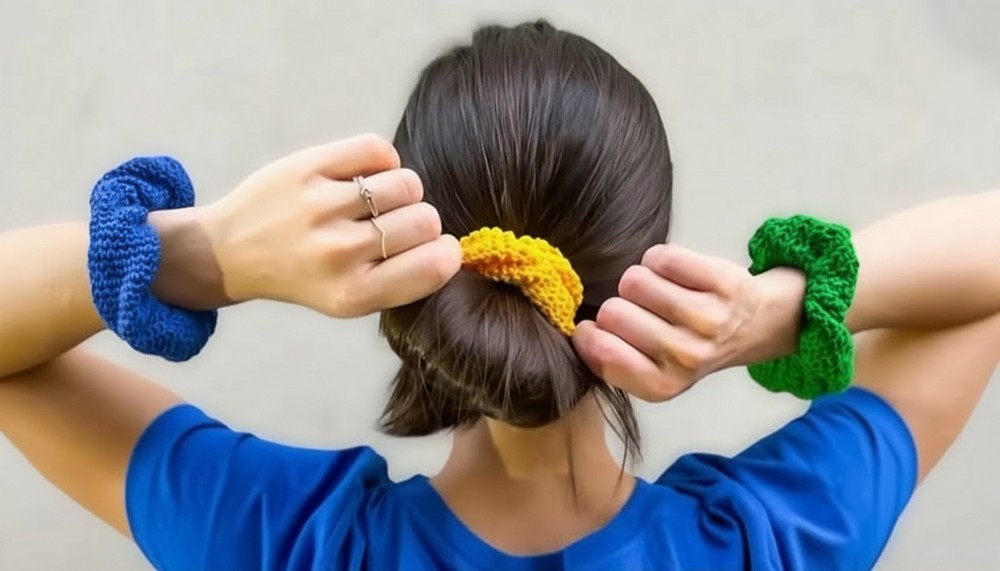
Crochet Elastic Hair Scrunchie Pattern
Crochet elastic scrunchies are a quick, stylish, and useful project! Whether it's for personal use, gifting, or even to sell, these scrunchies are versatile and easy to make. In this step-by-step pattern, you'll learn how to crochet a textured scrunchie around an elastic band, providing both style and durability. Adjust the size and tension for customized results.
About this Pattern
This pattern is for a crochet elastic scrunchie that is perfect for hair accessories. You can make scrunchies with different levels of volume by customizing the number of rows. These can also be used as creative gifts or as trendy additions to your wardrobe. With a stretchy center and cozy texture, this pattern is both functional and fashionable.
What You'll Learn
- How to crochet around an elastic band for structure and stretch.
- Continuous rounding technique to avoid seam visibility.
- Stretchy adjustments for creating various textures and finishes.
Skill Level:
Beginner – Uses basic crochet stitches like chains, single crochet (sc), and slip stitches (sl st).
Terminology:
Written in US crochet terms.
Materials & Tools
- Yarn: Anne yarn (lightweight cotton yarn) or any thin yarn of your choice.
- Hook Size: 3mm crochet hook (adjust depending on your tension and desired size).
- Optional: A smaller hook (e.g., 2.75mm) for denser stitches or a larger one for looser work.
- Elastic Band: 1 simple soft elastic band (to fit around your ponytail securely).
- Tapestry Needle: For weaving in ends and sewing final seams.
- Scissors: For trimming excess yarn.
- Measuring Tape: To check chain length (optional).
Gauge
Approximately 10 single crochet stitches over 2 inches (width) with a 3mm hook.
Abbreviations List
- ch: Chain
- sc: Single Crochet
- sl st: Slip Stitch
- st(s): Stitch(es)
- yo: Yarn Over
Special Notes & Tips
- Tension Adjustments:
If your gauge is tighter, your scrunchie will come out smaller. Conversely, looser tension will make it larger. - Customizing Length:
You can adjust the scrunchie's final size by modifying the number of chains in the foundation or the number of crochet rounds.
Finished Size
- Approximately 4–5 inches in diameter when fully scrunched.
The Pattern
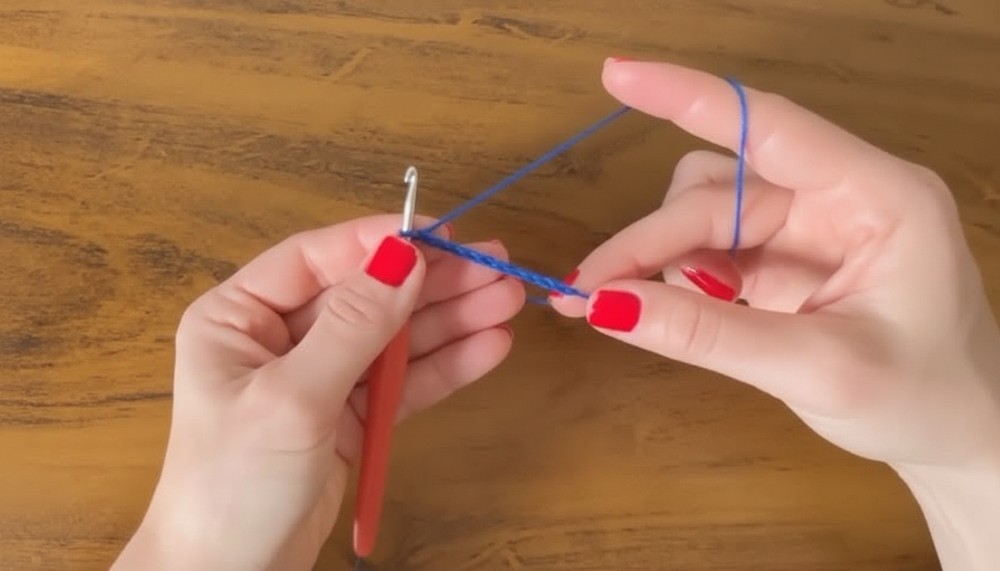
Step 1: Foundation Chains
- Start with a slip knot on your hook.
- Create 20 chains with medium tension.
- Tip: These chains should measure about 10 cm (4 inches) for a standard scrunchie. Adjust if using a different yarn or hook size for a proportional look.
Step 2: Attach Chains to Elastic
- Slide your chain loop through the elastic band.
- Insert your hook into the first chain and close the round with a slip stitch (sl st).
- Result: You’ll have a closed chain circle wrapped around the elastic.
Step 3: First Round of Single Crochet
- Ch 1 (does not count as a stitch). Place a stitch marker in this chain for easier tracking.
- Work 1 sc in each chain around.
- Insert the hook under each chain, yo and pull through, yo again, pull through both loops on the hook.
- It’s helpful to hold the elastic steady as you crochet over it, keeping the chains evenly spread.
- Once you’ve worked sc into all chains, remove the stitch marker, and finish the round.
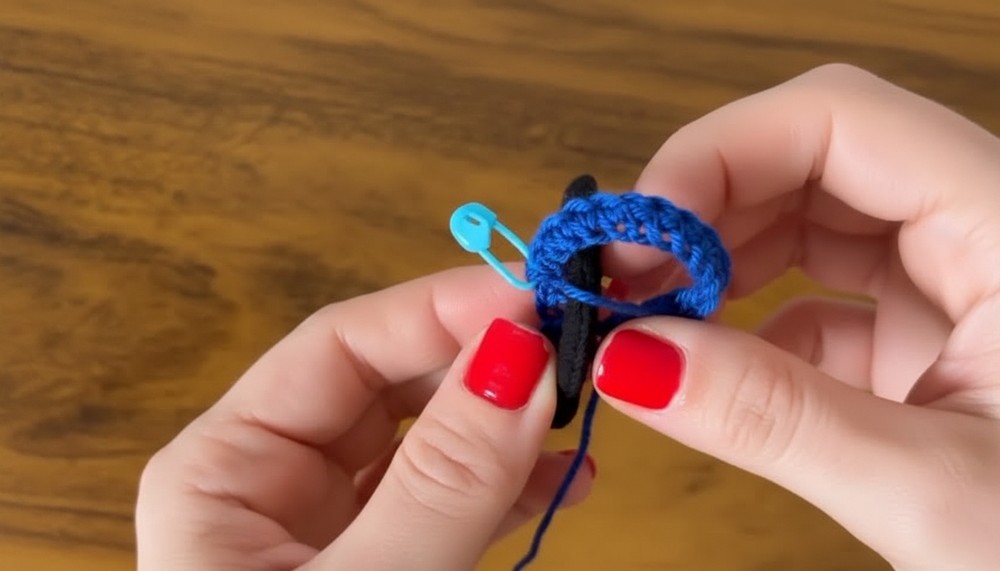
Note: From here on, you will not close the rounds to avoid visible join seams (work continuously instead).
If you're new to crochet: This round creates the base structure, anchoring the scrunchie securely to the elastic band while forming a smooth surface for the decorative rounds.
Step 4: Building Height with Single Crochet
- Continue working in rounds without counting stitches or closing rounds. Place one sc in each stitch.
- Work in a spiral pattern until the scrunchie begins to gain volume.
- Keep the stitches snug around the elastic but not overly tight. The elasticity of the band should not be restricted.
- Repeat until you complete at least 80 to 90 rounds (or desired height of wrinkles).
- Check progress periodically by stretching the scrunchie gently to ensure that it remains stretchy.
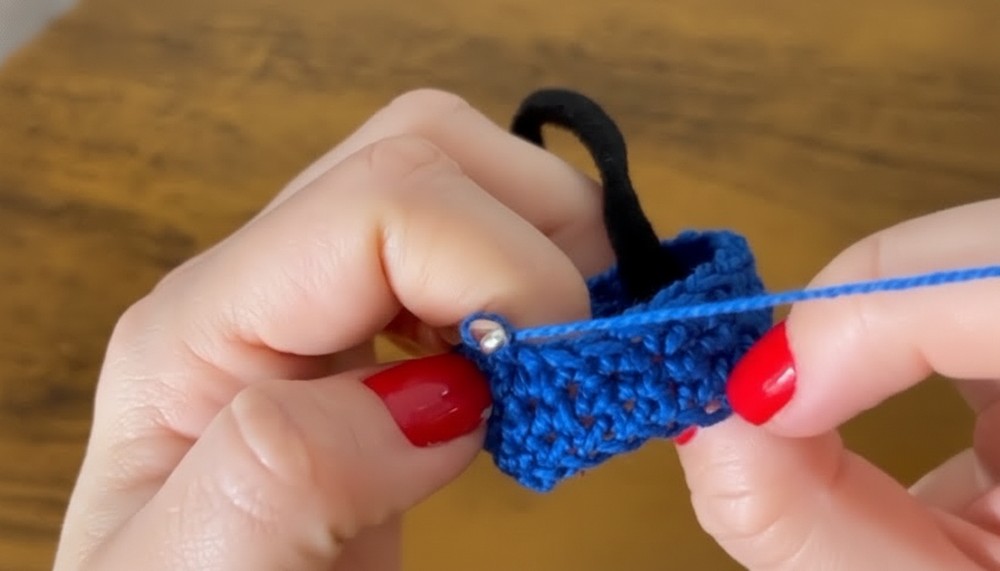
Take breaks to pull the scrunchie and observe the texture, adjusting rows and tension as needed.
Step 5: Adding Wrinkle Volume
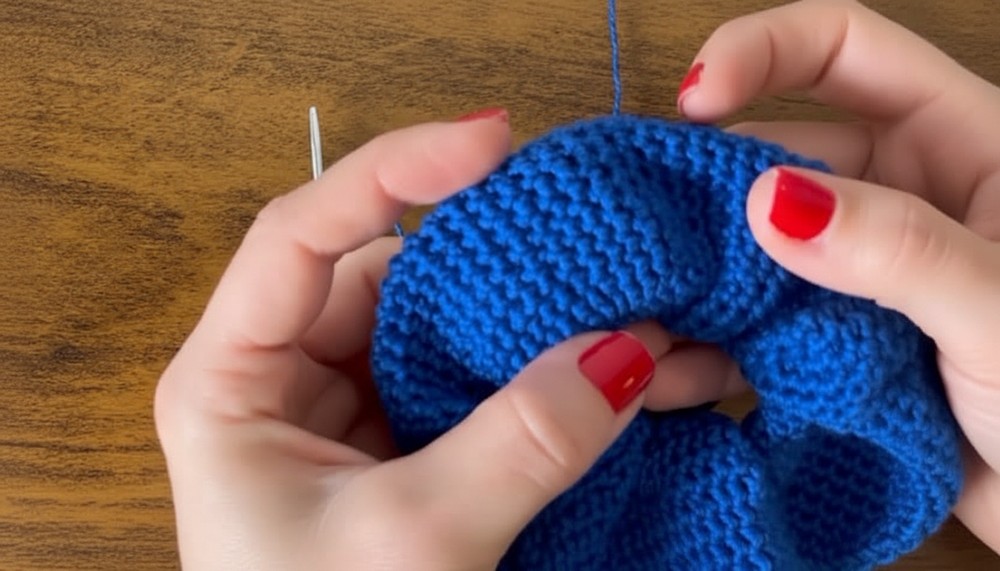
- As you continue adding rounds, the dense stitching will naturally create a scrunched effect.
- You can stop at 50–60 rows for a minimal and sleek style. Go up to 90 rows for a more dramatic and voluminous scrunchie.
- Optional: Alternate a round with half double crochet (hdc) to add a slightly raised texture.
Step 6: Finishing the Scrunchie
Crochet Seam Closure
- When you reach the desired volume, trim the yarn, leaving a tail for sewing.
- Pull your working yarn through the last loop to secure it.
- Using a tapestry needle:
- Bring the yarn tail beneath the first sc of the round to create a seamless connection.
- Weave the yarn under and through the last few stitches on the underside of the scrunchie for a secure finish.
- Ensure the starting knot and end piece are tied and hidden before trimming any excess.
Customization Ideas
- Chunky Yarn: For a fluffy, bulkier scrunchie, use a slightly thicker yarn and increase the foundation chains to 24–30.
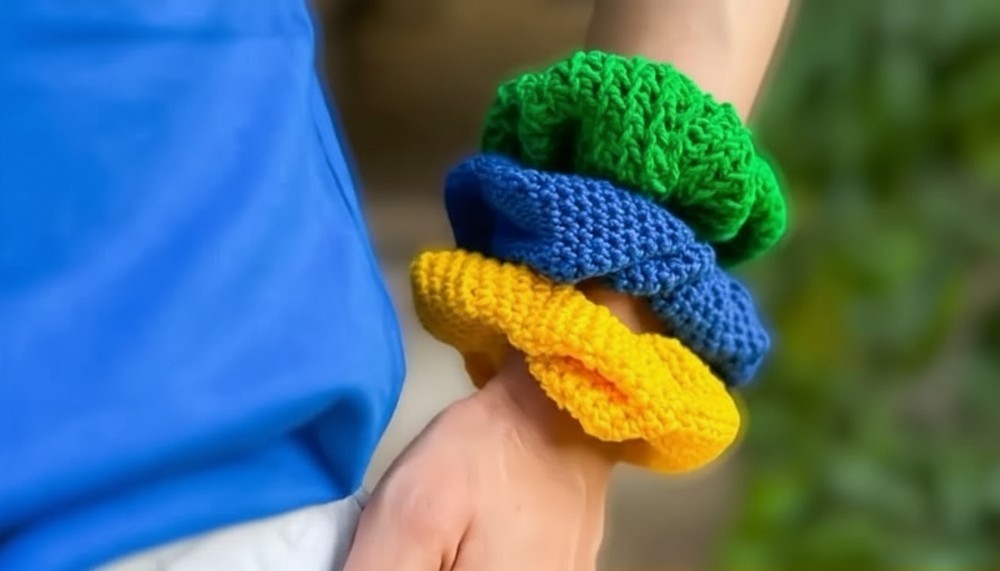
- Stripes: Change yarn colors every 5–10 rows for a striped effect.
- Textured Wrinkles: To create layered wrinkles, alternate rows of single crochet with half double crochet or treble crochet.
Assembly Tips
Using the Scrunchie for Hair Styling:
- The dense elastic structure allows for flexibility, making it easy to wrap around hair buns or ponytails.
- The scrunchie can also double up as a wristband!
Final Thoughts & Why I Love This Pattern
This scrunchie pattern offers the perfect balance of practicality and creativity. It’s simple enough for beginners to complete quickly but versatile enough for advanced crocheters to explore variations and customize. I love how it uses minimal yarn, making it super cost-effective while producing beautiful results.
Tutor Suggestions
- Experiment with different yarn materials like cotton for a summer vibe or velvet for luxurious, soft scrunchies.
- Aim for uniform stitches to keep the scrunchie balanced and visually pleasing.
- Relax your hands while crocheting to maintain consistent tension on the yarn.