
Easy Crochet Giant Tulip Free Pattern With Tutorials For Beginners
Learn how to crochet a Giant Tulip with this free pattern that offers a unique and charming design perfect for adding bold floral touches to your décor.
Original Tutorial Credit:
The original tutorial by Yessi Barragán arte crochet serves as the main reference for this written pattern.
Let's talk about a beautiful flower you can make with yarn. The Crochet Giant Tulip is big and eye-catching. It is much larger than a normal tulip, making it fun to make and display. The size can be about two feet tall, so it stands out well in any room.
Beautiful Crochet Giant Tulip Free Pattern For Floral Decor
The shape is simple but lovely. The petals curve gently outward, just like real tulip petals. They overlap slightly, giving the flower a full and natural look. The stem is long and straight. Usually, it includes a few leaves near the bottom, adding to its charm.
In terms of design, the Giant Tulip is made with basic crochet stitches. The petals are worked separately and then sewn together around the stem. The leaves and stem use simple stitches too. Because of this, many beginners can try making it.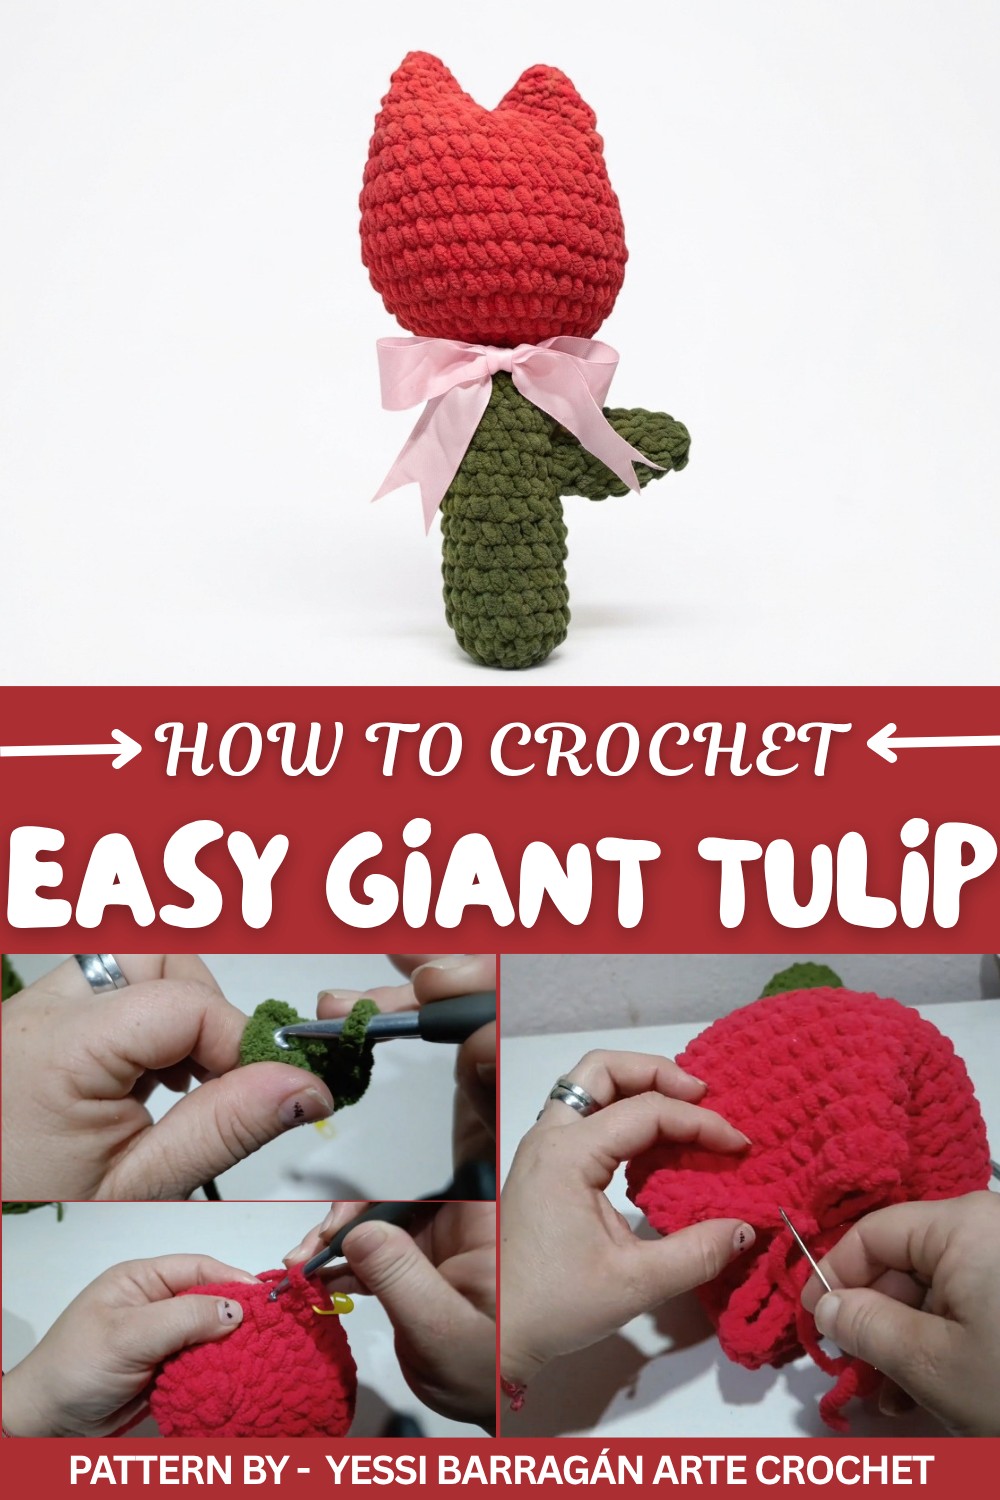
However, some parts need attention to detail, so it suits someone with a bit of crochet experience – say a beginner to intermediate skill level.
Furthermore, this project feels warm and friendly. It brings a lovely touch to your space or can be a special handmade gift. Also, it helps you practice shaping and joining skills. Overall, the Crochet Giant Tulip is a fun way to brighten your home with a handmade flower.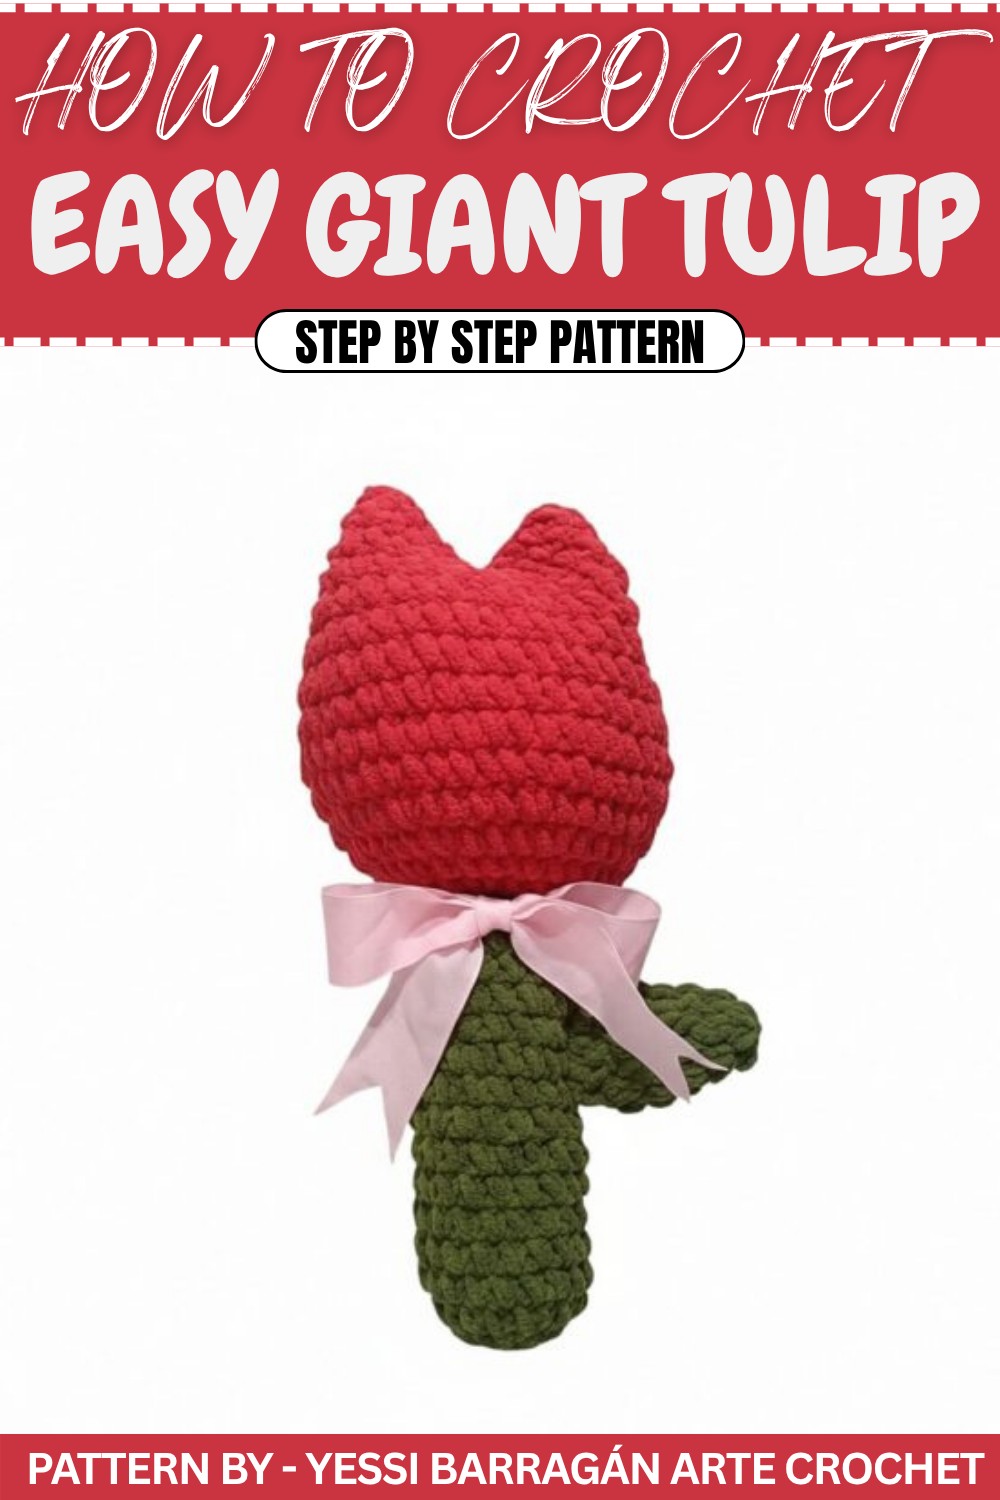
Giant Tulip Amigurumi Pattern
This Giant Tulip Amigurumi is a statement piece perfect for playful decor, gift giving, or as a whimsical accent in a child’s room. Featuring soft, chunky texture using chenille yarn and bold, simple shaping, the finished tulip stands an impressive 40 cm tall. The structure is built in three parts—stem, flower head, and a single large leaf—with assembly instructions for a stable, realistic finish.
Pattern Basic Points
Core Features:
- Oversized design: Approximately 40 cm (16 in) in height.
- Bold, soft stitches: Chunky chenille yarn for plushness and quick progress.
- Simple construction: Each section is made in basic amigurumi rounds.
- Decorative finish: Optional bow accent for extra charm.
Pattern Structure:
- Worked in continuous spiral rounds for seamless shaping.
- Single, large leaf is attached near the base.
- Sturdy flower top, stable stem, and neatly shaped head for true tulip character.
Special Notes
- Do not join rounds unless otherwise indicated; continue working in a spiral and use a stitch marker to track rounds.
- Chenille yarn is very plush but can obscure stitches, so count carefully.
- Stuff firmly but do not overstretch stitches; use more stuffing for maximum plumpness.
- Secure attachment at each stage is crucial for durability and shape retention.
- Embellishments like a bow are optional—choose colors to match your decor.
Skill Level
Skill Level: Beginner to Advanced Beginner
This pattern utilizes basic single crochet and simple increases/decreases, making it appropriate for those new to amigurumi and ideal as a first “large” crochet project.
Materials
- Yarn: Super bulky chenille yarn, Category 6 (e.g., Himalaya Dolphin, Bernat Blanket), in:
- Red (or main flower color) – approx. 50g
- Green – approx. 40g
- Crochet Hook: 6 mm (J-10)
- Fiberfill stuffing
- Yarn needle (for sewing and weaving ends)
- Stitch marker
- Optional: Decorative bow, hot glue gun (for bow only)
- Scissors
Measurements
- Final Height: ~40 cm (16 in)
- Stem Length: ~20 cm (8 in)
- Flower Head Diameter: ~10–12 cm (4–6 in)
- Leaf Length: ~10–12 cm (4–5 in)
Gauge
- Not critical; focus on tight, even stitches so stuffing does not show through.
- After Round 4 of the stem, the diameter should be about 4 cm. Adjust hook size if needed for density.
Stitch Pattern
- Classic amigurumi: worked in spirals using single crochet, along with basic increases and decreases for shaping.
Stitch Abbreviations
- MR: magic ring
- sc: single crochet
- inc: increase (2 sc in the same stitch)
- dec: decrease (single crochet two stitches together)
- st(s): stitch(es)
- Rnd: round
- Rep: repeat
Special Stitches
Invisible Decrease (dec):
Insert hook in front loop only of next 2 stitches, yarn over, pull through, yarn over, pull through remaining 2 loops. This keeps decreases less visible, especially in amigurumi.
Pattern Instructions
1. The Stem (Green Yarn)
Rnd 1:
- MR, 6 sc into ring. (6 sts)
Rnd 2:
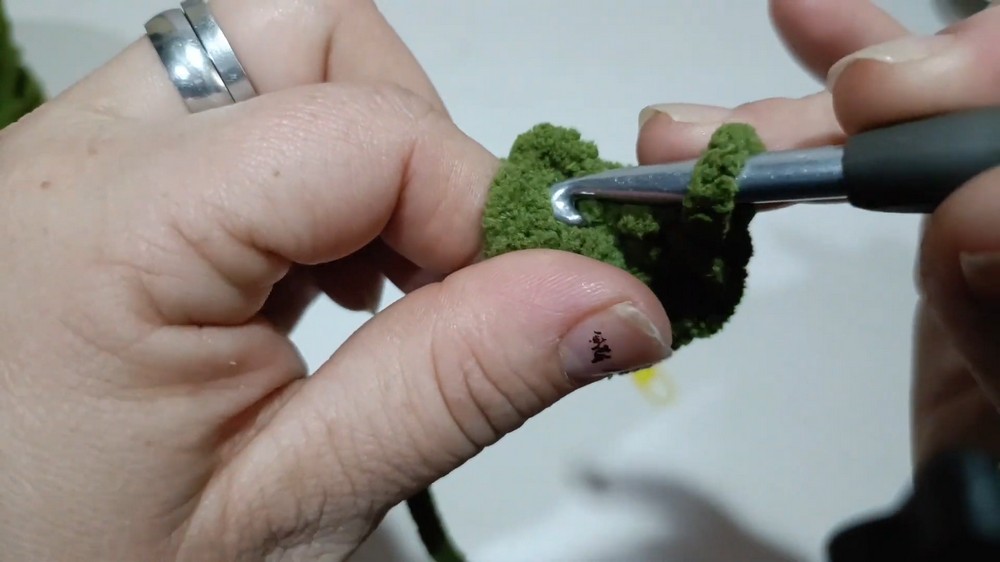
- Inc in each stitch around: (2 sc in each st). (12 sts)
Rnd 3:
- 1 inc, 1 sc around (i.e., [inc, sc] x6). (18 sts)
Rnds 4–16:
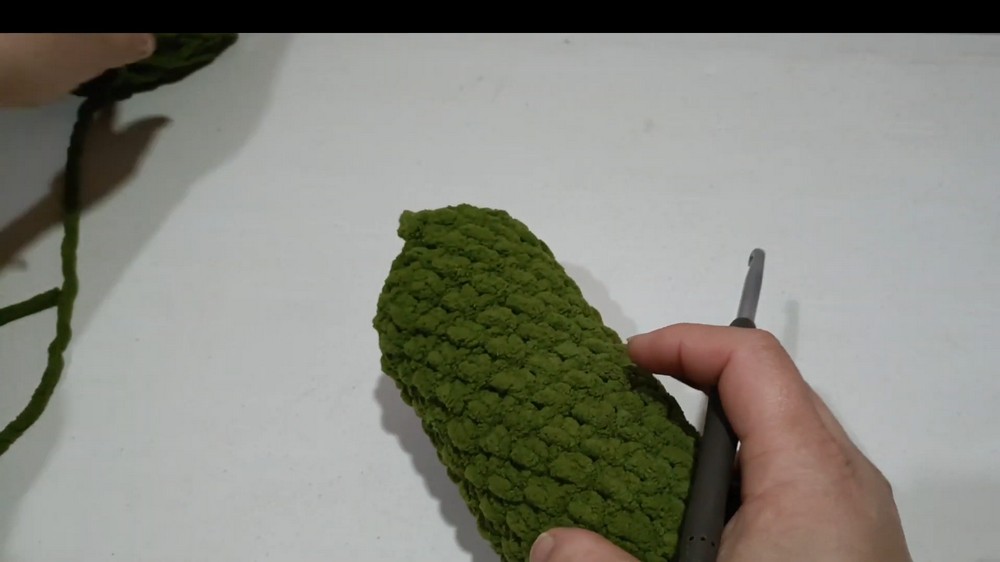
- 1 sc in each st around. (18 sts per rnd, 13 rounds)
Finishing the Stem:
- Stuff stem as you go to keep it plump.
- At end of Rnd 16, fasten off and leave a long tail if you wish to sew in extra stability later.
2. The Flower Top (Red or Main Color Yarn)
Rnd 1:
- MR, 8 sc into ring. (8 sts)
Rnd 2:
- Inc in each st around. (16 sts)
Rnd 3:
- 1 inc, 1 sc around ([inc, sc] x8). (24 sts)
Rnd 4:
- 1 inc, 2 sc around ([inc, sc, sc] x8). (32 sts)
Rnd 5:
- 1 inc, 3 sc around ([inc, sc, sc, sc] x8). (40 sts)
Rnd 6:
- 1 inc, 4 sc around ([inc, sc, sc, sc, sc] x8). (48 sts)
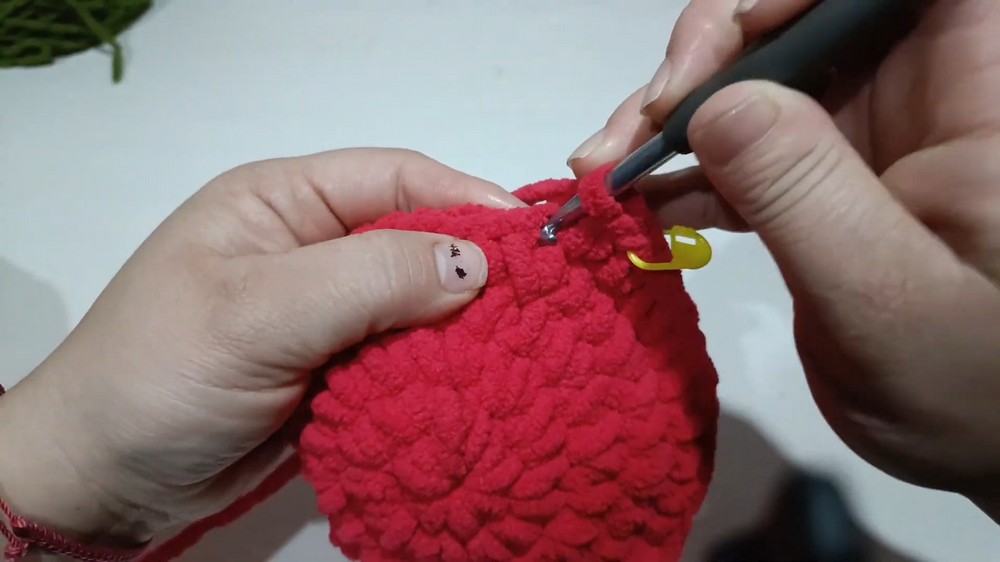
Rnds 7–16:
- 1 sc in each st around. (48 sts per rnd, 10 rounds)
Finishing the Flower Top:
- After Rnd 16, fasten off, leaving a long tail.
- Do not stuff yet—wait for assembly with stem.
3. The Leaf (Green Yarn)
Rnd 1:
- MR, 6 sc into ring. (6 sts)
Rnd 2:
- 1 sc, 1 inc around ([sc, inc] x3). (9 sts)
Rnd 3:
- 1 sc in each st around. (9 sts)
Rnd 4:
- 1 inc, 2 sc around ([inc, sc, sc] x3). (12 sts)
Rnd 5:
- 1 inc, 3 sc around ([inc, sc, sc, sc] x3). (15 sts)
Rnd 6:
- 3 sc, 1 dec around ([sc, sc, sc, dec] x3). (12 sts)
Rnd 7:
- 2 sc, 1 dec around ([sc, sc, dec] x3). (9 sts)
Finishing the Leaf:
- Fasten off, leaving a long tail for sewing.
Assembly & Finished Size
Flower Head Attachment
- Align the open end of the stem with the open base of the flower top.
- Use the long flower top tail and yarn needle to whipstitch the flower base to the stem, inserting the needle through multiple layers at the top of the stem for extra security and shape.
Stuffing
- Once joined, gently stuff the flower head for fullness.
Shaping the Tulip
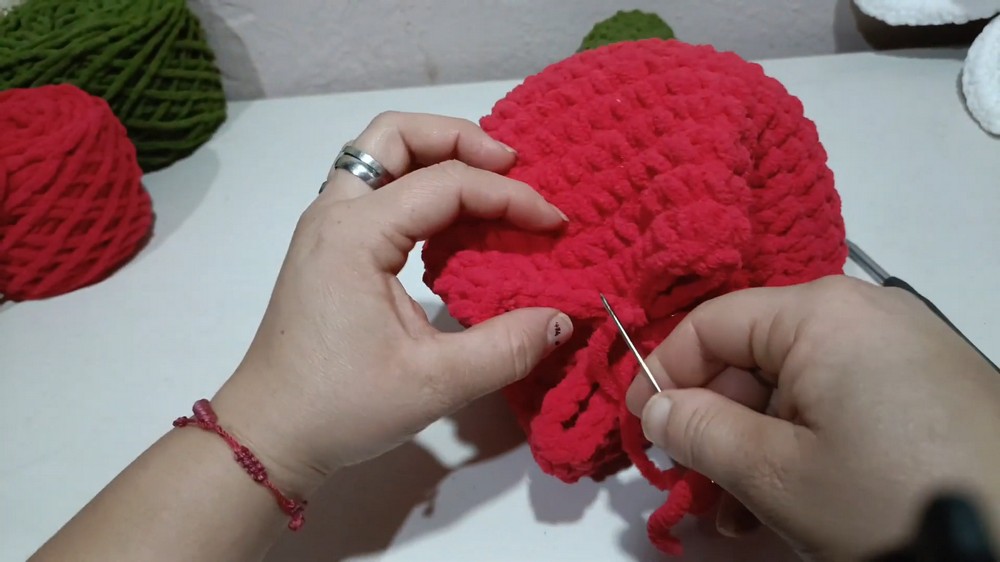
- Fold the side edges of the flower top inward to form the classic tulip curves.
- Using the yarn needle and flower top tail, stitch through opposite “petal” points to draw sides together, shaping the bowl of the tulip.
- Adjust stuffing as needed.
Attach the Leaf
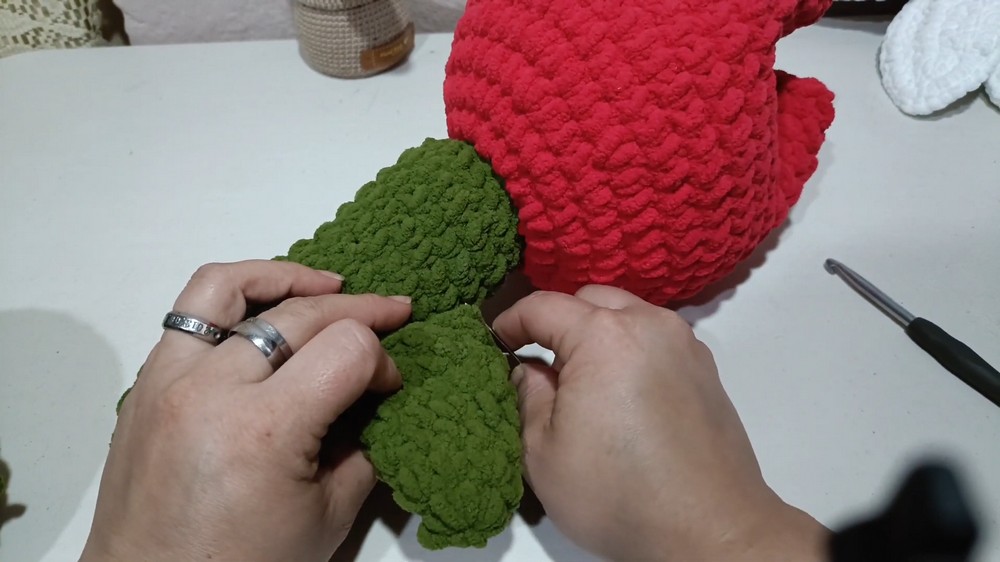
- Place the leaf at the base of the flower, slightly angled along the stem for a natural look.
- Sew securely using the long leaf tail and the yarn needle.
Optional Embellishment
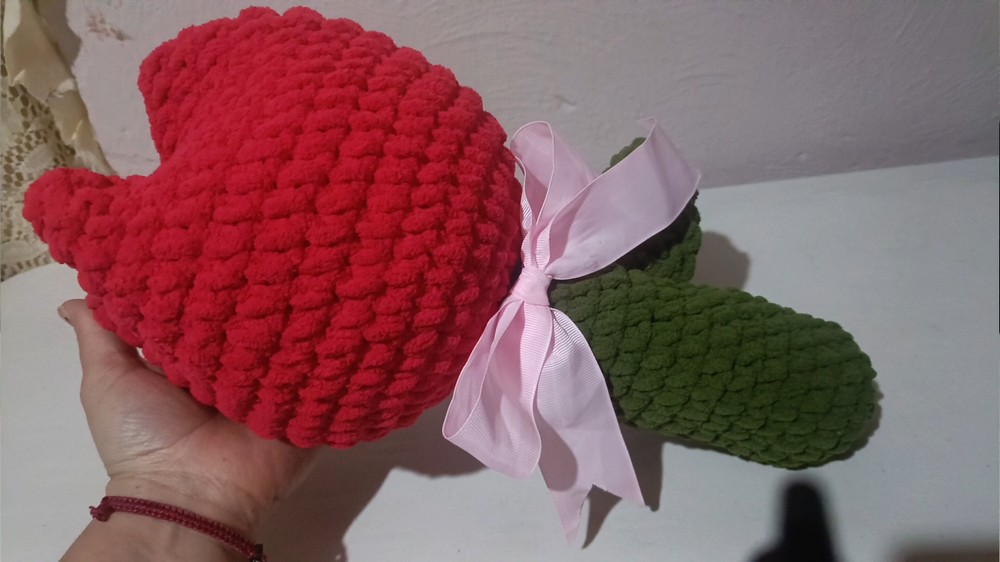
- Glue or tie a bow at the base of the leaf for a decorative finish.
Final Size:
- The assembled tulip stands approximately 40 cm (16 in) tall and is visually striking as a plush, oversized amigurumi flower.
Conclusion
This Giant Tulip Amigurumi achieves dramatic size and cheerful appeal through the use of plush chenille yarn and bold, beginner-friendly shaping. The design balances simplicity and striking visual impact, resulting in a sturdy, huggable flower suitable for room decor, children’s gifts, or display bouquets. Adjustable color options allow for endless personalization, and the finished tulip stands as a delightful reminder of spring’s beauty, with a whimsical touch only handmade crochet can provide.