
Easy and Stylish Crochet Neck Warmer Pattern for You
Upgrade your cold weather outfits with a textured crochet neck warmer that adds cozy handmade style to plain jackets without any complicated stitch work.
Looking for a handmade accessory that adds both warmth and style to your outfit? This crochet neck warmer is the perfect solution. Crocheted with soft fur yarn that has a touch of lurex for subtle sparkle, this neck warmer is effortlessly chic and versatile. Whether you're dressing for colder evenings or need a stylish complement to your coat or sweater, this design delivers both comfort and elegance, making it a favorite for crochet enthusiasts of all skill levels.
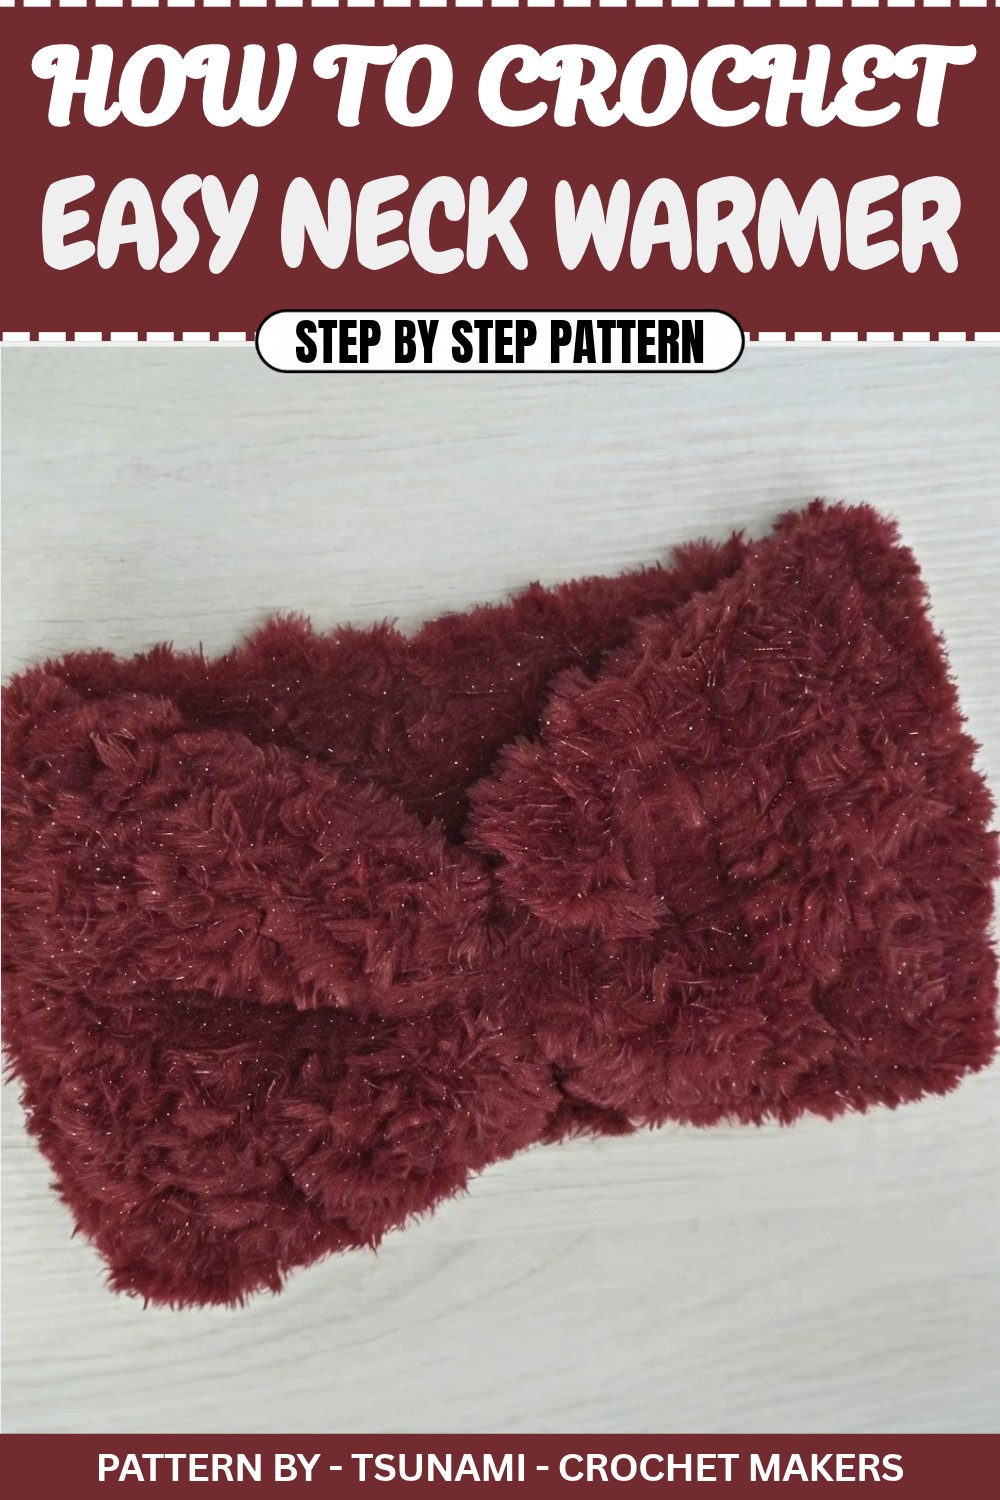
The neck warmer is crocheted in a rectangle shape and features a simple yet attractive design that you can personalize to match your taste. The soft fur like texture gives it a luxurious feel, while the option to create a central bow like detail adds a playful element. You can further decorate it with pins, embellishments, or ribbons, making it your unique masterpiece. This piece is as functional as it is fashionable and easy to wear for casual outings, office wear, or cozy gatherings.
Stay Toasty with This Quick and Easy Crochet Neck Warmer
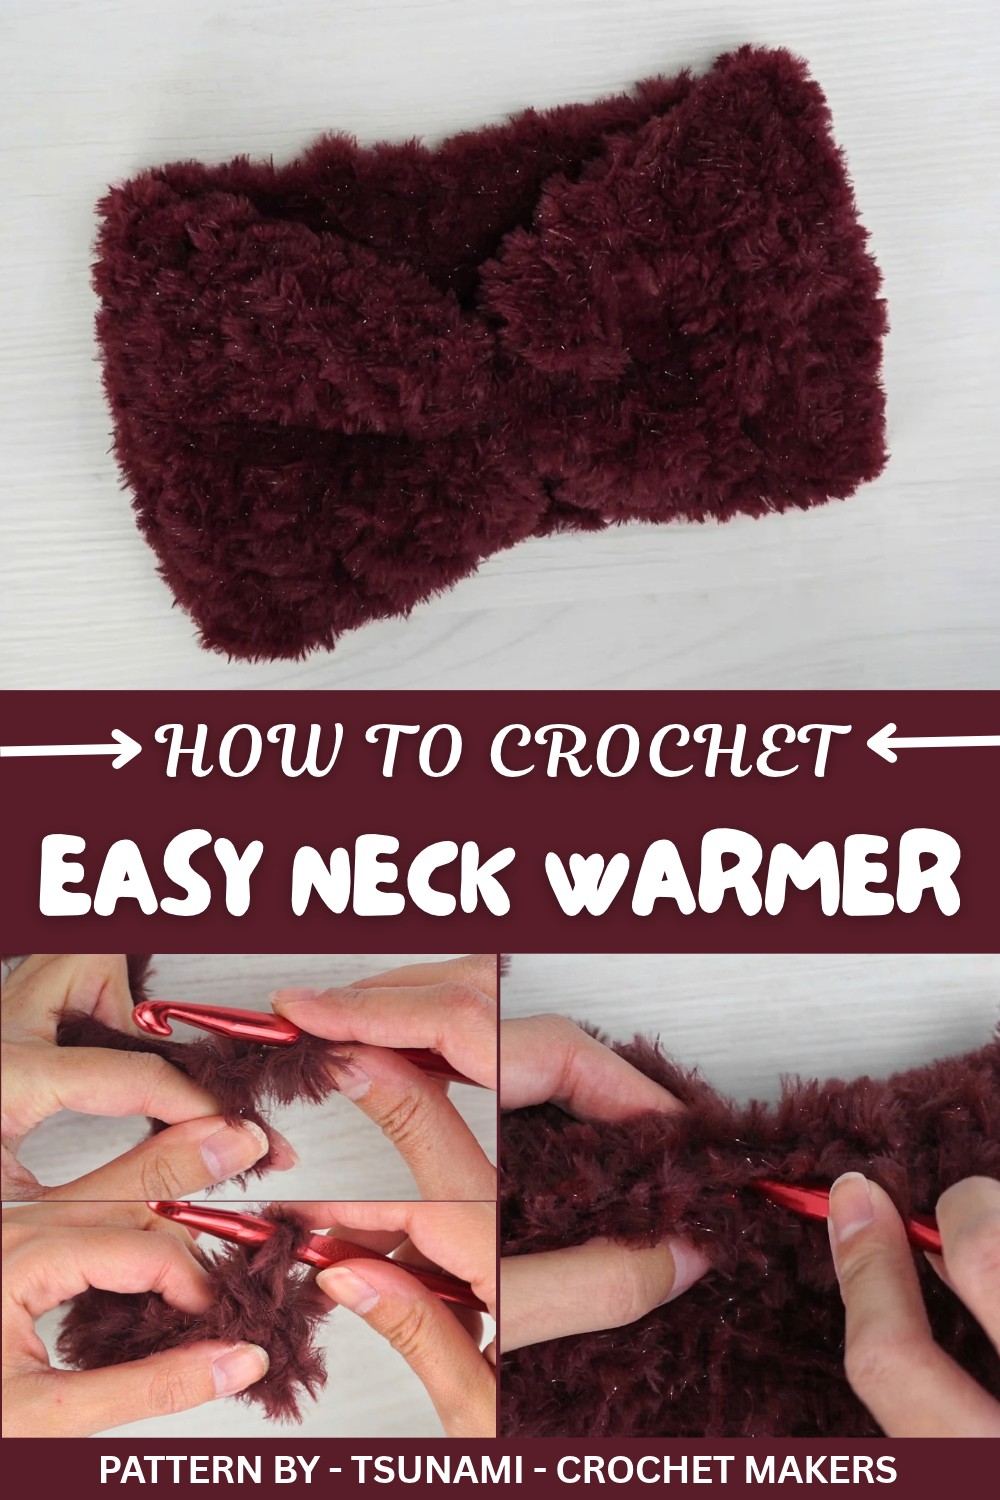
The pattern uses basic crochet techniques, primarily single crochet stitches, making it beginner friendly. The ends are seamlessly joined with slip stitches for durability and clean edges. TSUNAMI - Crochet Makers, led by Katy, showcases this project in their helpful tutorial, offering clear instructions and tips for working with fur yarn efficiently. The channel’s focus on creative and beginner friendly designs ensures that anyone can follow along and create a stunning final product.
Whether you’re new to crochet or looking for a quick, stylish project, this neck warmer is a standout. Perfect for layering in cooler seasons, it's easy to make, incredibly versatile, and bound to draw compliments every time you wear it.
Crochet Neck Warmer Pattern – Step by Step Guide
This tutorial will guide you through creating a beautiful and simple Crochet Neck Warmer. It’s quick, stylish, and perfect for beginners and experienced crocheters alike. Whether you’re looking to create a charming accessory for yourself or make a handmade gift, this project is sure to delight.
Quick Overview of the Pattern
- Project: Crochet Neck Warmer.
- Difficulty Level: Beginner-friendly and easy to make.
- Features: Lightweight fur yarn with a shimmer effect, slip stitch seam for minimal bulk, customizable size, and decorative options.
- Time Required: Very fast to complete—ideal for last-minute projects.
- Customization: Easily adaptable for different yarns, sizes, and decorations.
Notes
- This pattern uses a furry yarn with lurex (shimmer). While the fluffiness may make it challenging to identify stitches during the first row, they will be easier to see in subsequent rows as indicated in the tutorial.
- Adjust the crochet hook size based on your yarn and personal tension. Test with different hook sizes to find the one that suits your comfort.
- The size is customizable. You can follow the recommended 12 chains (approx. 19 cm) or adjust based on circumference preferences.
Skill Level
Beginner-Friendly. Perfect for anyone starting their crochet journey since the pattern employs basic stitches like chains and single crochet.
Materials
- Yarn: 100g of furry yarn with lurex (shimmer) elements; this particular project uses “Nidi” yarn.
- Crochet Hook: Size 8 mm. Adjust based on your tension and yarn type.
- Optional Decorations: A decorative pin or stitching for customization.
- Tapestry Needle: For weaving in ends.
Measurements / Sizing
- Starting chain of 12 stitches, equivalent to approximately 19 cm in width.
- Length can be customized by the number of rows added, adjusted to the desired neckline circumference.
Gauge
Gauge is not critical due to the fluffy nature of this yarn. Adjust the length of your chains and rows based on your sizing needs.
Stitch Abbreviations
- ch: Chain.
- sc: Single Crochet (Maglia Bassa).
- sl st: Slip Stitch (Maglia Bassissima).
Special Stitches
Single Crochet (sc)
- Insert the hook into the desired stitch.
- Yarn over and pull the yarn through the stitch (2 loops on hook).
- Yarn over again and pull through both loops on the hook to complete the stitch.
Slip Stitch (sl st)
- Insert the hook into the stitch.
- Yarn over and pull the yarn through both the stitch and the loop on the hook.
The Crochet Pattern
The Crochet Neck Warmer is a quick and easy project suitable for beginners. Start with a slip knot, create the number of chains to match your desired neck circumference, and follow along for a simple construction process involving rows of single crochets.
Steps to Crochet the Furry Collar
Step 1: Starting the Base
- Make a slip knot and attach your yarn to your hook.
- Chain 12 stitches (you can adjust this number based on your preferred width).
- 12 chains in this tutorial are approximately 19 cm wide.
Step 2: Adding the First Row
- Skip the first chain and insert the hook into the second chain from the hook.
- Work 1 single crochet (sc) into each chain across.
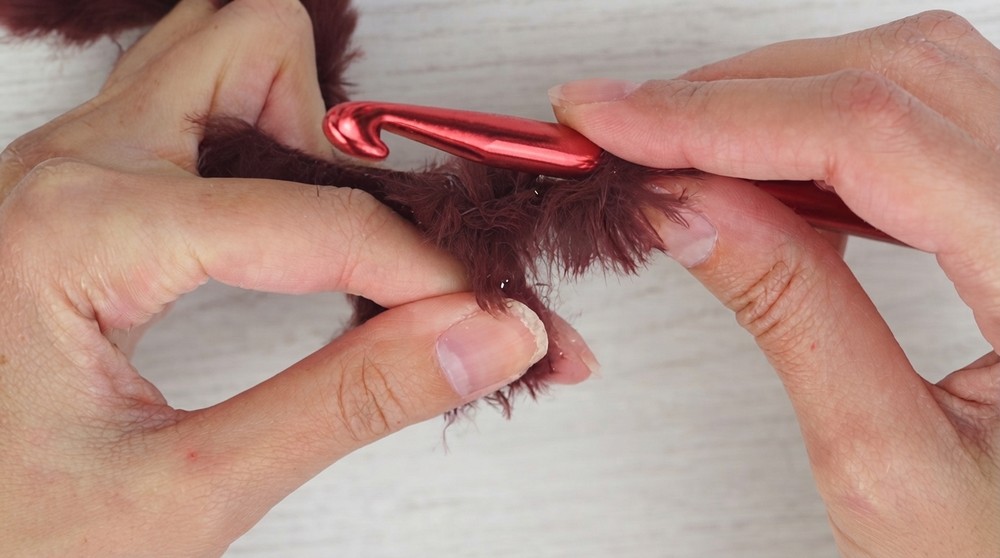
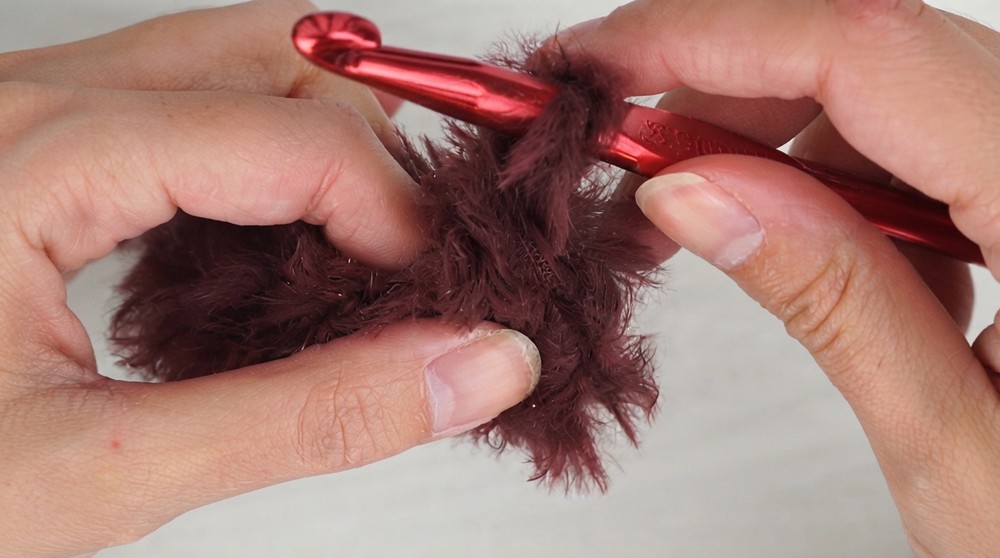
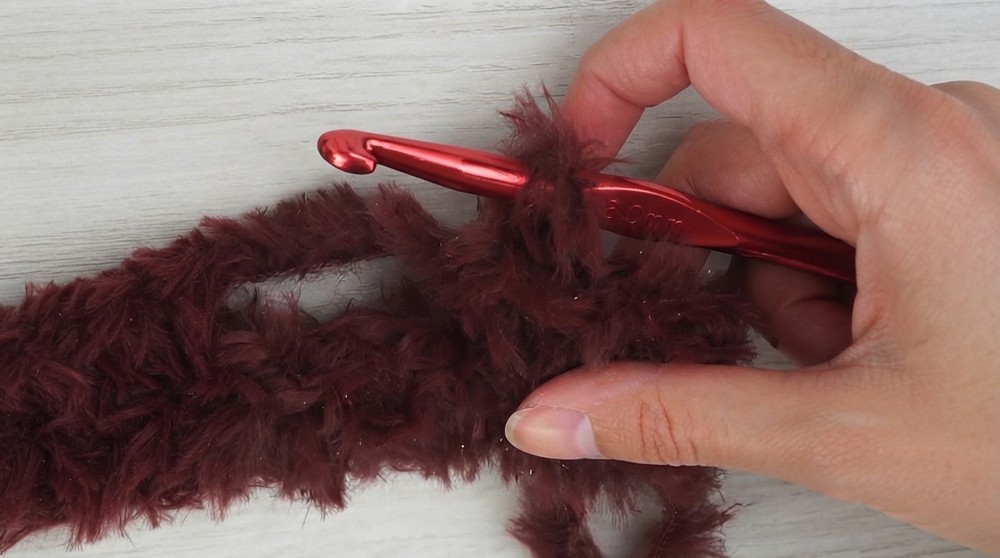
- To locate each chain in furry yarn, carefully push aside the fuzzy fibers to reveal the base loop underneath.
- Continue crocheting single crochet stitches until the end of the row, ensuring there are 11 single crochets in your row.
Step 3: Turning the Work
- At the end of the row, turn your work.
- Chain 1 (this acts as the turning chain and counts as the first stitch for the next row).
- Work 1 single crochet in each stitch across for this row.
- The stitches in this row will be easier to see since the foundation row is already established.
Repeat Rows
- Repeat the instructions from Step 3 to crochet more rows until the collar reaches the desired circumference for your neck.
- The video suggests four rows for the tutorial, but you can make more or fewer rows to suit your own preferences.
Step 4: Joining the Edges
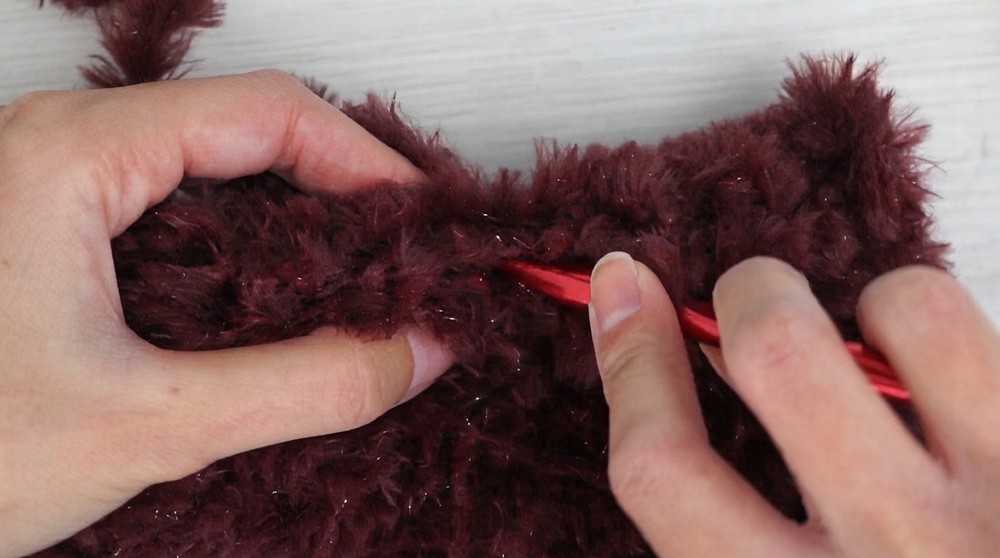
- Once all rows are completed and your desired length is achieved, fold the collar in half, bringing the two ends together.
- Chain 1 and turn your work.
- Insert your hook in the first stitch on one edge and then into the matching stitch on the opposite edge.
- Yarn over and pull through both stitches, completing a slip stitch to join the edges neatly.
- Continue working sl st in each pair of corresponding stitches across until the two ends are fully joined.
Step 5: Finalizing the Collar
- Chain 1 at the end of the seam.
- Cut the yarn, pull it through, and secure the ends using a tapestry needle.
- Block the yarn as needed to keep it securely in place.
Step 6: Decorating the Collar
Enhance the look of your furry collar by decorating it with a cute detail:
- Fold the central part of the collar to create a bow-like effect.
- Secure the fold with a few stitches using your tapestry needle and thread.
- If desired, add a decorative pin or embellishments, like a pearl or flower, to complete the look.
Assembly & Finished Size
- Final Size: Approximately 19 cm wide with the number of rows adjusted for circumference.
- The ends of the collar were joined using slip stitches, forming a seamless and neat tubular design.
- You can leave the collar simple or decorate its center for an extra touch of style.
Conclusion and Ending Words
Congratulations, You’ve completed your furry crochet collar—a simple yet stylish accessory that’s both functional and beautifully crafted.
This pattern is perfect for beginners, yet fun for experienced crocheters. Feel free to adjust the yarn, size, or decoration according to your taste. Add a pin or decorative stitching to make the collar unique.